
My Percy Pig traybake is fun and vibrant, with a condensed milk biscuit base and creamy pink fudge topping. It's easy to make and perfect for beginners, with no baking required!
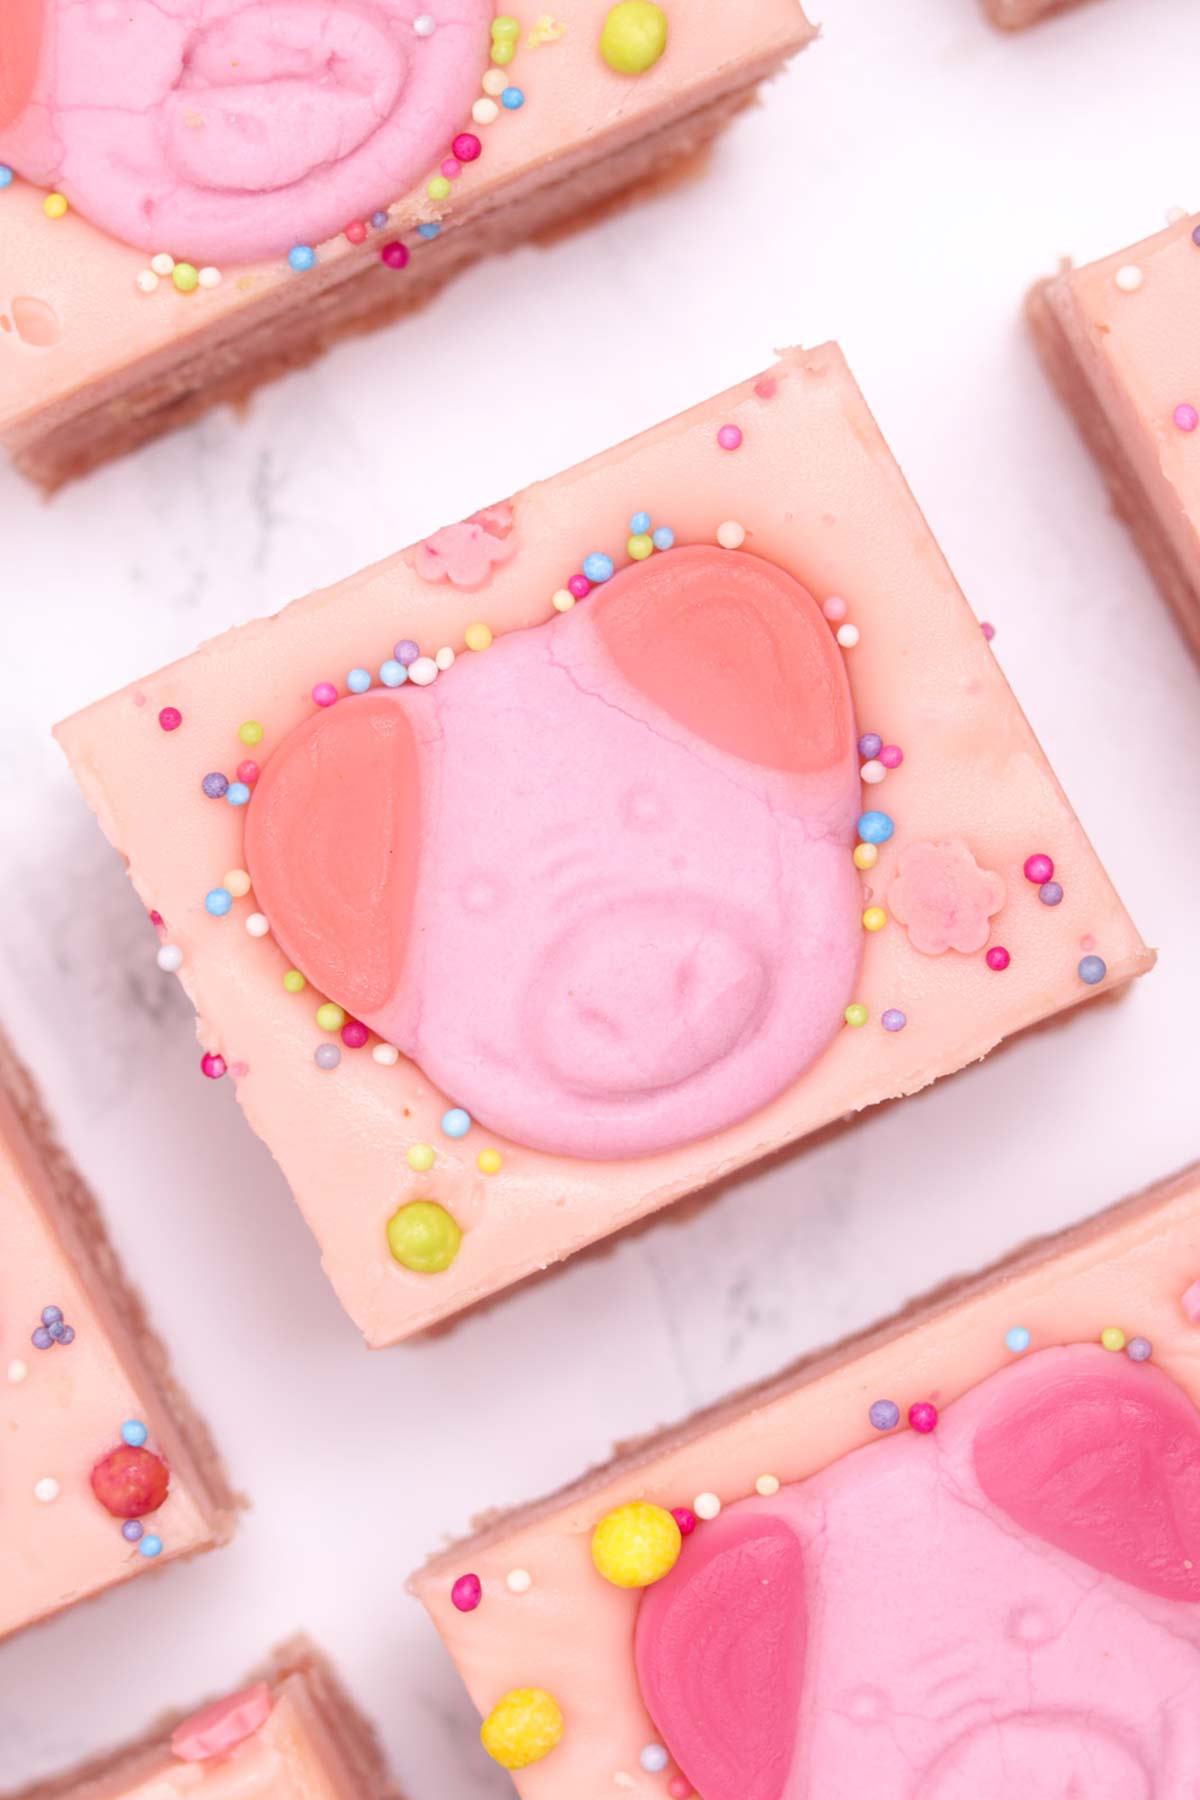
I've had this Percy Pig traybake on my to-bake list for THE longest time, and this week I finally got round to bringing it to life! The result was SO much better than I had envisaged!
This is quite similar to my other biscuit slice recipes, which also have a condensed milk biscuit base and fudge topping. The pink base is made with Percy Pig biscuits, which taste SO GOOD, and I added some food colouring to white chocolate fudge to make the pink topping. For decoration, I used the iconic Percy Pig sweets and some colourful sprinkles.
This no-bake slice is perfect for summer 'baking', picnics, birthday parties, or any other special occasion. It's super easy to make, so even if you've never made a single dessert in your life, you'll be able to whip this one up with no problems!
In the post below, you'll find my ingredient and kitchen equipment notes, step-by-step photos, top tips and more. I hope you find it helpful and enjoy the recipe!
Ingredients
Here's everything you'll need to make this adorable Percy Pig slice:
- Percy Pig biscuits: I used 3 packs of these biscuits, which gave a seriously DELICIOUS flavour and pretty pink colour. They can be swapped for an equal amount of Jammie Dodgers if you're looking for something a bit cheaper.
- Condensed milk: You'll need one 397g tin. Some will be used in the base and the rest will be used in the topping, so make sure to follow the recipe closely! If you're unsure about the difference between condensed milk and evaporated milk, you're looking for the thick, sweetened version.
- Butter: This will help bind the biscuit base together. I recommend salted butter. Don't use margarine for this recipe as it may cause a dense or greasy texture.
- White chocolate: This is for the fudgy topping. Any type will work fine but I personally love Ms Molly's and Milky Bar.
- Pink food colouring: Gel food colouring is best if you can get it. You'll only need a small amount to create a baby pink colour.
- Percy Pig sweets: I used 12 in total for decoration, which you'll get in one standard-size pack.
- Sprinkles: Optional, but these add an extra colour and fun! You can use Percy Pig sprinkles or any other ones you like.
Equipment
- 8x8 tin: Use my cake tin converter if you'd like to use a different size of tin.
- Baking paper: Make sure to line the sides of the tin too!
- Food processor or blender: For blitzing the biscuits into crumbs.
- Mixing bowl: A large one, for making the biscuit base.
- Saucepan: To melt the fudge topping.
- Utensils: A wooden spoon for mixing, a silicone spatula or metal spoon for pressing the biscuit base into the tin, and a sharp knife for cutting.
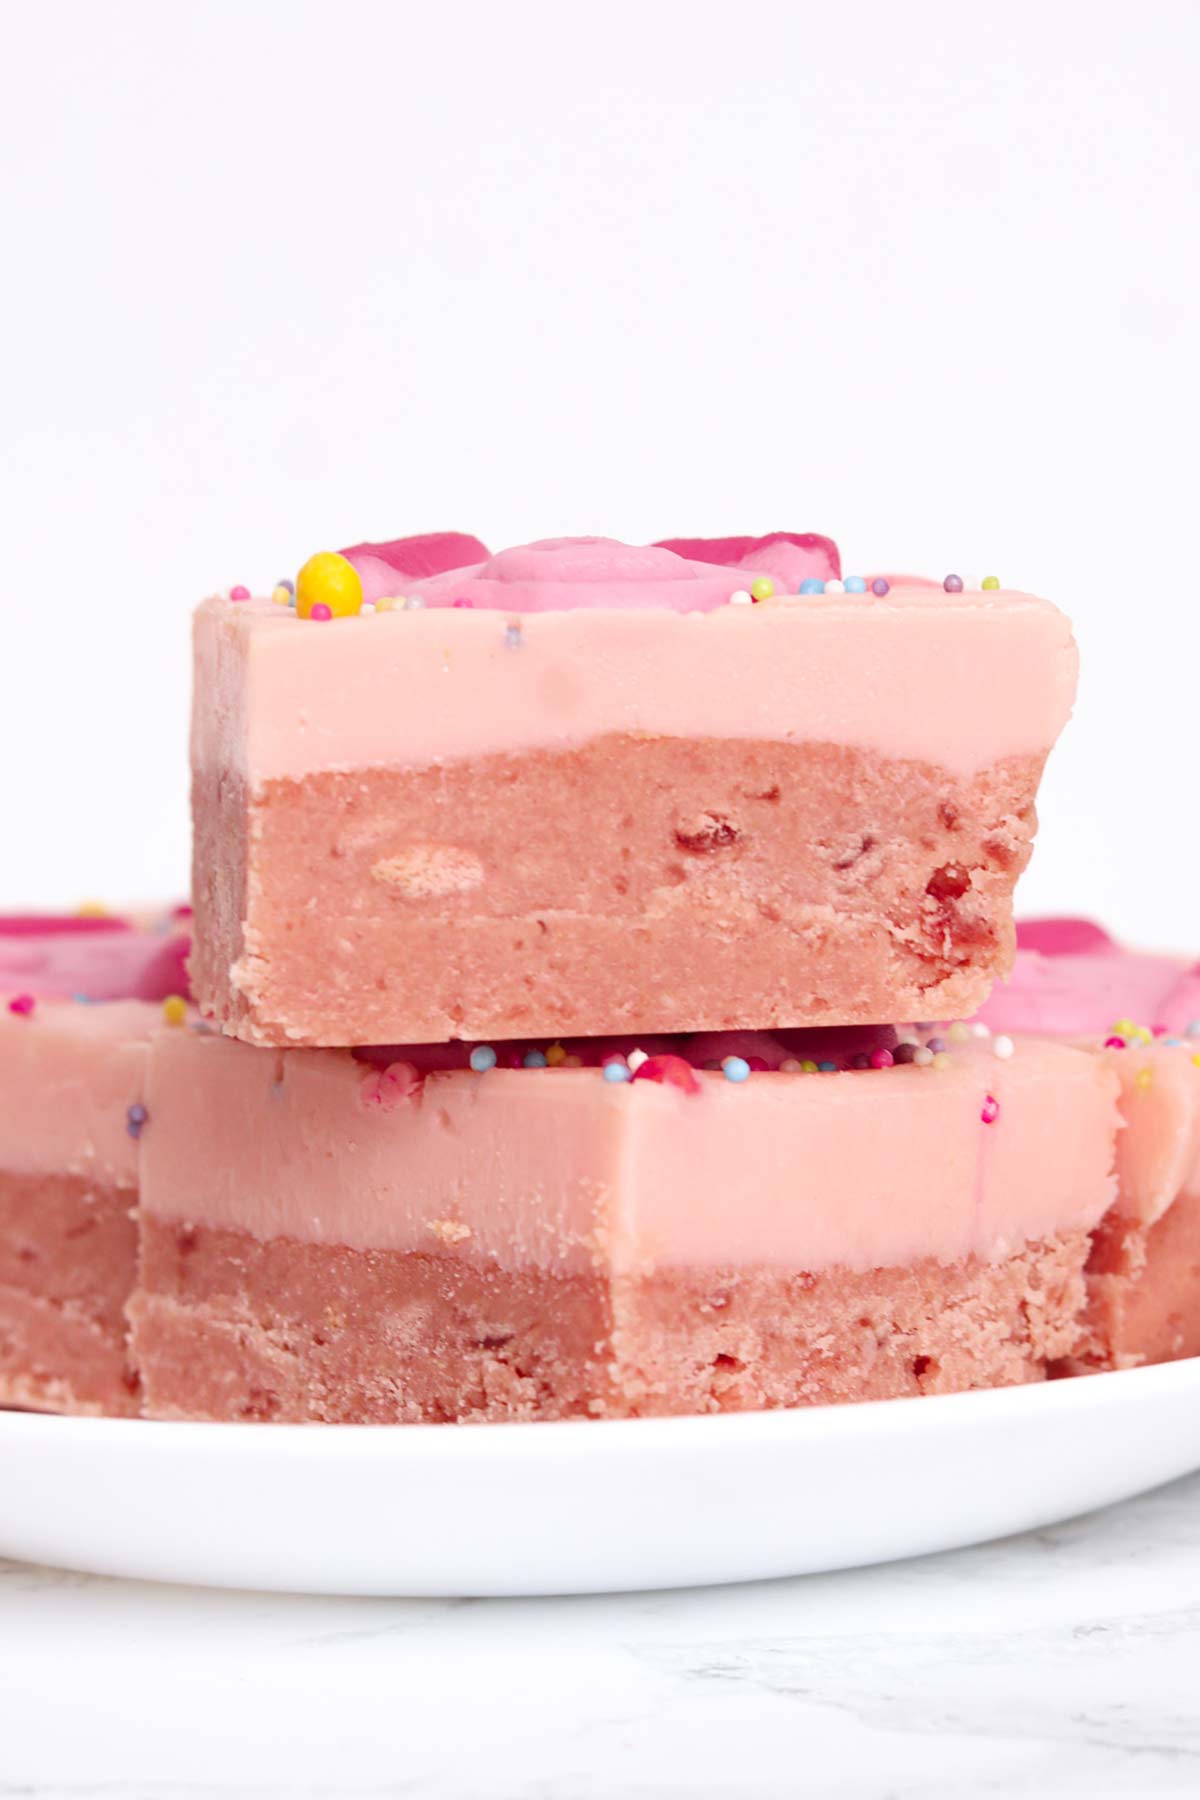
How to make a Percy Pig traybake
Step 1: Start by lining an 8x8-inch tin with baking paper. Set it aside for now.
Step 2: Next, blitz 450g Percy Pig biscuits into fine crumbs, then run your fingers through to check there are no big lumps left. There will still be some clumps of jam in there- try to break these up with your hands as much as you can.
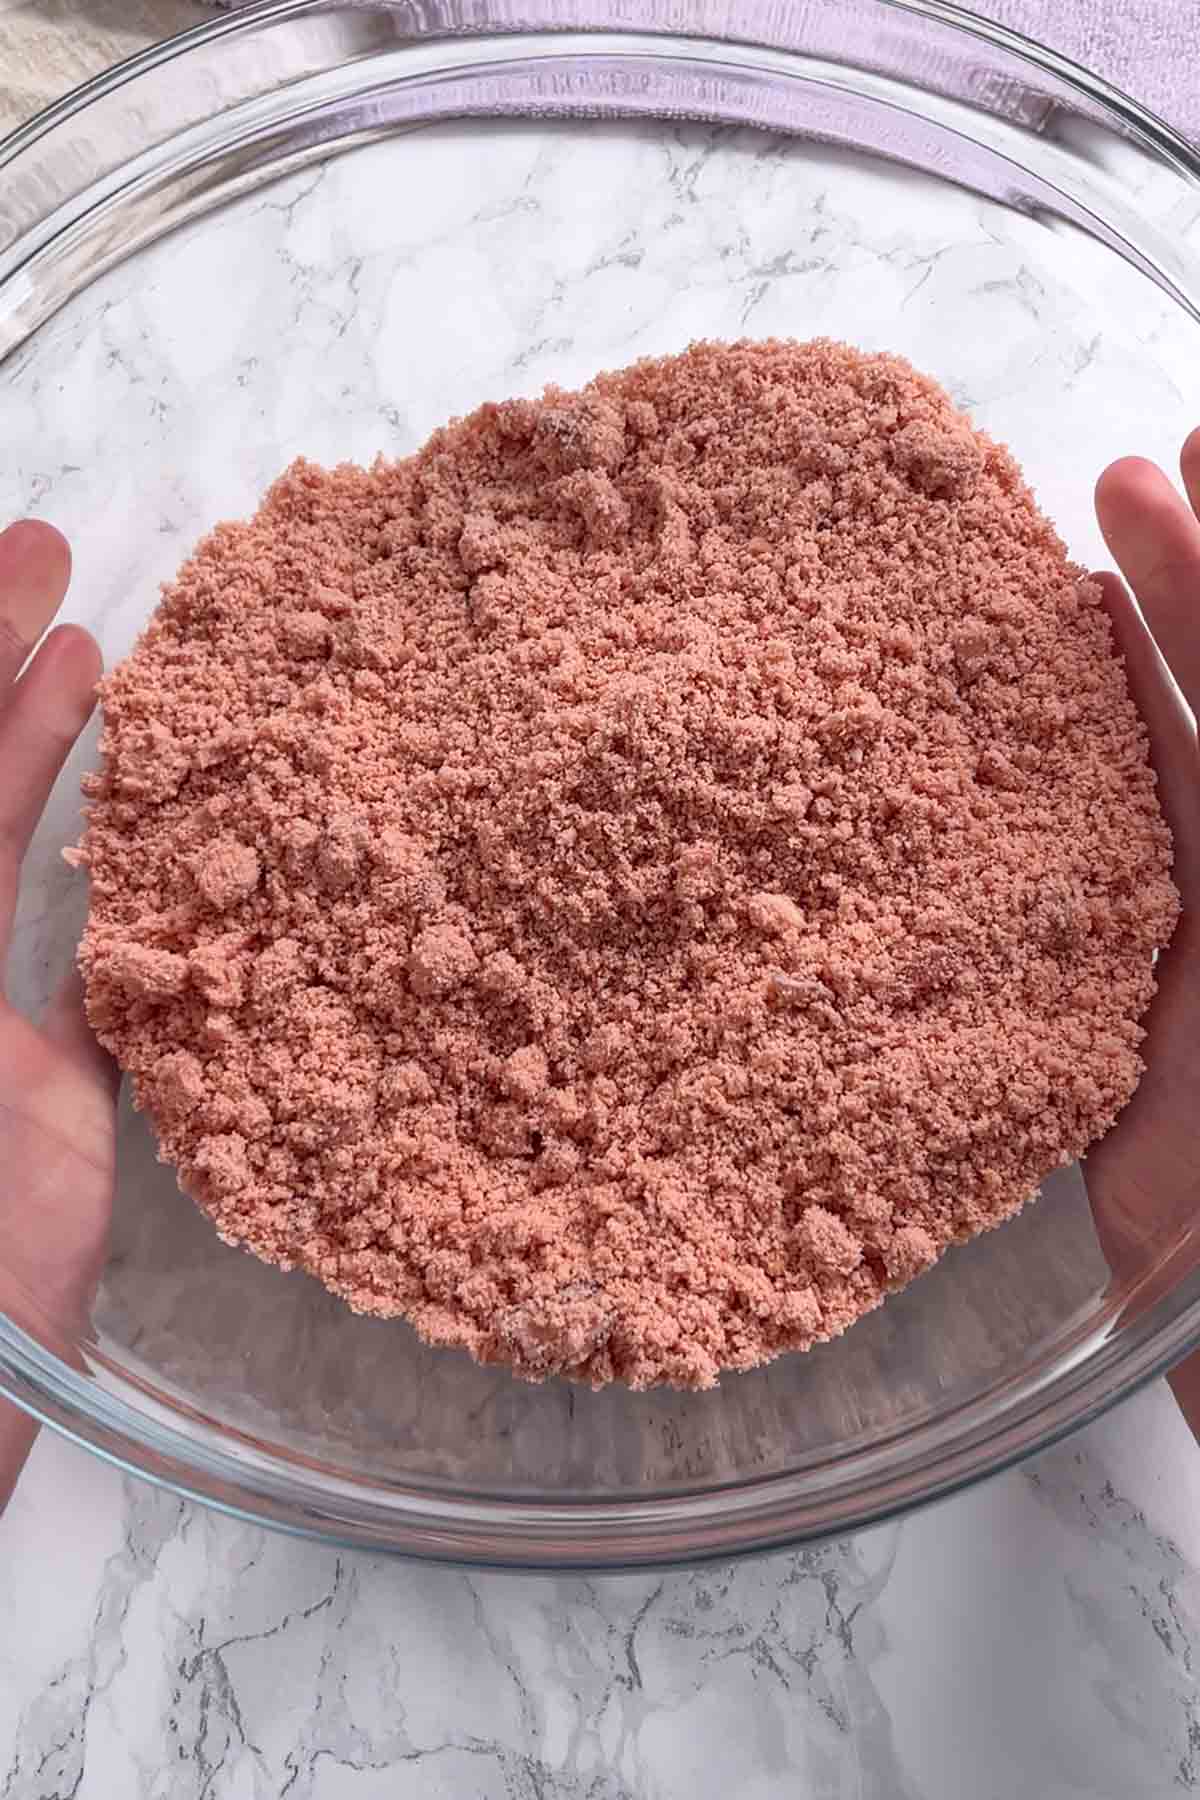
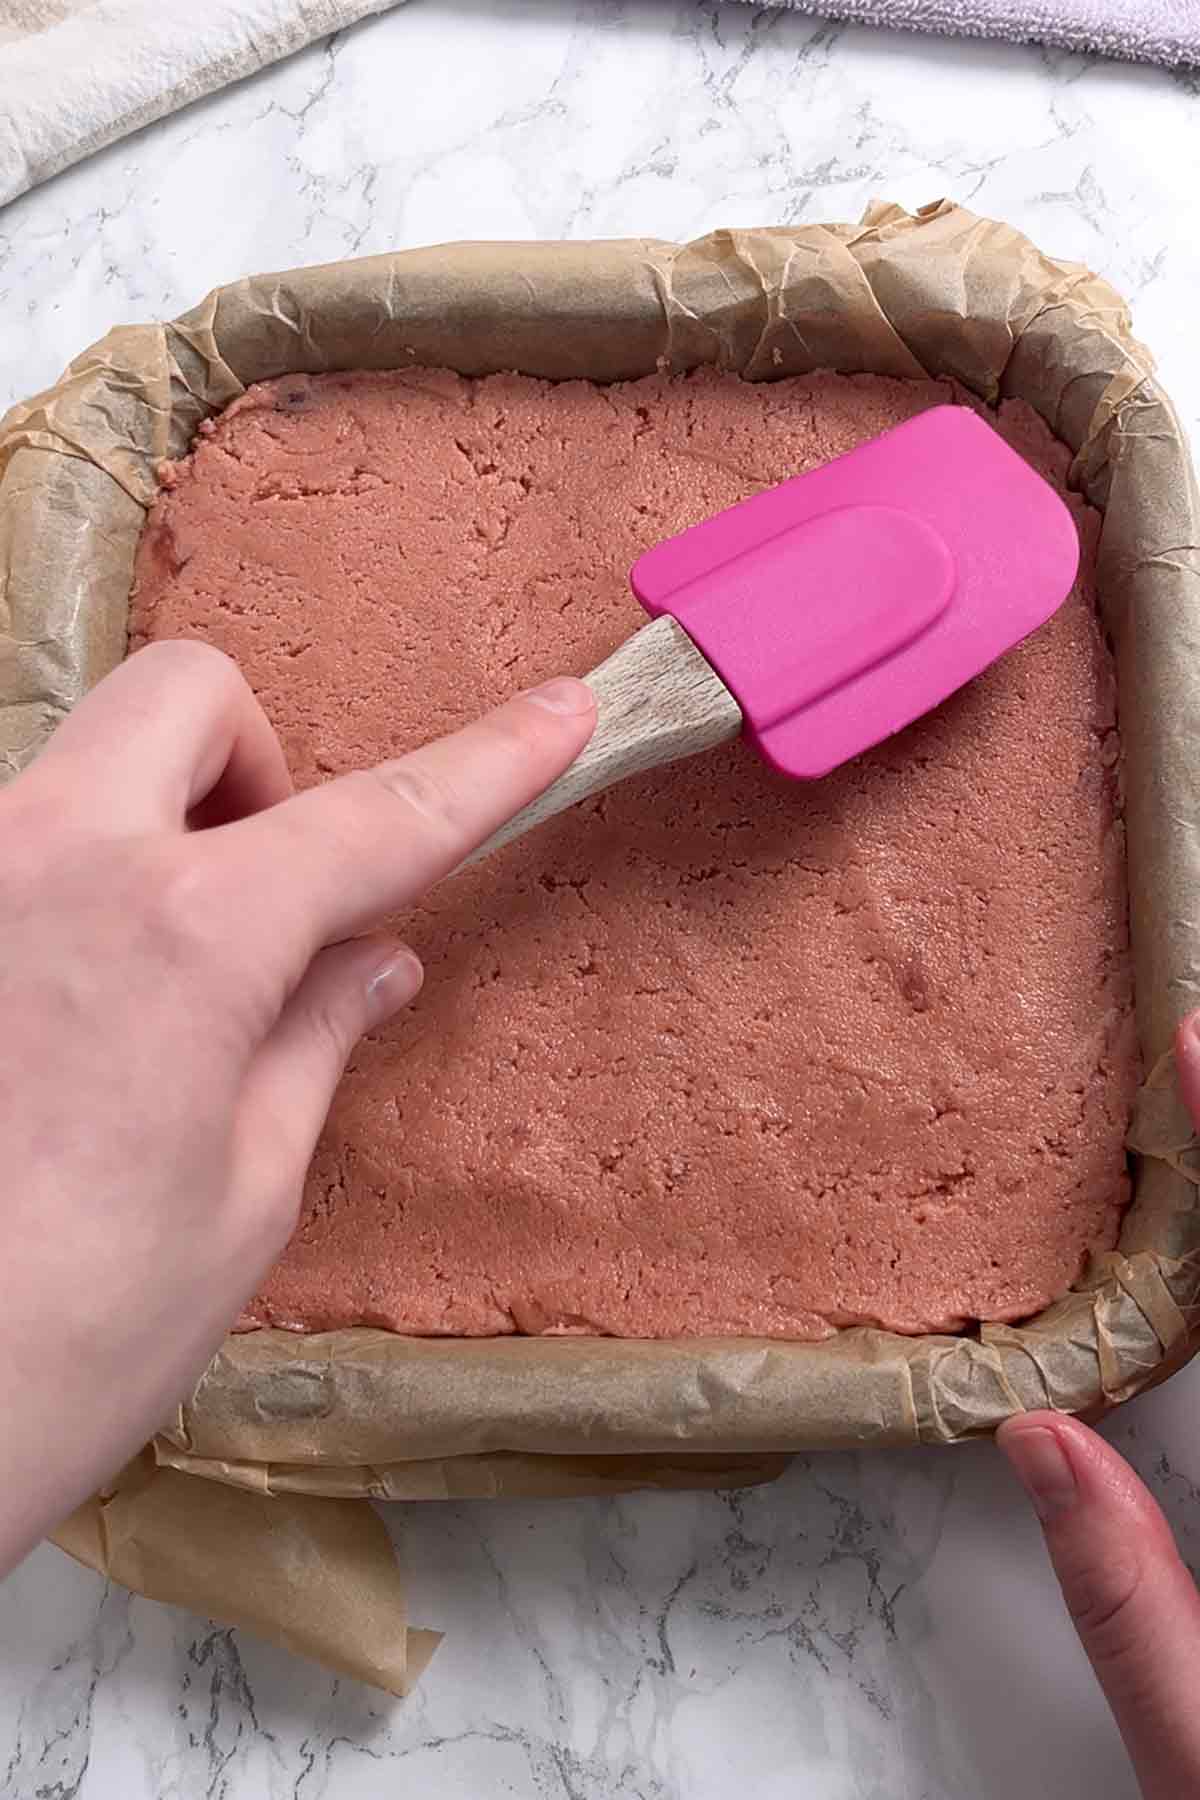
Step 3: Pour the biscuit crumbs into a large bowl with 120g melted butter and 120ml condensed milk. Mix well until the crumbs are evenly coated then press the mixture into your lined tin.
Step 4: Now let's prepare the fudge. Add 250g white chocolate to a saucepan with the rest of the tin of condensed milk (approx 277ml) and place it over low heat on the stove. Stir gently until the chocolate has melted fully. The mixture should look thick and glossy.
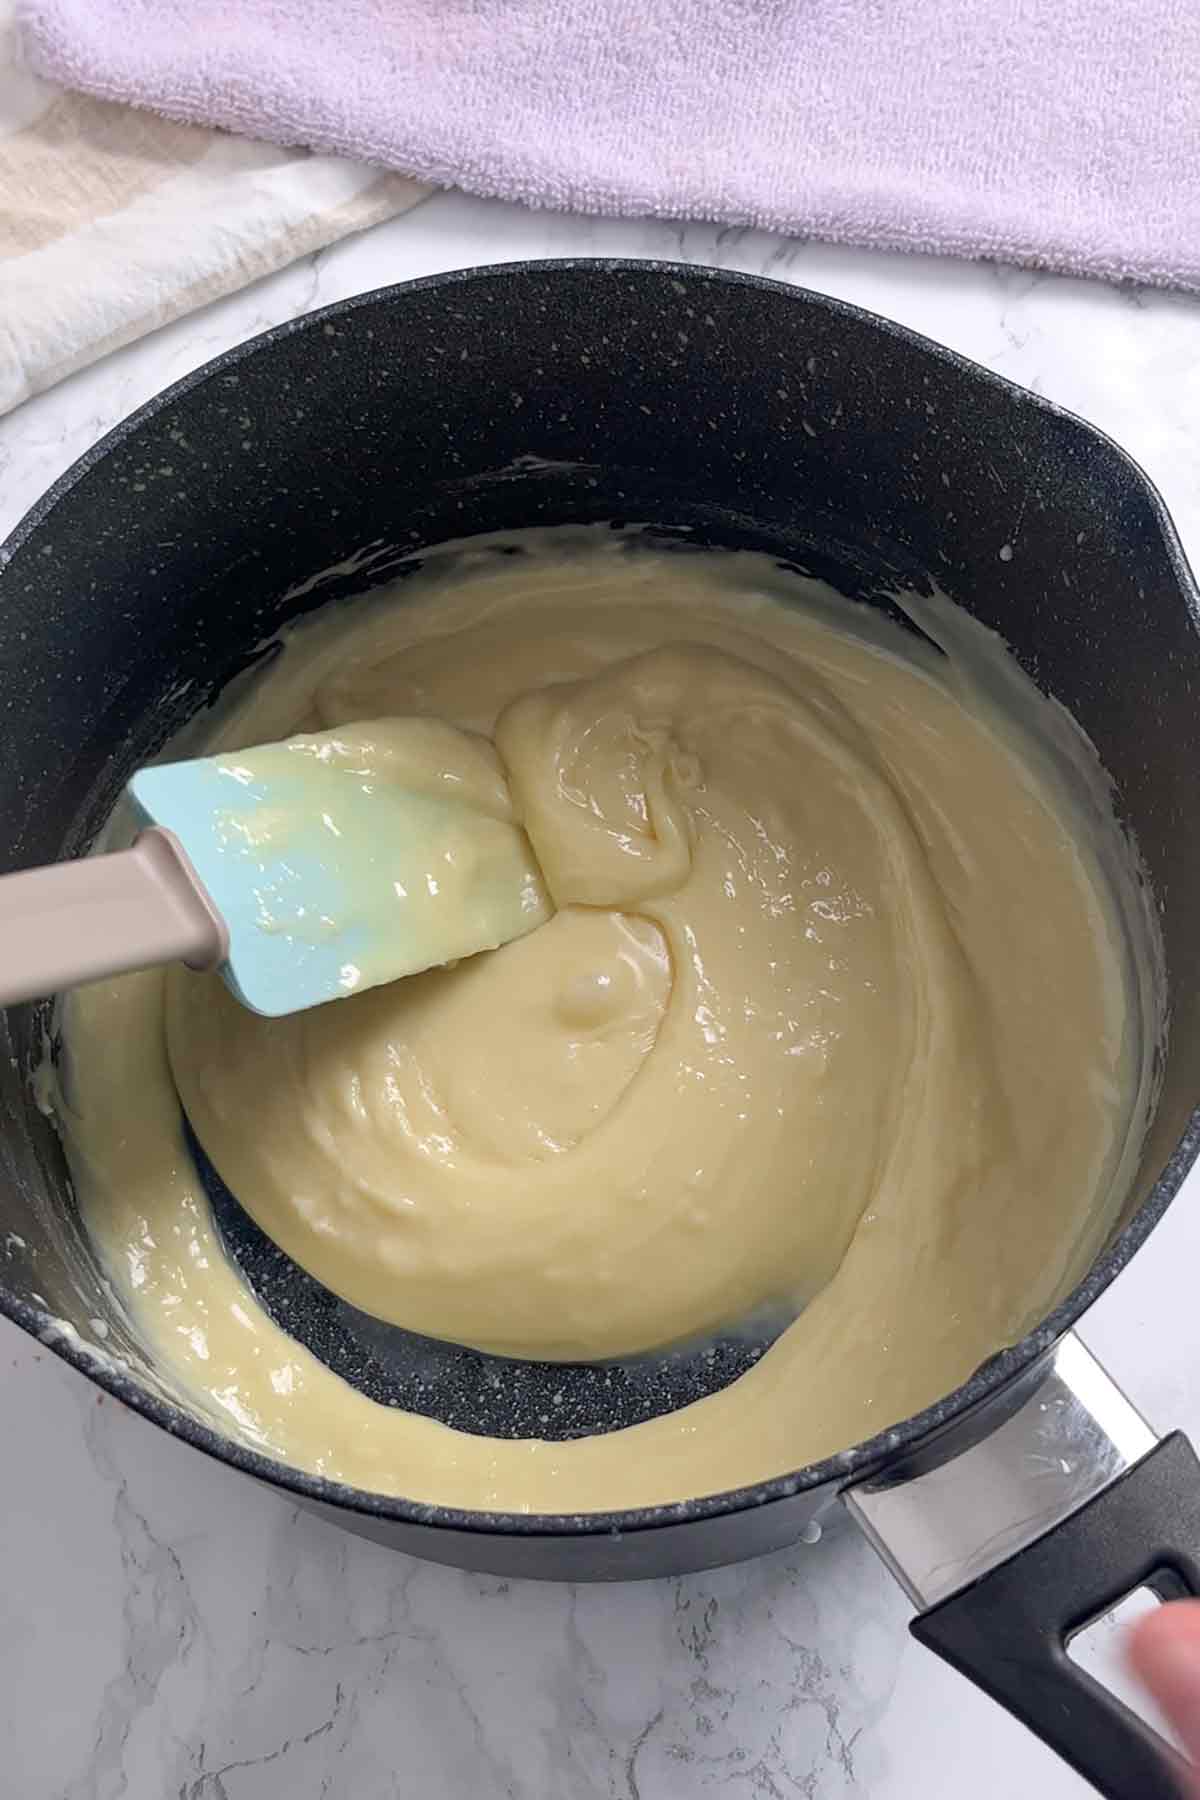
Step 5: Remove the pan from the heat and stir in a small amount of pink food colouring.
Step 6: Pour the fudge on top of your biscuit base then decorate with Percy Pig sweets and sprinkles.
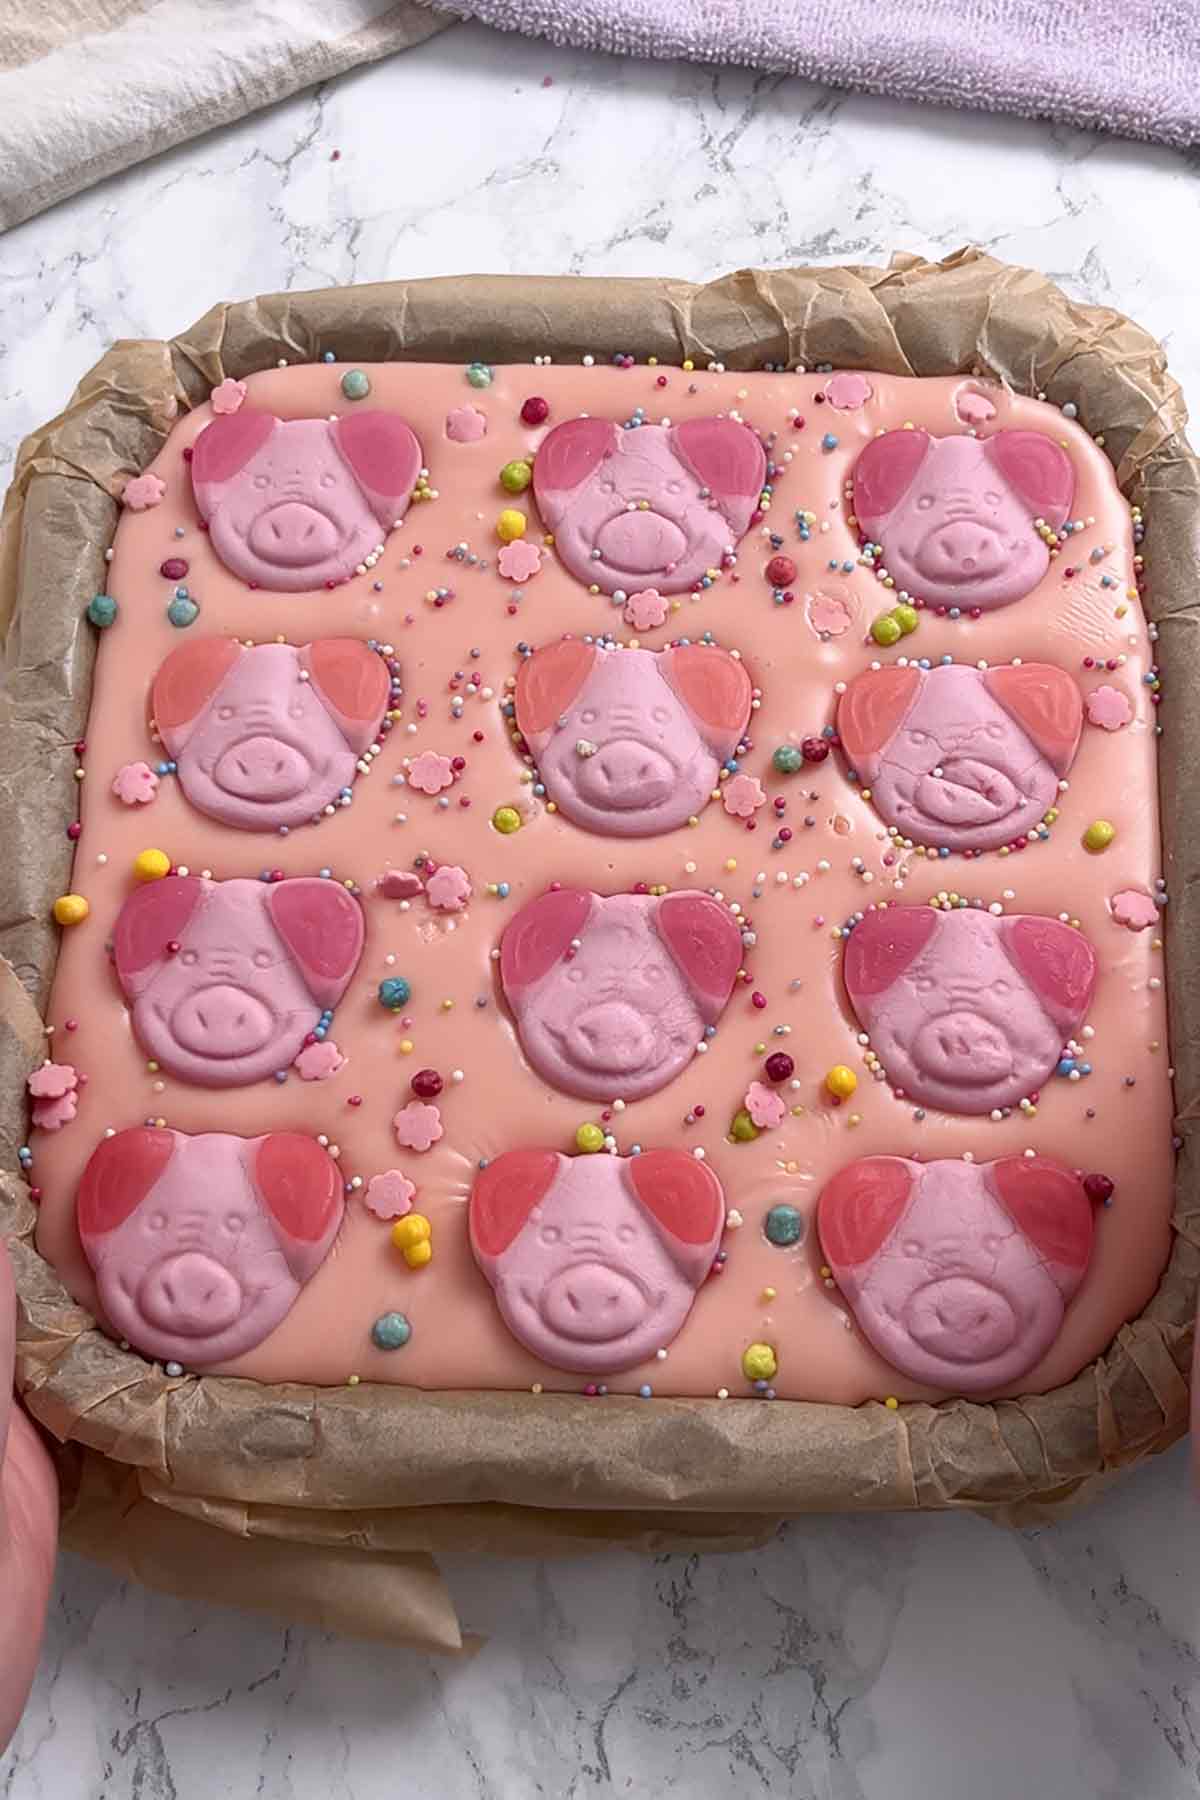
Step 7: Pop the whole thing in the fridge for 4 hours then cut it into slices and enjoy!
FAQs
This will last for around a week if you store it in an airtight container. Store it in the fridge until you're ready to serve it.
For a similar flavour, you can use Happy Faces biscuits (check out my Happy Faces traybake). If you want a similar pink colour to the one in the photos, then I'd recommend using strawberry Jammie Dodgers instead.
Yes, biscuit slices are perfect for freezing and will freeze well for up to 3 months. Once it's set, you can either wrap the whole slab up in clingfilm or you can cut it into slices then pop them into airtight containers. I recommend separating your slices with small pieces of baking paper so they don't stick together as they freeze.
I recommend a gel or powder food colouring, which will allow you to get a vibrant colour without using too much product.
This usually happens if you haven't blitzed the biscuits finely enough, as the small gaps allow the moisture to sink to the bottom. It can also happen if you use margarine instead of butter, or if you measure incorrectly. For best results, use a high-powered blender or food processor to make your biscuit crumbs. You can separate any leftover lumps of jam with your hands.
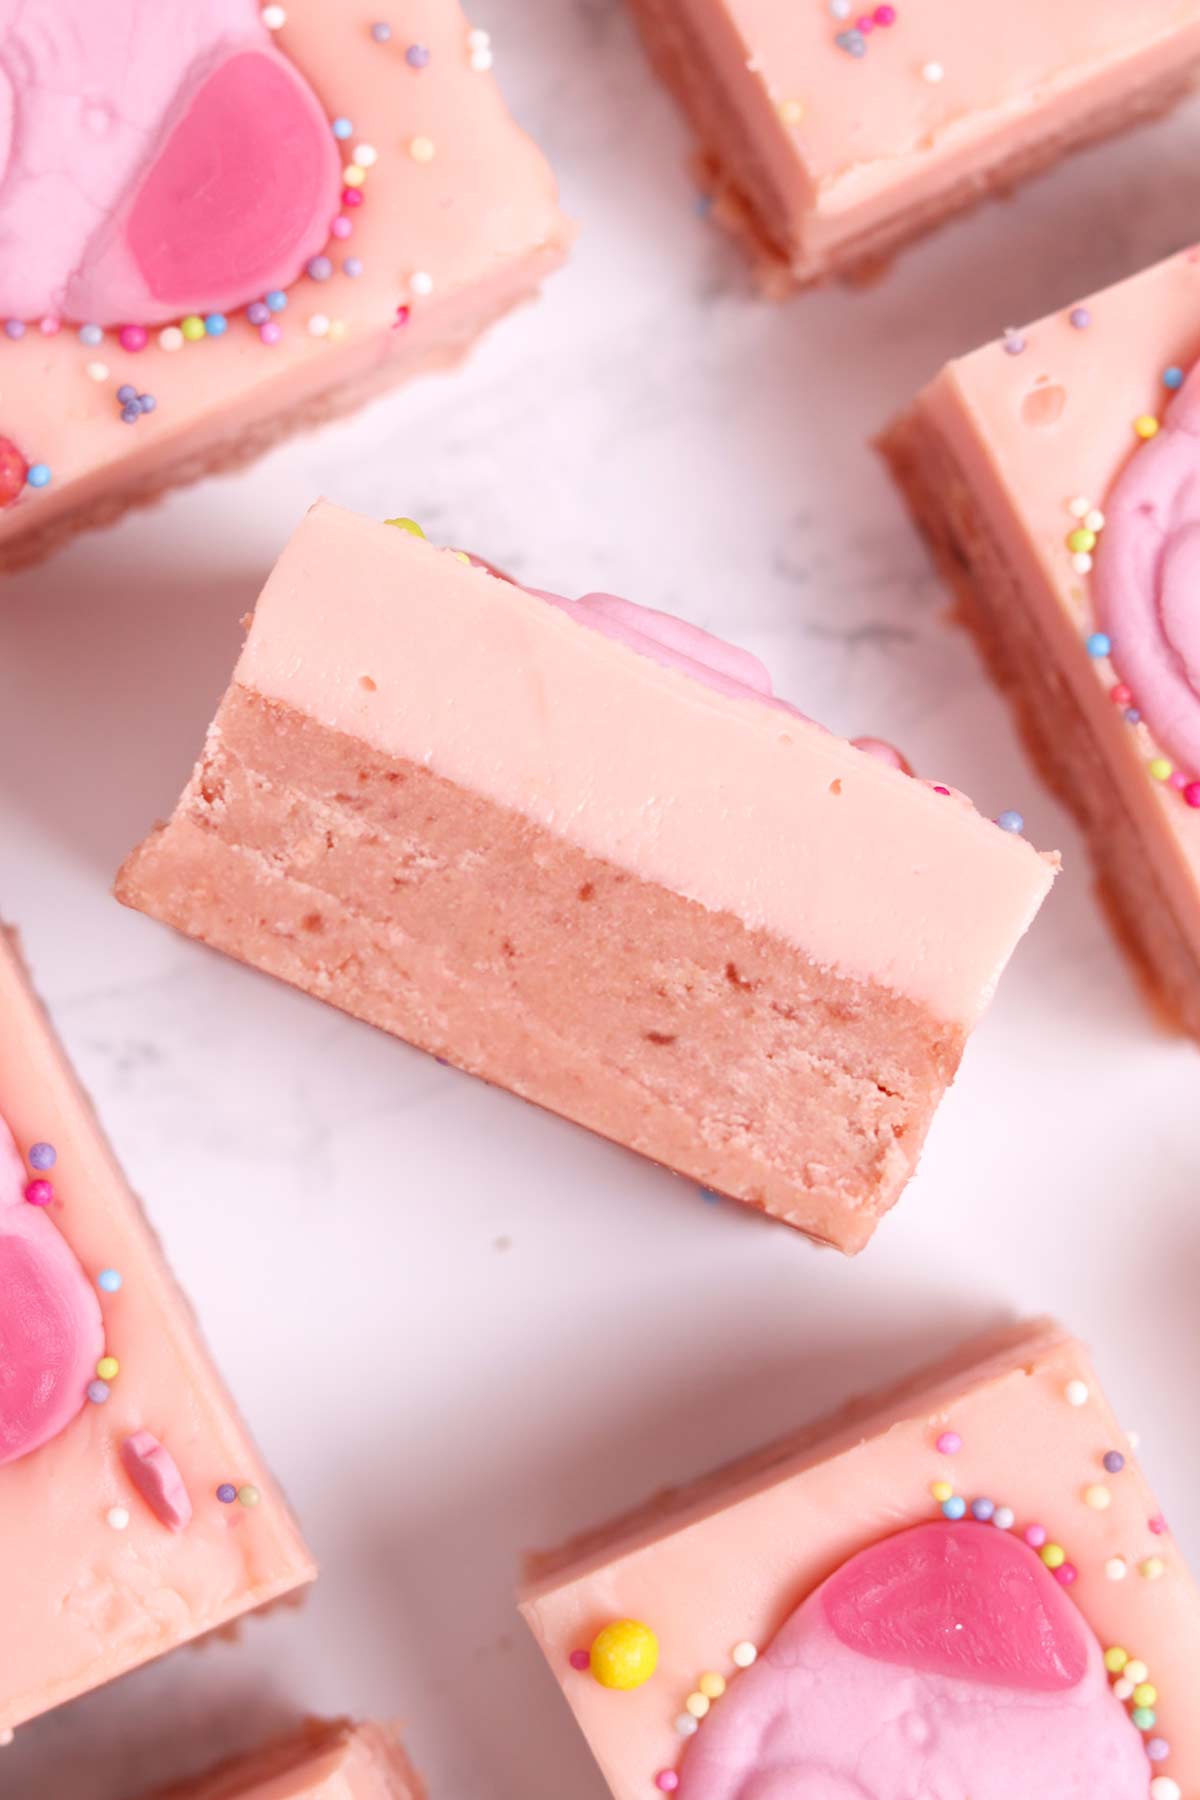
I cut mine into 12 for the photos, but in reality, this is a very rich dessert so I'd recommend at least cutting them in half to make 24 slices.
This can happen from using too much food colouring, using low-fat products or not letting it set for long enough. See this post for more tips: Why Did My Condensed Milk Fudge Not Set?
More no-bake traybakes:
- Colin the Caterpillar traybake
- Raspberry Ruffle traybake
- Party Ring traybake
- Jammie Dodger traybake
- Custard Cream traybake
- Bourbon biscuit traybake
- Gingernut traybake
- Neapolitan traybake
I hope you like my no-bake Percy Pig traybake! If you make it at home, please let me know what you think by leaving a rating and comment below. Enjoy!
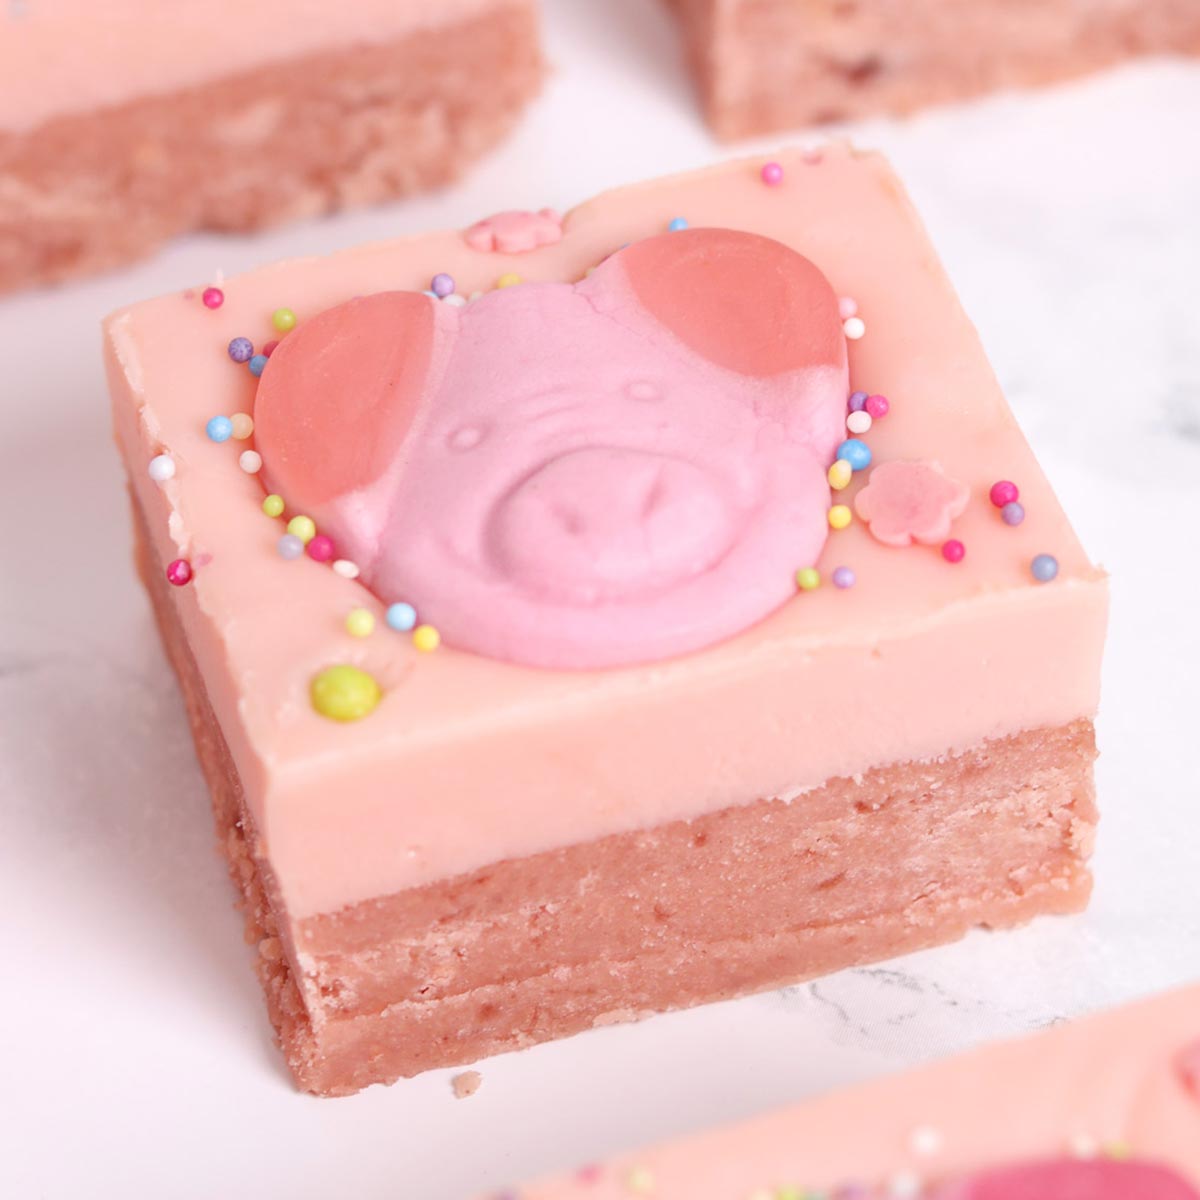
Percy Pig Traybake (No Bake)
Ingredients
- 450 g Percy Pig biscuits
- 120 g Butter, melted
- 120 ml Condensed milk (from a 397g tin) use a measuring cup to measure in ml rather than weighing in grams
Topping:
- 250 g White chocolate
- Remaining condensed milk from the tin (approx 277ml)
- Few drops Pink food colouring (gel is best)
- 12 Percy Pig gummies
- 2-3 Tablespoons Sprinkles (optional)
Instructions
- Line an 8x8-inch tin with baking paper.
- Crush the Percy Pig biscuits into fine crumbs using a food processor or blender. Use your hands to break up any large leftover clumps of jam.
- In a large bowl, mix the biscuit crumbs with the melted butter and 120ml condensed milk to make a wet paste-like mixture.
- Press the mixture into your lined tin.
Topping:
- Break the white chocolate into pieces and place it in a saucepan with the remaining condensed milk. Melt them over low heat on the stove, stirring gently until there are no lumps left. The mixture should look thick and glossy.
- Remove from the heat and stir in the pink food colouring. Then pour the mixture over your biscuit base.
- Decorate with Percy Pigs and sprinkles.
- Refrigerate for 4 hours to set then cut into slices and enjoy!
Video
Notes
- Store any leftovers in an airtight container in the fridge for up to 1 week.

Leave a Reply