Want to learn how to line a square traybake tin properly? This guide will teach you 4 easy ways to do so, the best liner to use and common mistakes to avoid.
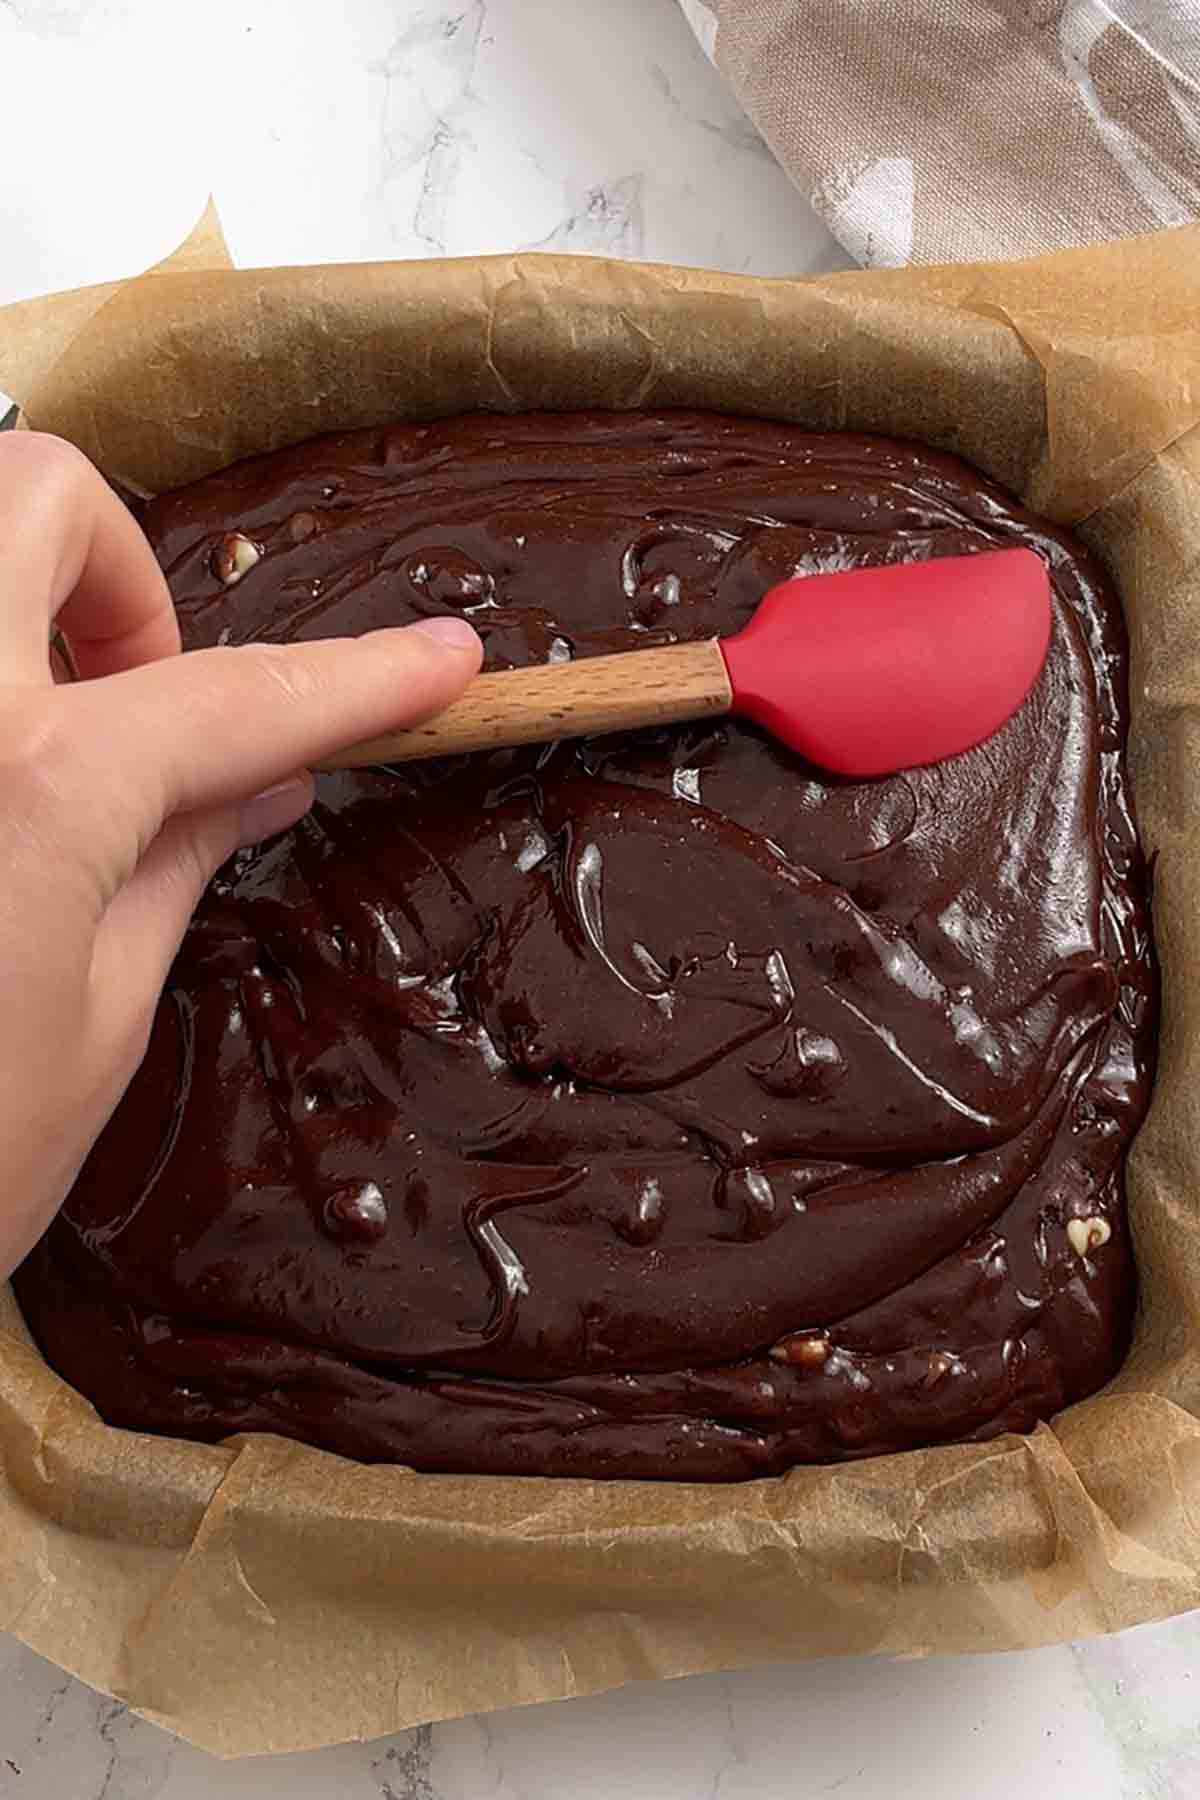
Traybakes have always been one of my favourite things to bake. I've spent many years experimenting with recipes, testing different tin sizes and playing around with baking and chilling times.
I quickly learned the hard way that even the best recipe can fail if your tin isn't lined properly (especially if it's one that goes in the oven). I've been through it all: scraping out brownies that have stuck to the sides, chopping off burnt cake corners, greasy flapjacks, and losing half my traybake to uneven edges.
Because of this, I started experimenting with some different ways to line a traybake tin. Some methods are quick and simple, making them perfect for everyday baking, while others take a bit more time but give a cleaner, more professional finish.
After lots of trial and error, I've found 4 methods that suit me best (depending on how tidy I want the edges to be and how much time I have), and I'm sharing them with you today! I hope you find them helpful and if you're looking for more tips, check out my other traybake baking tips.
Equipment You'll Need
- A square tin: Or two, if you're using method 1. I almost always use an 8x8-inch tin for my traybakes, but sometimes use an 8x10-inch tin if I'm making a cake. Metal tins (especially dark ones) work best in my experience.
- Baking paper: Please don't confuse this with wax paper, which is unsafe to use in the oven.
- Scissors: For cutting the paper to size and trimming the corners.
- Binder clips: These are not essential but they're really handy to keep the baking paper in place when you're pouring or pressing your mixture in. You can use anything you like (even magnets) but I use simple clothes pegs for convenience. Just make sure you don't put them in the oven!
- Cooking spray: If using method 3.
How To Line A Traybake Tin 4 Different Ways
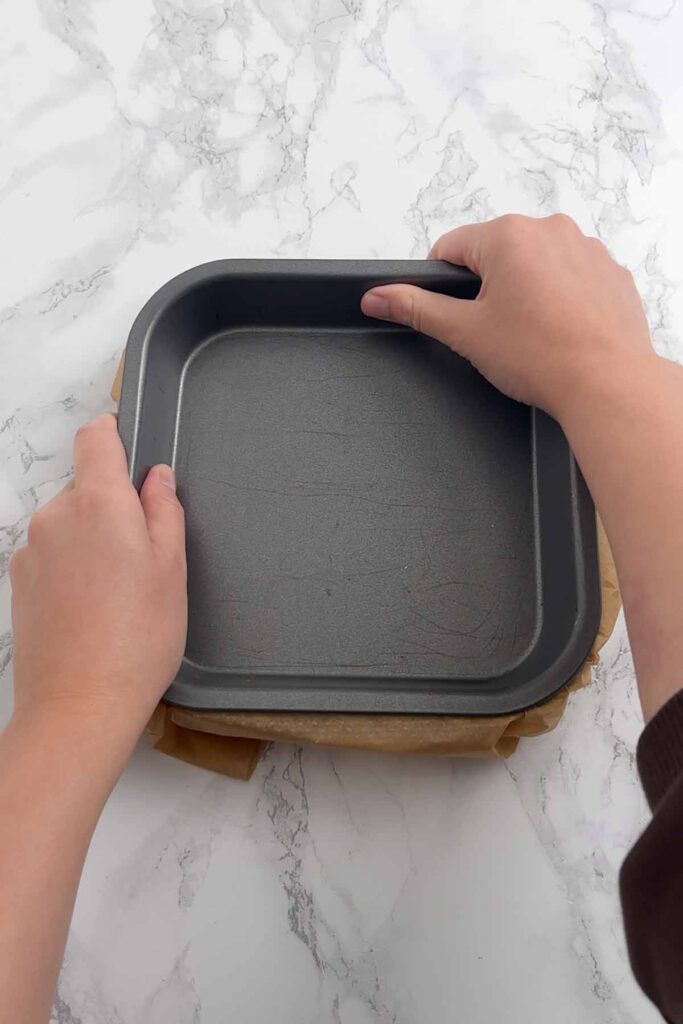
Method 1: Two-tin press
This is usually my go-to method as it's super quick and easy, perfect for home baking, and works with any tin size! It's super fast and great when you don't have a lot of time. This method is useful if you want the baking paper to fit perfectly into the tin without measuring or folding.
- Place a large sheet of baking paper over your traybake tin, making sure it's bigger than the tin so there's enough overhang.
- Take a second tin of the same size and press it down firmly into the first tin, squishing the baking paper into the corners and sides. Tuck/fold any excess baking paper under the edges of the first tin.
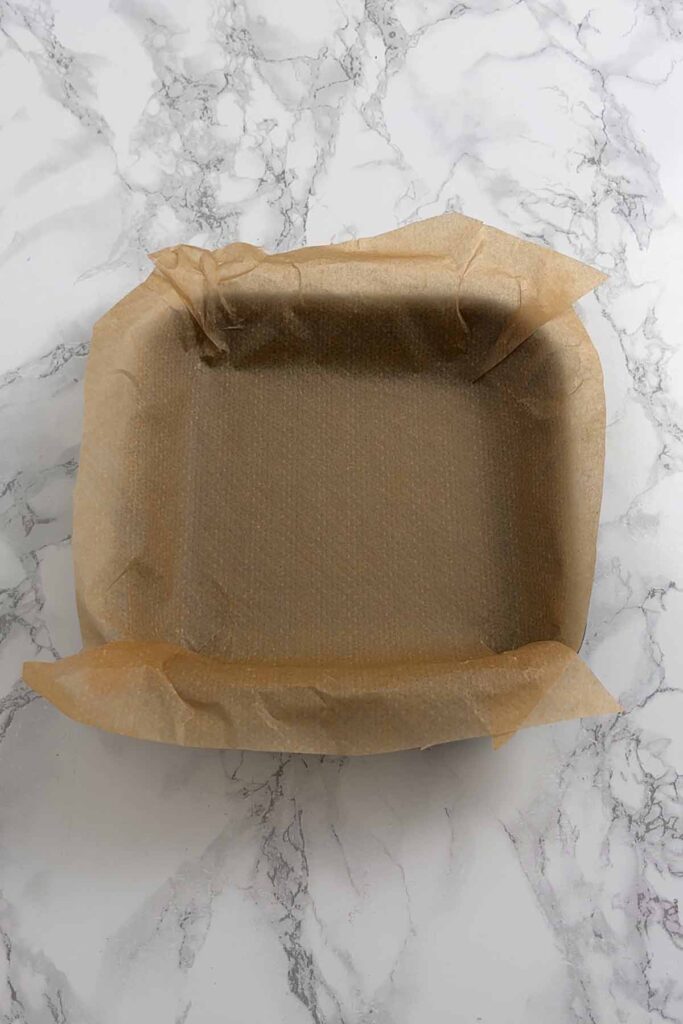
- Remove the second tin. Trim or clip any remaining overhang so the paper sits neatly inside the tin, ready for the mixture to go into.
Things to avoid:
- Being too rough and creasing the paper too much
- Using two tins that are not the same size
- Leaving too much excess paper, which can get in the way when spreading or pouring your mixture in


Method 2: Classic Single-Sheet
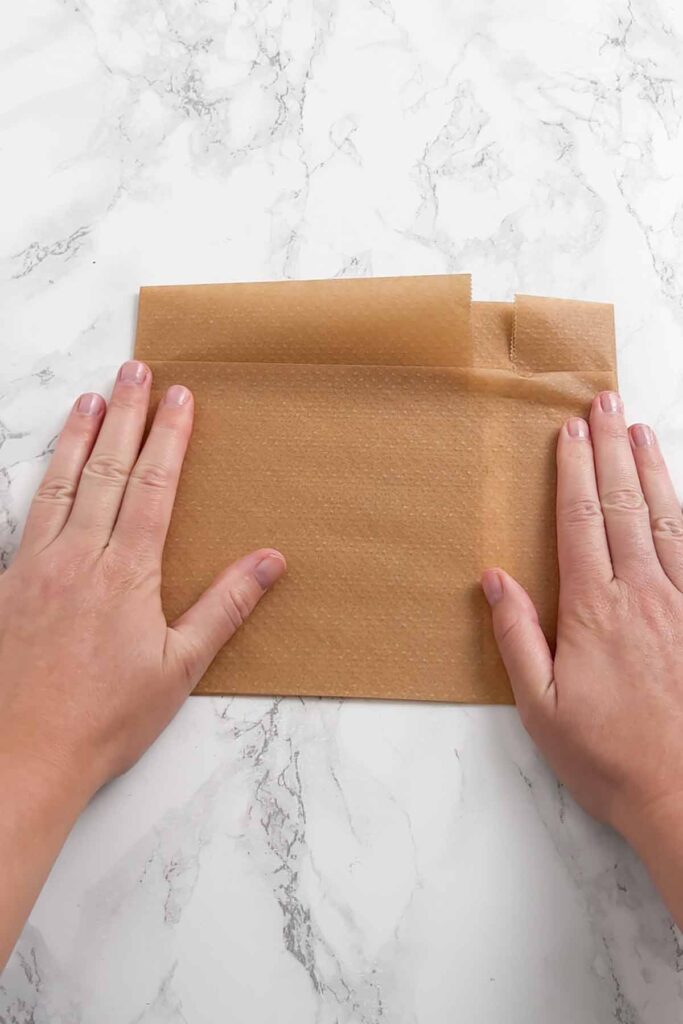
- Place your tin upside down on a large sheet of baking paper. Cut a piece that covers the base and sides with a few extra inches for 'handles'.
- Press the paper into the bottom and corners, smoothing out creases with your hands.
- Cut a small slit at each corner so the paper folds neatly without bunching.
- Make sure at least two opposite sides extend beyond the rim- these act as handles to lift the traybake out once set.
- Optional: clip the handles in place while pouring the mixture to stop the paper from moving.


Mistakes to avoid:
- Cutting the paper too small
- Leaving no overhang
- Not smoothing the corners, which can cause gaps
- Allowing mixture to seep underneath or into corners
Method 3: Cross-Strip Lining
This method is best for beginners who want precision. It'll allow you to create perfectly neat edges and lift the whole traybake slab out of the tin easily.
- Cut two pieces of baking paper the same width as your tin.
- Lightly spray your tin with cooking spray.
- Lay the first strip across the tin, pressing it into the base and up the sides, letting the ends hang over.
- Lay the second strip the opposite way to form a cross.
- Press both strips down so they overlap in the centre and fit snugly against the sides.
Mistakes to avoid:
- Overlapping unevenly
- Letting strips fold over themselves (which can create lumps)
- Not using cooking spray (the baking paper will move around and create gaps)
- Forgetting to leave an overhang
Method 4: Origami-Fold Lining
This is the trickiest but most precise method, giving you a professional look with sharp corners.
- Cut a piece of baking paper large enough to cover the base and sides with extra for folds.
- Place one edge of the tin against the paper and fold up along that edge to mark the side height.
- Fold it again at a right angle, the same width as the tin base, to create a corner template.
- Place the tin on top of the folds to check the fit. Continue folding the opposite side.
- Open the paper and cut away any large overhang.
- At each corner, cut along the fold lines so the flaps fold up neatly.
- Place the paper in the tin, fold the sides up, and tuck the corners firmly.
Mistakes to avoid:
- Cutting off too much paper
- Not pressing the corners firmly, which can leave gaps


What's the best thing to line a traybake tin with?
I always use baking paper because it creates neat edges and doesn't need to be greased. It makes lifting your traybakes out very easy, with no sticking. Foil can work in a pinch but there is a greater risk of sticking, depending on the recipe. If you must use foil, grease it well with cooking spray and make sure to leave overhang 'handles' so you can lift the slab out easily. Silicone liners can work too but they will give baked traybakes drier edges. If in doubt, stick to baking paper (also known as parchment paper).
Troubleshooting / FAQs
This usually happens if the paper isn't covering the base and sides fully, which allows the mixture to seep through and stick to or bake directly onto the tin. Make sure there are no gaps when you're lining your square tin.
You can either lightly grease the tin to help the paper stick, or you can clip the overhang to the edges instead. Any sort of clips work fine (I often use kitchen pegs) but make sure to remove them before you put your traybake in the oven.
This usually happens if the paper isn't trimmed or folded properly. Cutting slits in the corners or using the cross-strip or origami methods will fix this issue.
Technically yes but I don't recommend doing this. Baking paper can absorb fat and moisture from the first bake, so it's best to use a fresh sheet each time if you can.
I usually use method 2 when lining my 8x10-inch tins and this is the one I recommend.
Check out my traybake recipes
Now that you know how to line your tin, it's time to get baking! These recipes will help you get started.
I hope you enjoyed learning how to line a traybake tin with me! Let me know what your favourite method is in the comments below. Happy baking!


Leave a Reply