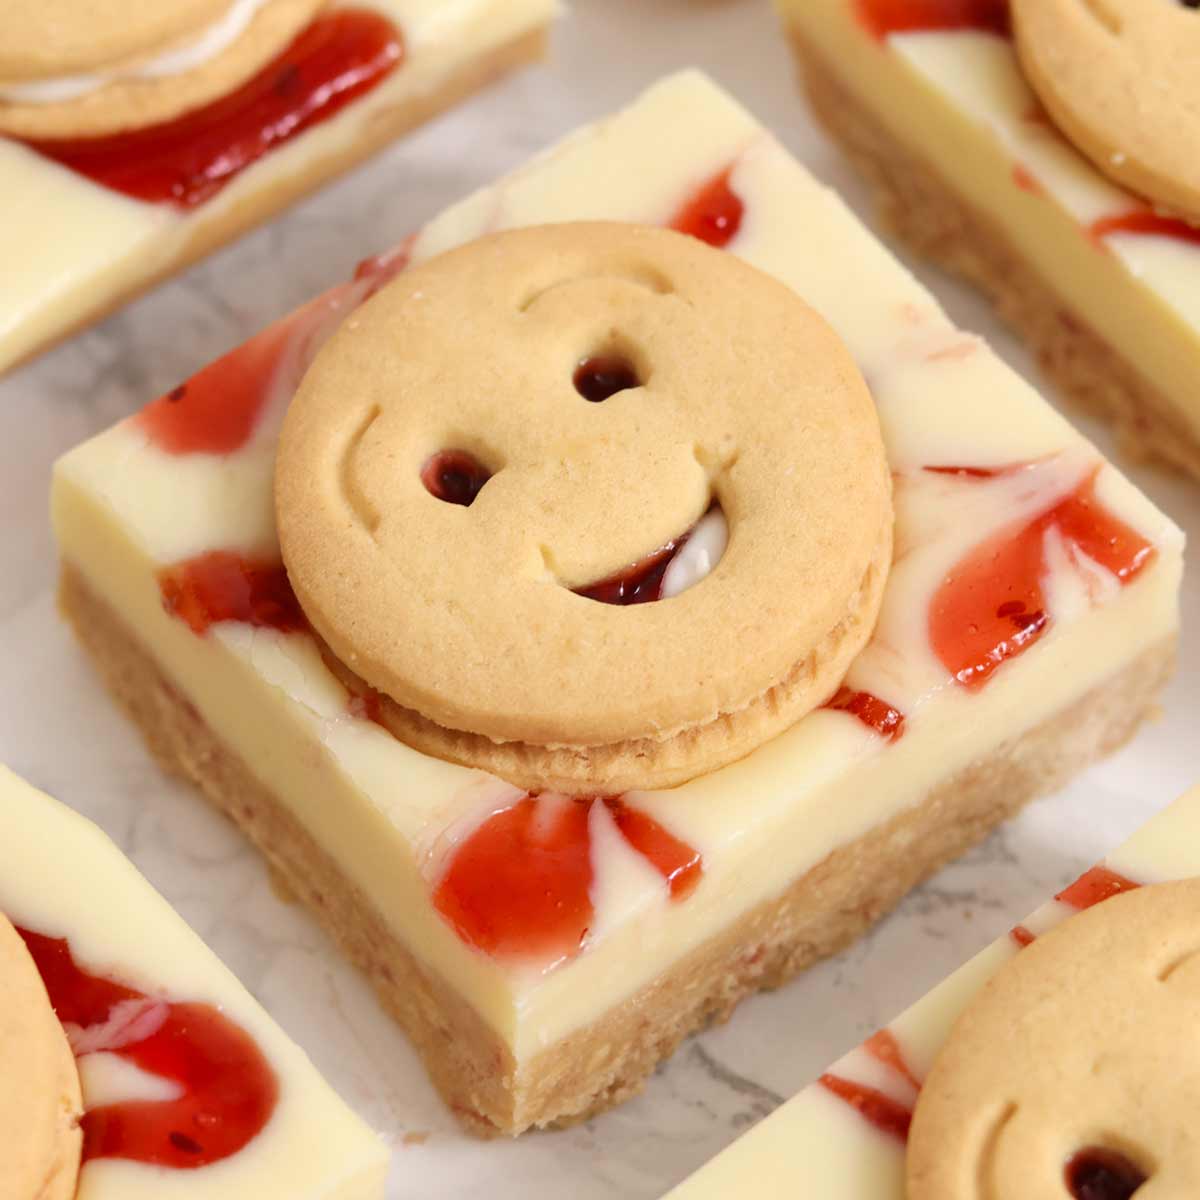
This Happy Faces traybake is a fun, nostalgic, no-bake slice that 90s kids will love! It has a decadent biscuit base with a fruity white chocolate fudge topping and Happy Faces for decoration!

You loved my Custard Cream traybake, Bourbon Biscuit traybake, Party Ring traybake and Jammie Dodger traybake, so it was only a matter of time before I made a Happy Faces traybake!
These biscuits were ICONIC in the 90s and one of my favourites to enjoy when I visited my granny's house on the weekends. I was excited to see them in my local Asda recently and bought a few packets straight away.
This whole 'no-bake biscuit traybake' series is based on a recipe I developed myself, adapted from an old digestive biscuit slice I used to make. I'd never seen anyone else do it before I posted my Custard Cream one last year, and experimenting with all my childhood favourites since then has been so much fun! I know you're going to love this one just as much as the others!
Grab your ingredients
Ready to get started? Gather the following ingredients (there are only 5!):
- Happy Faces biscuits: You'll need 450g for the base plus 9 more for the topping, so 4 packets will do the trick.
- Butter: I prefer to use salted butter to help cut through super-sweet desserts like this one!
- Condensed milk: Make sure to read my recipe instructions carefully before you begin! You'll need 1 tin or 397g in total but only 120ml will go in the biscuit base. Be careful not to confuse condensed milk with evaporated milk.
- White chocolate: This will be mixed with the rest of the tin of condensed milk to make our fudgy white chocolate topping. Use regular white chocolate from the chocolate aisle- no need for baking chocolate!
- Raspberry jam: We'll swirl a little bit of this into the topping to match the flavour of the Happy Faces. It also adds a pretty pop of colour.
Equipment
- 8x8-inch tin: This is the best size to use for nice thick slices. A 9x9 tin will work in a pinch, but if your tin is any bigger than this, I'd recommend adjusting the recipe using my cake pan converter.
- Baking paper: To stop the traybake from sticking to your tin! Leave a little hanging over the edges to make removal easier later on.
- Mixing bowl: A large one.
- Saucepan: For melting the butter and also the ingredients for the fudge topping. You can melt them in a heatproof bowl in the microwave if you prefer, but make sure to take it out and stir every 20 seconds or so to prevent the mixture from splitting or seizing.
- Utensils: Two wooden spoons or spatulas for mixing, a teaspoon for measuring, and a toothpick for swirling the jam into the topping.
- Food scale: I recommend weighing everything in grams for this recipe. This will ensure your traybake has the perfect soft texture.

How to make Happy Faces Traybake
Step 1: First, line an 8x8-inch tin with baking paper. Set it aside for now.
Step 2: Next, prepare the biscuit base. Put 450g of Happy Faces biscuits into a food processor or blender and blitz until you have fine crumbs.

Step 3: Pour the biscuit crumbs into a large bowl along with 120ml of condensed milk and 120g of melted butter. Mix well until you have a thick paste-like mixture.

Step 4: Spoon the biscuit base into your lined tin and gently press it down into place. Try to make it as even as you can.
Step 5: Add the rest of the tin of condensed milk (277ml) to a saucepan with 250g of white chocolate. Melt it over low heat on the stove, stirring gently until there are no lumps left.
Step 6: Spread the white fudge mix on top of your biscuit base then quickly top it with 3-4 teaspoons of raspberry jam. Swirl them together using a toothpick or butter knife.


Step 7: Top with 9 (or more) Happy Faces biscuits to decorate. Then pop the whole thing in the fridge to set for 4 hours.

Step 8: Once it's set, remove it from the tin, cut it into slices and enjoy! I cut mine into 9 just because it looked cute for the photos, but this is a very rich dessert, so I'd say you can get around 24 servings out of it.
No-bake traybake tips
- Make sure to measure the condensed milk correctly; otherwise, you'll end up with a soggy base!
- Crush the biscuits finely, making sure there are no big lumps left in there. This will help make the slices more sturdy and prevent crumbling. A food processor or powerful blender is great for this job.
- Swirl in the jam immediately after pouring the fudge onto the biscuit base. It starts to set pretty quickly and can leave unsightly lines if you're not quick enough.
FAQs
I bought mine from Asda. I haven't spotted them out in the wild anywhere else but I see online that they are also for sale at Iceland and Ocado.
This will keep well for up to 5 days in the fridge. Make sure to store it in an airtight container to keep it as fresh as possible.
Yes, this can be frozen either in slices or as a slab. Wrap it tightly in clingfilm or foil, or pop it into an airtight container. When you're ready to defrost it, you can either leave it in the fridge overnight or let it sit out at room temperature for an hour or two.
If it's still a little soggy when you try to cut into it, this might be due to incorrect measuring, or it might just need a little bit longer in the fridge! I usually give my white chocolate traybakes a full 4 hours to set before trying to cut them.
No, the biscuits should be blitzed as is, including the filling. Any leftover lumps are easy enough to break up with your hands.

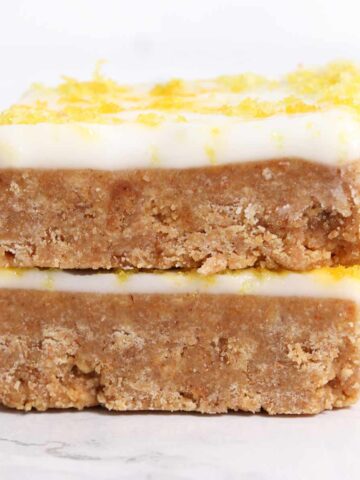
More nostalgic desserts
- Old School Cornflake tray bake
- Raspberry Ruffle traybake
- Old school jam and coconut cake
- British school dinner cake
- Marshmallow top hats
I hope you like my Happy Faces traybake! If you like this recipe, make sure to check out my other no-bake traybakes too. Enjoy!
Happy Faces Traybake (No Bake)
Ingredients
- 450 g Happy Faces biscuits (you'll need 4 packs in total to include the topping)
- 120 g Butter, melted
- 120 ml Condensed milk (from a 397g tin)
Topping:
- 250 g White chocolate
- Remaining condensed milk from the tin (approx 277ml)
- 3-4 Teaspoons Raspberry jam
- 9 Happy Faces biscuits
Instructions
- Line an 8x8-inch tin with baking paper.
- Crush the biscuits into fine crumbs using a food processor or blender. Try to blitz any large lumps of jam left in there.
- In a large bowl, mix the biscuit crumbs with the melted butter and 120ml of the condensed milk to make a wet paste-like mixture.
- Press the mixture into your lined tin, trying to make it as even as you can.
Topping:
- Break the white chocolate into pieces and place it in a saucepan with the remaining condensed milk. Melt them over low heat on the stove, stirring gently until there are no lumps left. The mixture should look thick and glossy.
- Spoon the white chocolate topping over the biscuit base in the tin and spread it out to the edges.
- Swirl the raspberry jam into the white chocolate topping using a toothpick. Top with 9 Happy Faces.
- Refrigerate for 4 hours to set then cut into slices and enjoy!
Video
Notes
- Store any leftovers in an airtight container in the fridge for up to 5 days.


Leave a Reply