
My banoffee pie bars are a fun traybake twist on a classic British dessert! There's no baking involved and they're so easy that even beginners can make them!
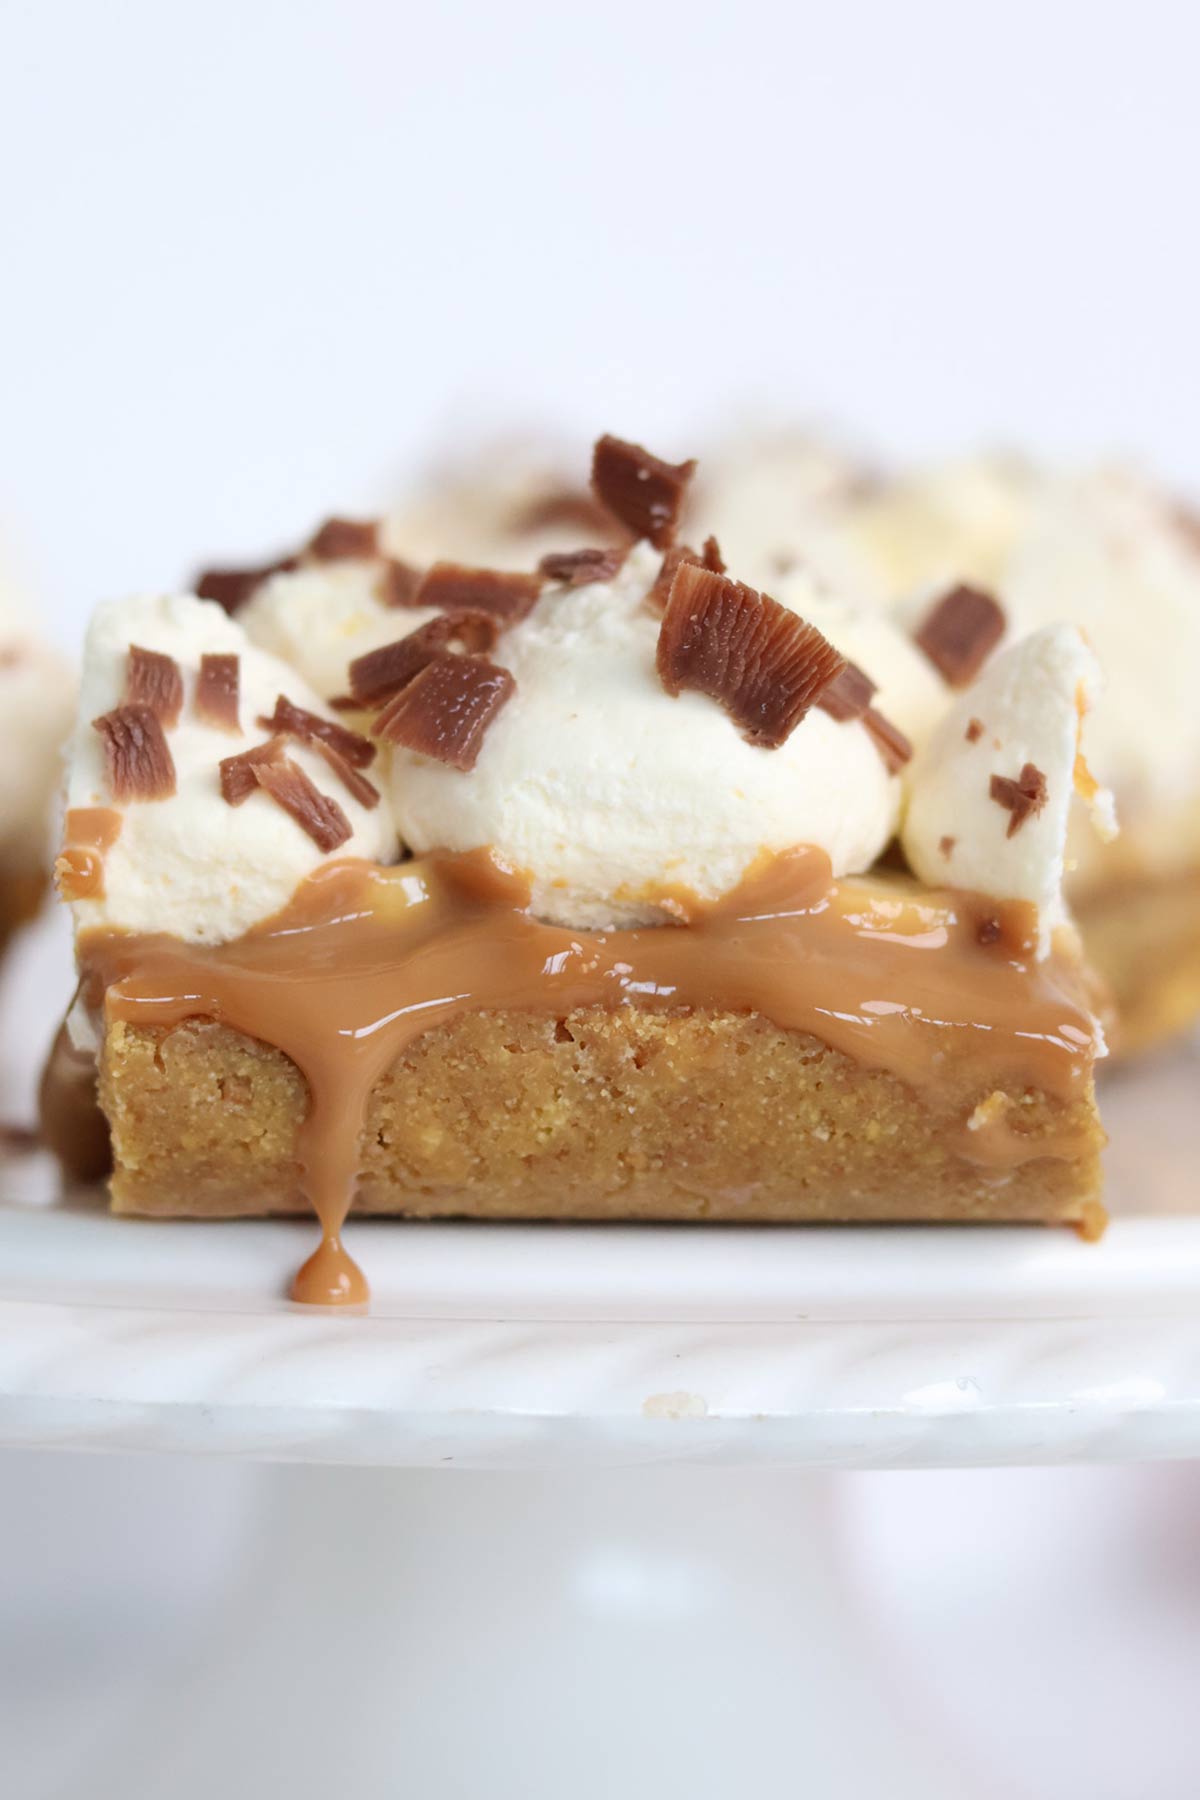
If you've ever visited my blog before, you'll know how much I love turning classic desserts into traybakes. And these banoffee pie bars are my latest addition!
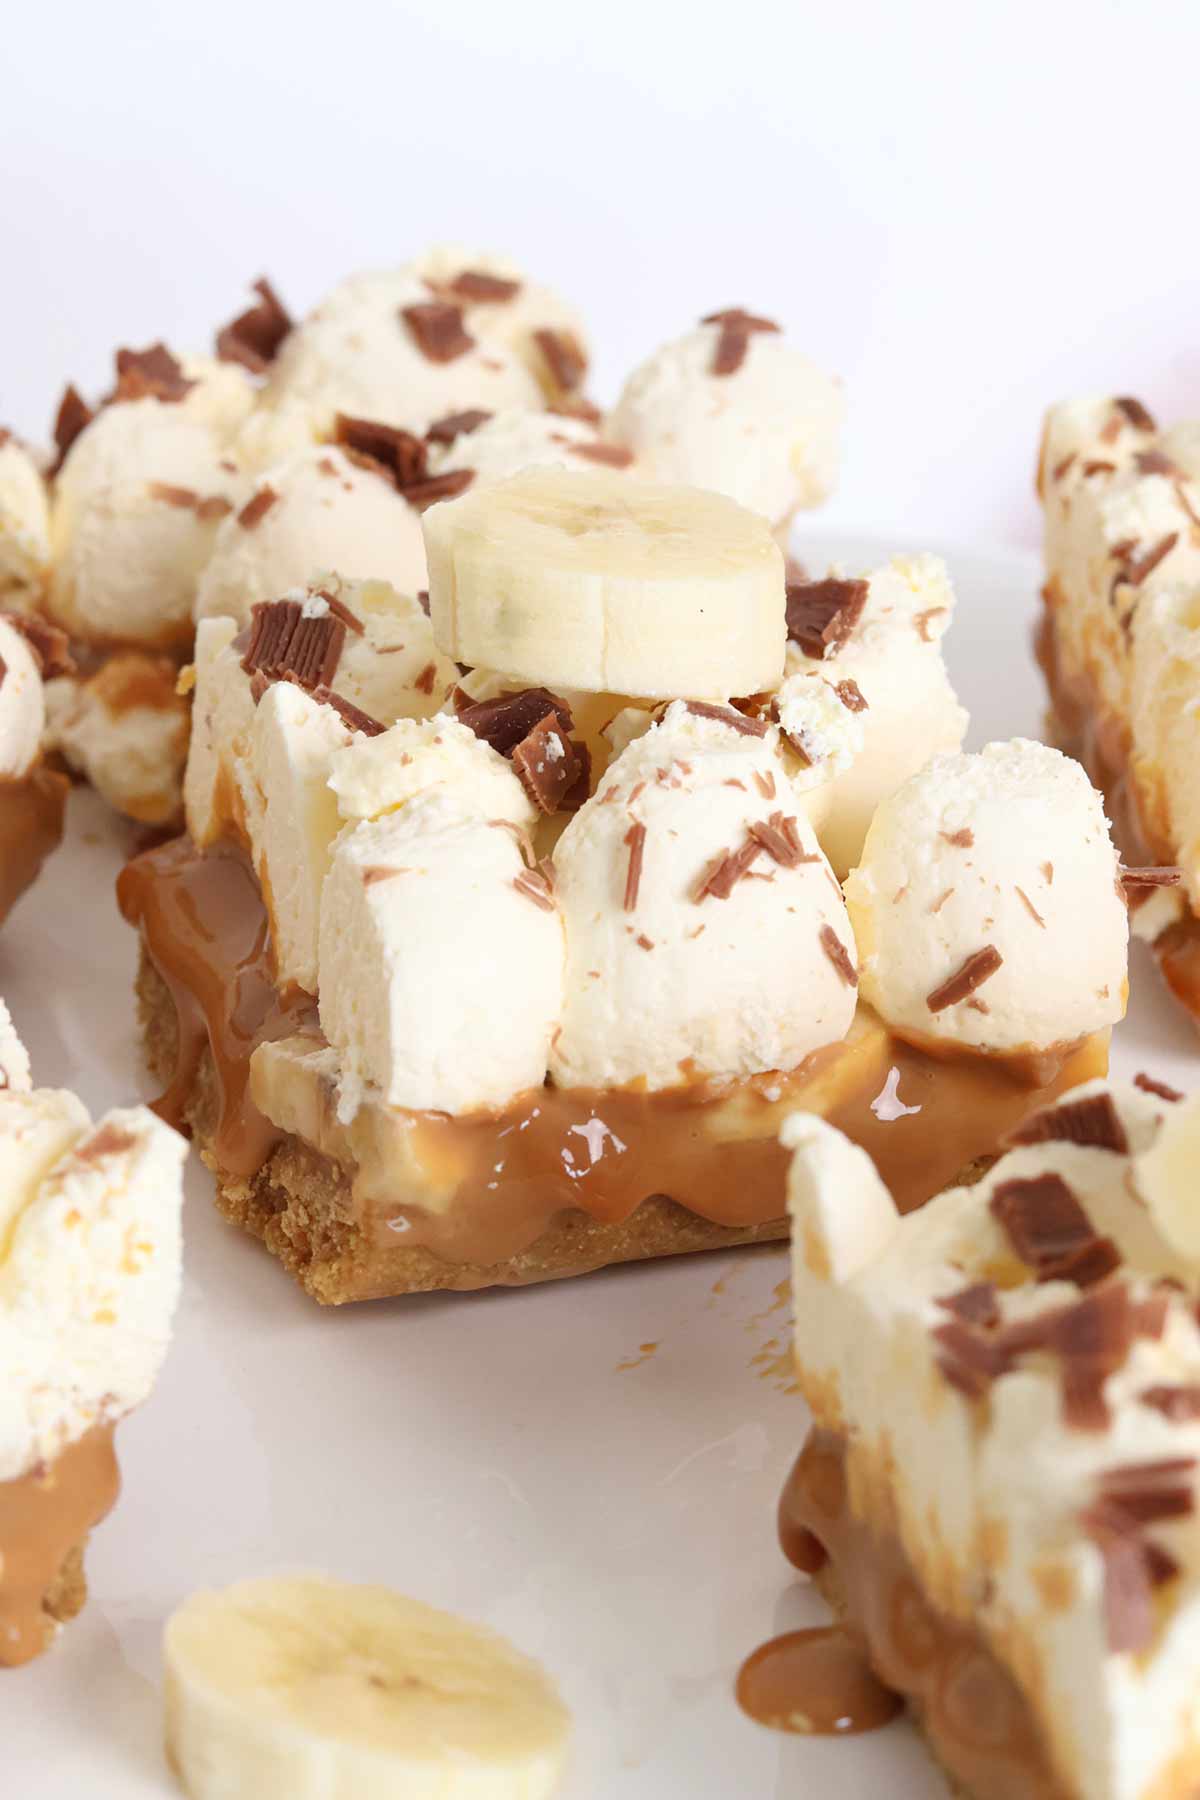
The recipe is pretty much exactly the same as regular banoffee pie, but it's just pressed into a traybake tin and cut into squares instead. It still has that classic digestive biscuit base, thick gooey caramel, fresh bananas and lots of whipped cream. So easy and so tasty!
I've written all my top tips and important notes in the post below, but if you'd prefer the quick, condensed version, feel free to jump to the recipe card at the end of the post. Enjoy!
Ingredients
- Digestive biscuits: Digestives are the most classic base for banoffee pie. We'll crush them up finely to create a sturdy bottom that can be sliced cleanly.
- Butter: Use real butter, not margarine, which can cause a soggy base.
- Dulce de leche: The thicker your caramel, the better! You can use tinned dulce de leche or make your own from scratch if you have the time. Avoid caramel drizzle or runny sauces for this recipe as they'll slide right out when you cut into the traybake.
- Bananas: You'll need 2 or 3 bananas to cover the base of the tin. I recommend relatively thick slices so you get plenty of banana flavour in each bite.
- Double cream: We'll whip this up until it's thick, to create a super indulgent topping. You can spread it on for ease or pipe it on if you want a fancier look.
- Icing sugar: To sweeten the cream ever-so-slightly.
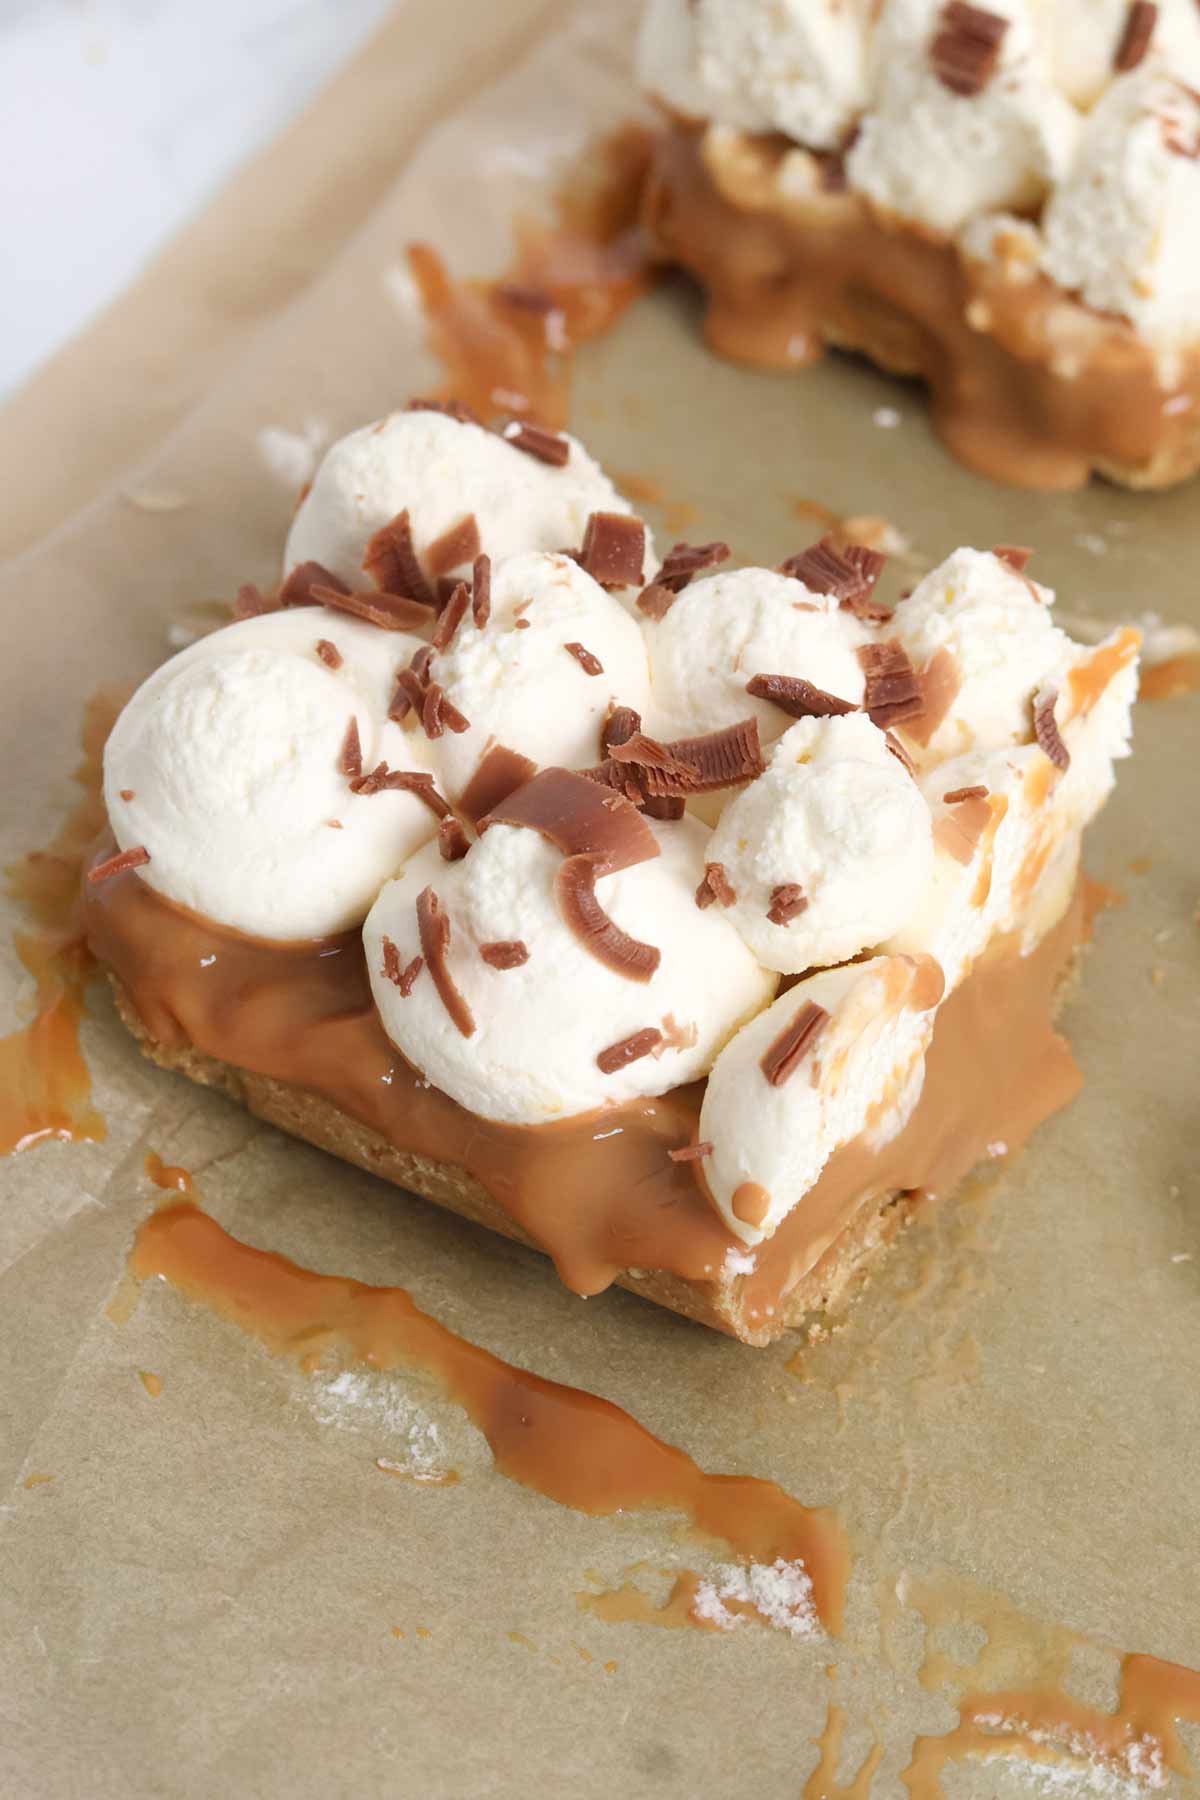
- Milk chocolate: Adding some chocolate shavings on top brings the whole dessert together and helps to add extra sweetness. I used a potato peeler to create the chocolate shavings you can see in my photos.
Equipment
- 8x8-inch tin: As you'll probably know by now, this is the traybake tin I use in almost all of my recipes! You can use a different tin size as long as you adjust the recipe to fit- this is easy to do with my cake tin converter.
- Baking paper: To line your tin. If you're not sure how to do this, check out my post on how to line a traybake tin.
- Food processor: Or a powerful blender, to crush the biscuits. You can also do it by hand if you prefer, using the end of a rolling pin, but you need to make sure they're crushed as finely as possible. This will help to prevent the base from crumbling when you cut into it.
- Saucepan: Or a heatproof bowl, to melt the butter.
- Bowl and utensils: You'll need a large bowl for mixing the base ingredients together, a sharp knife, and a tablespoon or two.
- Electric whisk: To thicken the double cream up enough to easily spread it onto your banoffee traybake. A stand mixer will also work for this.
- Piping bag: This is optional but if you want to make the dessert look fancier, pipe the cream on instead of spreading it. I cut a medium-sized hole out the bottom of the bag rather than using a piping tip.
- Grater: To create the chocolate shavings.
How to make Banoffee Pie Bars step-by-step
Step 1: Start by lining an 8x8-inch tin with baking paper.
Step 2: Add 250g of digestive biscuits to a food processor or blender and blitz until you have fine crumbs. You can check for any leftover lumps by running your fingers through the crumbs.
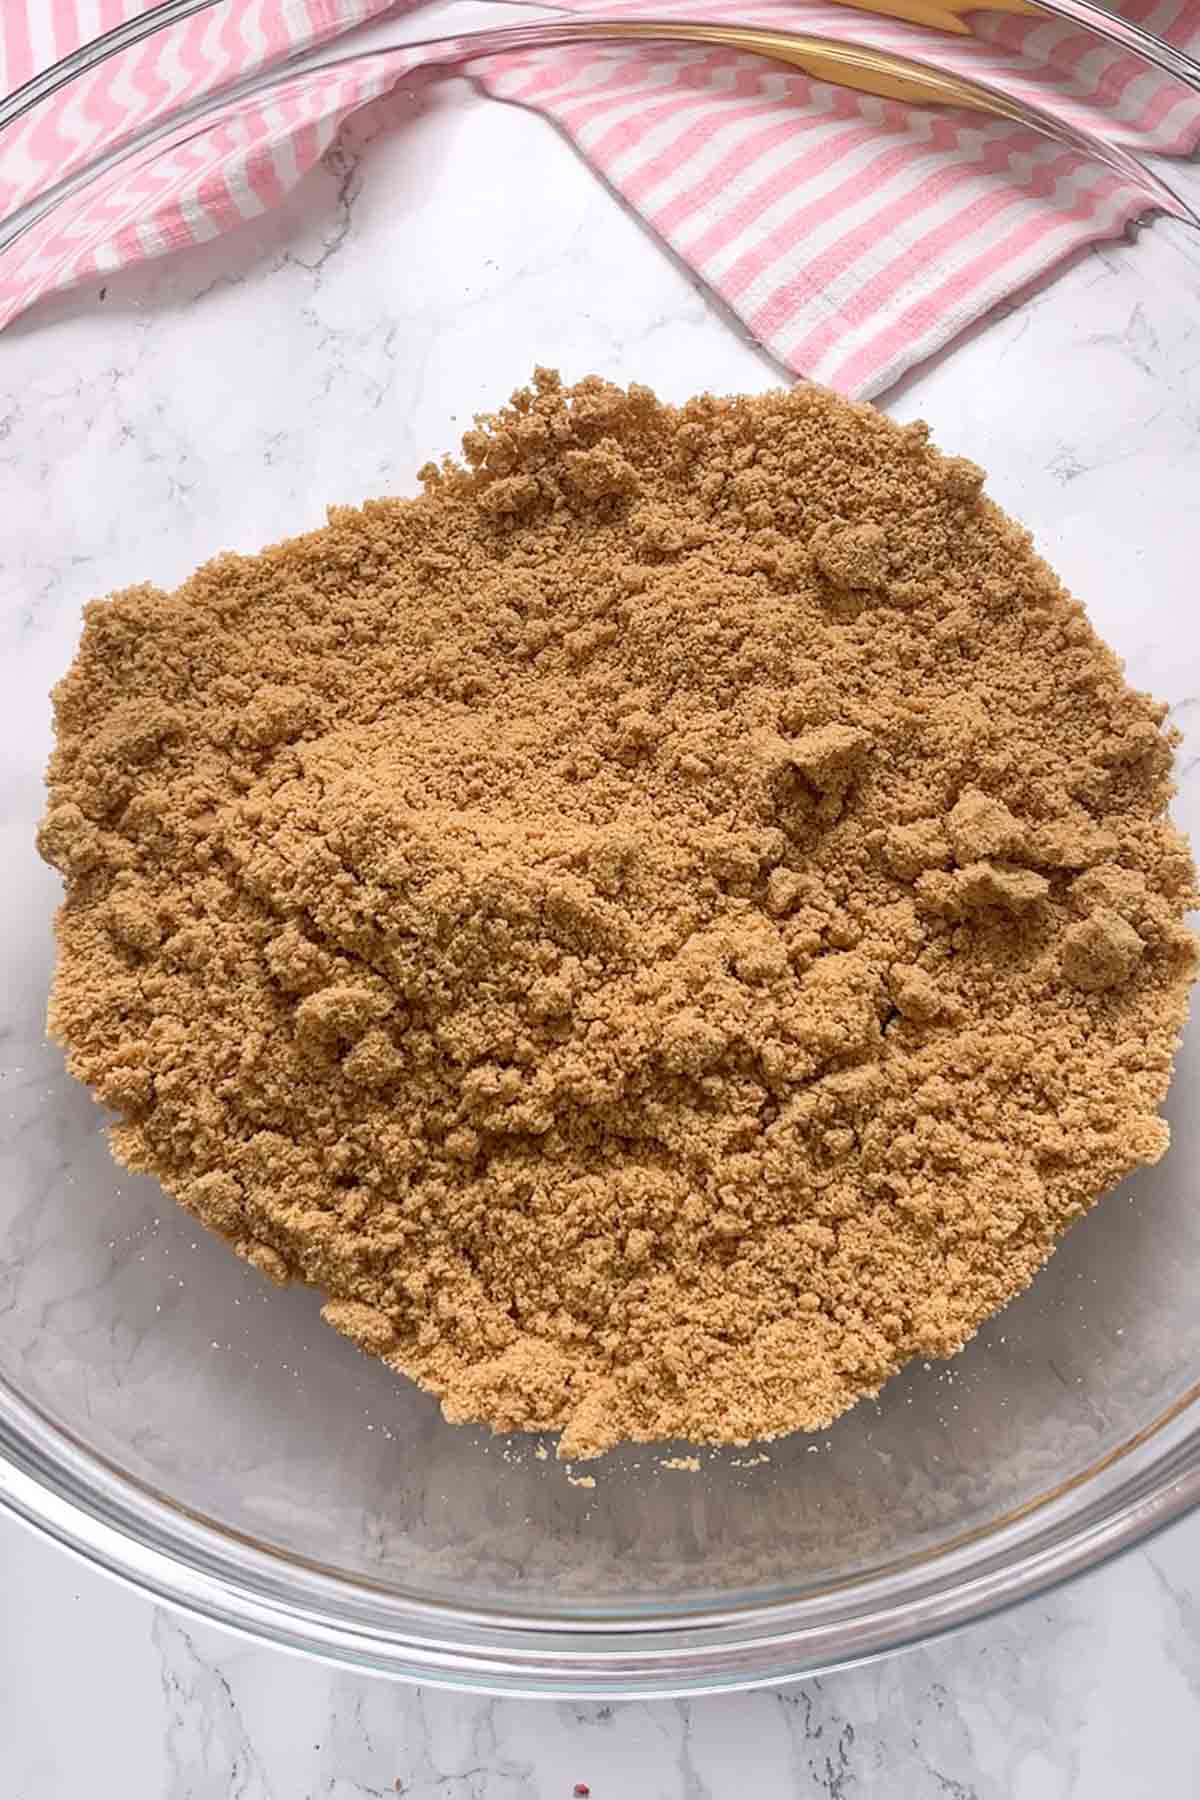
Step 3: Melt 125g of butter and pour it into a large bowl with the biscuit crumbs. Mix well until the crumbs are evenly coated with melted butter, then press into your lined tin.
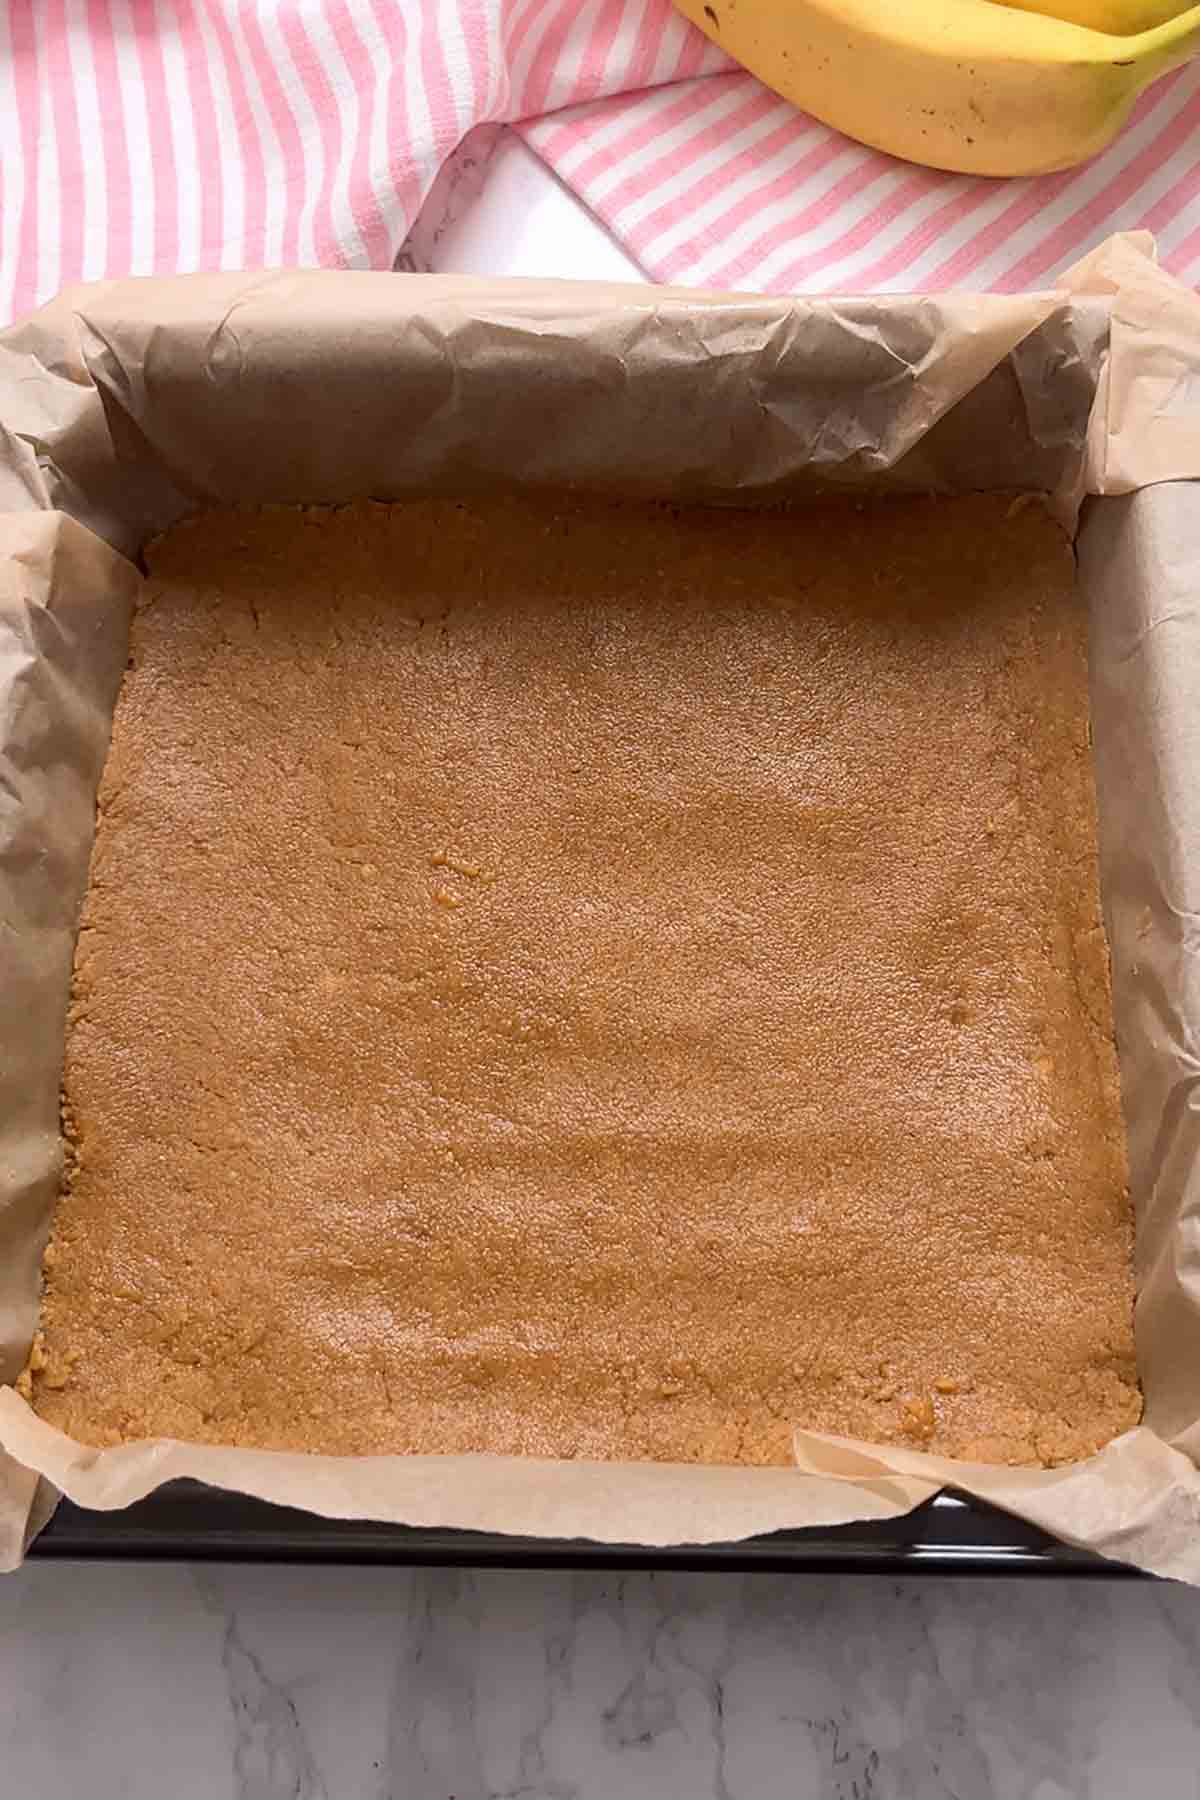
Step 4: Spoon 400g of dulce de leche onto your biscuit base and spread it out evenly. Make sure you get it all the way to the edges.
Step 5: Cut 2-3 medium bananas into slices then place them on top of the caramel. Again, try not to leave too much space around the edges.
Step 6: Whip 400ml double cream and 2 tablespoons of icing sugar until thick, then pipe or spoon it on top of the bananas and caramel.
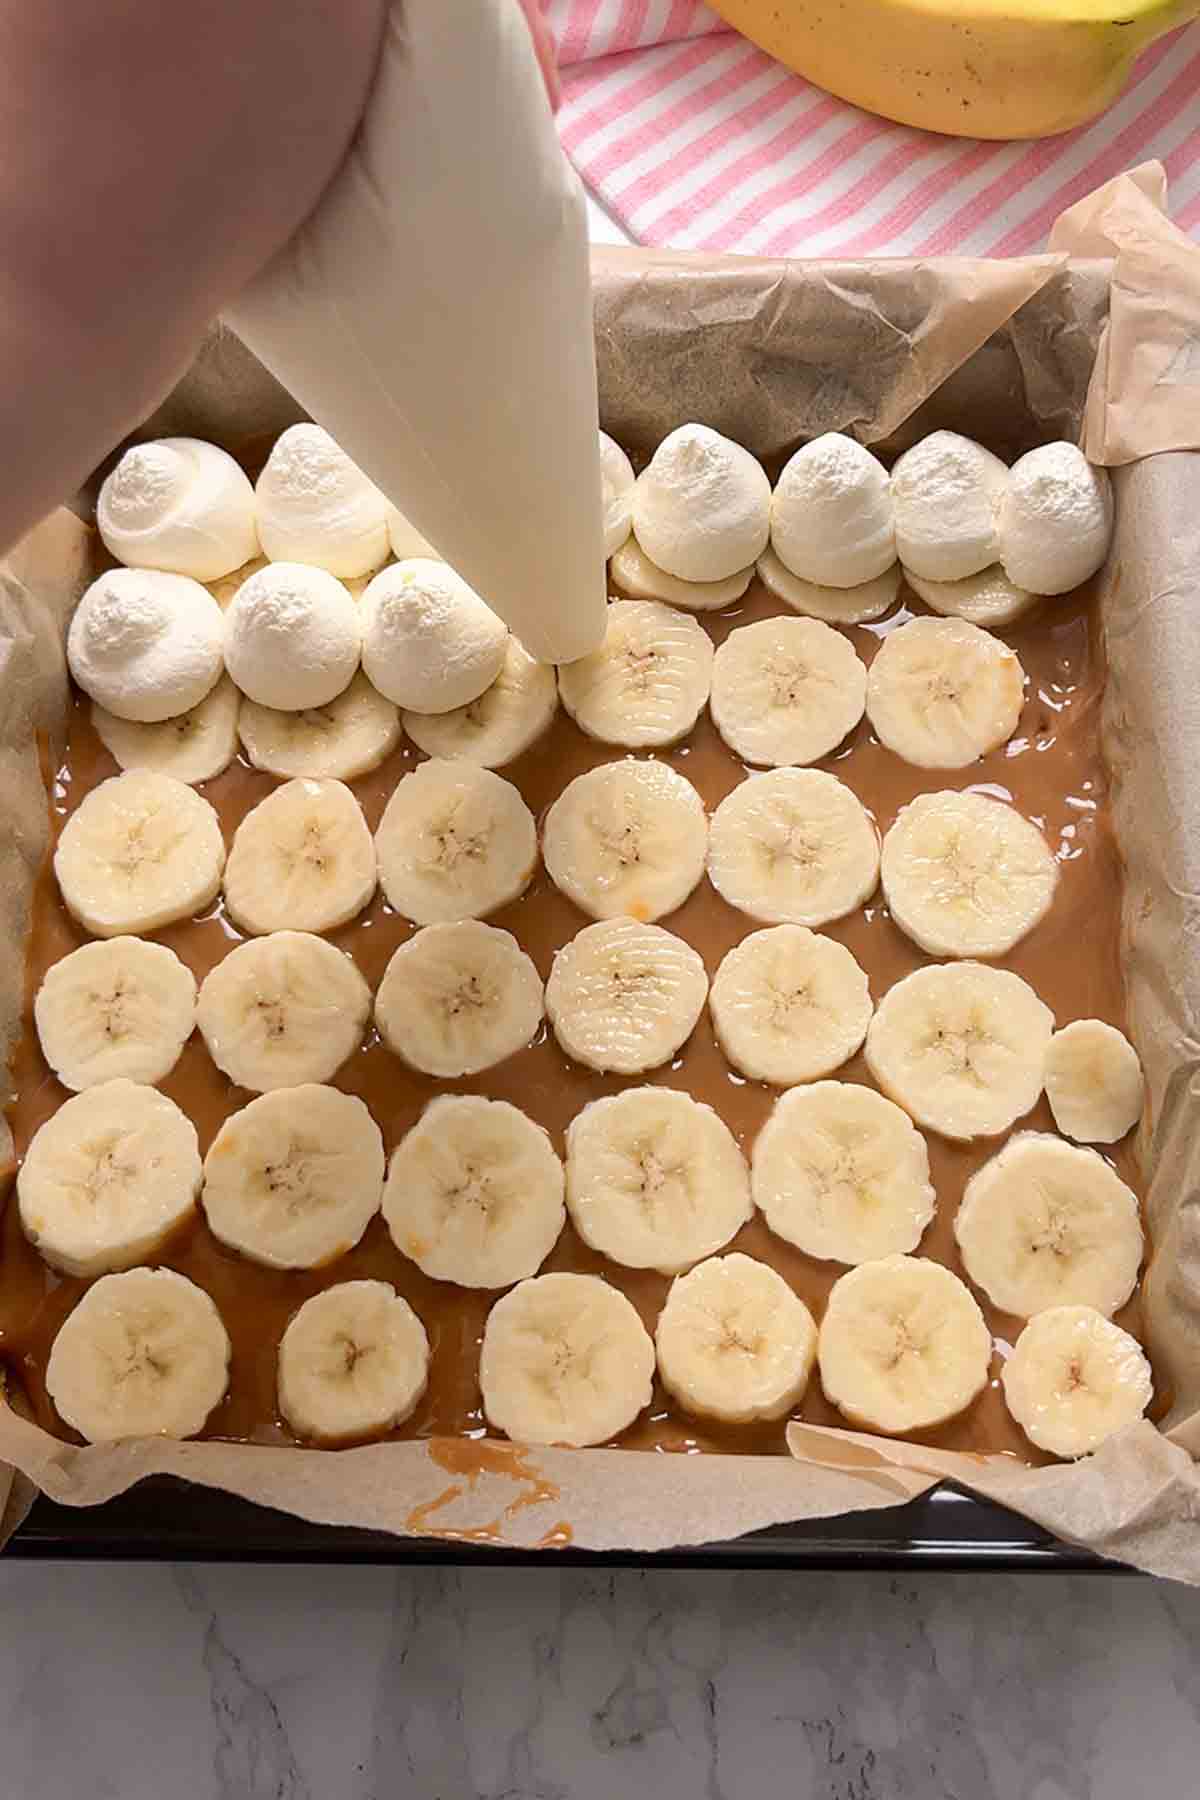
Step 7: Grate some milk chocolate on top of the cream, then pop your entire banoffee pie traybake in the fridge for 6 hours to set.

Step 8: Once set, cut into slices and enjoy! I cut mine into 12 but you can make your bars as big or as small as you like.
Top tips
- Crush the biscuits finely as this will help create a sturdy base.
- Chocolate shavings can be swapped for a light dusting of cocoa powder or crushed honeycomb pieces.
- To make a larger version of this traybake, move the 'servings' slider in the recipe card to 20, which will fit a 9x12-inch tray.
FAQs
The bars will keep well in the fridge for up to 3 days. I recommend keeping them in an airtight container.
I don't recommend freezing the whole thing because it will become soggy once defrosted. However, you can freeze the biscuit base and the caramel together, then add the bananas and cream before serving.
I used Carnation tinned caramel for my recipe, but any thick caramel or dulce de leche will work fine! If you fancy making it from scratch, I love this recipe by Preppy Kitchen.
More no-bake traybakes
I hope you like my banoffee pie bars! If you try this recipe at home, please leave a rating and comment to let me know what you think. Enjoy!

Banoffee Pie Bars (No-Bake Traybake)
Ingredients
Base
- 250 g Digestive biscuits
- 125 g Butter, melted
Filling
- 400 g Dulce de leche or tinned caramel
- 2-3 Medium Bananas, sliced
Topping
- 400 ml Double cream
- 2 Tablespoons Icing sugar
- 1-2 Tablespoons Chocolate shavings
Instructions
Base
- Line an 8x8-inch tin with baking paper.
- Crush the digestive biscuits into fine crumbs then mix with the melted butter. Press into your lined tin.
Filling
- Spread the caramel over the biscuit base then top with banana slices.
Topping
- Whip the double cream with the icing sugar until thick then spread or pipe it on top of the bananas and caramel. Decorate with the chocolate shavings.
- Refrigerate for 6 hours then cut into slices and enjoy!
Video
Notes
- Store leftovers in the fridge for up to 3 days.


Leave a Reply