
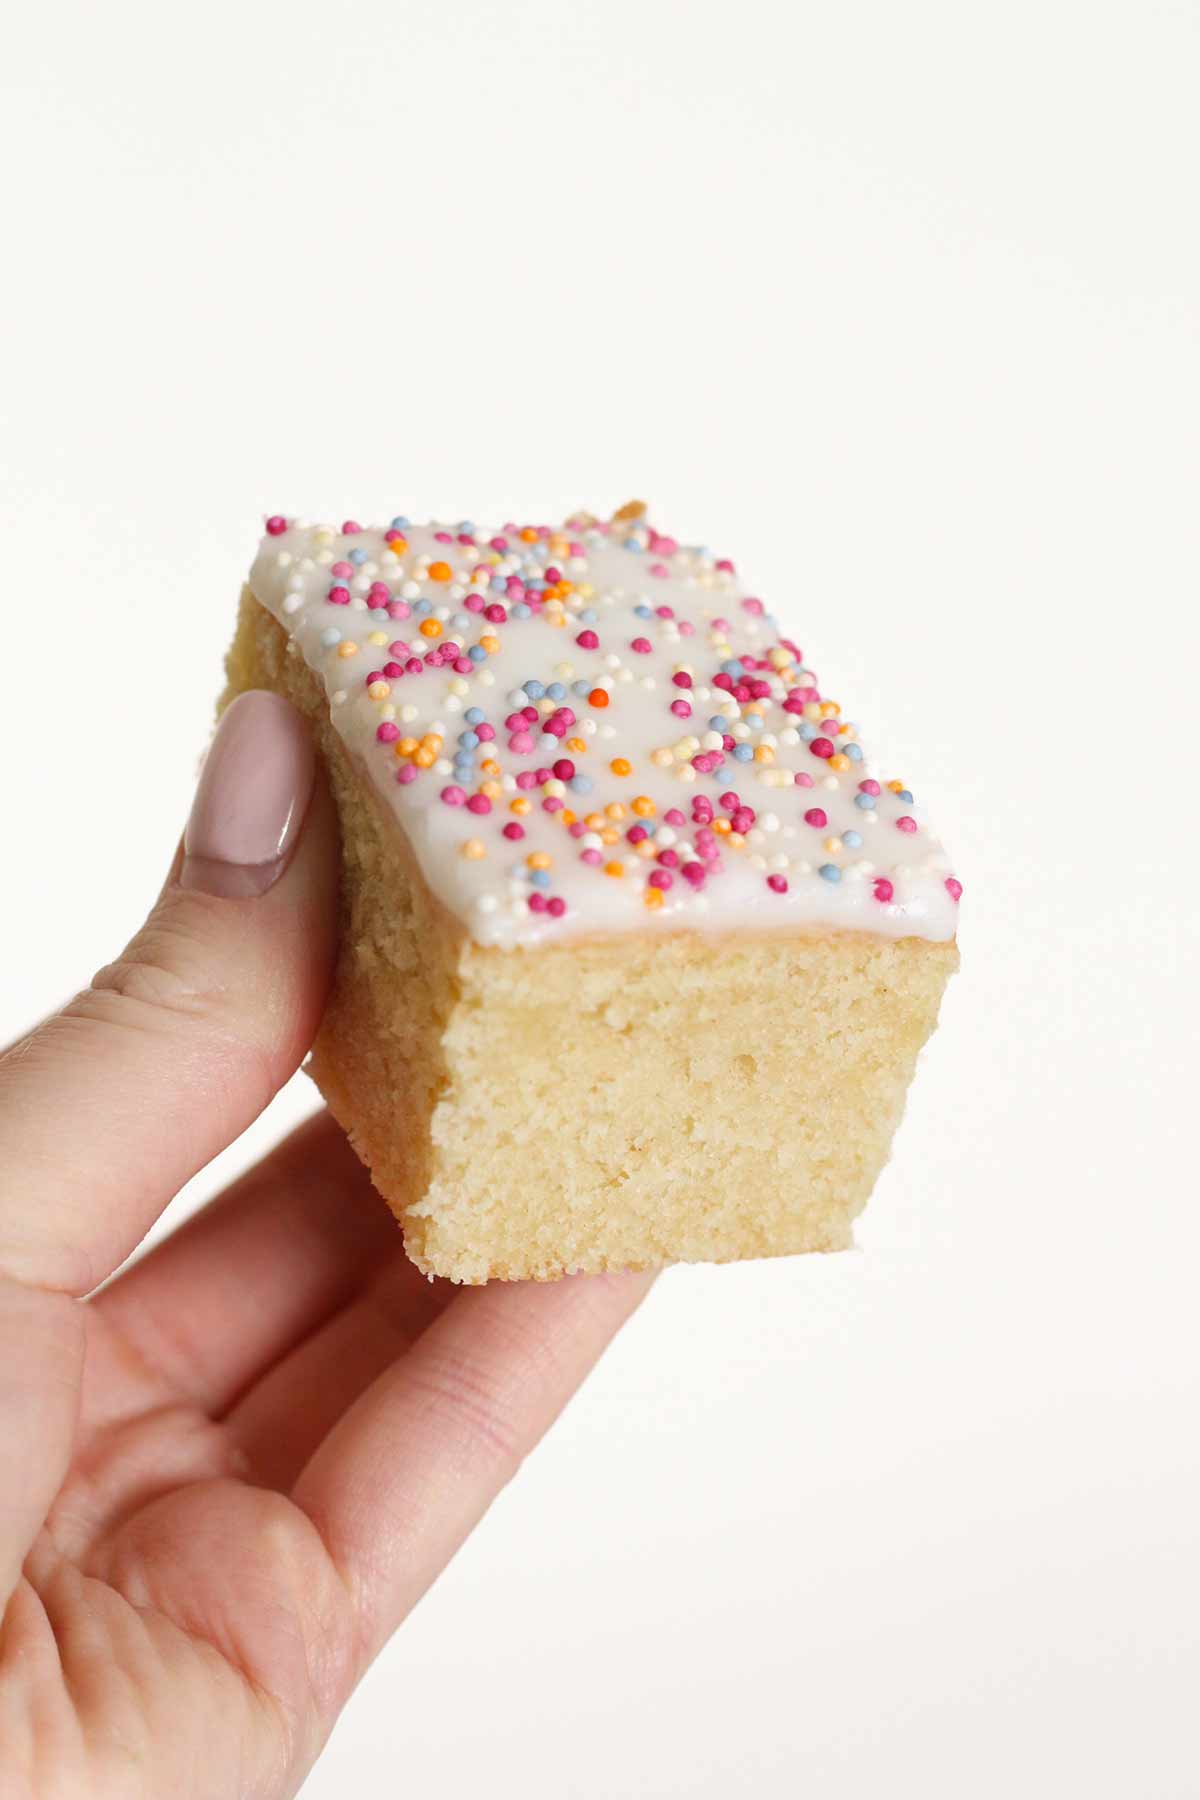
This old-school sprinkle traybake cake is sure to bring back school dinner memories! A simple, soft and fluffy vanilla traybake cake topped with the classic icing and sprinkles combo. This is perfect served with warm custard for a blast from the past that everyone will enjoy!

If you grew up in the UK in the 80s or 90s, you'll surely remember this retro sprinkle traybake cake. I have been meaning to post my recipe for THE longest time and I can't wait for you to try it!
School cake
This traybake is also known as 'school cake'. And if you've never heard of that, I am SO sorry! You have been missing out!
School cake is a simple vanilla cake topped with glace icing and rainbow sprinkles. It was a regular dessert at UK school lunches back in the day (alongside old school chocolate sponge and jam and coconut cake), and was typically served with warm custard and sometimes even pink custard! It may look simple but it tastes absolutely heavenly!
Ingredients
Ready to get baking? Here's what you'll need for this recipe:
- Butter: Make sure to soften your butter before you start baking, as it can be very difficult to mix otherwise. You can either leave it out at room temperature for 60 minutes or you can cut it into cubes and put it in the microwave for about 10-15 seconds until soft. Baking spread also works great.
- Sugar: Use caster sugar for the best texture. Caster sugar is a finer version of granulated sugar, somewhere in between granulated and icing (powdered) sugar.
- Vanilla extract: To add that classic flavour. 1 teaspoon is the perfect amount for school traybake cake.
- Eggs: To bind the rest of the ingredients together and to help with leavening. You'll need 4 medium-sized eggs. If you don't/can't eat eggs, I also have a vegan version here: vegan school cake.
- Flour: It's best to use self-raising flour to get that classic fluffy cake texture. If plain flour is all you have, you will need to add 2 teaspoons of baking powder to the recipe too.
- Milk: This is to help loosen the batter a little bit. I typically add 2-3 tablespoons as needed.
- Icing sugar: For the glace icing. All you need to do is mix it with some cold milk or water.
- Hundreds and thousands: We can't have a sprinkle cake without these now, can we?! My school specifically used hundreds and thousands which I why I chose them but you can use any other colourful sprinkles you like.

Kitchen stuff
You will also need the following equipment for this traybake cake...
- 8x10-inch tin: I tested the recipe in this size of tin so I recommend using it if you can. A slightly larger tin such as 9x12-inch will work too but baking time may vary so keep an eye on it while it's in the oven. Alternatively, you can use my cake tin converter tool to fit your specific tin size.
- Baking paper: To stop the cake from sticking to the tin. Check out my guide on how to line a traybake tin.
- Mixing bowls: A large one for the cake batter and a small/medium one for the glace icing.
- Utensils: You'll need a wooden spoon, a teaspoon and tablespoon, and a sharp knife. A toothpick or butter knife is also handy for checking when the cake is done.
- Wire rack: For cooling the cake. This helps to prevent moisture from gathering at the bottom of the cake, which can result in a sticky texture.
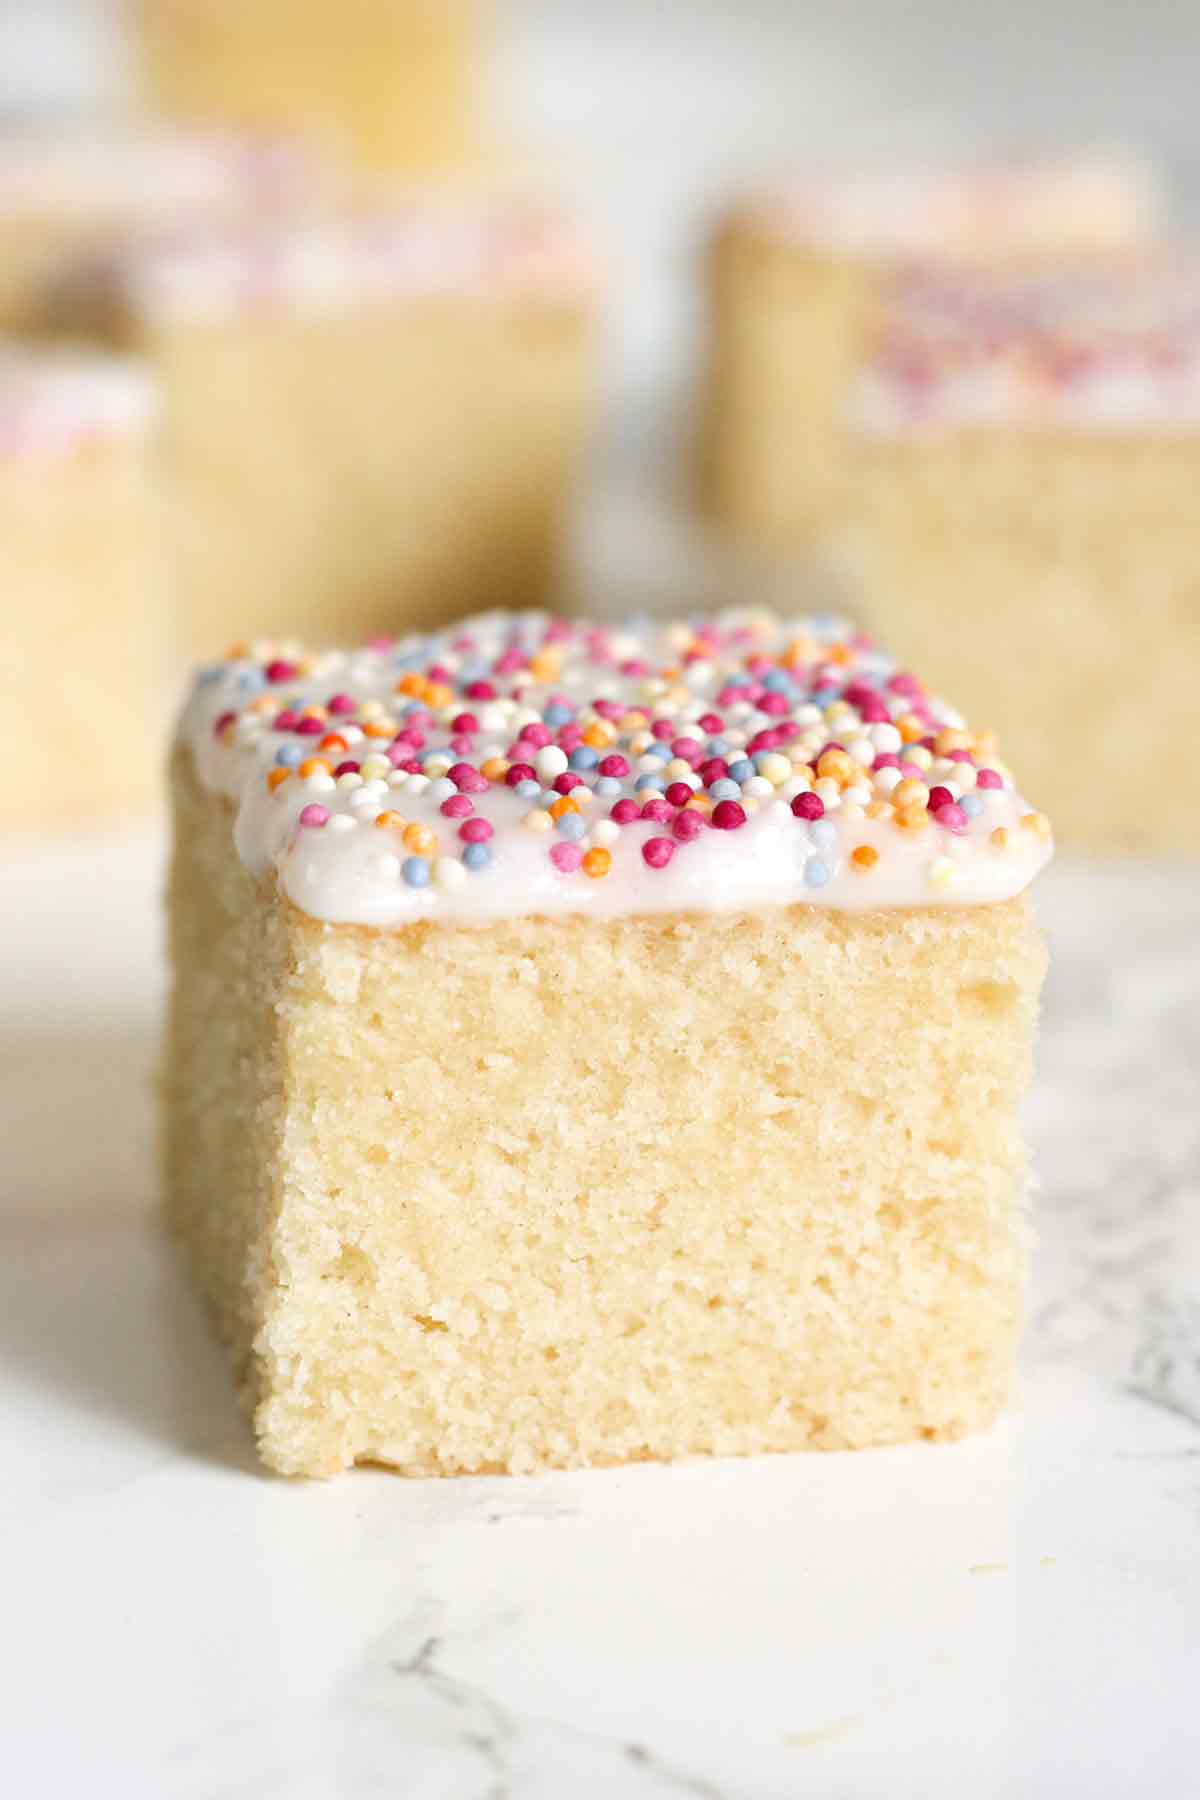
How to make school sprinkle traybake cake step-by-step
Step 1: Preheat your oven to 180°C (or 160°C if you're using a fan oven) then line an 8x10-inch tin with baking paper.
Step 2: In a large bowl, cream together 250g of softened butter and 250g of caster sugar then stir in 1 teaspoon of vanilla extract. It's handy to use an electric whisk for the mixing but a wooden spoon will work fine too.
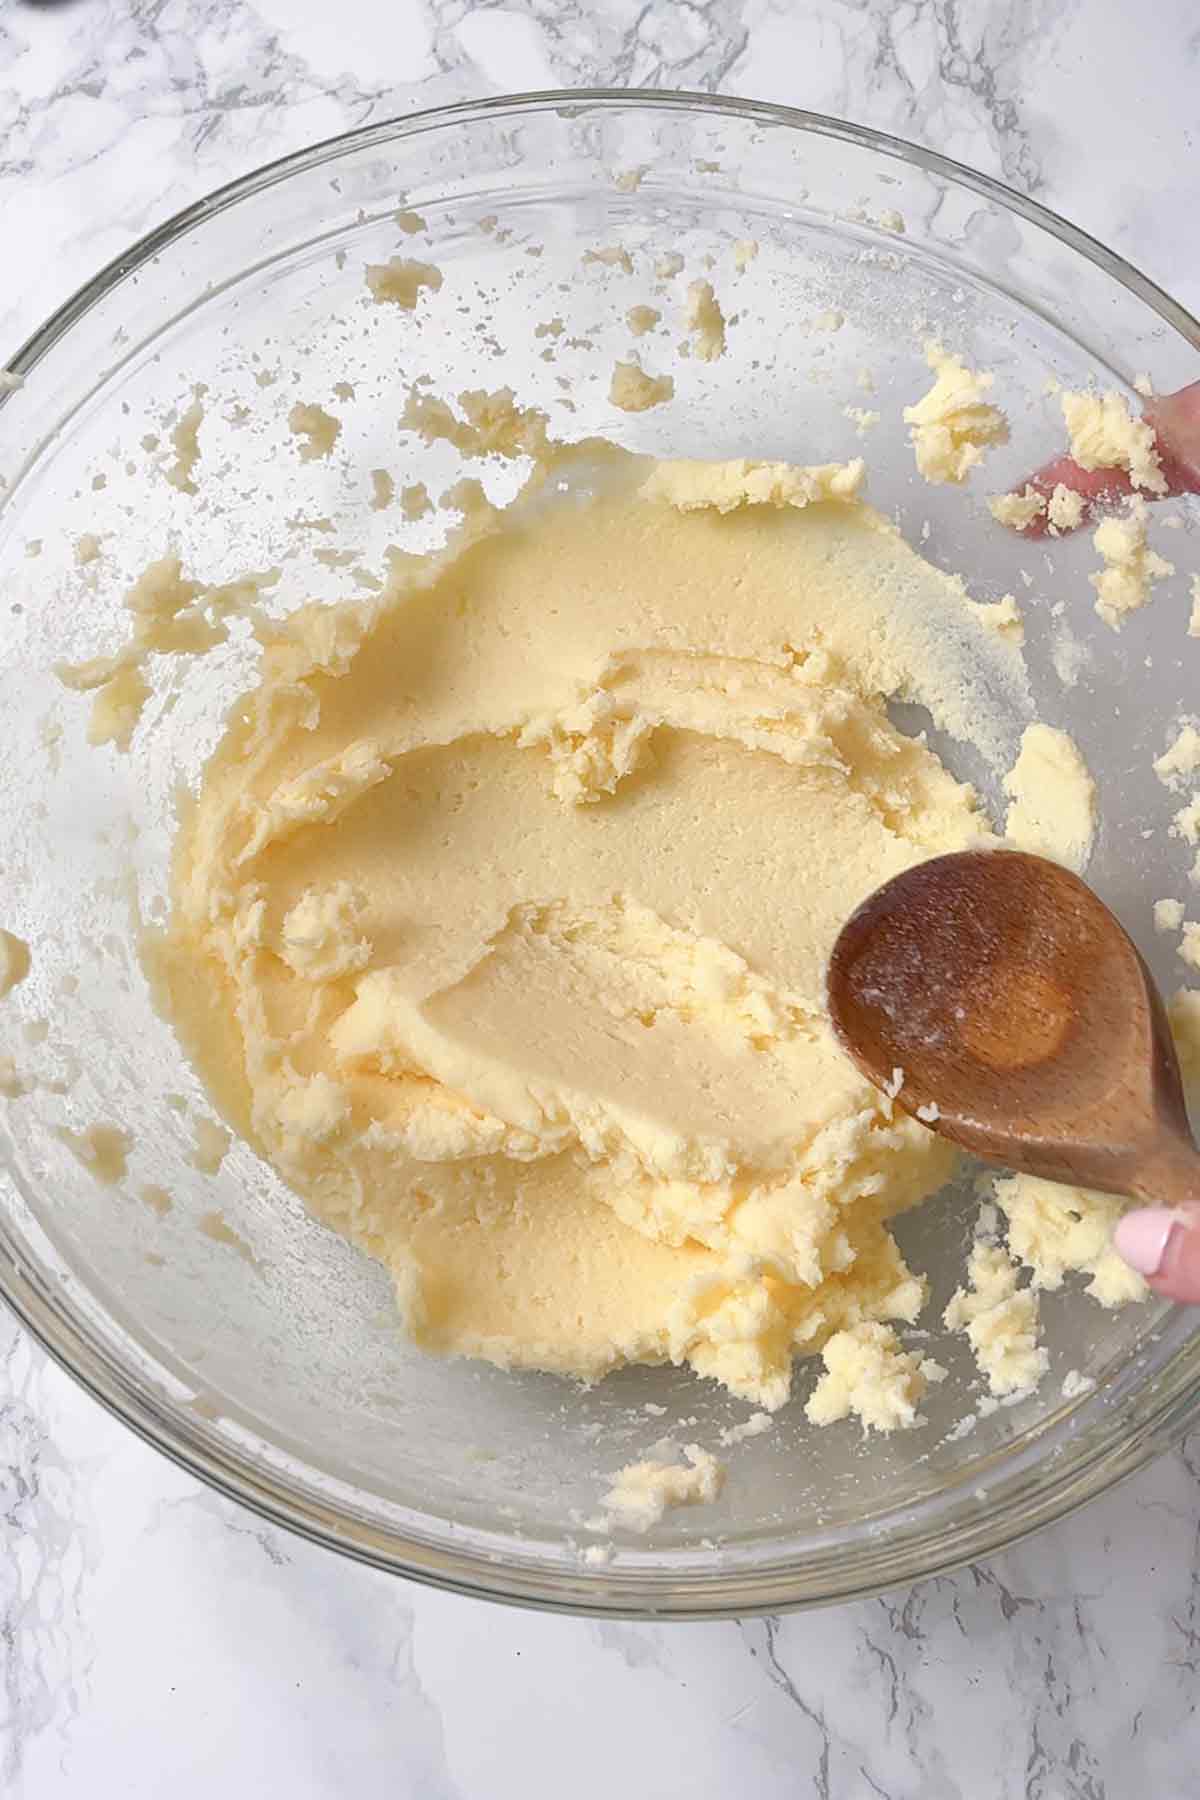
Step 3: Measure out 250g of self-raising flour and have 4 eggs and 3 tablespoons of milk to hand. Stir them into the butter/sugar mixture, a little bit at a time until you have a smooth cake batter. Don't add them in all at once as the cake batter can end up curdled due to improper mixing.
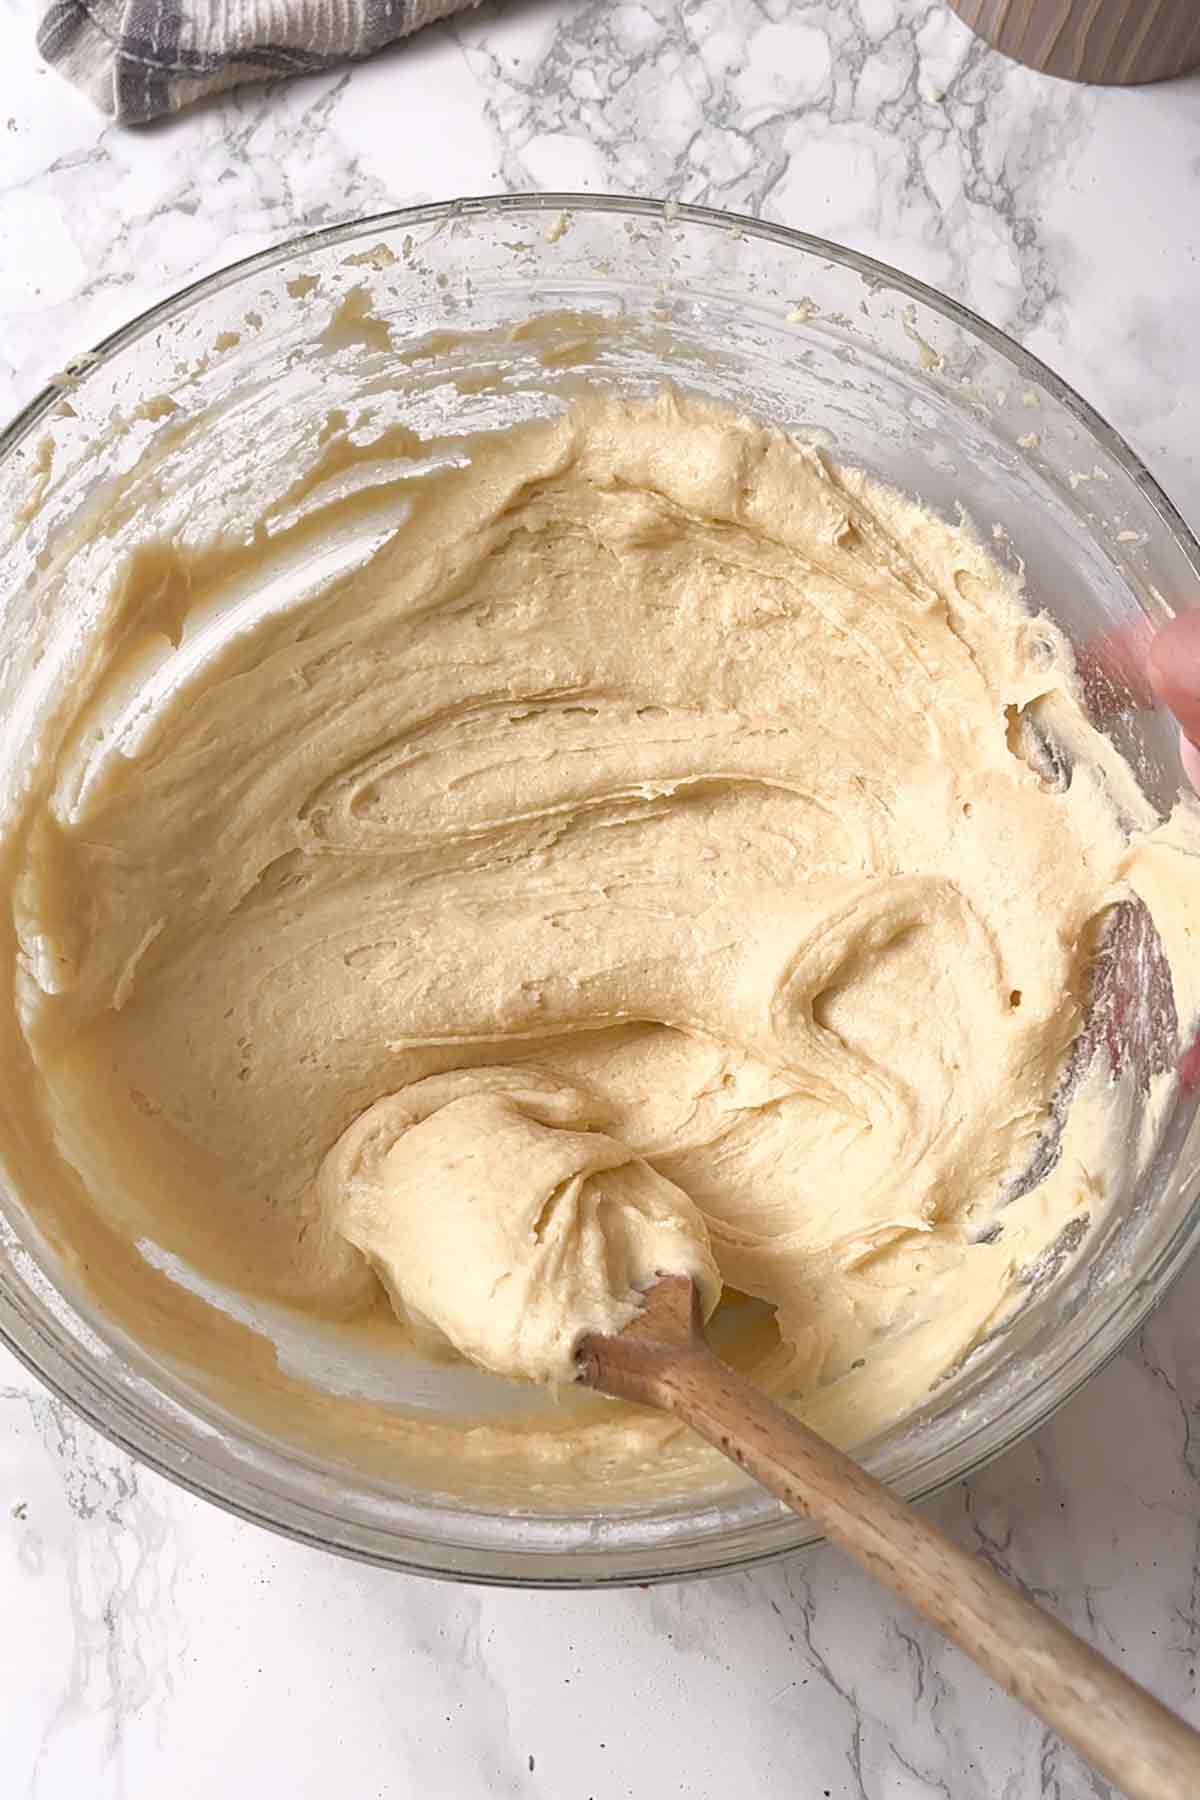
Step 4: Spoon the thick cake batter into your lined tin and spread it out evenly. Bake it for 25-30 minutes or until a toothpick through the middle comes out clean.
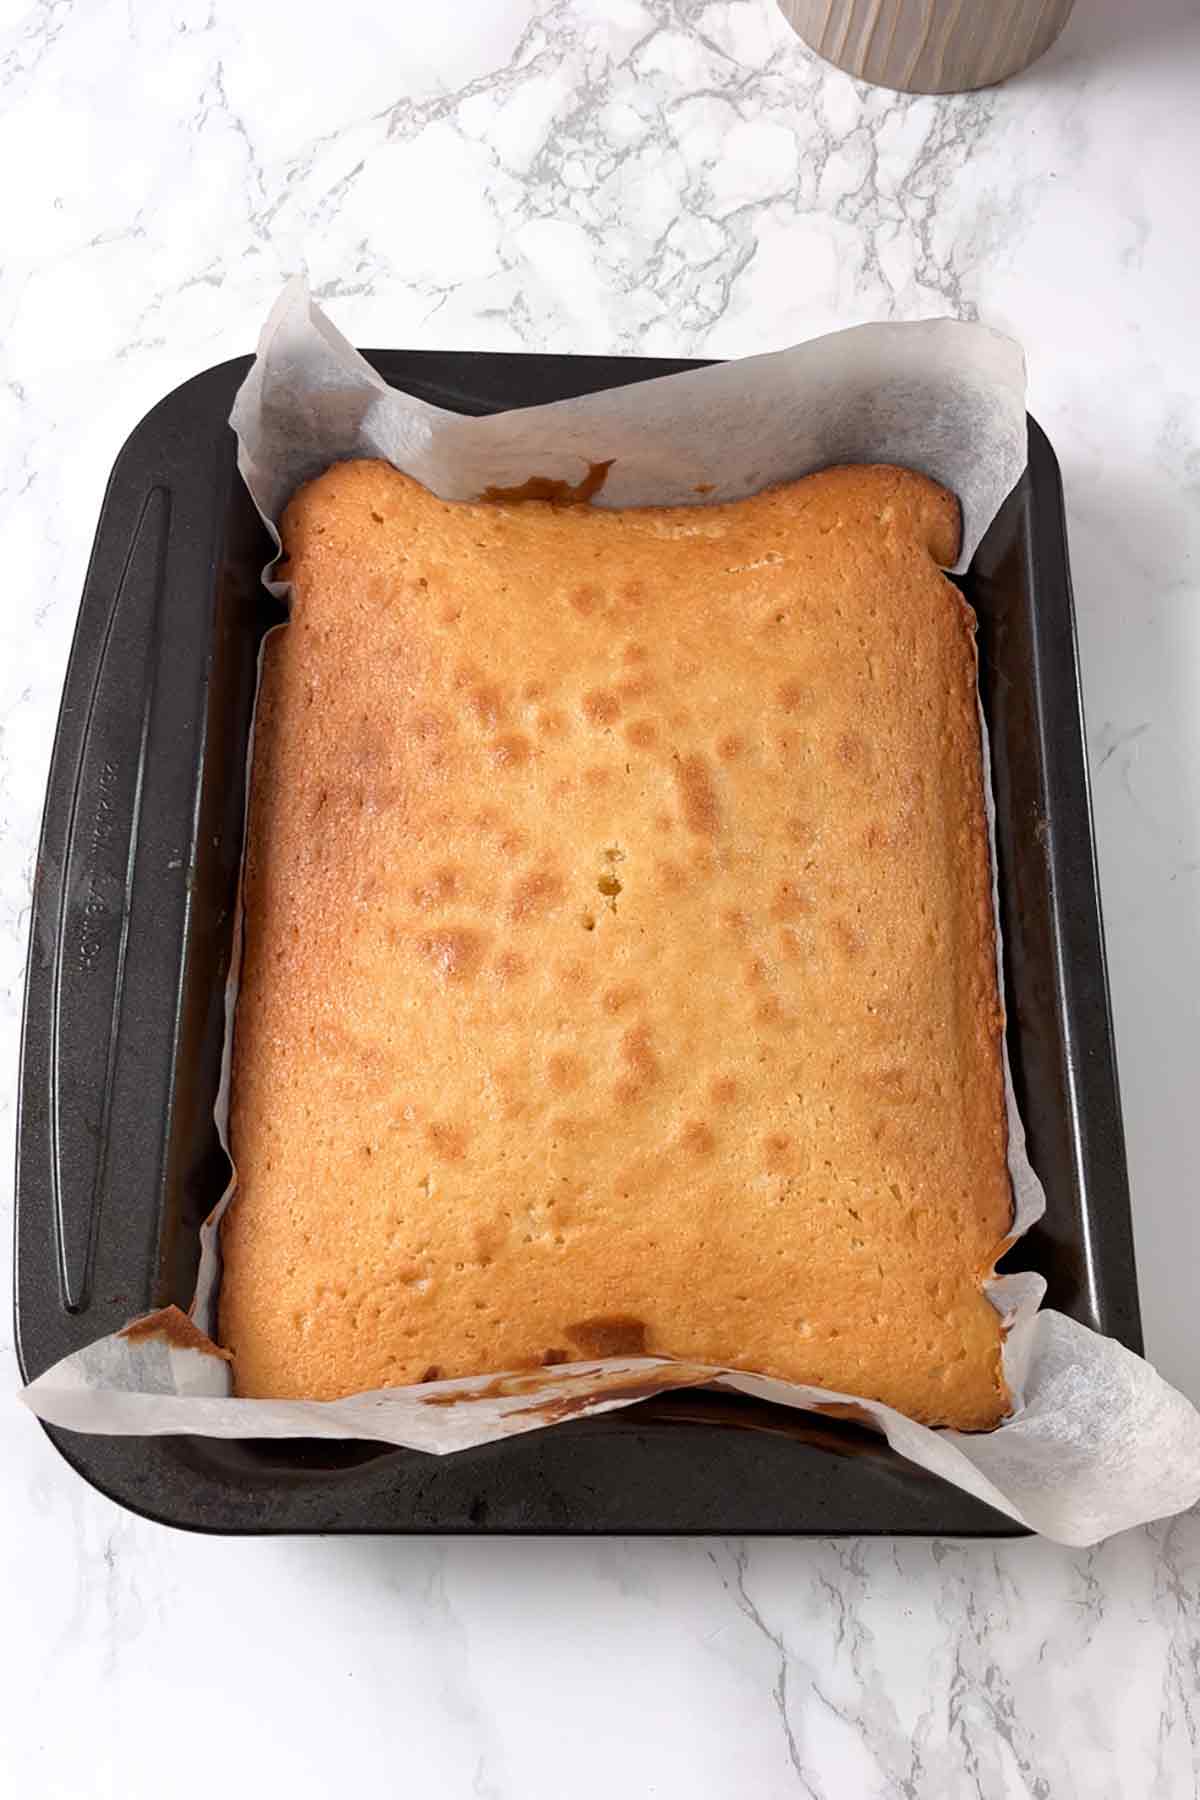
Step 5: Let the cake cool in the tin for 10 minutes then carefully flip it out onto a wire rack to cool completely.
Step 6: Once the cake has cooled, prepare your icing by mixing 200g of icing sugar and 2 tablespoons of milk or water together. Spread it over the cake and top it with a few tablespoons of sprinkles.
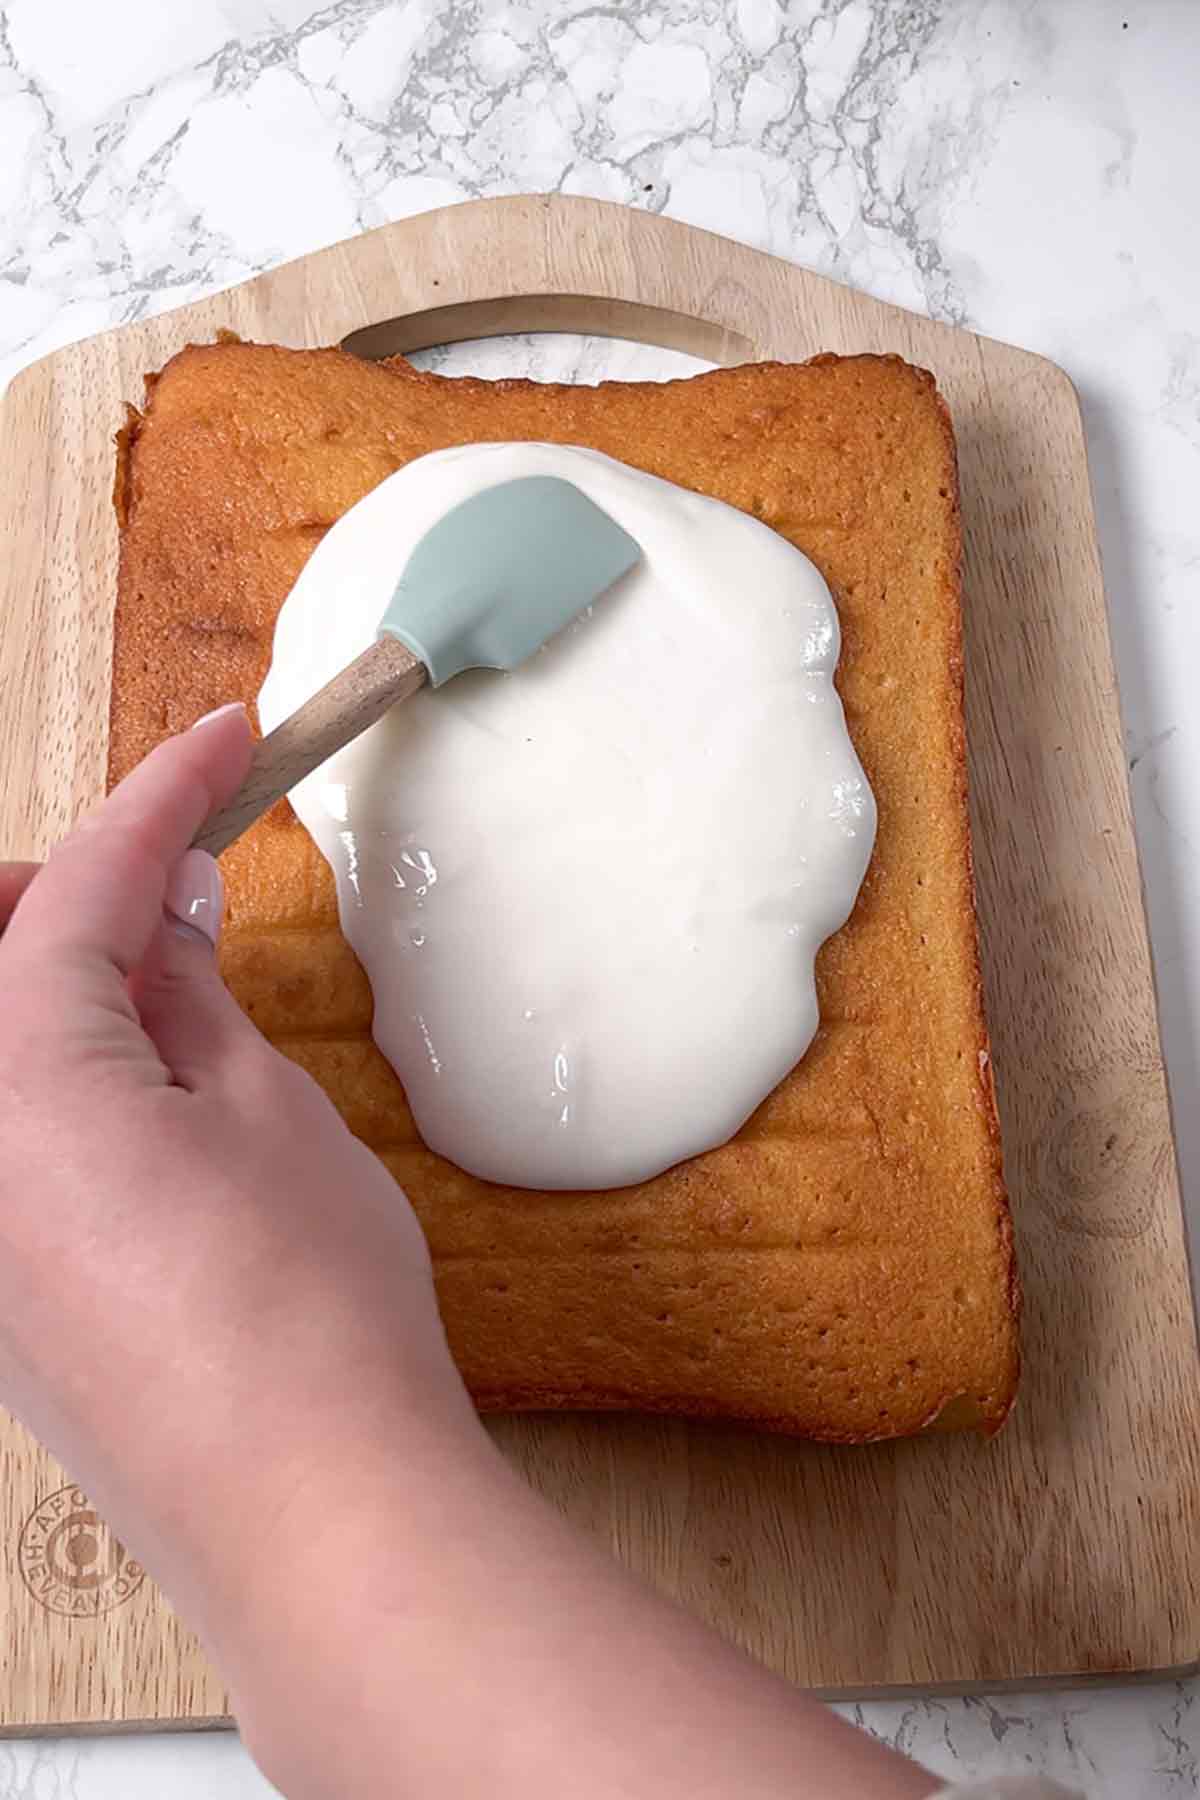
Step 7: Let your school cake sit at room temperature until the icing has hardened, then cut it into slices and enjoy! I typically cut mine into 12 squares but you can make yours as big or as small as you'd like.
Top tips
- Self-raising flour is key to a fluffy cake, as is using the correct tin size. As I explained earlier in the post, a slightly larger tin like a 9x12-inch tin will work fine but the cake will be slightly thinner than what is shown in the pictures.
- Serve with warm custard for a true retro school dinner cake experience.
- If your icing is too thick, add a little more milk and if it's too thin, add more icing sugar.
FAQs
It'll last for up to 5 days. It's best when stored in an airtight container at room temperature but you can keep it in the fridge if you prefer.
Yes, you absolutely can! You can either put slices into airtight containers or you can freeze the whole cake on a baking tray until it's solid then wrap it tightly in clingfilm. It'll keep well in the freezer for up to 3 months. When you're ready to eat it, just let it sit out at room temperature uncovered for an hour or two until thawed. Do not refreeze.
You sure can. While self-raising flour is best, you can also use plain flour, so long as you add 2 teaspoons of baking powder to the recipe.
More retro traybakes:
- Date and walnut traybake
- Old school Cornflake traybake
- Lemon drizzle traybake
- Orange drizzle traybake
- Raspberry Ruffle bars
- Mint Slice
- Raspberry coconut slice
I hope you like my old school sprinkle traybake cake. If you make it at home, please leave a comment below to let me know what you think. Enjoy!

School Sprinkle Traybake Cake
Ingredients
Traybake cake
- 250 g Butter, softened
- 250 g Caster sugar
- 1 Teaspoon Vanilla extract
- 4 Medium Eggs
- 250 g Self-raising flour
- 3 Tablespoons Milk
Topping
- 200 g Icing sugar
- 2 Tablespoons Milk or water
- Few Tablespoons Hundreds and thousands (or any other colourful sprinkles)
Instructions
- Preheat your oven to 180℃ (160℃ for fan ovens) and line an 8x10-inch baking tin.
- In a large bowl, cream together the butter and sugar then stir in the vanilla extract.
- Mix in the eggs, flour and milk, a little bit at a time, until you have a smooth, thick cake batter.
- Transfer the batter to your lined tin and spread it out evenly. Bake for 25-30 minutes, until a toothpick comes out clean.
- Let the cake cool in the tin for around 10 minutes then flip it out onto a wire rack and leave to cool completely.
Glace icing and sprinkles
- Mix the icing sugar and milk together to make a smooth, thick icing. To make it thinner, add more milk, or add more icing sugar to make it thicker.
- Spread the icing on top of the cake then sprinkle over the hundreds and thousands.
- Leave the icing to harden then cut into slices and enjoy!
Video
Notes
- Store in an airtight container for up to 5 days.


Debbie
Made this traybake today for a Father’s Day afternoon tea . Super easy to make and very tasty. It was demolished in no time 😂. I will definitely make this again . Would highly recommend Thank you.
Chloe
Lovely, so glad! Thanks for letting me know 🙂
Charmaine Emmanuel
Great recipe.. Very simple and easy.. Everyone loved it.. Will be making it as often... Thanks for sharing..
Chloe
Thanks for your review Charmaine. Glad you enjoyed the recipe 🙂
Collette Austin
Love making this cake. I’ve made it 5 times now and each time it’s been delicious. Had some old school friends over for lunch and we had this cake with custard it was a definite hit!!!!!
Chloe
That sounds lovely! Thanks so much for your comment 🙂
Jessiek
This is my go to recipe for school cake now. Me and my husband and 3 girls love it. Thank you so much I'm making my third one now
My girls love it for their school packed lunch 🥰💗 xx
Chloe
Aw that made me so happy to read, thank you so much! Glad you like all the recipe 🙂
Tammy
Quite a thick batter so wasn’t sure at first, but turned out delicious, only thing I’d change is when cooling maybe leave baking paper on or definitely leave on wire rack paper side down, I flipped as suggested and it all stuck to the rack unfortunately, so won’t do that again. It was a hit in our house.
Chloe
Thanks Tammy 🙂
Lorna Goodsell
This cake is so nice even if you don't put it in a seal container you get that nice crusty bit on the outside and the moistness on the inside this are really nice cake try it.
Chloe
Thank you so much! 🙂