This pink Valentine's Day fudge is a quick and easy treat that's perfect for both kids and adults. You'll only need 5 ingredients to make it and it'll last for up to 2 weeks in the fridge!

I couldn't let February pass without making a love-themed fudge now, could I?! This Valentine's Day fudge is actually my 25th fudge recipe on the blog, and it's one of the prettiest yet!
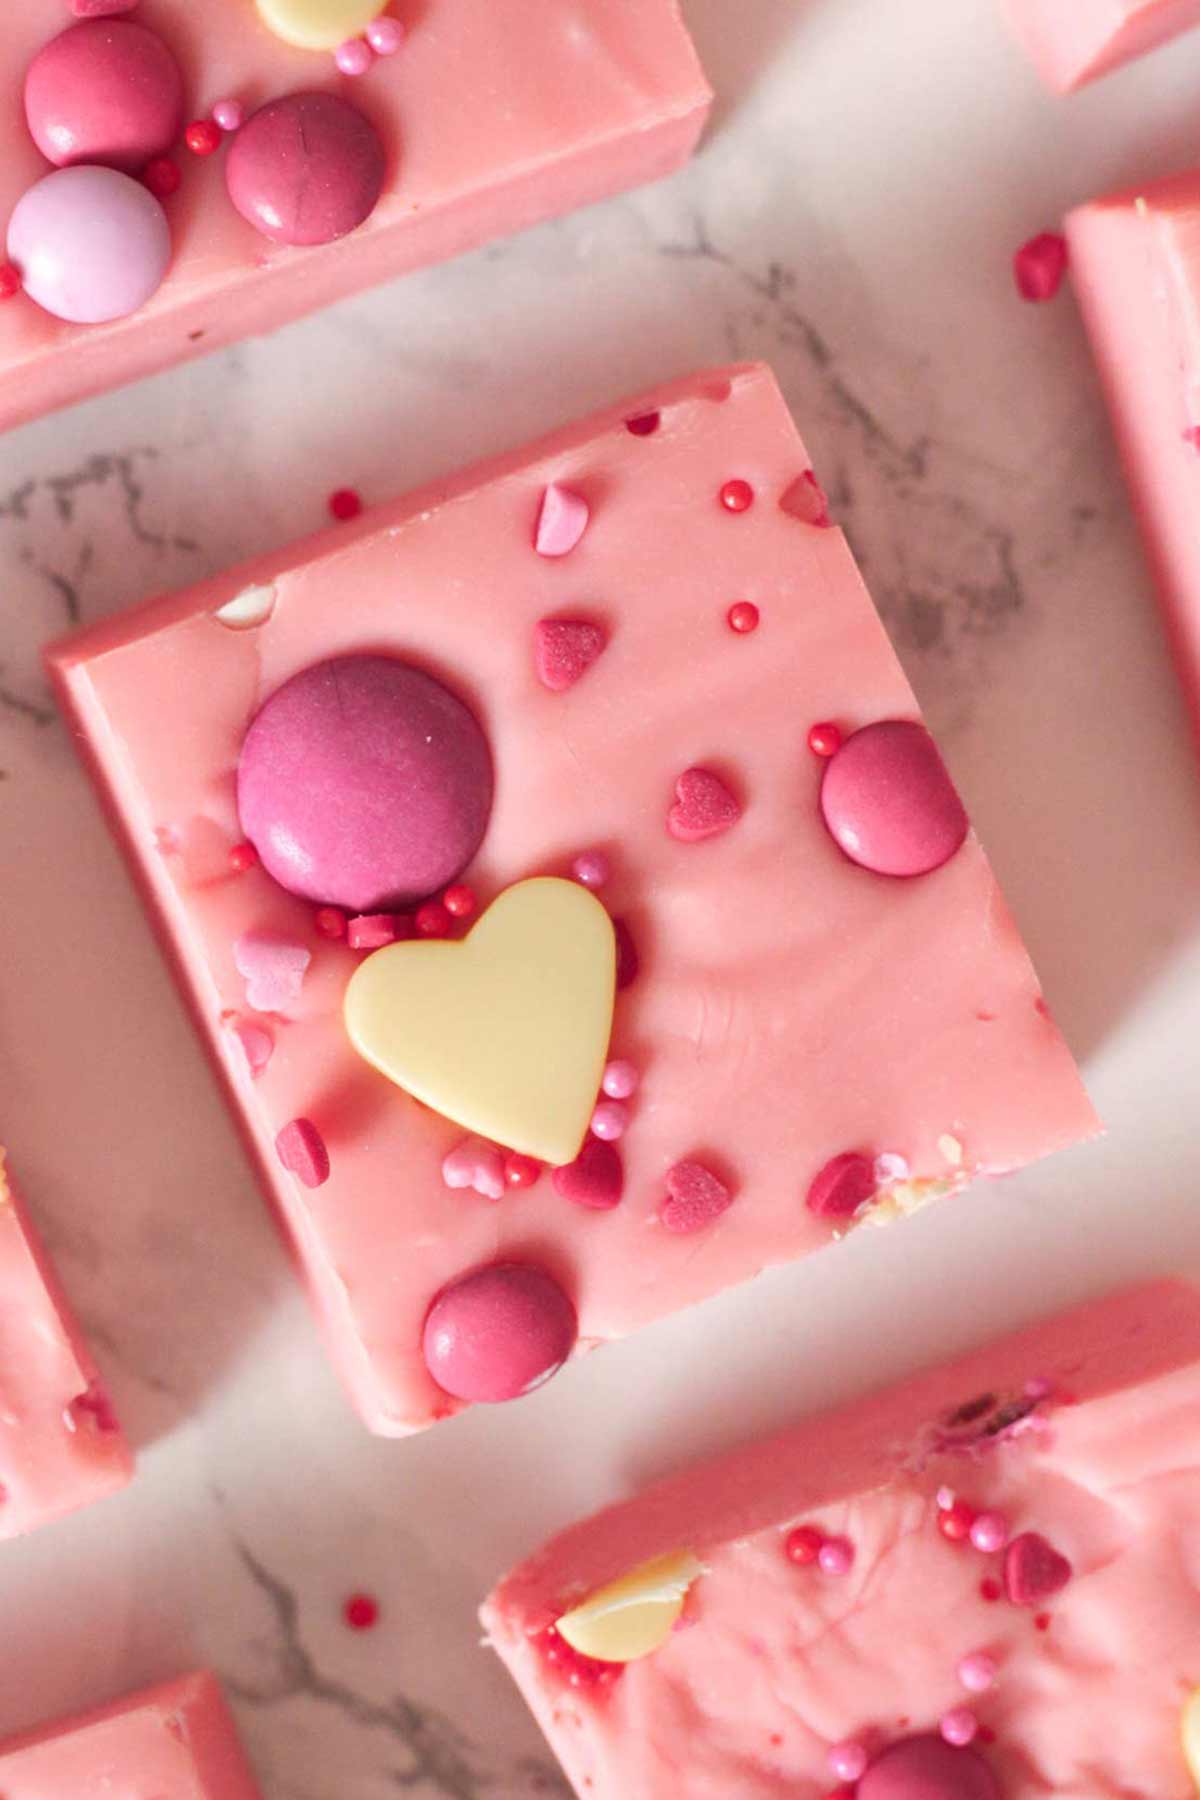
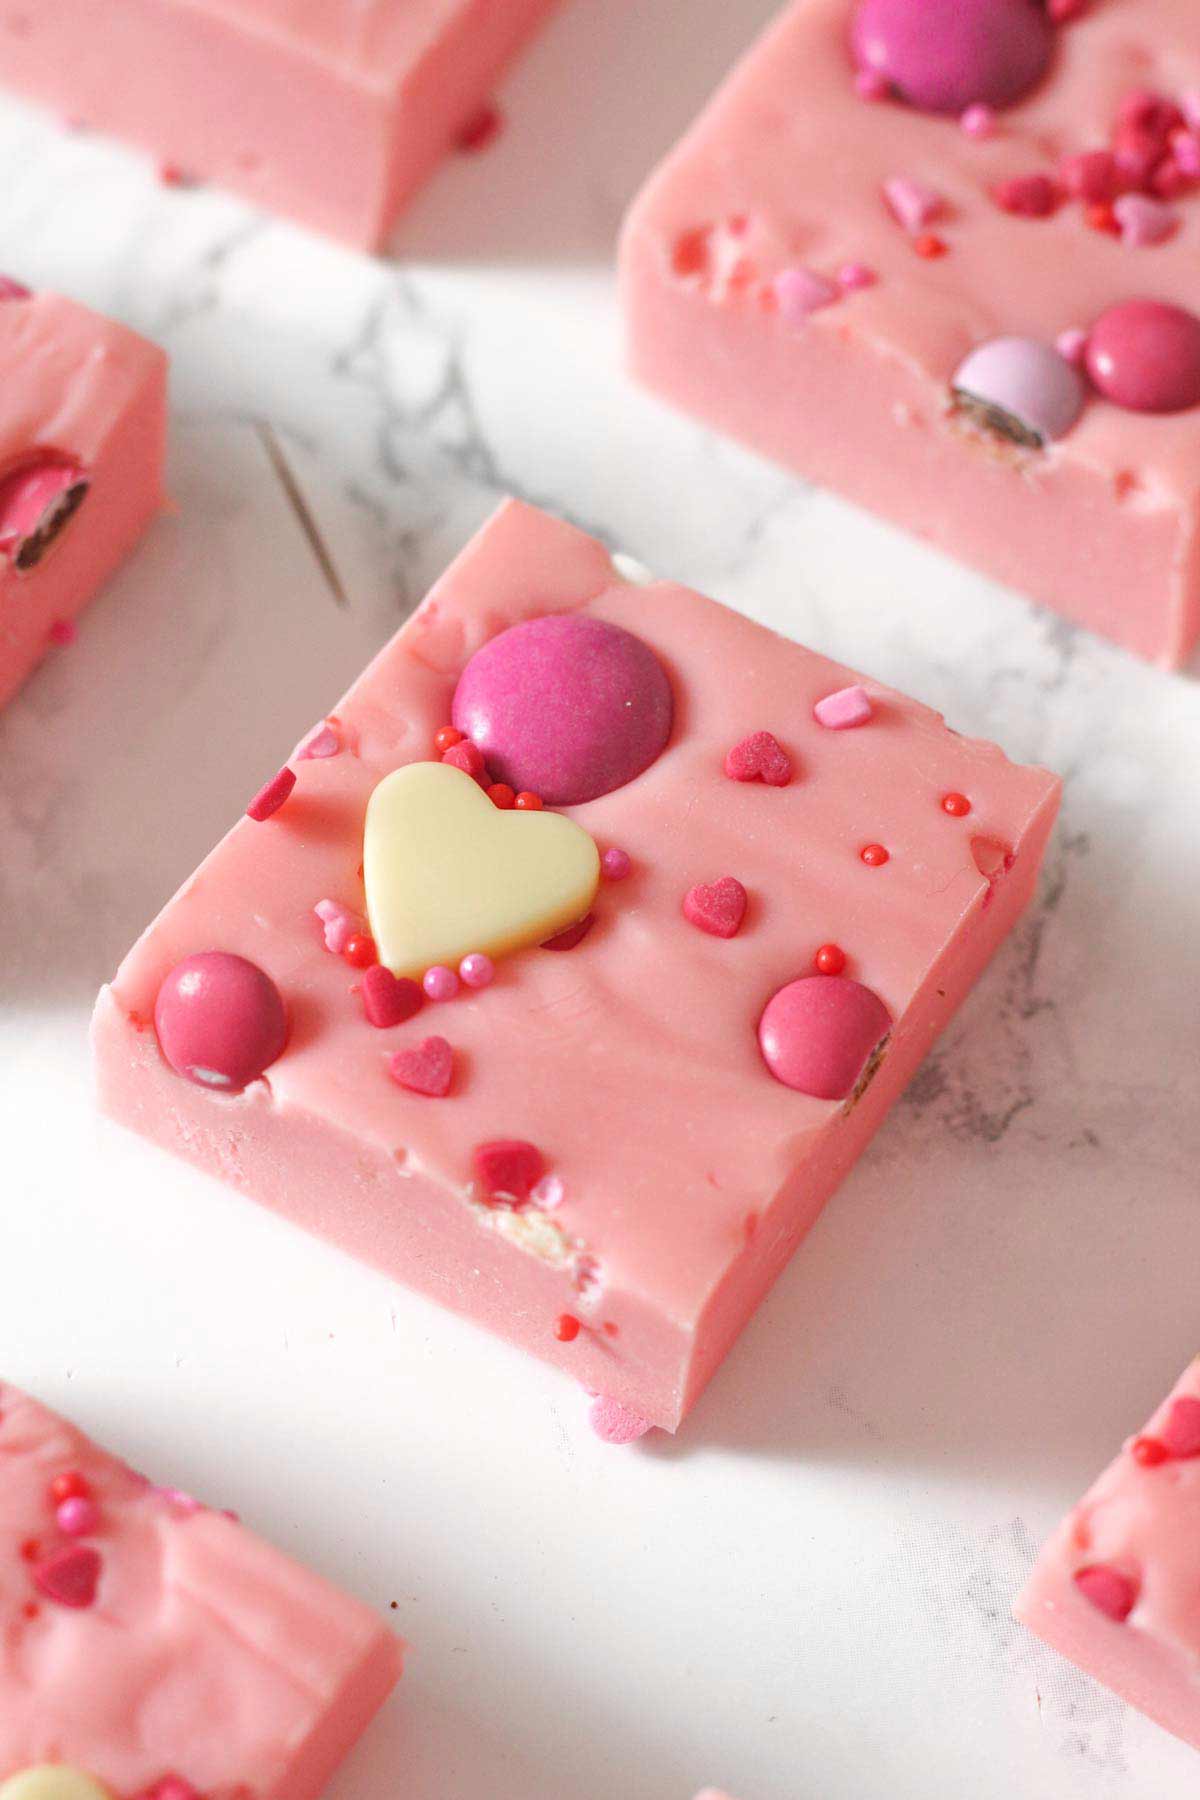
It's made with a white chocolate base and decorated with heart-shaped sprinkles and colourful chocolates. Much like my other fudge recipes, it contains just a handful of ingredients and it takes less than 10 minutes of prep time. It couldn't be easier!
This would a gorgeous edible gift or lunchbox snack but it's great for a quick and easy midday sweet-treat too. Whatever you decide to do with it, it's sure to be enjoyed by everyone! I can't wait for you to try it for yourself!
Ingredient Notes
Here's everything you need to make pink Valentine's Day fudge...
- White chocolate: White chocolate is the star of this fudge, making it easy to colour for Valentine's. You can use any type of white chocolate for this recipe- Milky Bar is my favourite but the cheaper ones work great too.
- Condensed milk: Condensed milk adds sweetness and transforms a plain old solid block of chocolate into creamy, decadent fudge. You'll need one 397g tin or 14oz. Don't get condensed milk confused with evaporated milk.
- Pink gel food colouring: This is what will give your fudge its lovely pink hue. Gel food colouring is more concentrated than liquid, so you'll need less of it to achieve a vibrant colour. You can use red food colouring instead if you prefer.
- Oil: Just a touch of oil helps to prevent the fudge from seizing up once you add the colouring. I usually go for a neutral oil like vegetable or sunflower oil.
- Decorations: To decorate my fudge, I used white chocolate hearts, pink Smarties, pink and purple 'chocolate beans', and a few different types of Valentine's Day sprinkles. Some other ideas are freeze-dried strawberries or raspberries, heart-shaped gummies or bite-sized Valentine's chocolates.
Equipment list
- 8x8-inch tin: This is the best size of tin to use because you'll get nice chunky squares while also getting up to 30 servings. If you'd like to use a different size of tin, use my cake pan converter tool to adjust the ingredient quantities accordingly.
- Baking paper: For easy removal of the fudge. I like to leave a bit hanging over each side of the tin.
- Saucepan: This is for melting the chocolate and condensed milk together. Alternatively, you can use a medium-sized heatproof bowl and melt them in the microwave.
- Utensils: You'll need a wooden spoon to thoroughly mix the food colouring into the melted fudge mixture and I recommend having a silicone spatula on hand for spreading it into the tin. You'll also need a sharp knife to cut the fudge into squares.
How to make Valentine's Day fudge
Step 1: Line an 8x8-inch tin with baking paper. Set it aside for now.
Step 2: Break 450g of white chocolate into segments and place it into a medium-sized saucepan with 397g (1 tin) of condensed milk.
Step 3: Place the saucepan over low heat on the stove and stir gently until it melts fully. The mixture should look thick and shiny.

Step 4: Remove the pan from the heat. Add about ¼ teaspoon of pink gel food colouring and ¼ teaspoon of oil and mix well. Repeat as necessary until you get your desired shade of pink.

Step 5: Transfer the fudge to your lined tin and spread it out all the way to the edges. A silicone spatula is handy for this.
Step 6: Top with your desired sweets and sprinkles then lightly press them into the mixture to help them stick properly.

Step 7: Refrigerate for 4 hours until firm. Remove it from the tin using the baking paper overhang then cut it into slices and enjoy!
Top Tips
- For a marbled effect, keep a small portion of the white chocolate mixture aside before adding the pink colouring. Swirl it through the pink fudge before it sets.
- To achieve sharp, clean slices of fudge, dip your knife in hot water and wipe it dry between slices. This will prevent that crumbly, dry look chocolate fudge can sometimes have.
- For more flavour, add a couple of tablespoons of freeze-dried strawberry pieces into your fudge mixture, or add a small splash of strawberry extract.
- Pink food colouring can be swapped for red or purple for an alternative Valentine's look.
- If your fudge isn't setting, check out my troubleshooting post: Why Won't My Condensed Milk Fudge Set?
FAQs
You can but it will take a lot more of it to get a vibrant colour and therefore may affect how firmly your fudge sets. I'd recommend using gel if you can.
If you store it properly in an airtight container in the fridge, the fudge will keep for up to 2 weeks. If you can resist eating it for that long, that is!
Yes, you can freeze this fudge for up to 3 months. Either wrap the whole slab tightly in clingfilm or cut it into squares and place them into an airtight container. If you want to stack your fudge pieces in the container, you can put small squares of baking paper in between layers to prevent them from sticking together. To defrost, transfer it to the fridge and leave it there overnight. Do not refreeze.
Yes, if you prefer a regular chocolate fudge rather than a pink one, you can swap the white chocolate out for an equal amount of milk chocolate. Make sure to use extra bright decorations to give it a similar Valentine's feel.
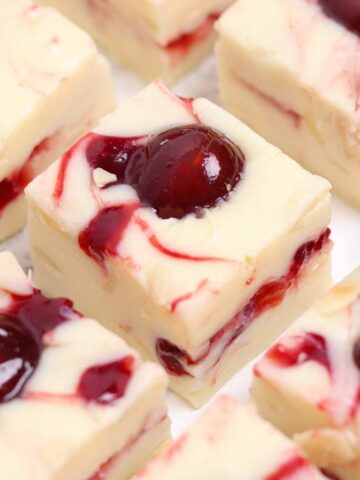
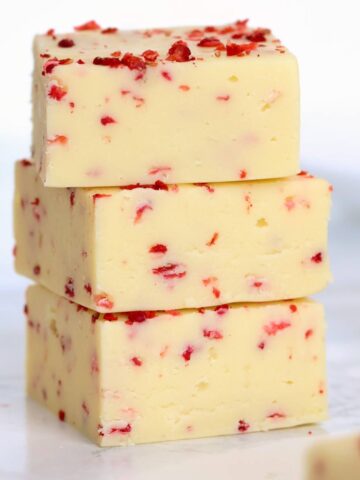
More Valentine's Day desserts:
I hope you like my Valentine's Day fudge! If you make this recipe at home, please leave a rating and comment below to let me know how it goes. Enjoy!

Pink Fudge For Valentine's Day
Ingredients
- 450 g White chocolate (16 oz)
- 397 g Condensed milk (14 oz)
- Pink gel food colouring (start with ¼ teaspoon and add more as needed)
- ¼ Teaspoon Oil
- 1 Handful Pink, red & purple sweets and/or sprinkles
Instructions
- Line an 8x8-inch tin with baking paper.
- Break the white chocolate into chunks and place it into a saucepan with the condensed milk.
- Place the saucepan over low heat and stir gently until the chocolate has melted and the mixture is thick. Alternatively, you can do this in the microwave, stirring every 20 seconds or so to prevent burning.
- Remove the mixture from the heat and stir in the pink food colouring and the oil.
- Transfer the fudge mixture to your lined tin then top with your sweets and sprinkles. Gently press them into the fudge to help them stick.
- Refrigerate for 4 hours until firm, then cut into squares and enjoy.
Video
Notes
- Store in an airtight container in the fridge for up to 2 weeks.

Leave a Reply