These Oreo bat truffles are SO fun to make and even more fun to eat! They are a spooky but cute Halloween twist on regular Oreo balls, and they're made with just 4 simple ingredients! Perfect for school parties or movie night snacking.

If you've been following my blog for any length of time, you'll know that I absolutely LOVE me a themed bake! I've been especially enjoying Halloween baking this year and I recently had a go at making some Oreo bat truffles. They turned out so cute that I had to remake them to share my recipe with you!
They are essentially regular old Oreo balls, but with some googly eyes and 'wings' added; super low effort but they look very impressive! I think they'd be great to take along to a Halloween party or for handing out to trick-or-treaters. Whatever you do with them, I can guarantee they'll be eaten up quickly!
I've written a post below to help any beginner bakers who might be reading this- that is what my blog is all about! It includes all of my ingredient notes and substitutions, step-by-step images, top tips and lots more. If you'd prefer to jump straight to the recipe card for the short, bullet-pointed recipe, you'll find this at the end of the post. Enjoy!
Here's what you need
Grab the following ingredients to get started:
- Oreos: You'll need two packs to make the truffles, plus an extra 8 individual cookies for the wings. It's good to have plenty of extras since they are quite prone to breaking. I used regular Oreos for the truffles and chocolate creme Oreos for the wings.
- Cream cheese: This helps to bind the Oreo crumbs together into balls. Full-fat cream cheese will work best. If you're using a cheaper brand of cream cheese, try to get rid of any excess water before adding it to your bowl as this can cause your mixture to become soggy.
- Milk chocolate: For coating the truffles. Dark or semi-sweet chocolate is fine too if you want your bats to be less sweet.
- Edible eyes: The finishing touch that brings our bats to life! If you need an alternative to edible eyes, you can pipe small circles of white chocolate onto a sheet of baking paper, leave them to dry, then pipe a dot of black icing or milk chocolate in the centre.
Equipment
- High-powered blender: Or a food processor, to blitz the Oreos into very fine crumbs. Make sure to run your hands through to check there are no lumps left, as this will affect how well your truffles hold their shape.
- Baking tray: Lined with baking paper or clingfilm, to rest your bat truffles onto while they set.
- Microwave-safe bowl: Or a small saucepan, to melt the chocolate.
- Forks: For dipping the truffles into the melted chocolate. Using a fork works best for me but you can use professional dipping tools if you prefer.
- Sharp knife: To cut the Oreos into 'wings'. A large, sharp knife is crucial for clean cuts- I also tested with a serrated knife and had way more breakages.

How to make Oreo bat truffles step-by-step
Step 1: Line a large tray with baking paper. Set it aside for now.
Step 2: Make your bat wings by twisting apart 8 Oreos to make 16 Oreo halves. Then cut each piece down the centre using one swift motion with a sharp knife. Be aware that some will break but you can use those for the bat 'bodies'.
Step 3: Once you have 30 wings in total, start preparing your truffles. Place 308g of Oreos into a food processor or blender and blitz until you have fine crumbs.
Step 4: Add the crumbs to a large bowl along with 150g of full-fat cream cheese. Mix well then press it all together into a large ball.
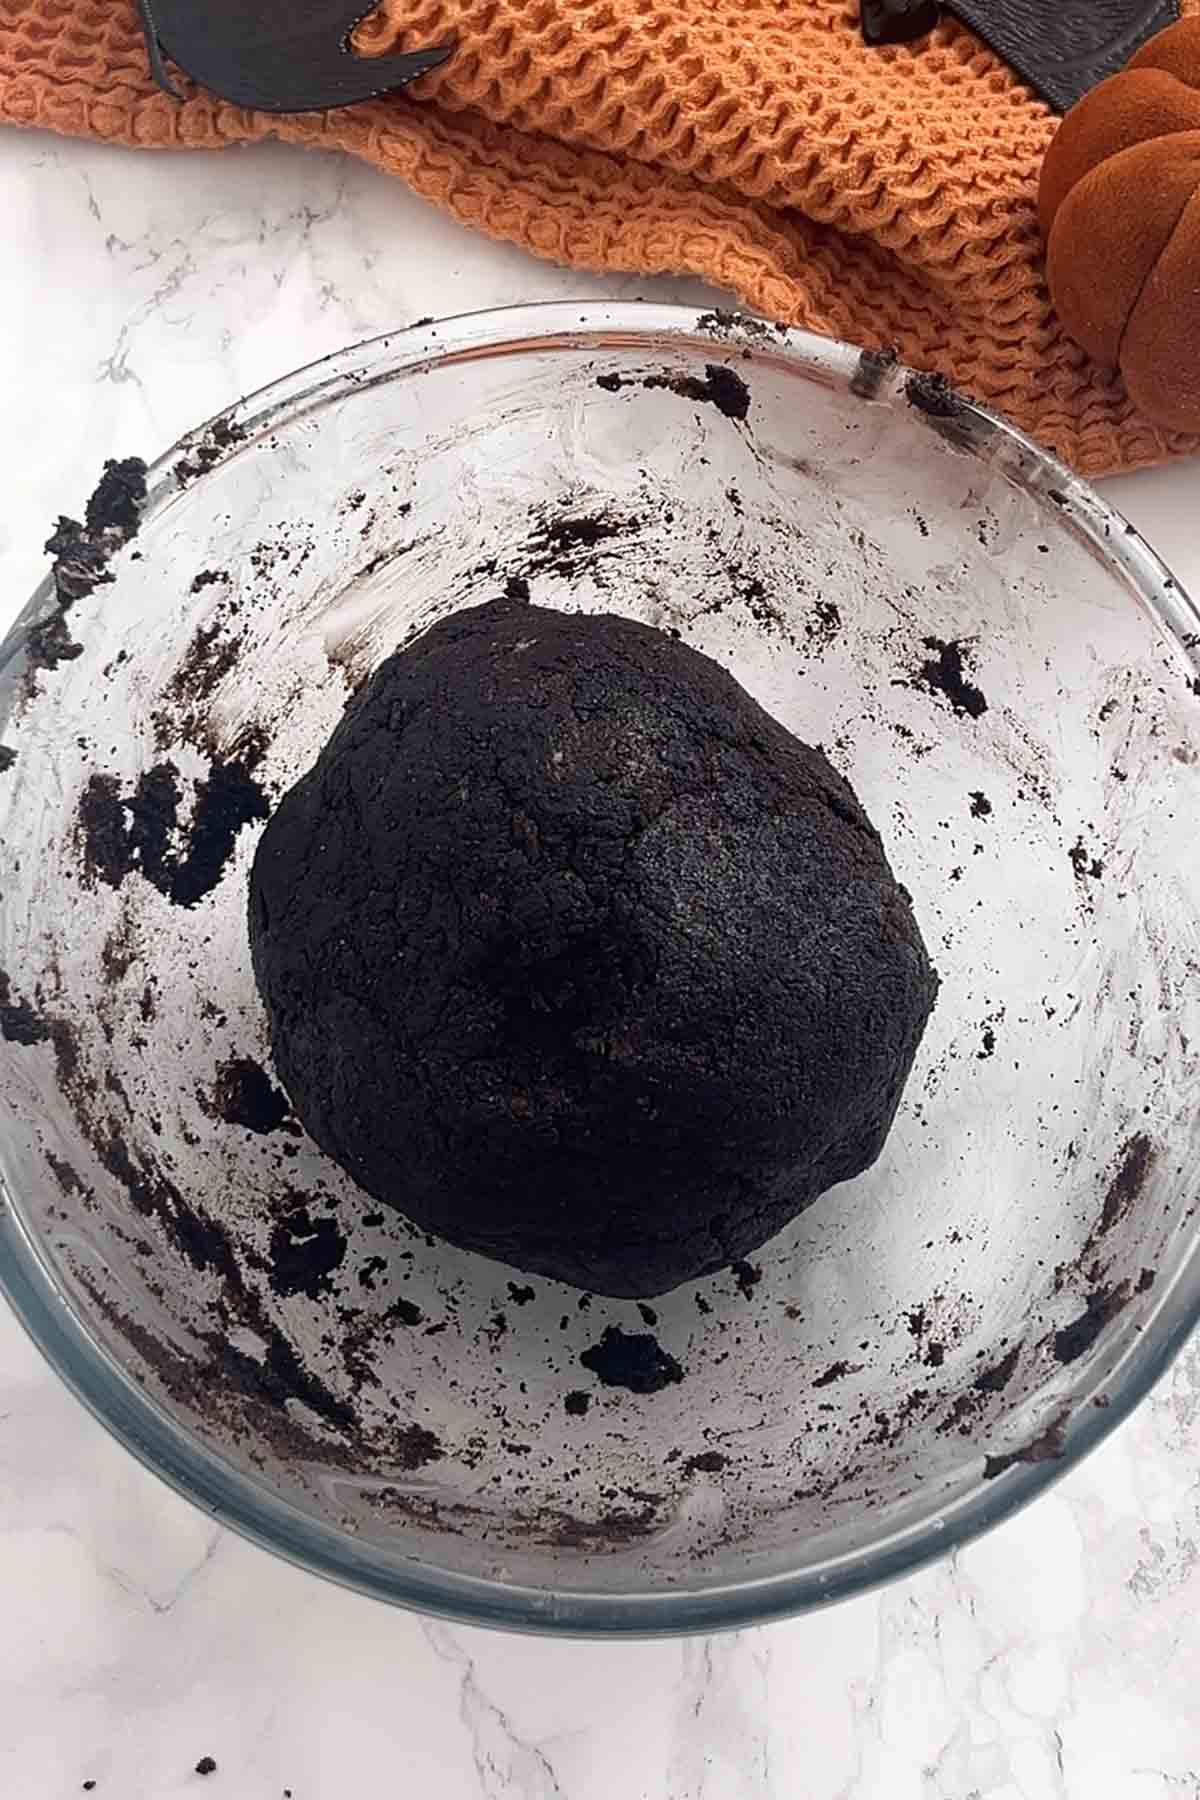
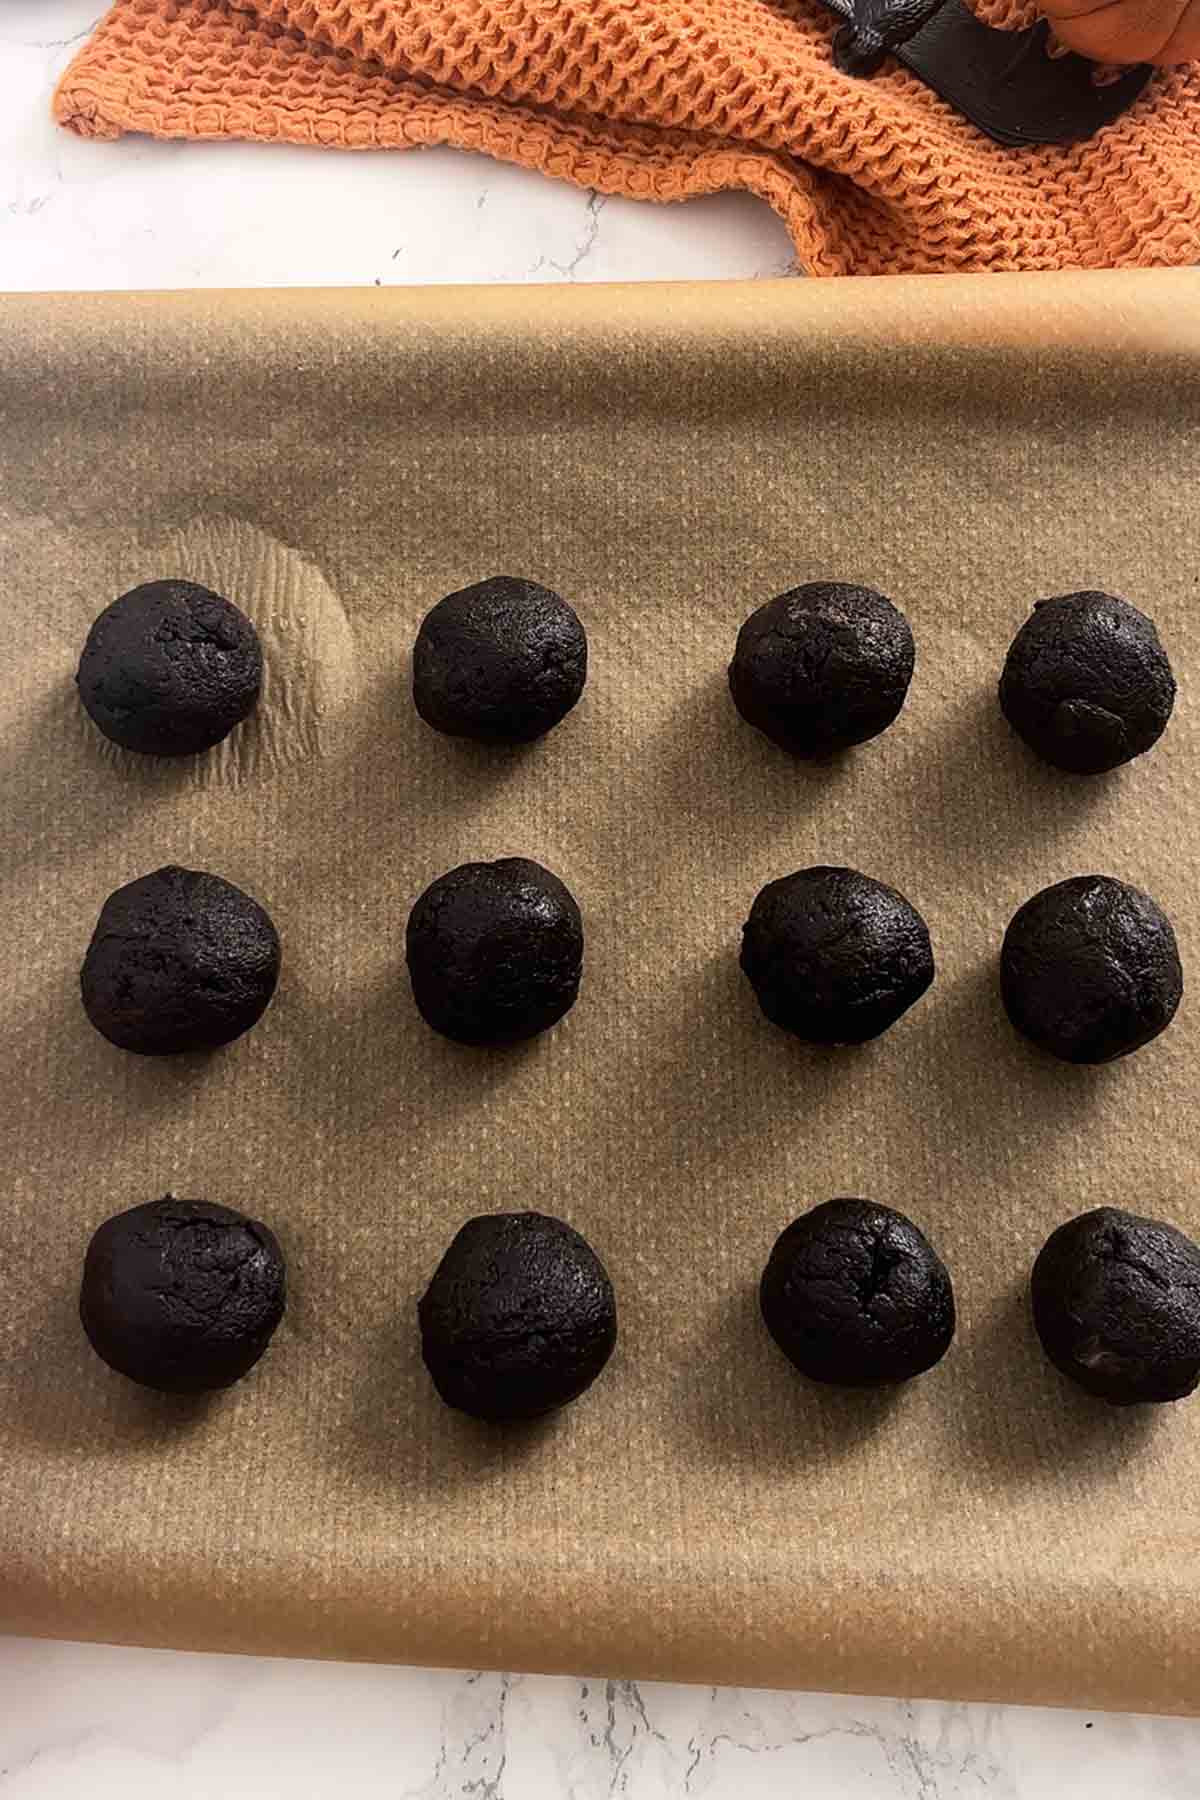
Step 5: Divide the mixture into 15 equal-sized pieces. Roll each piece into a ball then place them onto your lined tray and refrigerate for 1 hour.
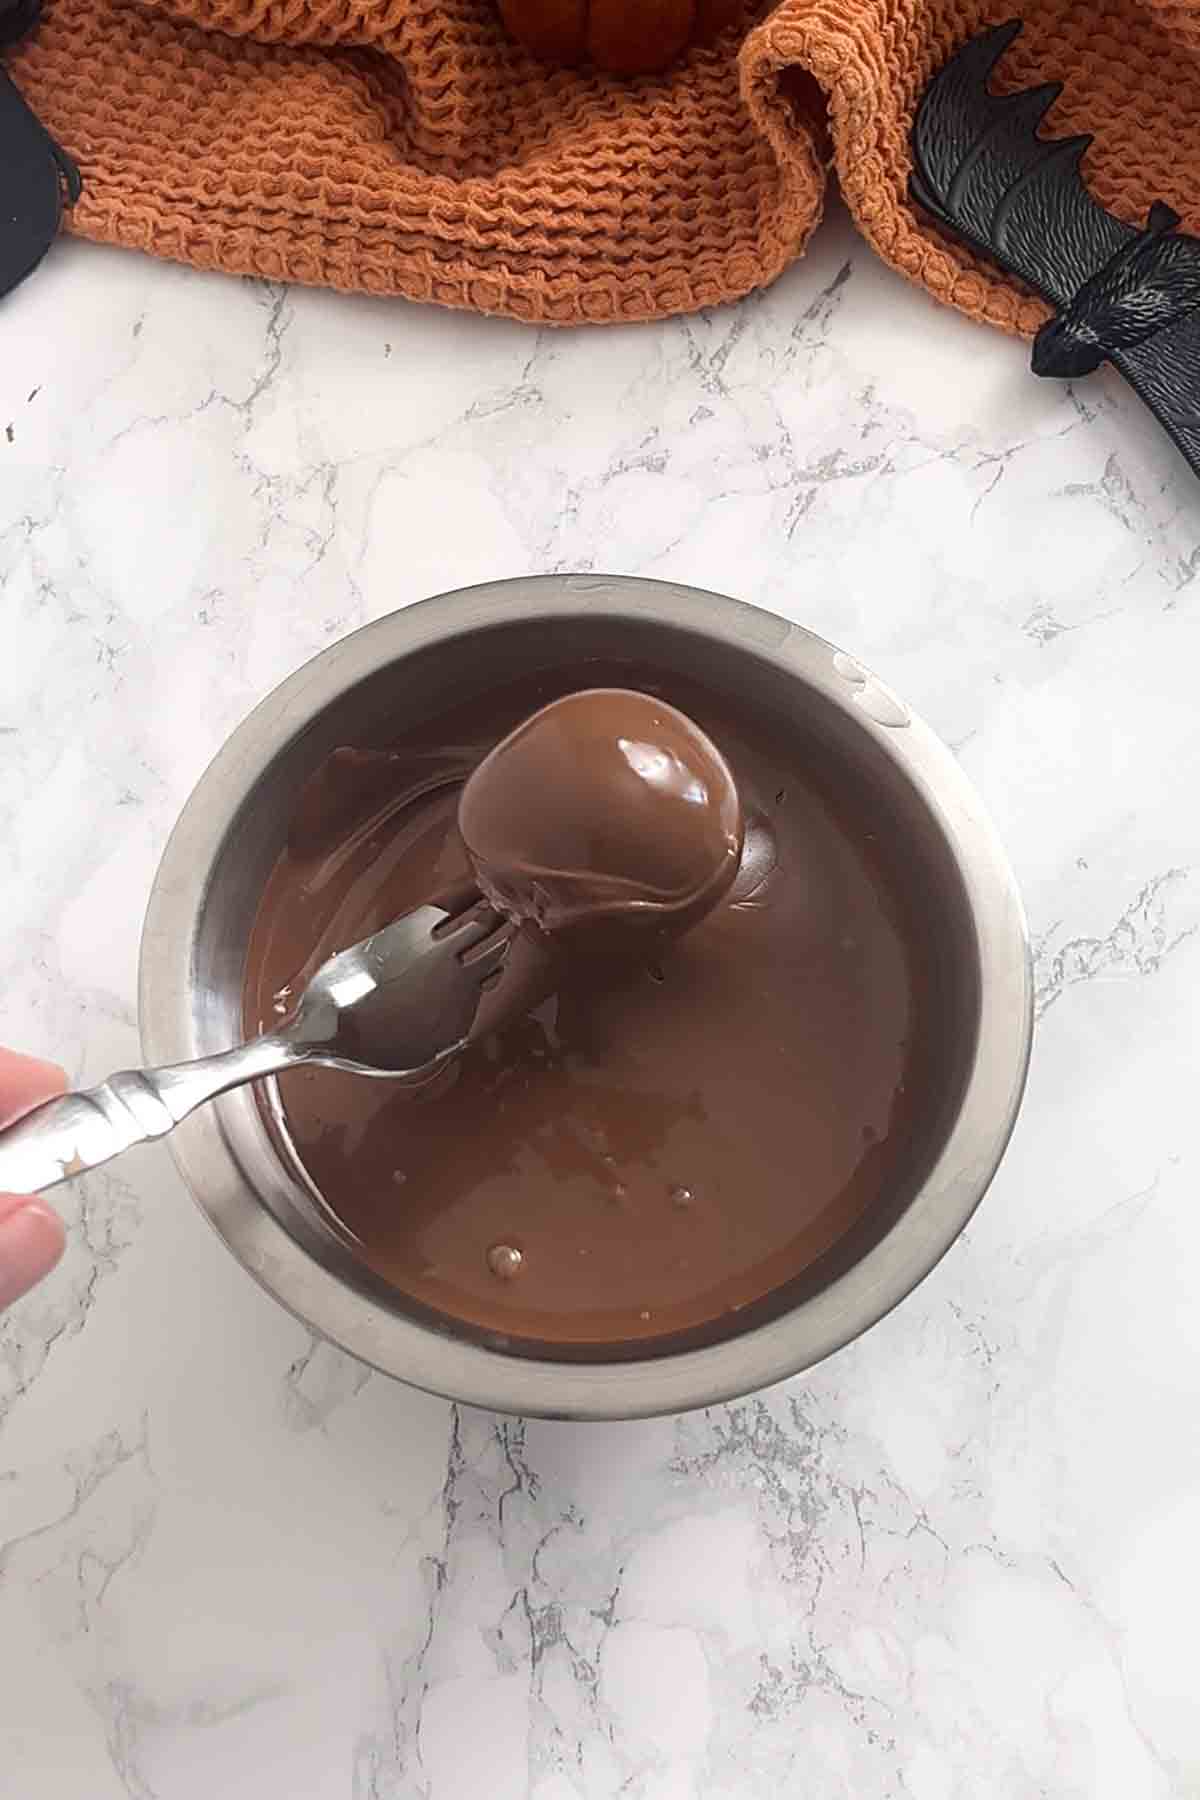
Step 6: After the hour has passed, melt 400g of milk chocolate. Dip an Oreo truffle into the chocolate, shake off the excess, then place it back onto your lined tray.
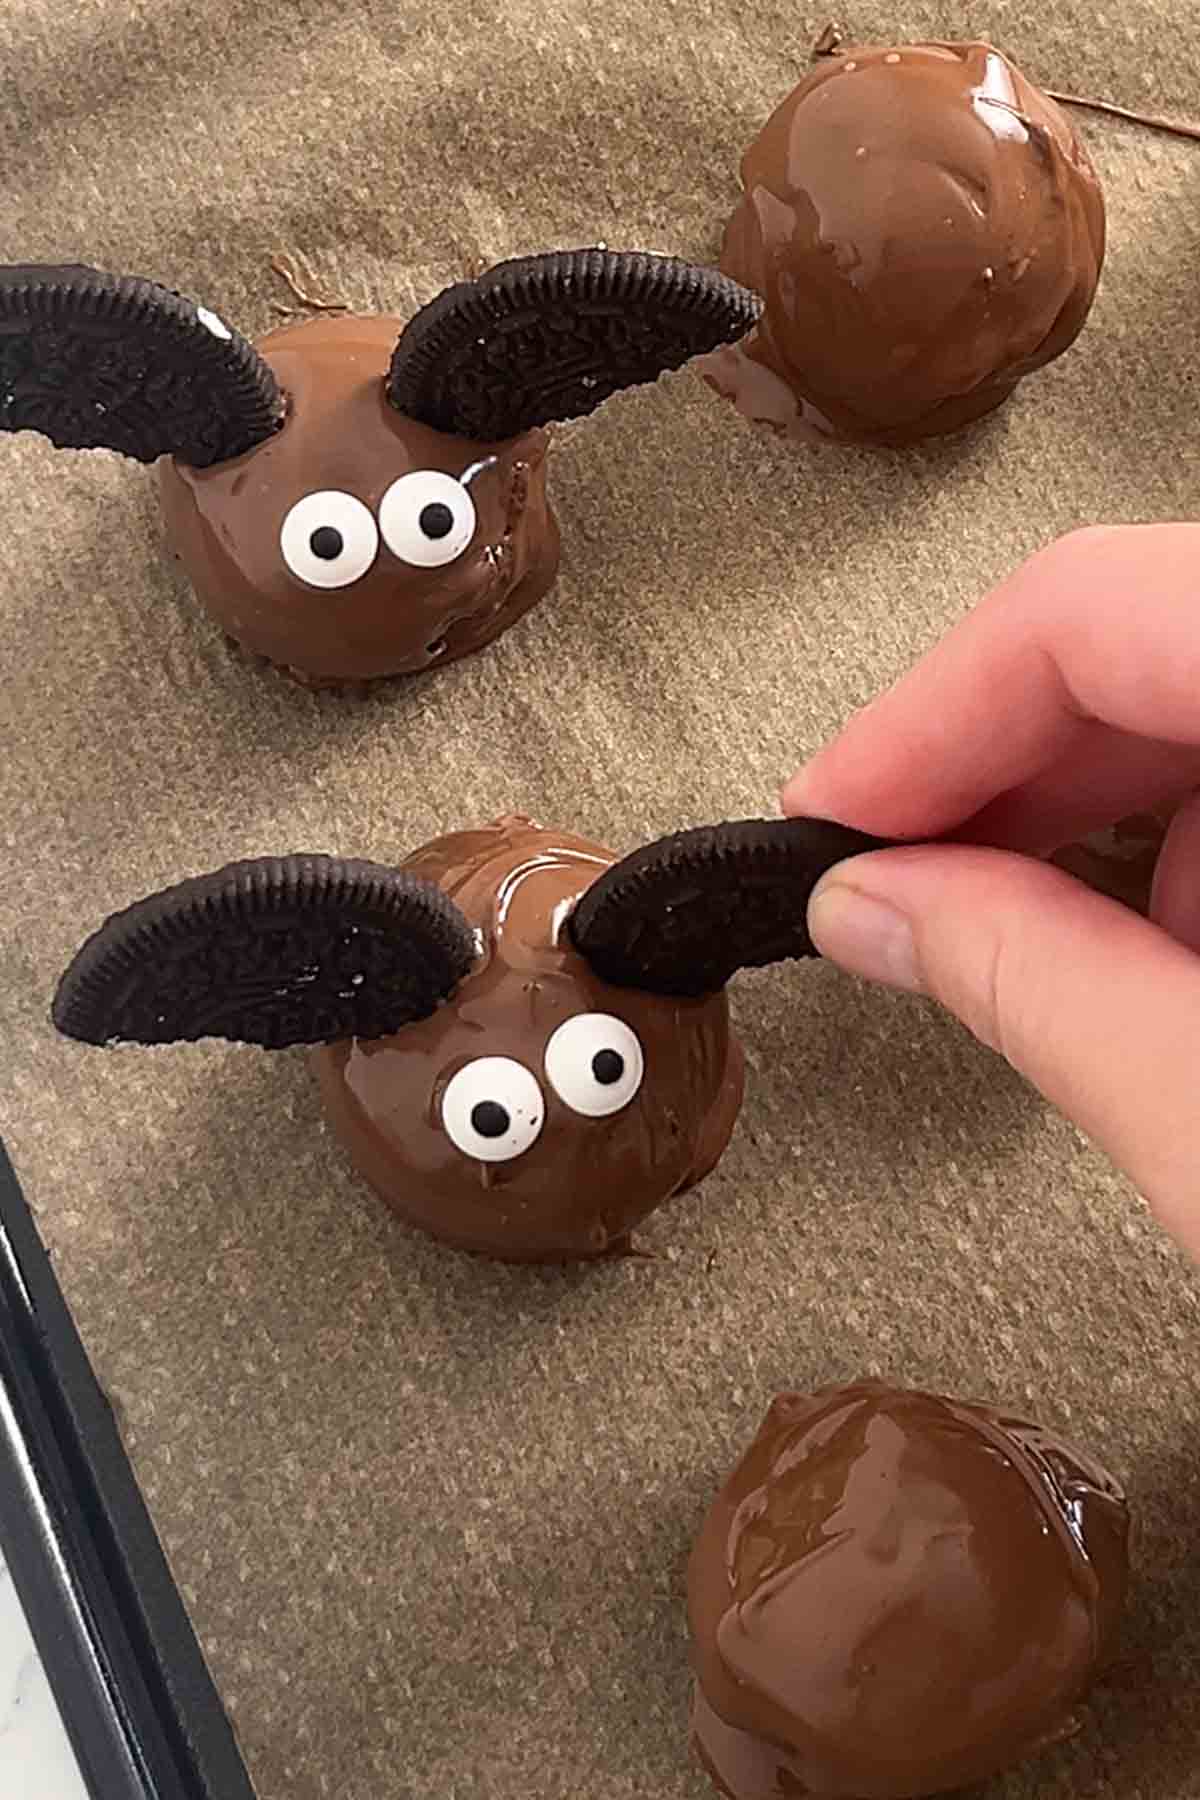
Step 7: Gently push one wing into each side then stick two edible eyes onto the front. Repeat for each truffle.
Step 8: Place your truffles back in the fridge for 2 more hours, then serve and enjoy!
Truffle tips
- If you don't have a food processor, place the Oreos in a sealed plastic bag and crush them with a rolling pin. Make sure to crush them as finely as you can.
- Add the wings and eyes after you've dipped 2-3 truffles rather than waiting until the end. The chocolate tends to set quite quickly on the cold truffles.
- If the chocolate starts to harden while you're working, place the bowl over a pan of boiling water to keep it soft.
FAQs
Yes, you can make these up to 3 days in advance and store them in an airtight container in the fridge. Just know that the Oreo 'wings' will soften slightly over time. If you're making them for a special occasion, I'd recommend making them the day before or on the day itself for the best flavour and texture.
This recipe makes 15 truffles using about 1+½ tablespoons of the mixture for each one. You can make them smaller or larger to suit your needs, or even double the recipe.
Yes, these can be made using gluten-free Oreos (or any gluten-free Oreo knock-offs). Double-check the rest of your ingredients are also gluten-free, as this can vary from brand to brand.

More Halloween treats
- Halloween Cornflake cakes
- Spider Rice Krispie treats
- Nutella mummy puff pastries
- Ghost chocolate strawberries
- Halloween fudge
I hope you like these Oreo bat truffles! If you make them at home, please leave a comment and rating below to let me know what you think. Enjoy!

Oreo Bat Truffles
Ingredients
- 3 Packs Oreos (462g/16.2oz)
- 150 g Full-fat cream cheese (⅔ cup)
- 400 g Milk chocolate (14oz)
- 24 Edible eyes
Instructions
- Carefully twist apart 8 Oreos then cut each half down the middle to make your bat 'wings' (each Oreo will make 4 wings). The best way to slice them is to press straight down with a sharp knife in one quick motion, rather than sawing. Don't worry if some break as you can use those pieces in the next step. You'll need 30 wings in total (enough for 15 bats).
- Place 2 packs of Oreos (308g) into a food processor or high-powered blender. Blitz them into fine crumbs.
- Add the Oreo crumbs to a large bowl with the cream cheese. Mix well then use your hands to press it together into a large ball.
- Divide the mixture into 15 equal-sized pieces and roll each piece into a ball. Place them onto a lined baking tray then pop them in the fridge to chill for 1 hour.
- Melt the milk chocolate then dip each truffle, tapping gently to get rid of any excess. Set them back onto your lined tray then carefully push an Oreo wing into each side. Finish each one with two edible eyes.
- Chill in the fridge for 2 more hours then enjoy!
Video
Notes
- Store the truffles in an airtight container in the refrigerator for up to 3 days.


Leave a Reply