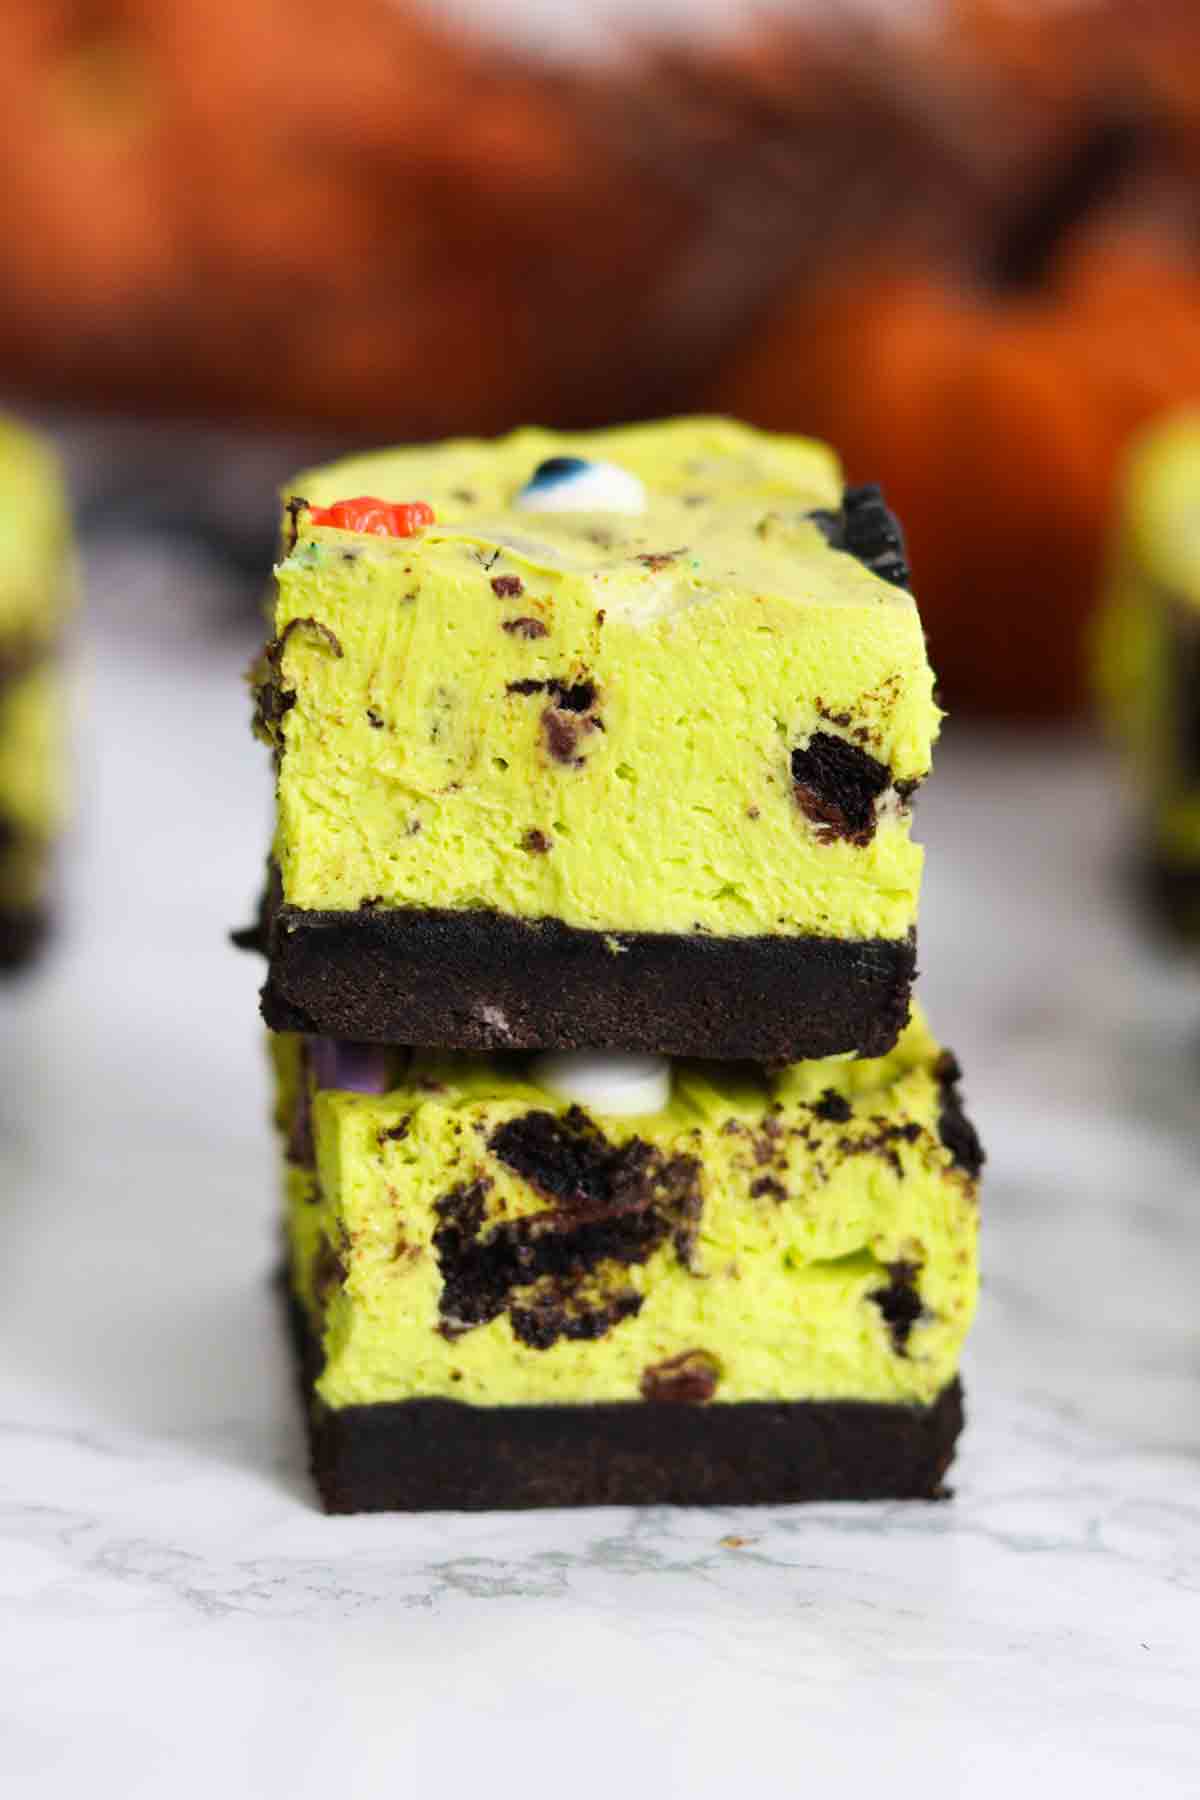
These no-bake Halloween cheesecake bars are a fun twist on classic cheesecake, with their striking electric green filling, jet-black Oreo base and spooky decorations. They're great for parties and kids will love them!

This year I was determined to make a spooky cheesecake since I didn't get round to it last year, and honestly, these Halloween cheesecake bars turned out even better than I hoped! They were relatively easy to make and because there was no baking involved, the whole process was super fast, making them perfect for a last-minute party treat.
They disappeared pretty quickly when I shared them with my taste testers and I can confirm they received rave reviews! I can't wait for you to make them and see how fun (and tasty) they are!
Here's what you'll need
Grab all of your ingredients and let's get started!
- Oreos: These make up the black base of the cheesecake, and we'll also add some into the filling for extra chocolatey bits. You can use any flavour of Oreos that you like.
- Butter: For binding the base together. I prefer using unsalted butter for cheesecake.
- Cream cheese: This is the main ingredient for our filling. Full-fat cream cheese gives the best texture and flavour in my experience. Avoid low-fat alternatives as they won't set firmly enough to slice.
- Icing sugar: This is the best type of sugar to sweeten cheesecake with as it dissolves super easily into the filling, meaning no gritty texture!
- Vanilla extract: For a splash of extra flavour.
- Double cream: Or heavy whipping cream if you're not in the UK. When whipped, this is what will help the cheesecake bars hold their shape later on.
- Gel food colouring: I used Colour Splash in 'lime green' but any electric green colour should work fine. If you can't find any, feel free to use orange or purple food colouring instead for a similar Halloween vibe.
- Halloween sprinkles: I used a mixture of edible eyes and Cake Decor Halloween sprinkles to decorate my bars with. Use whatever black, purple, green, orange or spooky decorations you have on hand!
Kitchen equipment
- Food processor: Or a high-powered blender, for crushing the Oreos into fine crumbs. You can also do it the old-fashioned way using a bag and a rolling pin if you don't mind the arm workout!
- 8x8-inch tin: A 9x9-inch tin will also work fine but your bars will be a bit thinner. If you'd like to use an even larger tin, use my cake pan converter to adjust the recipe to fit.
- Baking paper: Get it all the way up the sides of the tin too, which will make removing it super easy.
- Electric whisk: Or a stand mixer, to whip the filling up nice and thick. You don't need to whisk for long, so don't worry about needing fancy equipment- a cheap electric hand whisk does the job just fine.
- Mixing bowls: A large one for the filling and a medium one for the base.
- Utensils: A wooden spoon and a couple of small metal spoons for mixing, a teaspoon for measuring, and a sharp knife for cutting.
- Food scale: I test all of my recipes in grams so using a scale will give you the best results.
How to make Halloween cheesecake bars step-by-step
Step 1: Line an 8x8-inch tin with baking paper, leaving some excess at the sides for easy removal.
Step 2: Place 300g of Oreos into a blender or food processor and blitz until you have fine crumbs. Run your fingers through to make sure there are no large lumps left in there.
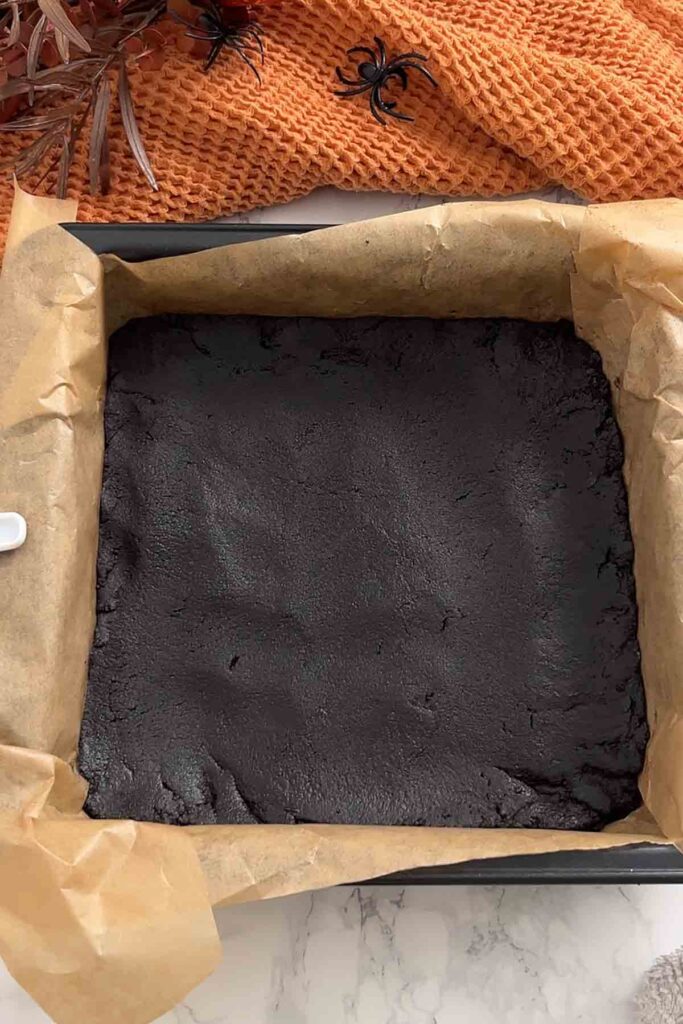
Step 3: Pour the crumbs into a large bowl along with 100g of melted butter. Mix well until the crumbs are evenly coated, then transfer to your lined tin and press down evenly into place.

Step 4: Now let's make the filling. In a large bowl, mix together 500g of full-fat cream cheese, 80g of icing sugar and 1 teaspoon of vanilla extract.
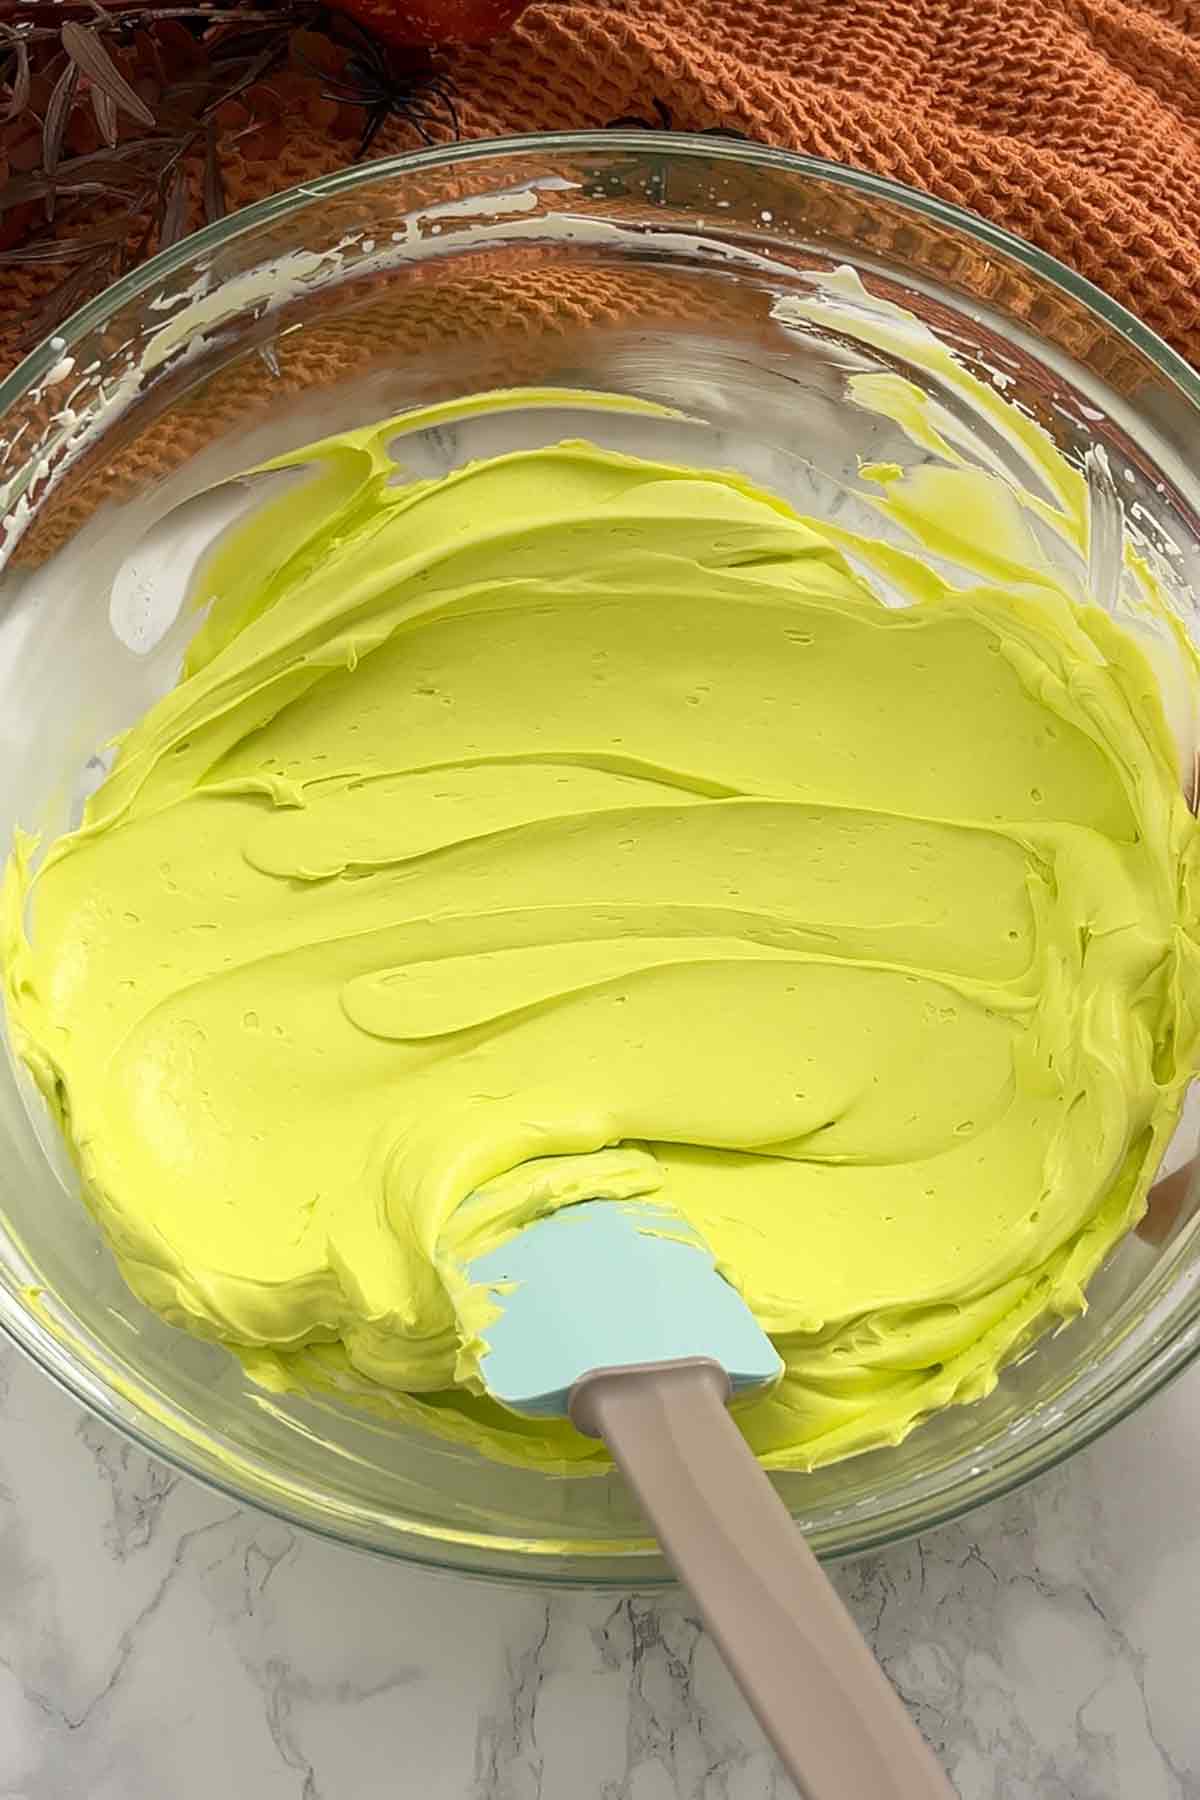
Step 5: Once that's smooth, add 200ml of double cream. Using an electric whisk or stand mixer, whip the filling up until it becomes thick.


Step 6: Add a small amount of lime green food colouring and briefly whisk the mixture again to incorporate. If you want a brighter colour, repeat as necessary, using a little at a time.
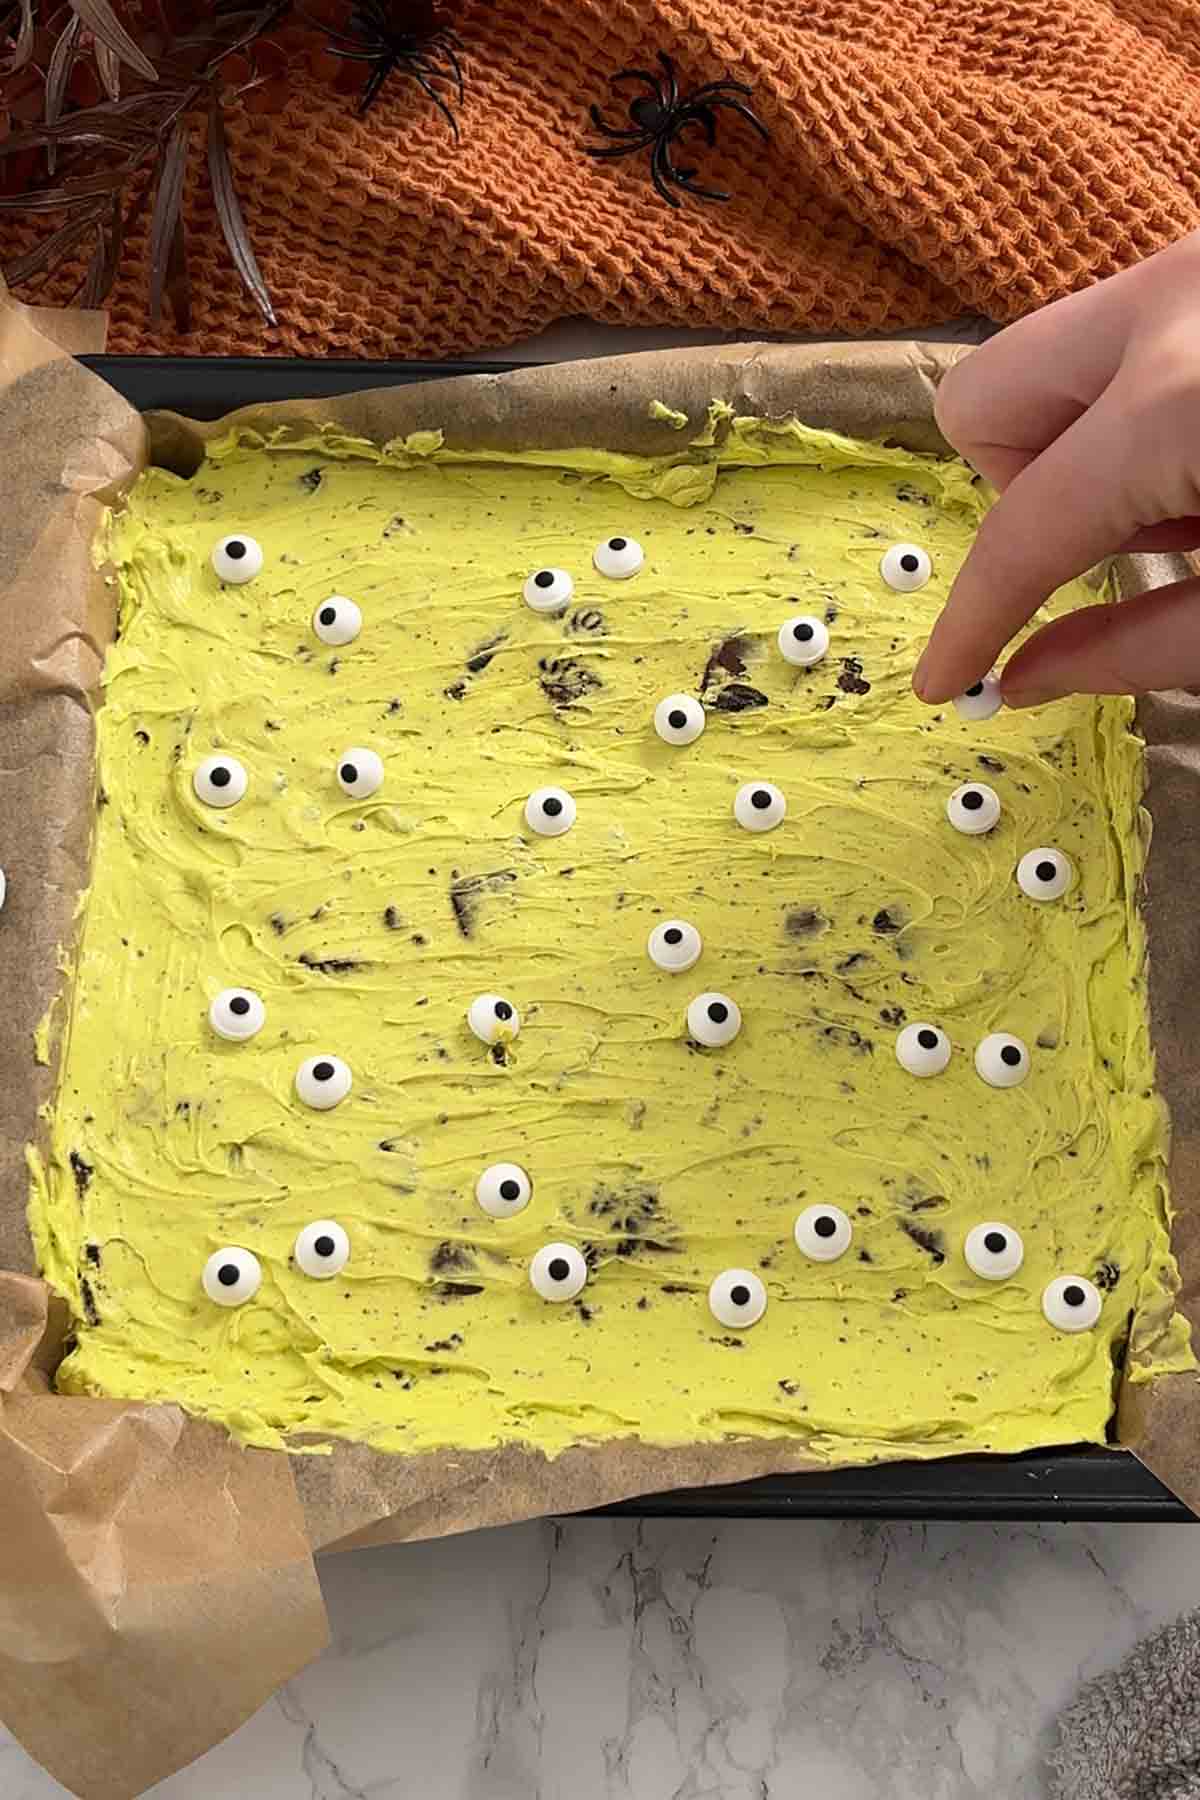
Step 7: Spoon the green cheesecake filling onto your Oreo base in the tin and spread it out to the edges. Top with Halloween sprinkles then pop it in the fridge overnight to set, or for at least 6 hours.
Step 8: Once set, just remove it from the tin, cut it into bars and enjoy!
Tips and tricks
- For a spookier look, try dying a few tablespoons of the filling black then swirling it through the green, to create a marbled effect.
- To get super neat and clean slices, wipe your knife clean in between each cut.
- The filling should hold stiff peaks before you spoon it into the tin. If it's not firm enough, it won't set properly and you won't be able to slice it.
FAQs
Use a good quality gel food colouring rather than liquid, as this will give you a much more vibrant colour with less product. I usually start with a small amount, about ¼ teaspoon, and gradually add more until I reach the desired shade. Remember, you can always add more, but you can't take it away!
When stored in an airtight container, these bars will keep well in the fridge for up to 4 days. However, the sprinkles/edible eyes might start to 'bleed' into the filling after a couple of days, so it's best to make it the day before if it's for a special occasion.
Yes, you can freeze these cheesecake bars for up to 3 months in airtight containers. I'd recommend freezing them without the edible eyes and sprinkles, as these can become soggy when defrosted. They can be added just before serving.

More no-bake Halloween treats
- Spider Rice Krispie treats
- Halloween Cornflake cakes
- Oreo bat truffles
- Halloween fudge
- Ghost chocolate strawberries
I hope you like my Halloween cheesecake bars. Let me know what you think of the recipe by leaving a rating and comment below. Enjoy!

Halloween Cheesecake Bars
Ingredients
Base:
- 300 g Oreos (10.5 oz)
- 100 g Butter, melted (7 tablespoons)
Filling:
- 500 g Full-fat cream cheese (17.6 oz) (~2+¼ cups)
- 80 g Icing sugar (⅔ cup) powdered sugar
- 1 Teaspoon Vanilla extract
- 200 ml Double cream or heavy whipping cream (½ cup + 5 tablespoons)
- Lime/electric green gel food colouring (start with ½ teaspoon and increase as needed to get your desired colour) I used Colour Splash lime green
- 10 Oreos, roughly crushed
Topping
- Handful Edible eyes
- Handful Halloween Sprinkles
Instructions
- Line an 8x8-inch tin with baking paper.
- Crush the Oreos into fine crumbs using a food processor or high-powered blender.
- Add the crumbs to a bowl with the melted butter and mix well. Press evenly into your lined tin.
- Mix the cream cheese, icing sugar and vanilla extract together in a large bowl. Then add the double cream and use an electric whisk or stand mixer to whip everything up until thick.
- Add the lime green food colouring then whisk briefly to incorporate. Fold in the crushed Oreos.
- Spoon the filling over the Oreo base in the tin and spread it out evenly.
- Top with edible eyes and Halloween sprinkles then set in the fridge overnight to set, or for at least 6 hours.
- Once set, remove from the tin, cut into bars and enjoy!
Video
Notes
- Store leftovers in an airtight container for up to 4 days.

Leave a Reply