
These spider Rice Krispie treats are a fun, spooky twist on the classic square bars. With their chocolate bodies and biscuit legs, they're great for Halloween baking with kids and they are sure to be a hit at parties!

I've been seeing these adorable Halloween spider Rice Krispie treats all over Pinterest recently, and I loved them so much that I just had to recreate them myself with my own little twist. They are spooky, fun and cute all at once: the perfect Halloween party treat or movie-night snack.
These chocolatey treats are easy to make with just 7 basic ingredients and the method is super simple too. They're also really easy to customise- you can make big spiders, mini ones, colourful ones, or even add different flavour extracts depending on what you fancy. They are guaranteed to look impressive on a Halloween dessert table, even though they take very little effort to make!
Gather your ingredients
If you're ready to get started, grab the following ingredients...
- Mikado or pretzel sticks: I used Mikado biscuit sticks (Pocky sticks) because they're already covered in chocolate, meaning they blended in perfectly with the chocolate spider bodies. If you can't get hold of them, pretzel sticks will work great too.
- Butter: This helps to bind everything together and give more 'bite' to our Rice Krispie spiders.
- Cocoa powder: To make the spiders look more life-like and add a chocolatey flavour.
- Marshmallows: Mini marshmallows are best as they will melt more evenly.
- Rice Krispies: Or any other crispy rice cereal. Coco Pops work great too!
- Milk chocolate: We'll use melted chocolate as a 'glue' to stick the spider legs to the bodies. You'll need around 50g for this.
- Edible eyes: These really bring the spiders to life! I got my candy eyes from the baking aisle in my local supermarket but you can also find them in most hobby stores.
Kitchen stuff
- Saucepan: Or a heatproof bowl, to melt the butter, marshmallows and cocoa powder together. You'll also need a very small bowl or pan for melting the milk chocolate later.
- Baking trays: You'll need two large trays to hold all of your spiders as the legs take up quite a bit of space.
- Baking paper: Or clingfilm, to line your trays with. This will make it super easy to peel the spiders off after they've set.
- Utensils: A wooden spoon for mixing everything together, plus a few smaller spoons for dividing the mixture and handling the melted chocolate.
- Toothpick: This isn't totally essential but it's a great tool to use for picking up the melted chocolate when you're sticking the eyes onto the bodies.
How to make spider Rice Krispie treats step-by-step
Step 1: Start by lining two large trays with baking paper. Set them aside, ready for your treats to go onto.
Step 2: Next, we'll make our spider legs. Break the chocolate part off a Mikado stick, then break that piece into two; this will give you two chocolate 'legs' from each stick. Repeat until you have 72-96 legs in total (6-8 for each spider). You'll need two packs of Mikado for this amount.
Step 3: Place 2 tablespoons of butter into a saucepan along with 2 tablespoons of cocoa powder and 150g of mini marshmallows. Place the saucepan over low heat on the stove and stir gently until the marshmallows and butter have melted fully. Make sure to mix the cocoa powder in well so there are no white streaks left.
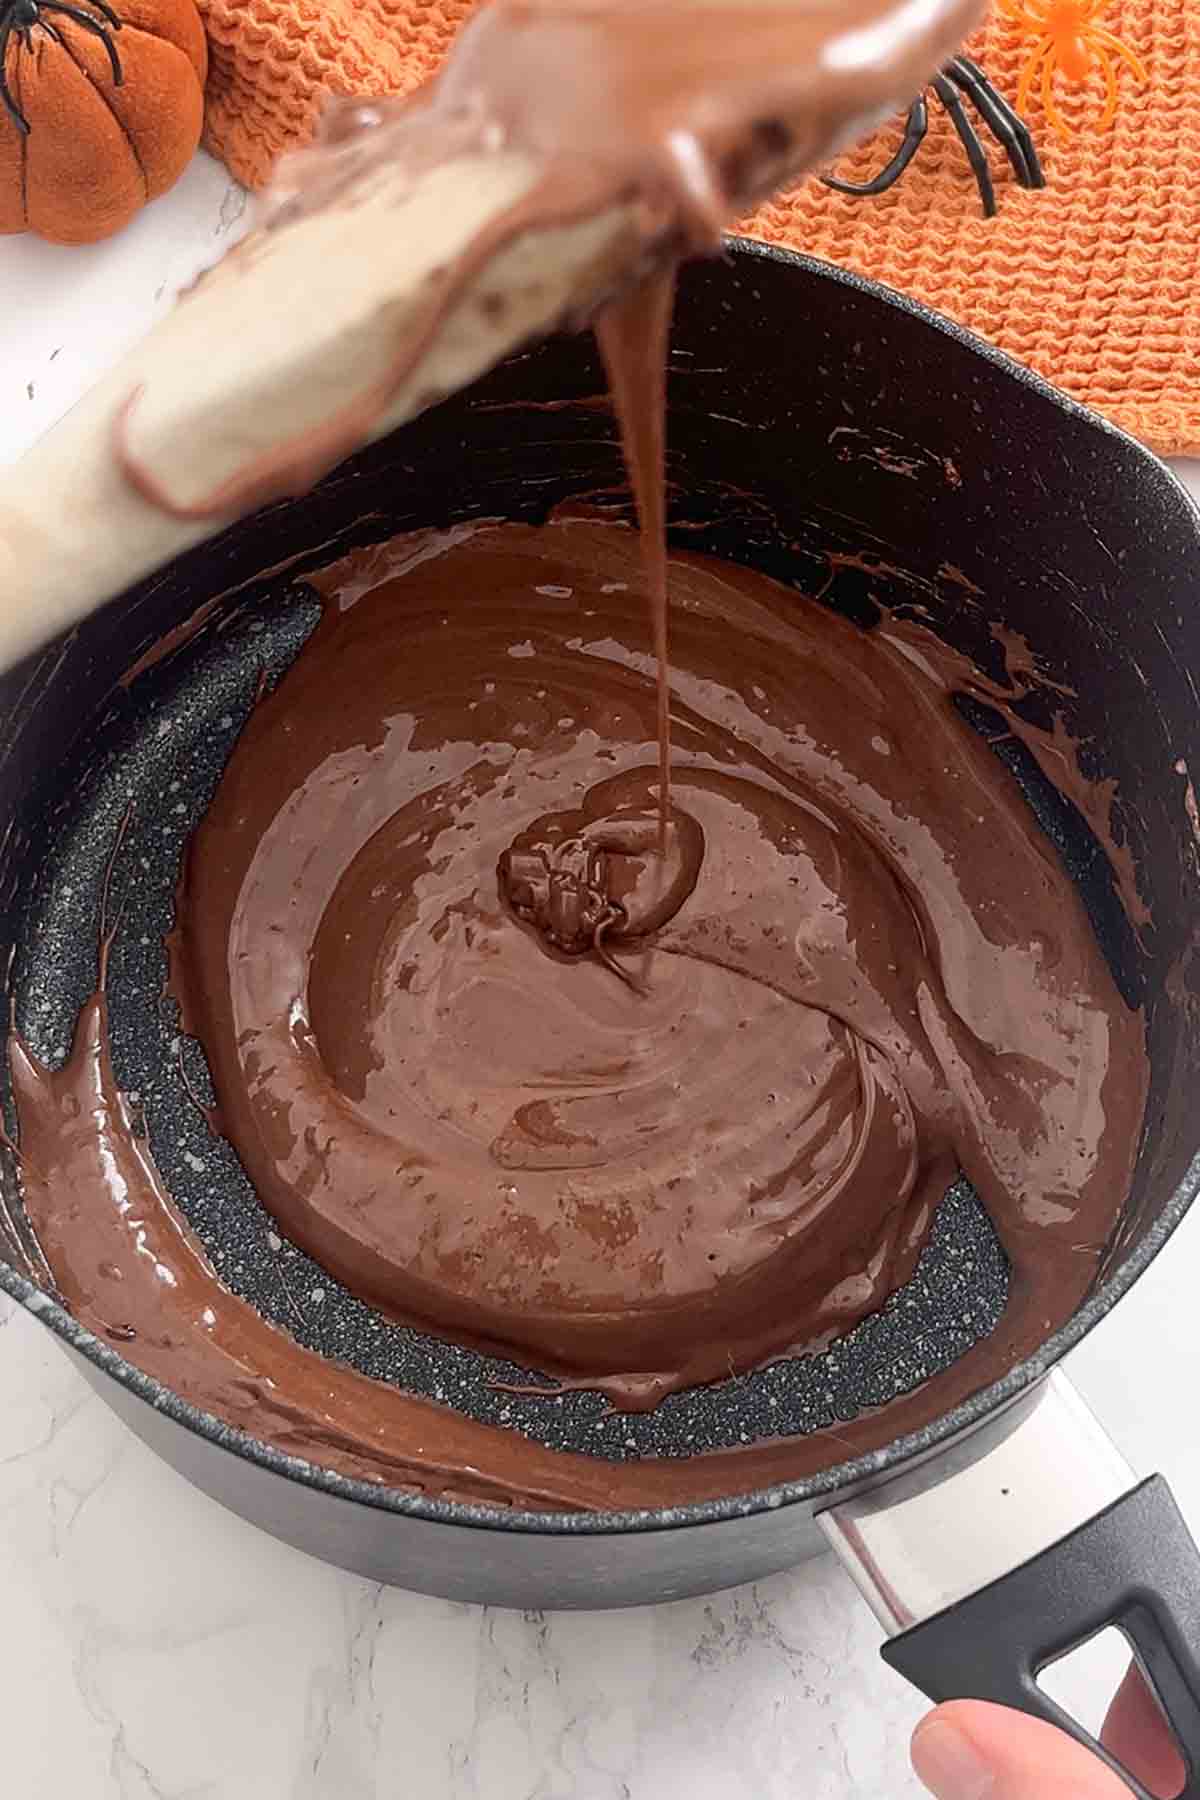
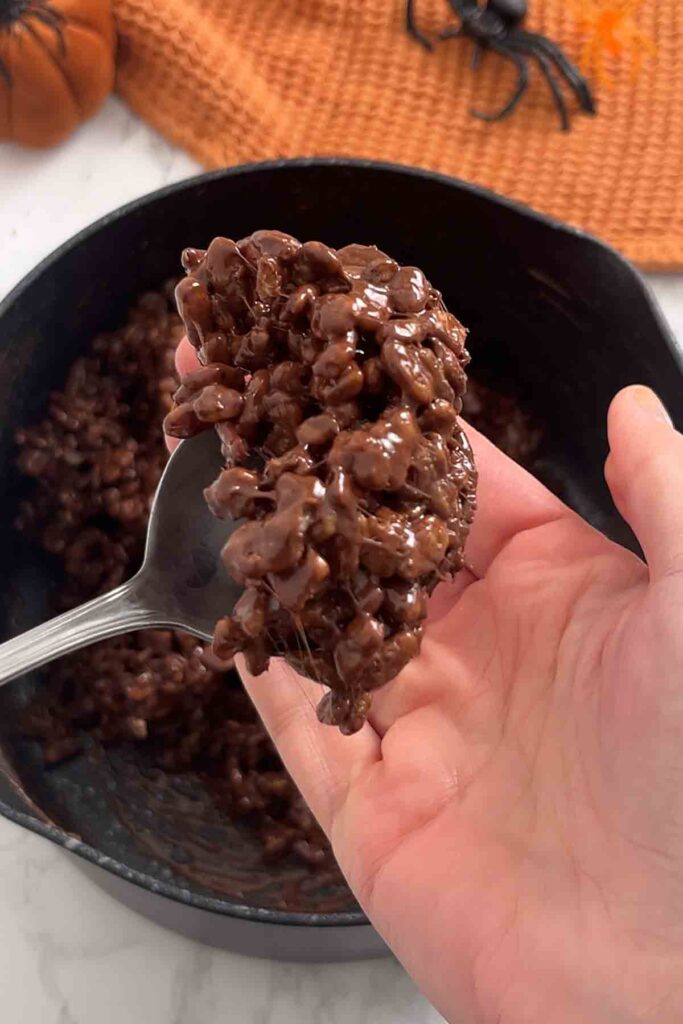
Step 4: Remove the pan from the heat and add 70g of Rice Krispies. Mix well until all of the cereal is fully covered with the marshmallow mixture.
Step 5: Let the mixture sit at room temperature for around 5 minutes, then start making your spider bodies. Take around 1 tablespoon of the mixture at a time and roll it into a ball with your hands. Place them onto your lined trays.
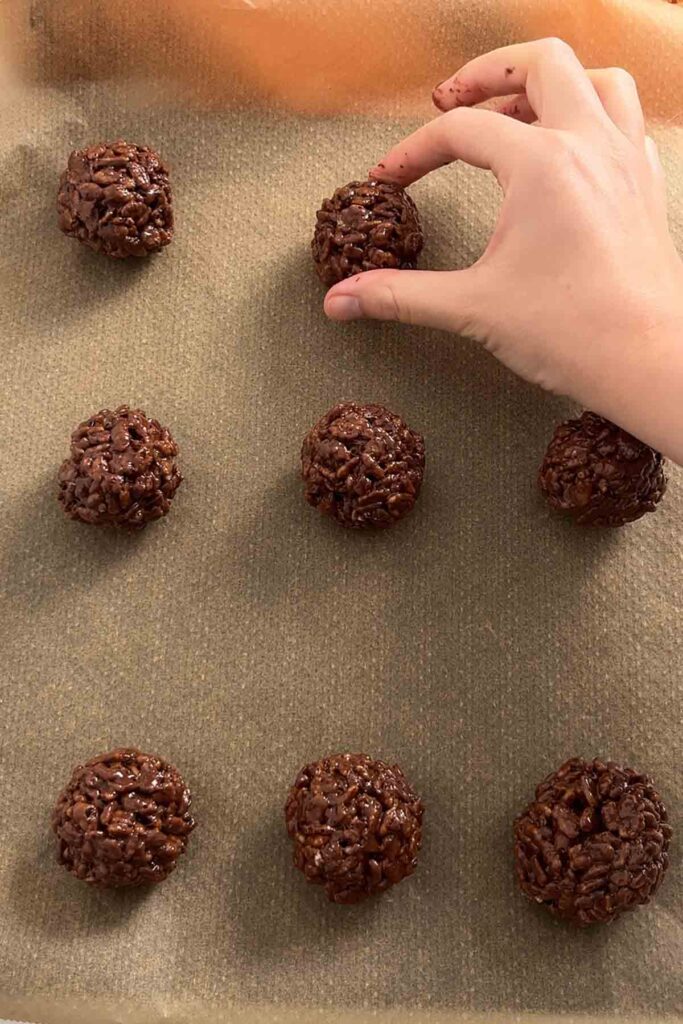
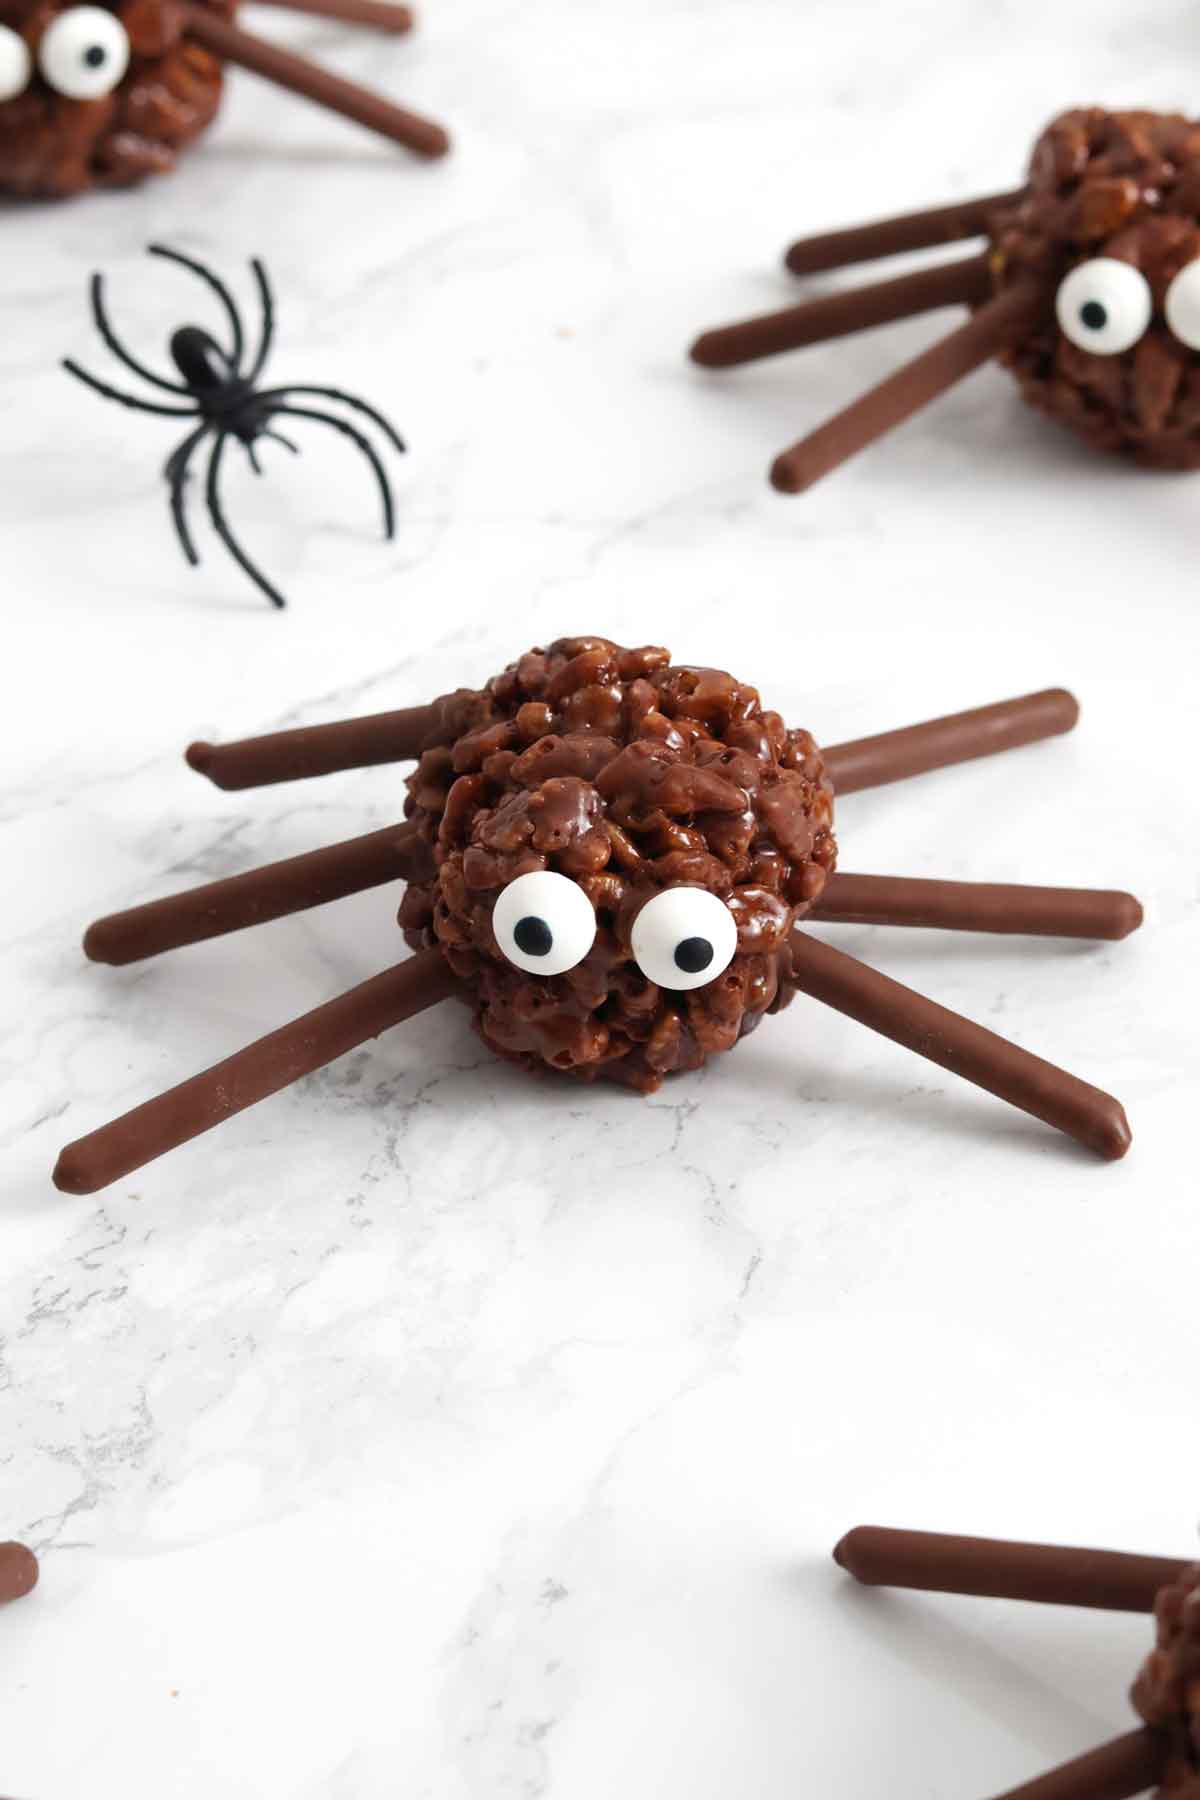
Step 6: Now let's make these balls look like spiders! Melt 50g of milk chocolate in a small bowl. Dip the end of one spider 'leg' into the chocolate then push it into the Rice Krispie balls using a gentle twisting motion. Repeat until each spider has 6-8 legs.

Step 7: Use a toothpick to transfer some melted chocolate onto the back of your edible eyes and stick two onto each spider.
Step 8: Let your Rice Krispie spiders sit at room temperature for 2 hours to set, then enjoy!
My top tips
- If the mixture is getting stuck to you as you try to roll it, you can lightly spray your hands with cooking spray to prevent this.
- When melting the marshmallows and butter in the microwave, make sure to use a heatproof bowl. You'll need to take the mixture out every 20-30 seconds and mix it to prevent burning or splitting.
- Quality Street Matchmakers are a great alternative to Mikado sticks if you don't mind a flavour variation.
- If the mixture is cooling too quickly and becoming hard to work with, pop it in the microwave for 10-15 seconds to loosen it again. On the other hand, if it's too sticky when you try to roll it, let it cool for a bit longer.
FAQs
These keep well for about 1 week if you store them in an airtight container in the fridge. Let them come to room temperature before serving.
I don't recommend freezing these because the chocolate legs can become soggy or turn pale after defrosting. If you want to make them in advance, it's best to keep them at room temperature as above.
You can make your own by mixing icing sugar and water together to create white icing. Pipe that on in small circles, let it dry, then add a dot of melted chocolate or black icing in the centre for the pupils.
I got 12 spiders out of my mixture. I think this makes them the perfect size for parties, but you can make yours smaller or larger if you prefer. Adjust the number of legs and eyes accordingly.
More no-bake Halloween treats
- Halloween Cornflake cakes
- Halloween fudge
- Halloween rocky road
- Spooky chocolate bark
- Chocolate ghost strawberries
I hope you have fun making these spider Rice Krispie treats! If you make them at home, please let me know how you get on by leaving a comment and rating below. Enjoy!

Spider Rice Krispie Treats
Ingredients
- 150 g Mikado/Pocky or pretzel sticks (~5oz) you won't need them all but it's good to have a few extra in case of breakage
- 2 Tablespoons Butter
- 2 Tablespoons Cocoa powder
- 150 g Mini marshmallows (2+½ cups)
- 70 g Rice Krispies (2+½ cups)
- 50 g Milk chocolate (~2oz)
- 24 Edible eyes
Instructions
- Line 2 large trays with baking paper.
- Break the chocolate part off of each Mikado then break that part in half (so you'll get 2 chocolate covered 'legs' from each stick). Repeat until you have 72-96 'legs' in total (6-8 for each spider).
- Add the butter, cocoa powder and mini marshmallows to a saucepan. Place it over low heat and stir gently until melted. Make sure to mix it properly so there are no white streaks left.
- Remove it from the heat and stir in the Rice Krispies.
- Leave the mixture to cool in the pan for about 5 minutes, or until you're able to pick it up without it sticking to your hands.
- Take spoonfuls of the mixture and roll into balls (you should end up with about 12 in total). Place them onto your lined tray.
- Melt the milk chocolate. Dip the end of each 'leg' into the melted chocolate then gently push them into the Rice Krispie balls using a twisting motion.
- Stick two edible eyes onto each ball using the melted chocolate as your glue.
- Let them sit at room temperature for 2 hours until completely set then enjoy!
Video
Notes
- Make sure to let the treats set completely before serving to ensure the legs stay in place.
- Store in an airtight container in the fridge for up to 1 week.



Leave a Reply