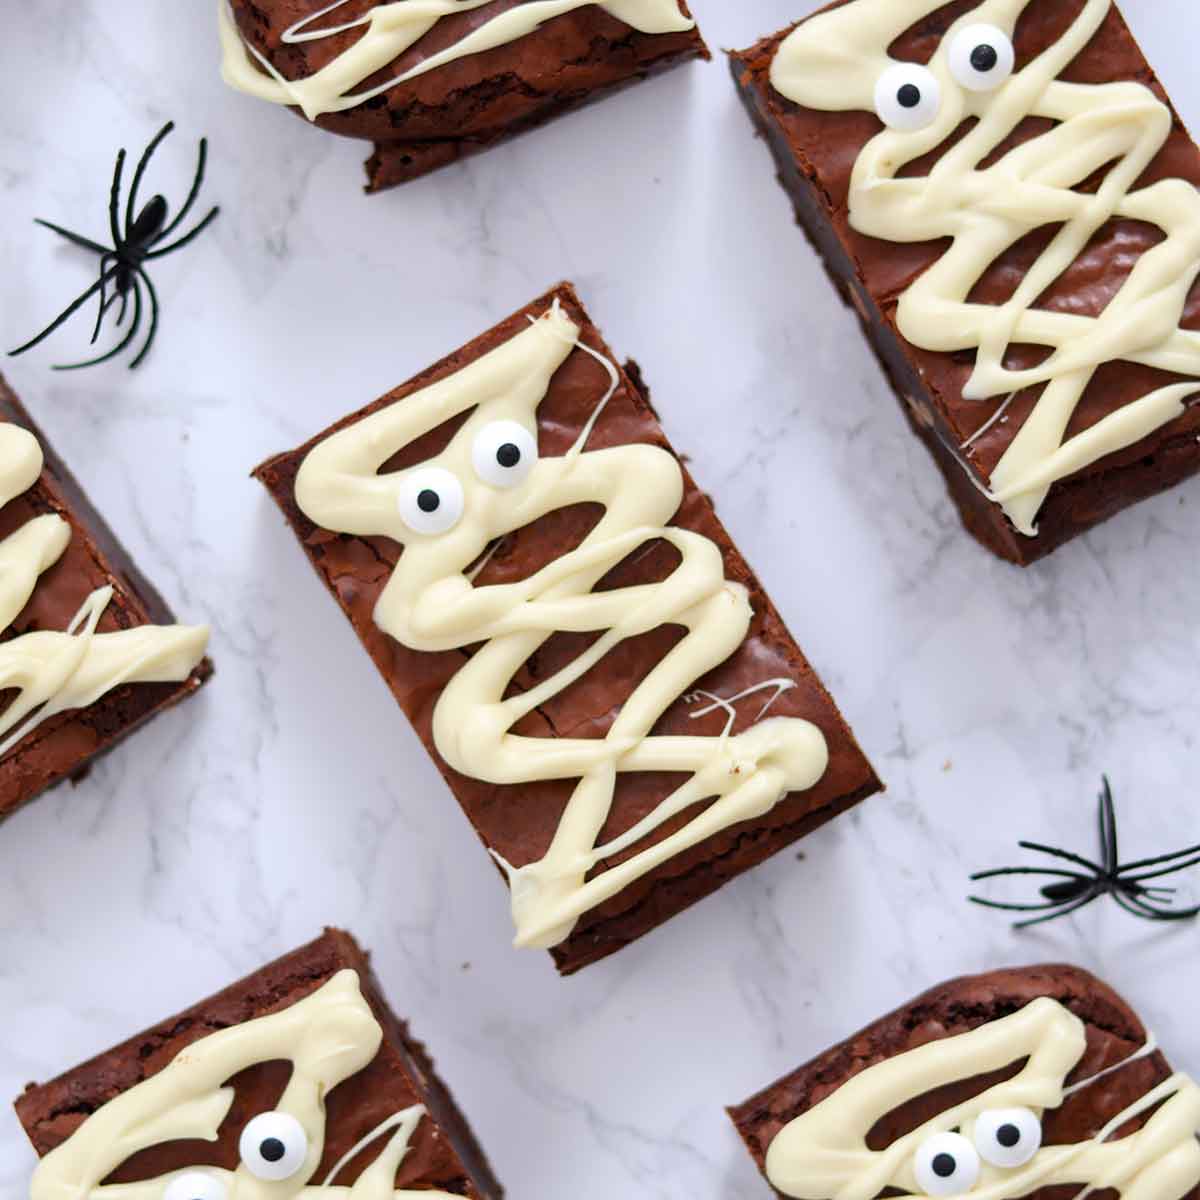
These Halloween mummy brownies are a cute, spooky twist on classic brownies, with white chocolate 'bandages' and edible eyes. They're rich, fudgy and packed full of chocolate flavour, and kids will go crazy for them!
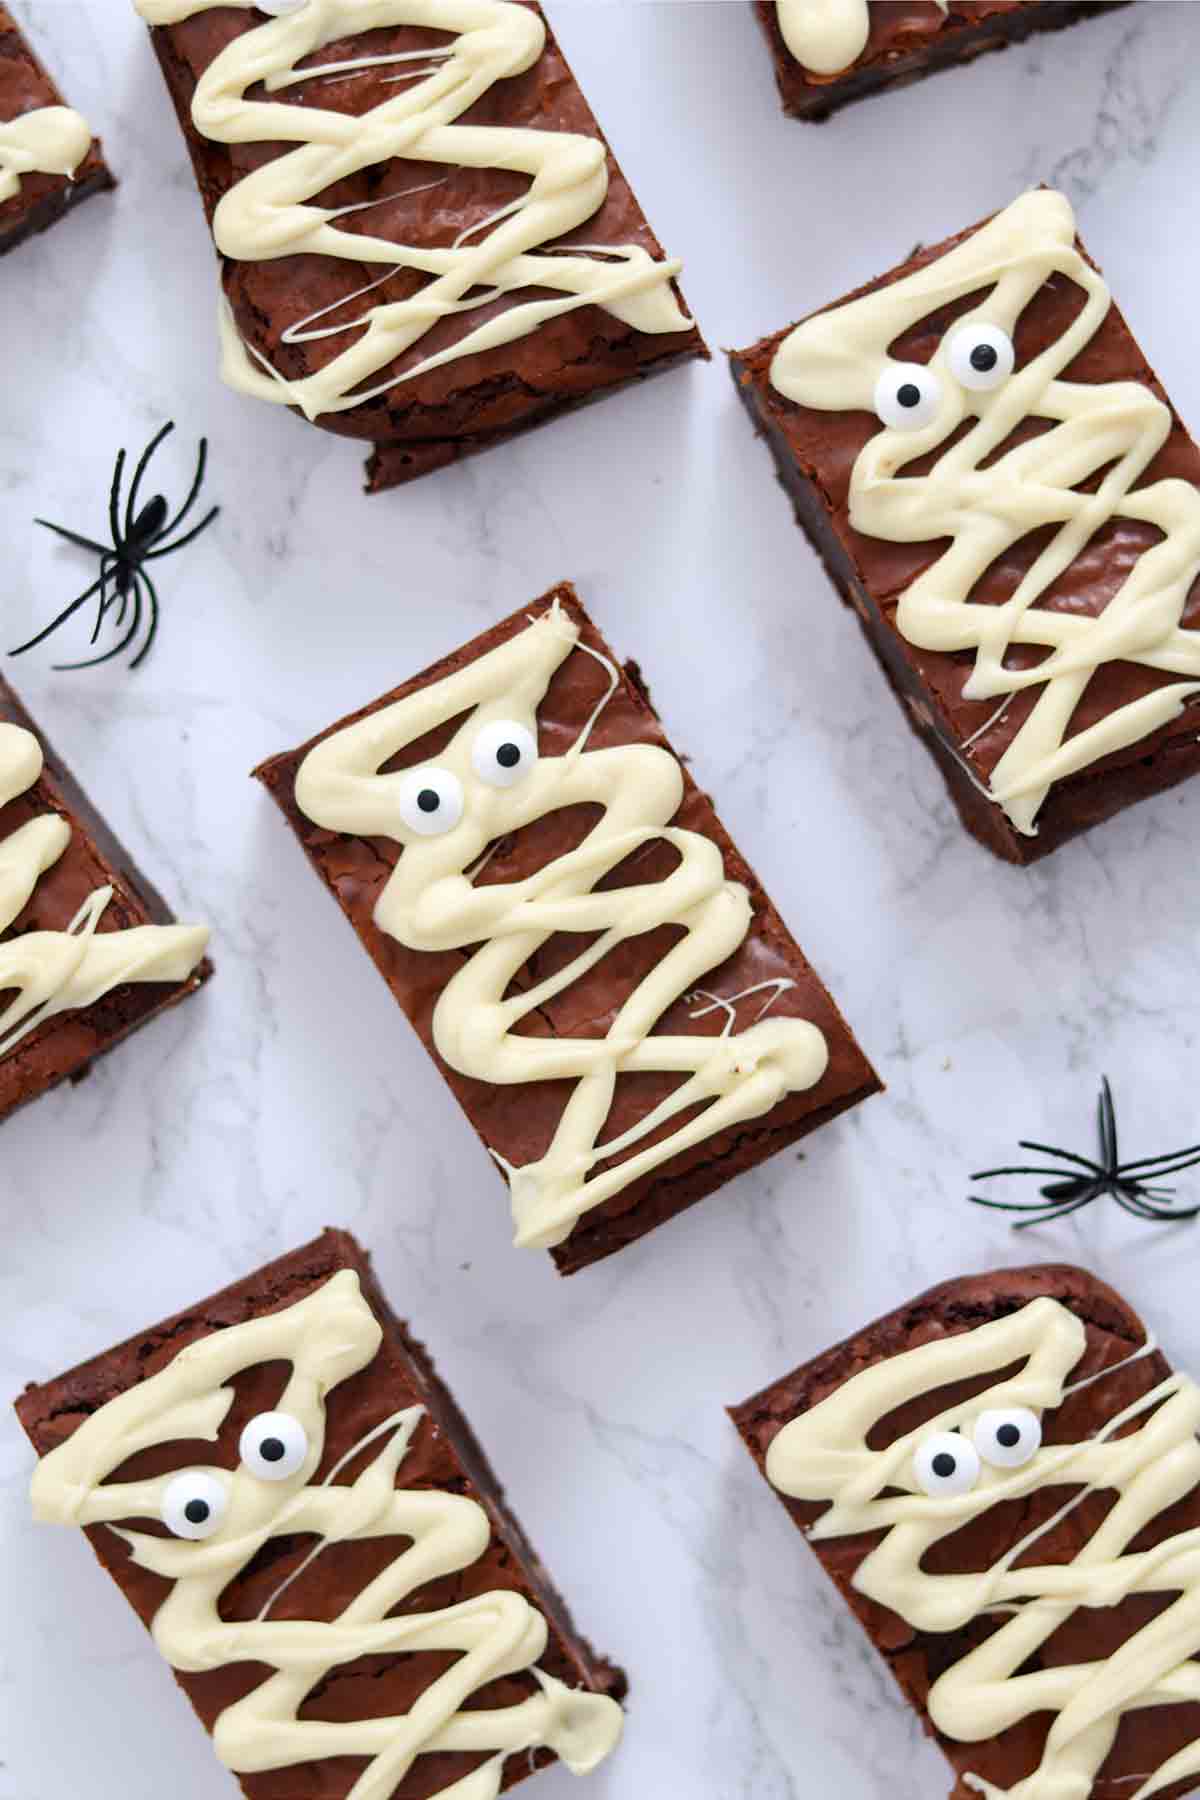
Say hello to your new favourite spooky treat... How cute are these brownies?! Last year, my puff pastry Nutella mummies were a huge hit, so I wanted to create something similar this year, and these adorable Halloween mummy brownies were the perfect solution!
I started with my classic fudgy brownies, then gave them a Halloween makeover with some melted white chocolate and edible eyes. My family absolutely loved them, and I'm sure you're going to too!
Ready to bake? Grab these ingredients
- Dark chocolate: Anything with 65-85% cocoa solids will work, but I always use 70% dark chocolate for brownies. It gives an intense, rich flavour without being too bitter, helps contribute to that lovely fudgy texture, and prevents oily brownies.
- Butter: Salted or unsalted- whatever you prefer. Don't use margarine for this recipe as it'll skew the final texture of your brownies.
- Caster sugar: AKA superfine sugar. This dissolves more easily than granulated sugar, meaning less effort when whisking and less chance of the mixture splitting in the oven.
- Eggs: These are our binder and also help with that shiny crackly brownie top.
- Flour: Plain/all-purpose flour is what you want to use for brownies; otherwise, you'll end up with something that's more like chocolate cake. You can read more about this in my ultimate brownie baking guide.
- Cocoa powder: Just a touch, for extra chocolate flavour. Unsweetened is best.
- Milk chocolate chips: These help with the fudgy texture and add little bites of extra sweetness throughout.
- White chocolate: For creating the mummy 'bandages'. You could also use candy melts if you want a brighter white colour.
- Edible eyes: These are what bring our mummies to life! If you can't find edible eyes, you can pipe them on with royal icing or melted white/milk chocolate.
And your kitchen equipment
- 8x10-inch tin: I usually use an 8x8-inch tin for brownies but I wanted large rectangles for this recipe, so I went for an 8x10-inch tin this time.
- Baking paper: Line your brownie tin with baking paper to prevent sticking. If you leave some hanging over the edges, it will be even easier to lift the brownie slab straight out after it's set.
- Saucepan: Or a heatproof bowl, for melting the chocolate and butter together.
- Mixing bowl: A large one, to make the brownie batter in.
- Utensils: A wooden spoon for mixing, a tablespoon for measuring, and a large knife for cutting.
- Electric hand whisk: For whisking the sugar into the eggs. You can also use a stand mixer to do this.
- Piping bag: To pipe the white chocolate on neatly. You could also drizzle it on with a small spoon but it'll be a little trickier.
- Kitchen scales: I recommend using a food scale for this recipe as the measurements are quite precise and cups aren't always super accurate.

How to make Halloween mummy brownies
Step 1: Preheat your oven to 180°C (160°C for fan ovens) and line an 8x10-inch tin with baking paper. Set it aside for now.
Step 2: Add 180g of butter and 200g of 70% dark chocolate to a saucepan. Place the pan over low heat and stir gently until there are no lumps left. Remove it from the heat and set it aside for 5 minutes to cool slightly.
Step 3: Add 3 medium eggs and 250g of caster sugar to a large bowl. Then use a stand mixer or electric hand whisk to whip them together for a minute or two. You'll know you've whisked them enough when the mixture looks pale and silky.

Step 4: Pour the cooled chocolate/butter mixture into the bowl with the whisked eggs and sugar. Use a wooden spoon or spatula to gently fold them together, then fold in 100g of plain flour and 1 tablespoon of cocoa powder. You should have a thick, shiny batter.
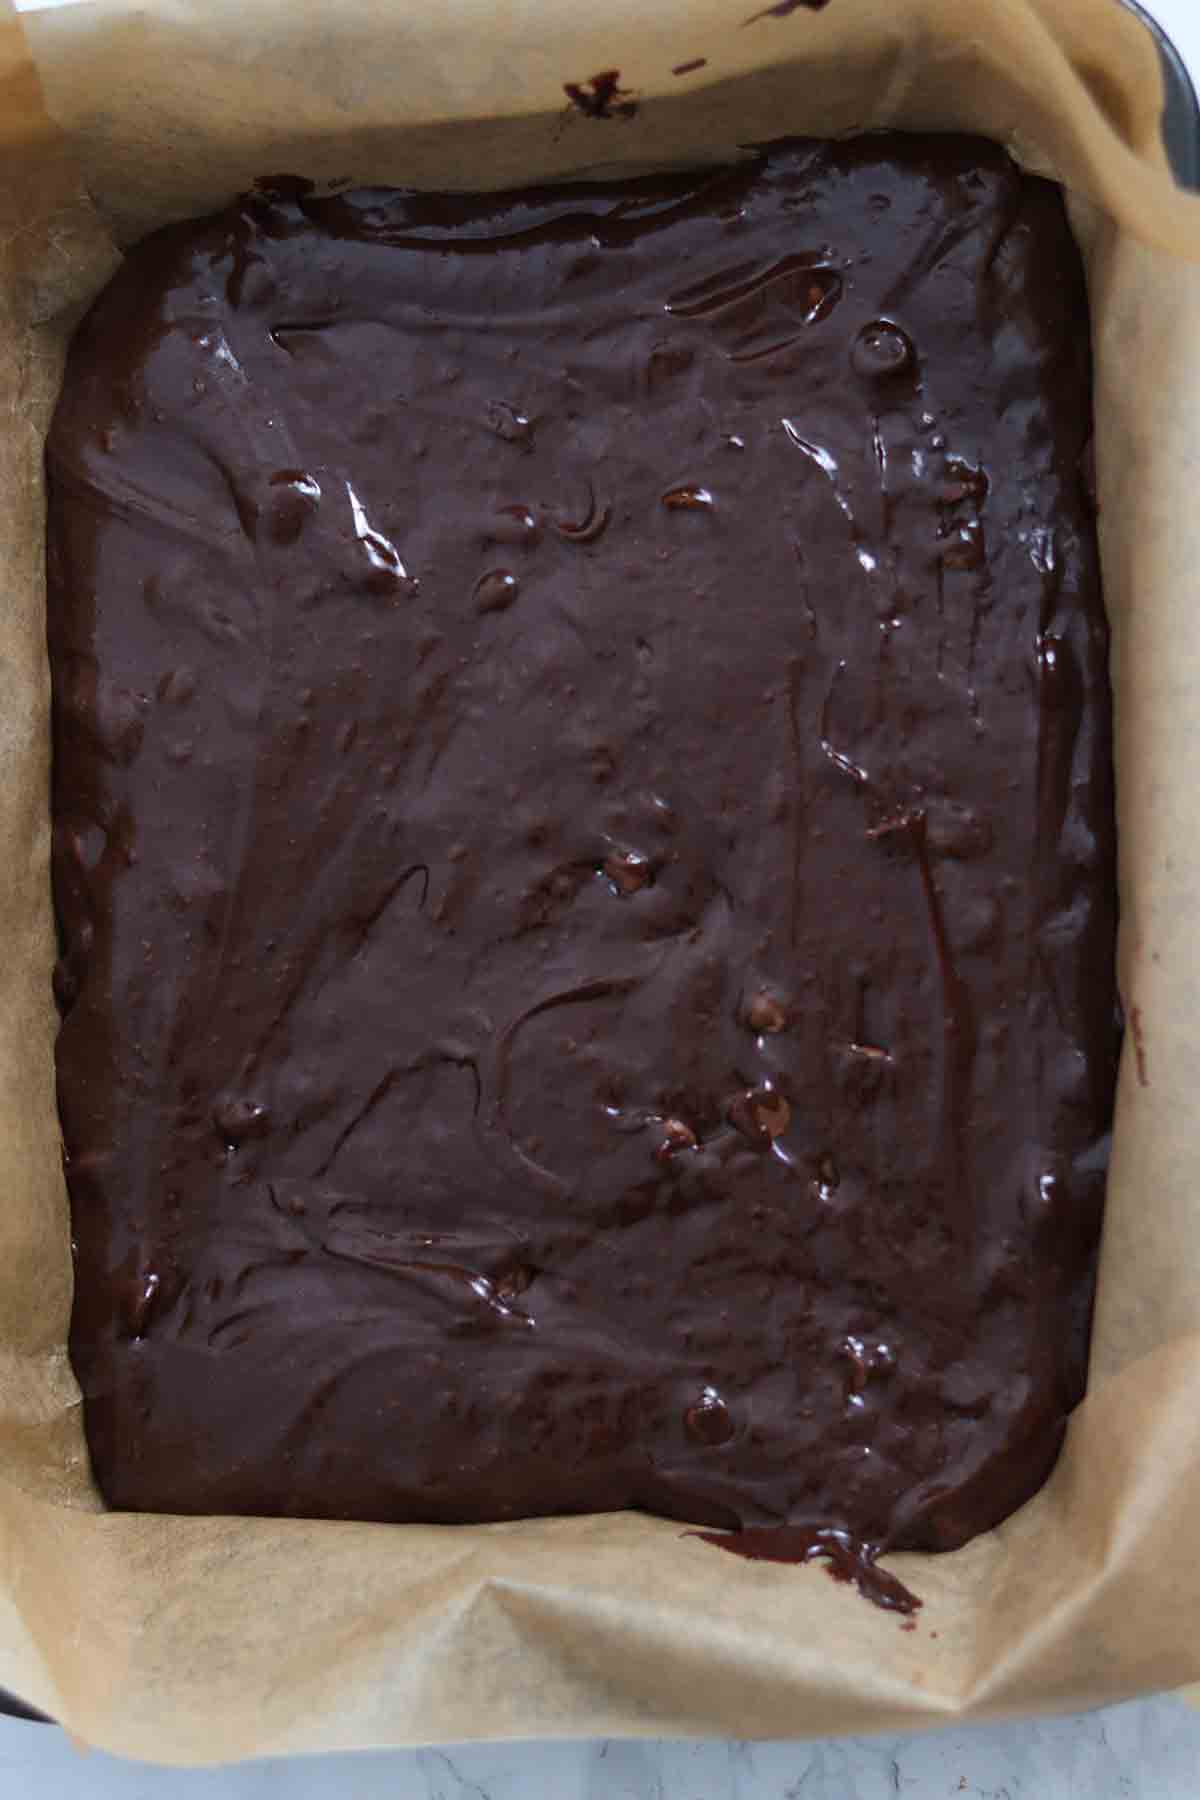
Step 5: Pour 100g of milk chocolate chips into the mixture then mix to combine. Pour the mixture into your lined tin and spread it out evenly.
Step 6: Bake for 25-30 minutes, until the brownie is shiny on top and pulling away from the tin slightly.
Step 7: Let the brownie cool to room temperature then pop it in the fridge overnight to set. If you're short on time, freeze it for 4 hours instead.
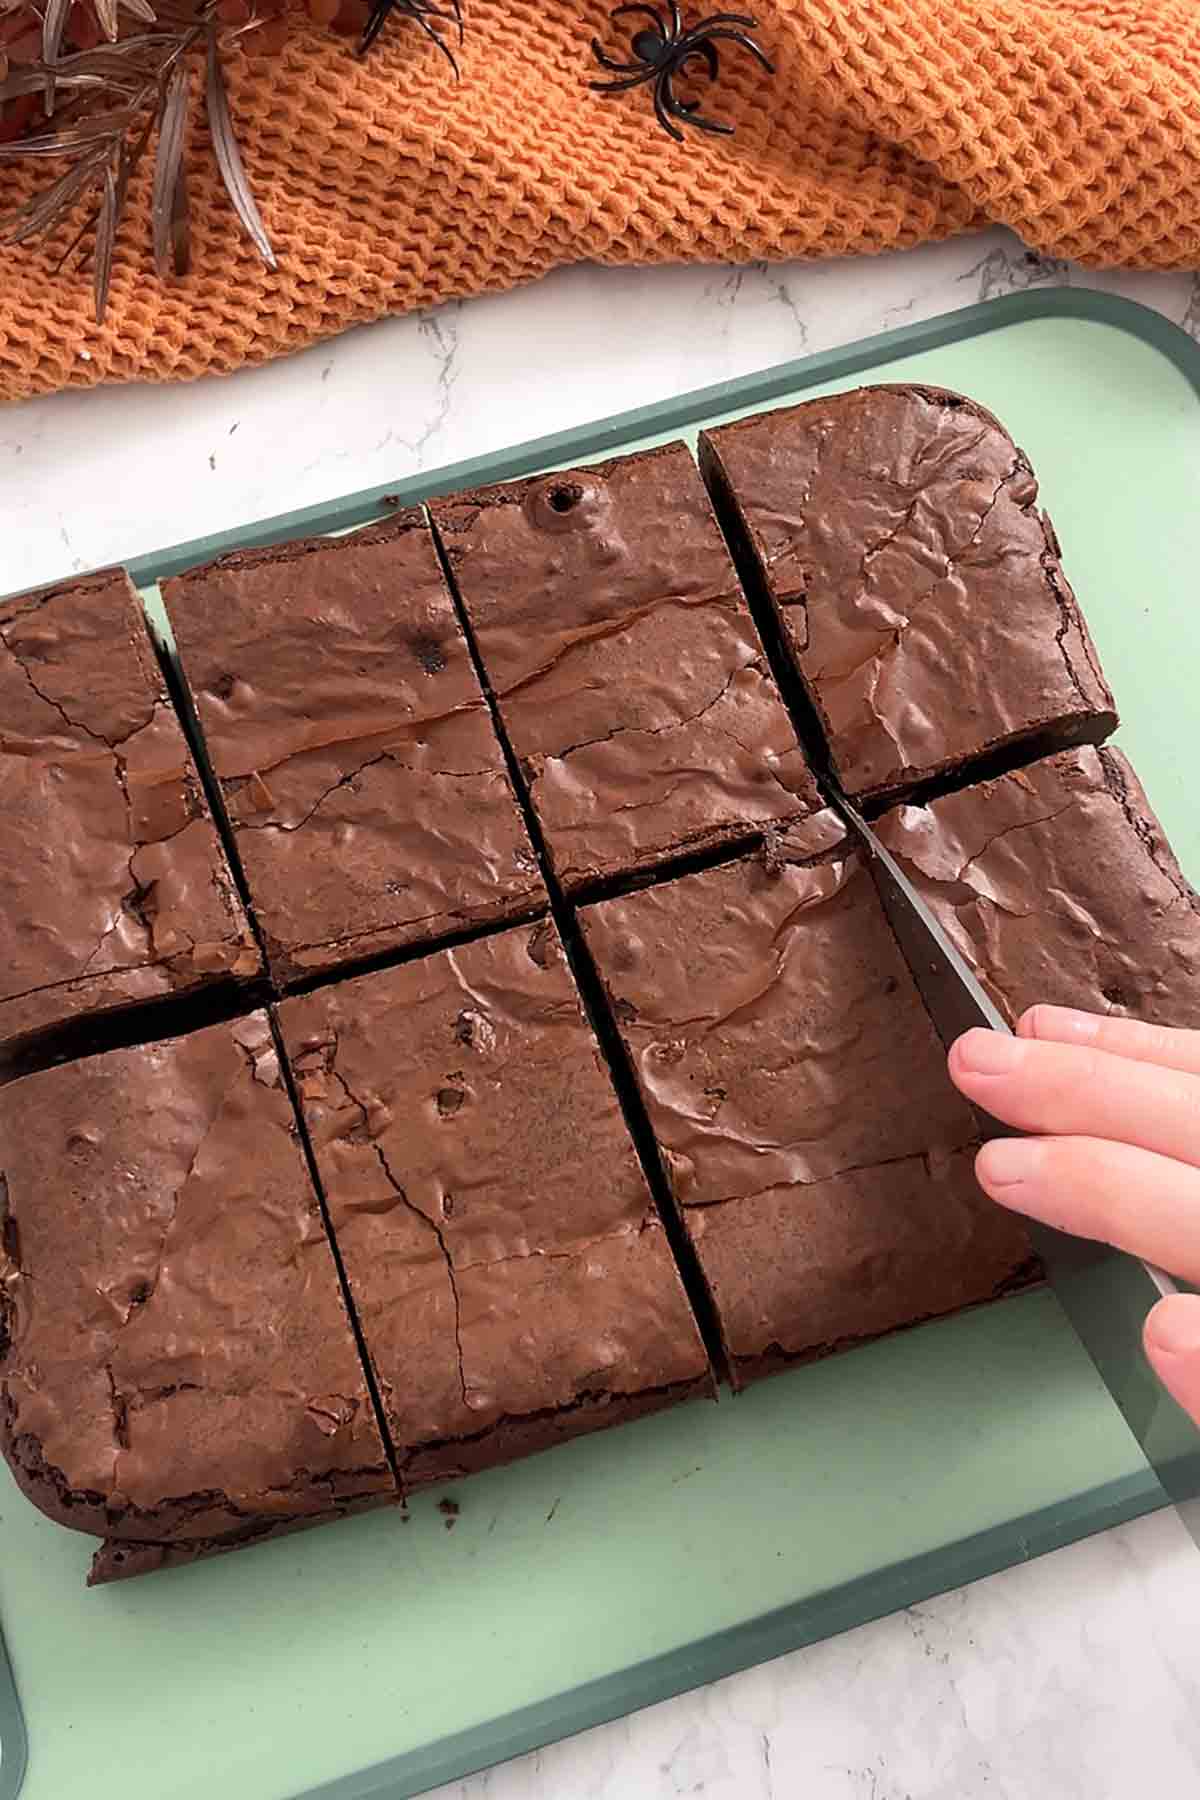
Step 8: Once the brownie has set, remove it from the tin and cut it into 8 equal-sized rectangles.
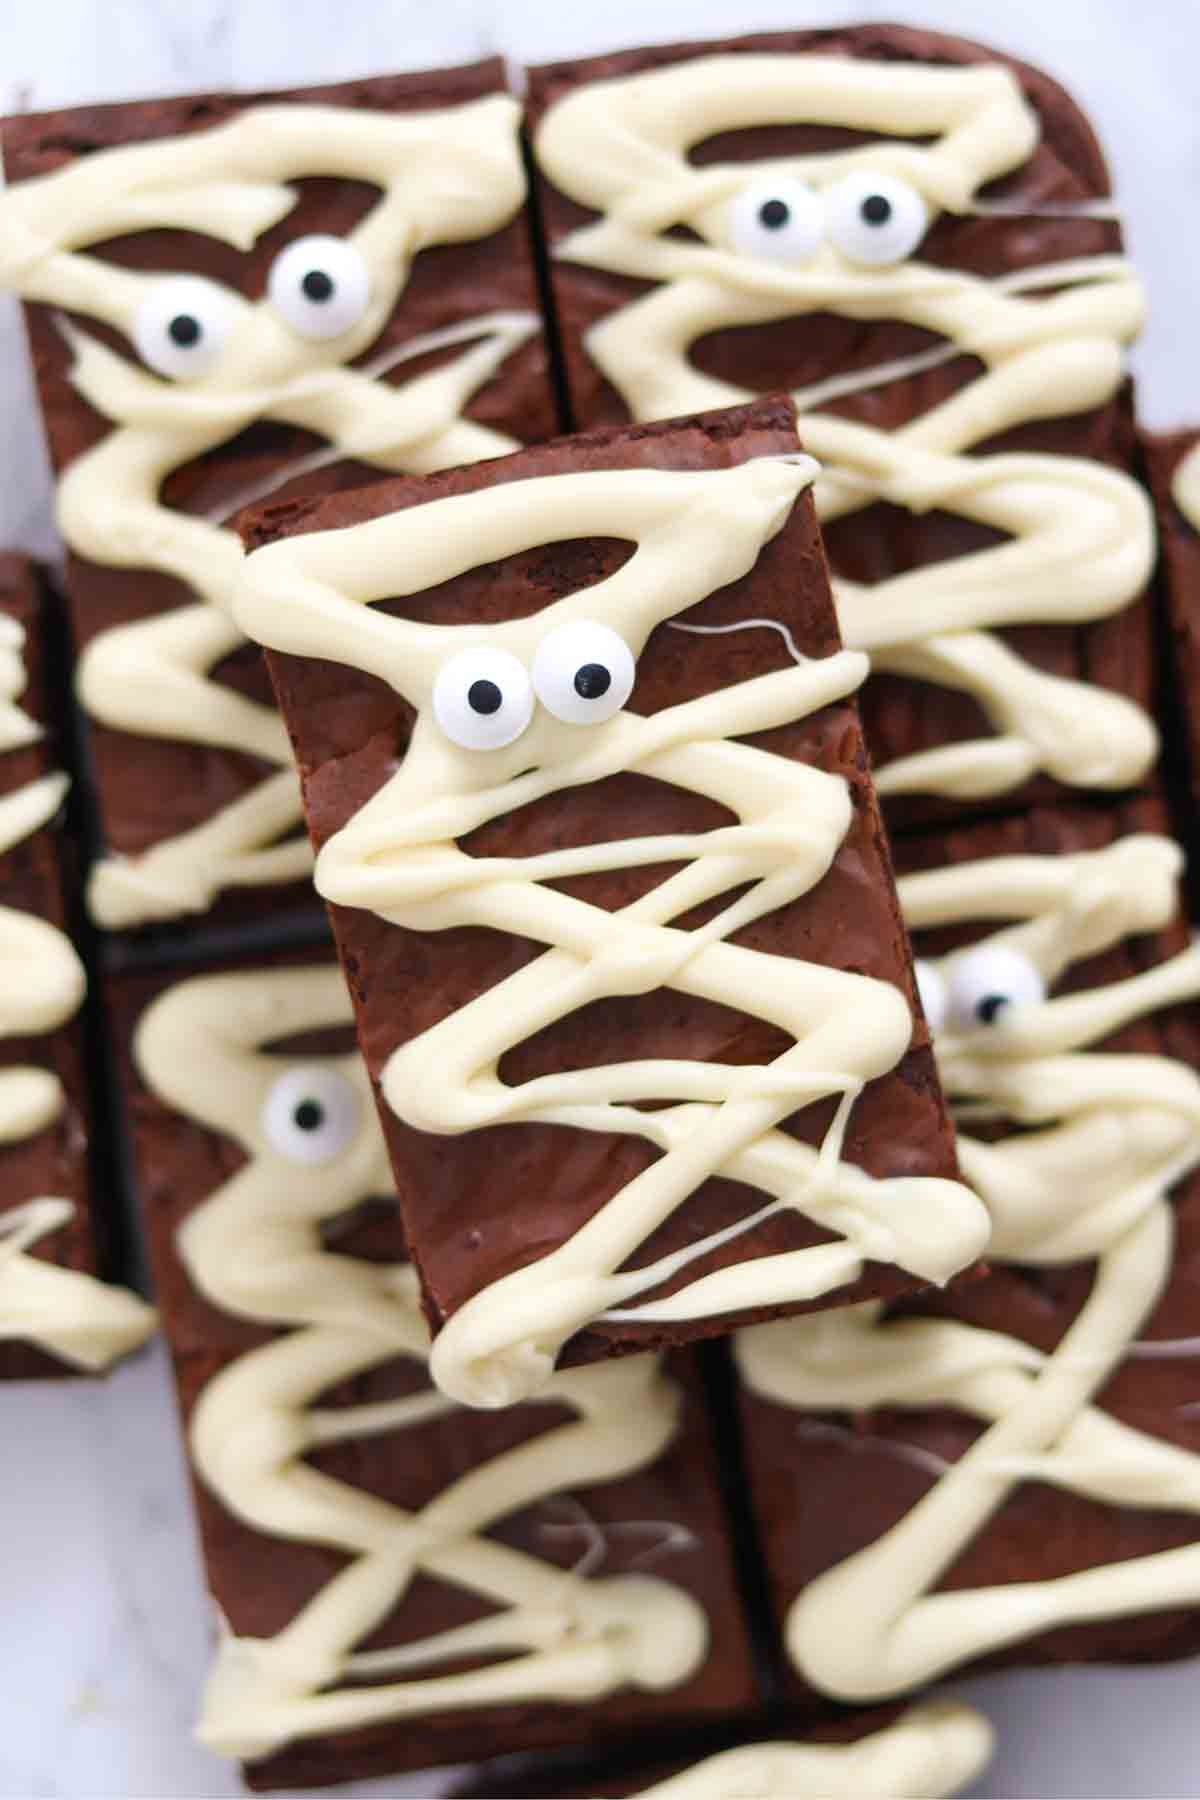
Step 9: Melt 150g of white chocolate, then transfer it to a piping bag with a small hole cut off the end. Pipe it in zigzags over your brownies.

Step 10: While the chocolate is still wet, stick two candy eyes onto each brownie. Leave to set then enjoy!

Fudgy brownie tips
- Whisk the sugar into the eggs properly, until pale and voluminous. This will help to create a delicious texture and shiny top.
- Setting the brownies in the fridge overnight is KEY to clean, fudgy brownie slices. This is my top brownie tip- don't skip this!
- The brownie will feel solid once it's set. If you're finding it tough to cut, warm your knife before each slice by running it under boiling water.
- If you don't fancy making fudgy brownies, you can try this recipe with my cakey brownies or use your favourite box mix.
FAQs
Yes. An 8x10-inch tin is ideal for this recipe, giving your brownies the perfect thickness and shape to look like mummies, but an 8x8-inch will work fine too. If using an 8x8 tin, reduce the temperature to 160°C (140°C for fan) and increase the baking time by 5 minutes or so. If you want to use a larger tin, use my cake pan converter to adjust the recipe accordingly.
These will keep well in the fridge for up to 1 week in an airtight container. If you want a slightly less fudgy texture, store them at room temperature for up to 5 days.
Yes, these brownies freeze really well. Just pop them into airtight containers (using pieces of baking paper in between if you want to stack them) and freeze for up to 3 months. Defrost them in the fridge overnight or let them sit out at room temperature for an hour or two. Do not refreeze.
Edible eyes are usually available in the baking section of most large supermarkets, especially around Halloween. You can also find them in cake decorating shops, hobby shops or online. If you can't get hold of them, you can pipe your own 'eyes' on using royal icing, or white chocolate buttons and melted milk chocolate.
More Halloween baking recipes
- Halloween Oreo brownies
- Halloween Cornflake cakes
- Spider Rice Krispie treats
- Chocolate covered strawberry ghosts
- Halloween traybake cake
I hope you like my Halloween mummy brownies! If you make them at home, please leave a comment and rating below to let me know what you think. Enjoy!
Halloween Mummy Brownies
Ingredients
- 200 g 70% Dark chocolate (7oz)
- 180 g Butter (¾ cup)
- 250 g Caster sugar (1+¼ cup)
- 3 Medium Eggs
- 100 g All-purpose flour (11 tablespoons)
- 1 Tablespoon Cocoa powder
- 100 g Milk chocolate chips (~⅔ cup)
Topping
- 150 g White chocolate (5oz)
- 16 Edible eyes
Instructions
- Preheat your oven to 180℃/350℉ (160℃/320℉ for fan and convection ovens) and line an 8x10-inch tin with baking paper.
- Melt the dark chocolate and the butter together over low heat on the stove then set aside to cool for around 5 minutes.
- Add the sugar, eggs and vanilla extract to a large bowl then use an electric whisk to mix it for a few minutes, until pale and silky.
- Add the melted chocolate mixture into the bowl with the sugar and eggs then gently fold together.
- Add the flour and cocoa powder then mix gently until well combined. Then stir in the chocolate chips.
- Transfer the mixture to your lined tin and spread it out evenly.
- Bake for around 25-30 minutes, until the brownie has risen and is pulling away from the tin slightly. It should look fully cooked on top with a slight wobble in the middle.
- Let the brownie cool to room temperature then transfer to the fridge overnight to set or freeze for 4 hours.
Topping
- Once set, remove the brownie from the tin and cut it into 8 rectangles.
- Melt the white chocolate then transfer it to a piping bag with a small hole cut off the end. Pipe diagonal lines onto each brownie to create 'mummy bandages'.
- Add two edible eyes to each brownie, leave to set then enjoy!
Video
Notes
- Store brownies in an airtight container in the fridge for up to 1 week.


Leave a Reply