This jelly bean fudge is a vibrant, kid-friendly treat that's great for any occasion. It's perfect for those times when you need a quick and easy dessert that's both fun and indulgent.

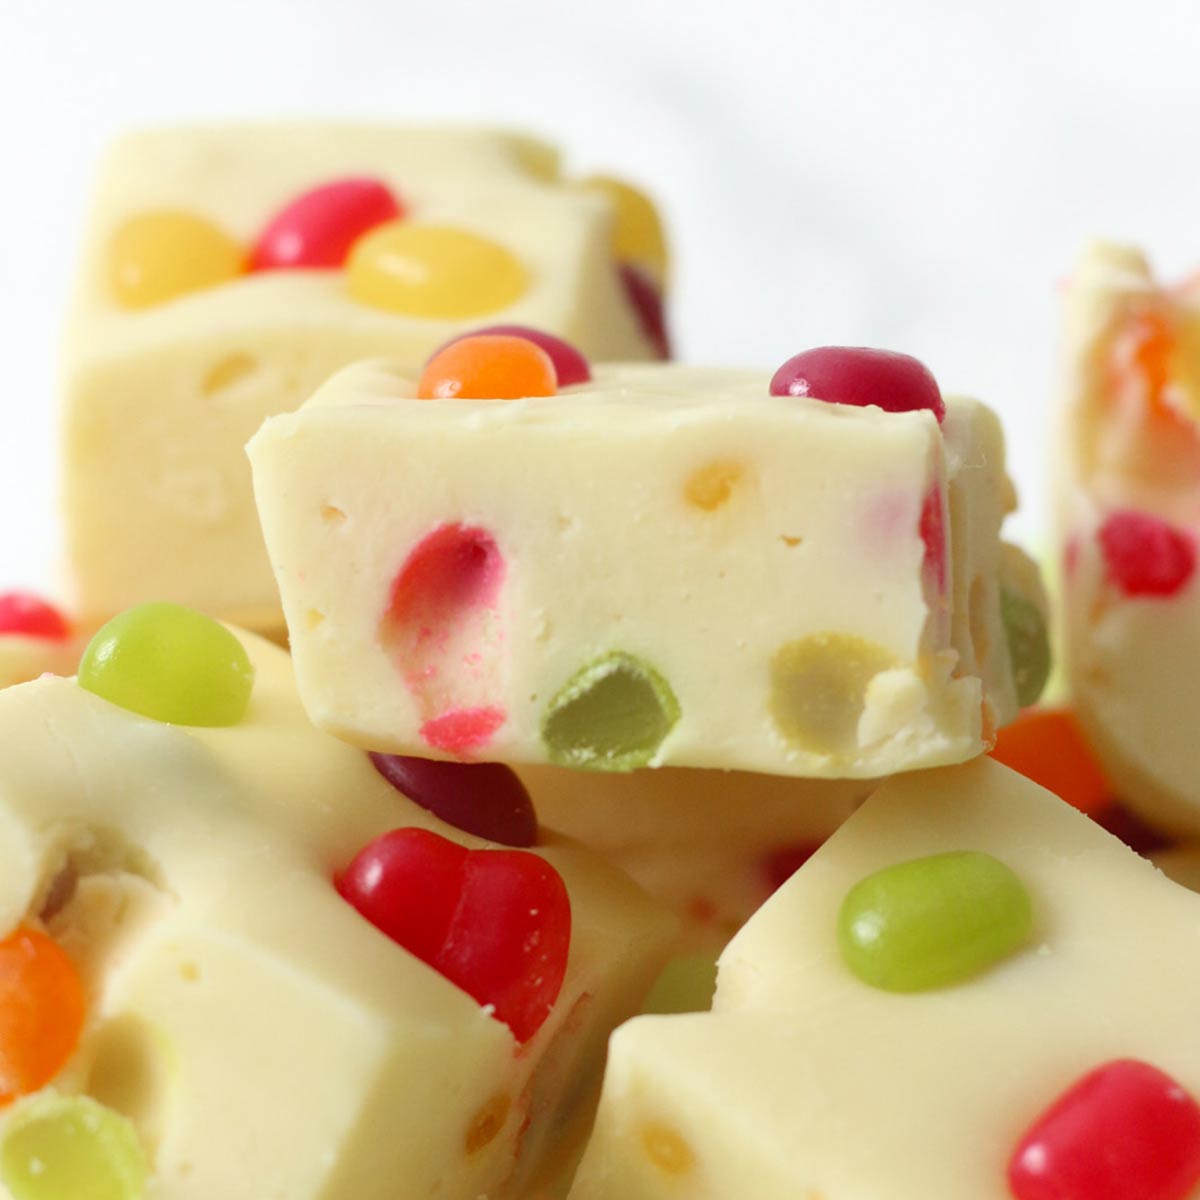
If you like quick and easy desserts, then this jelly bean fudge is just the thing for you! It's made with a white chocolate and condensed milk base and is packed and topped with colourful jelly beans.
It's ideal for taking along to bake sales or parties, and it's so easy that even complete beginners can make it. Keep reading below to find my ingredient and equipment notes, step-by-step images and top tips. If you prefer the quicker, condensed version of the recipe, you can find this in the recipe card at the end of the post. Enjoy!
Ingredient Notes
- White chocolate: White chocolate is the star of this fudge, giving it its creamy, sweet base. Any kind of white chocolate will work well, from premium brands like Milky Bar to the supermarket own-brand stuff. If you're not a fan of white chocolate, you could substitute it with milk chocolate for a different vibe and flavour.
- Condensed milk: This is the key to making any kind of fudge with chocolate. It'll give a solid lump of chocolate that classic smooth and fudgy texture. Make sure you use sweetened condensed milk, not evaporated milk, as they're very different and will not produce the same results!
- Jelly beans: Use any kind of jelly beans you like in this recipe. The white chocolate creates quite a neutral base so any flavour that you like will work here (I used a classic fruity mix). You'll need roughly 200g of jelly beans in total.
Equipment
- Saucepan: For melting the chocolate and condensed milk together. It's best to do this over the stove to control the heat better, but if you're in a pinch, you can use the microwave too. Make sure to use a heatproof bowl and stir the mixture every 20 seconds until it's melted, to prevent burning or seizing.
- 8x8-inch tin: This is my favourite tin size to use for fudge. You can get anywhere from 12 to 30 servings out of it while still maintaining a nice fudge thickness. Feel free to use a different tin size if you don't mind it being slightly thicker or thinner, or you can use my cake pan converter to adjust the recipe to fit your tin size.
- Baking paper: Leave a bit hanging over the sides of the tin to make it easier to lift the fudge out after it's set.
- Utensils: You'll need a wooden spoon for mixing and a sharp knife for cutting into the fudge. A silicone spatula is also handy for pressing the fudge into the tin, although it's not essential.

How to make jelly bean fudge
Step 1: Line an 8x8-inch tin with baking paper, leaving a bit hanging over the edges for easy removal. Set it aside for now.
Step 2: Break 450g of white chocolate into segments then add it to a saucepan with 1 tin (397g) of condensed milk.

Step 3: Place the saucepan over low heat on the stove and stir gently until the chocolate has fully melted. The mixture should look thick and glossy.

Step 4: Remove the pan from the heat and quickly stir in your jelly beans, leaving a handful aside for the topping.
Step 5: Transfer the fudge mixture to your lined tin and spread it out to the edges. Top with the remaining jelly beans.

Step 6: Let it cool to room temperature, then pop it in the fridge for 4 hours to set. Then just remove it from the tin, cut it into slices and enjoy!
Top Tips
- Melt the white chocolate and condensed milk low and slow. If you're doing it in the microwave, make sure to stir it every 20 seconds to prevent clumping or burning. White chocolate can be quite finicky!
- To make it easier to cut the fudge, dip your knife in hot water and wipe it dry between slices. This will help you get cleaner edges.
- For extra flavour, stir in a small amount of fruity extract (such as raspberry) into the mixture before adding the jelly beans.
- For a marbled effect, reserve a small portion of the fudge mixture and add a drop of food colouring to it. Swirl this through the rest of the fudge using a toothpick before it sets. Gel food colouring will work best.
FAQs
If stored properly in an airtight container in the fridge, this can last for up to 2 weeks, if you can resist it for that long!
Yes, this recipe can be frozen for up to 3 months in an airtight container. To defrost it, you can either transfer it to the fridge overnight or let it sit out at room temperature for an hour or two. Do not refreeze.
Yes. If you prefer the flavour, white chocolate can be swapped out for an equal amount of milk or dark chocolate.
This is quite a fail-proof recipe so if your fudge hasn't set, it's likely due to either insufficient melting or not being cooled for long enough. Make sure to let the mixture melt until there are no lumps of chocolate left, and put it in the fridge for at least 4 hours to set.

More fudge recipes
I hope you like my jelly bean fudge. If you make it at home, please let me know what you think by leaving a rating and comment below. Enjoy!
Jelly Bean Fudge
Ingredients
- 450 g White chocolate (16oz)
- 397 g Condensed milk (14oz)
- 200 g Jelly beans (7oz)
Instructions
- Line an 8x8-inch tin with baking paper.
- Break the white chocolate into chunks and place it into a saucepan with the condensed milk.
- Place the saucepan over low heat and stir gently until the chocolate has melted and the mixture is thick. Alternatively, you can do this in the microwave, stirring every 20 seconds or so to prevent burning.
- Remove from the heat and stir in most of the jelly beans, saving a few to top.
- Transfer the fudge mixture to your lined tin and spread it into place. Top with the remaining jelly beans.
- Refrigerate for 4 hours until firm, then cut into squares and enjoy.
Video
Notes
- Store in an airtight container in the refrigerator for up to 2 weeks.


Leave a Reply