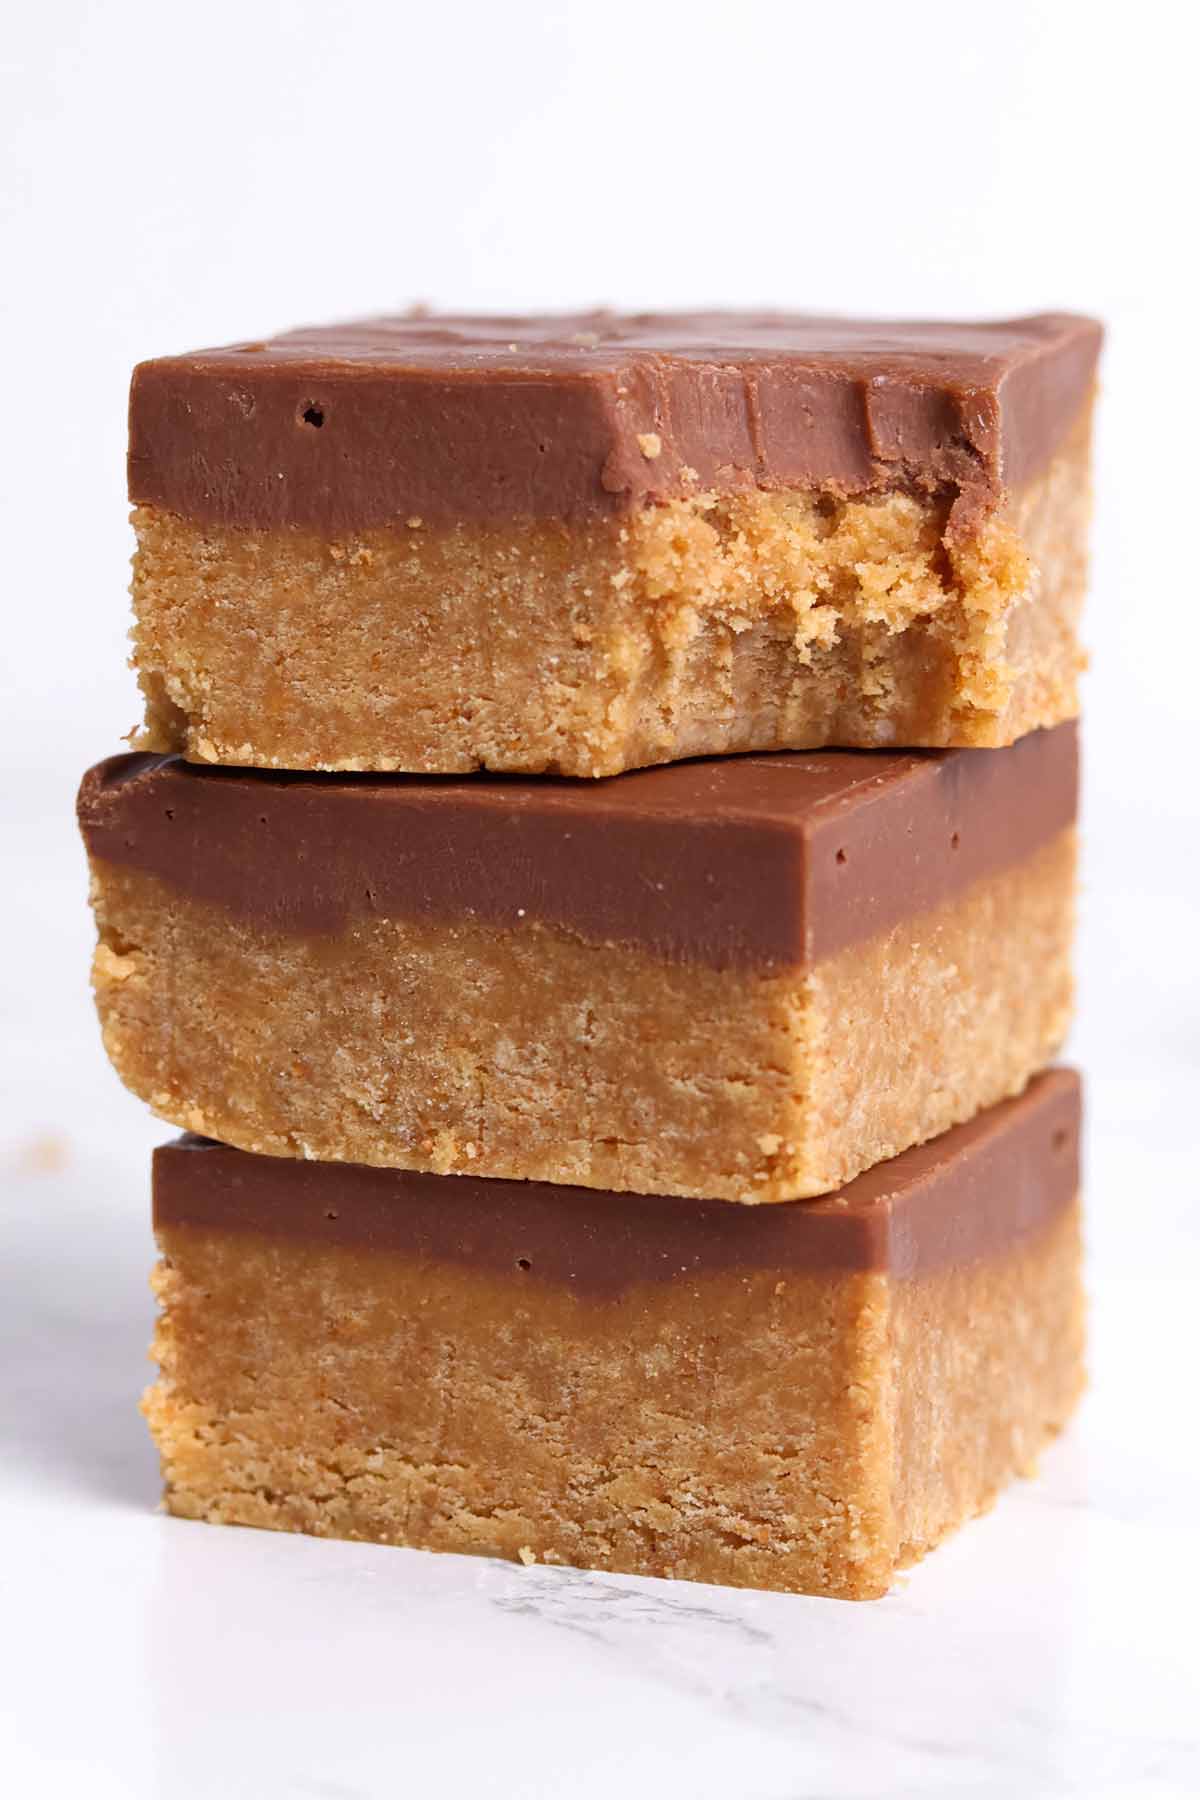
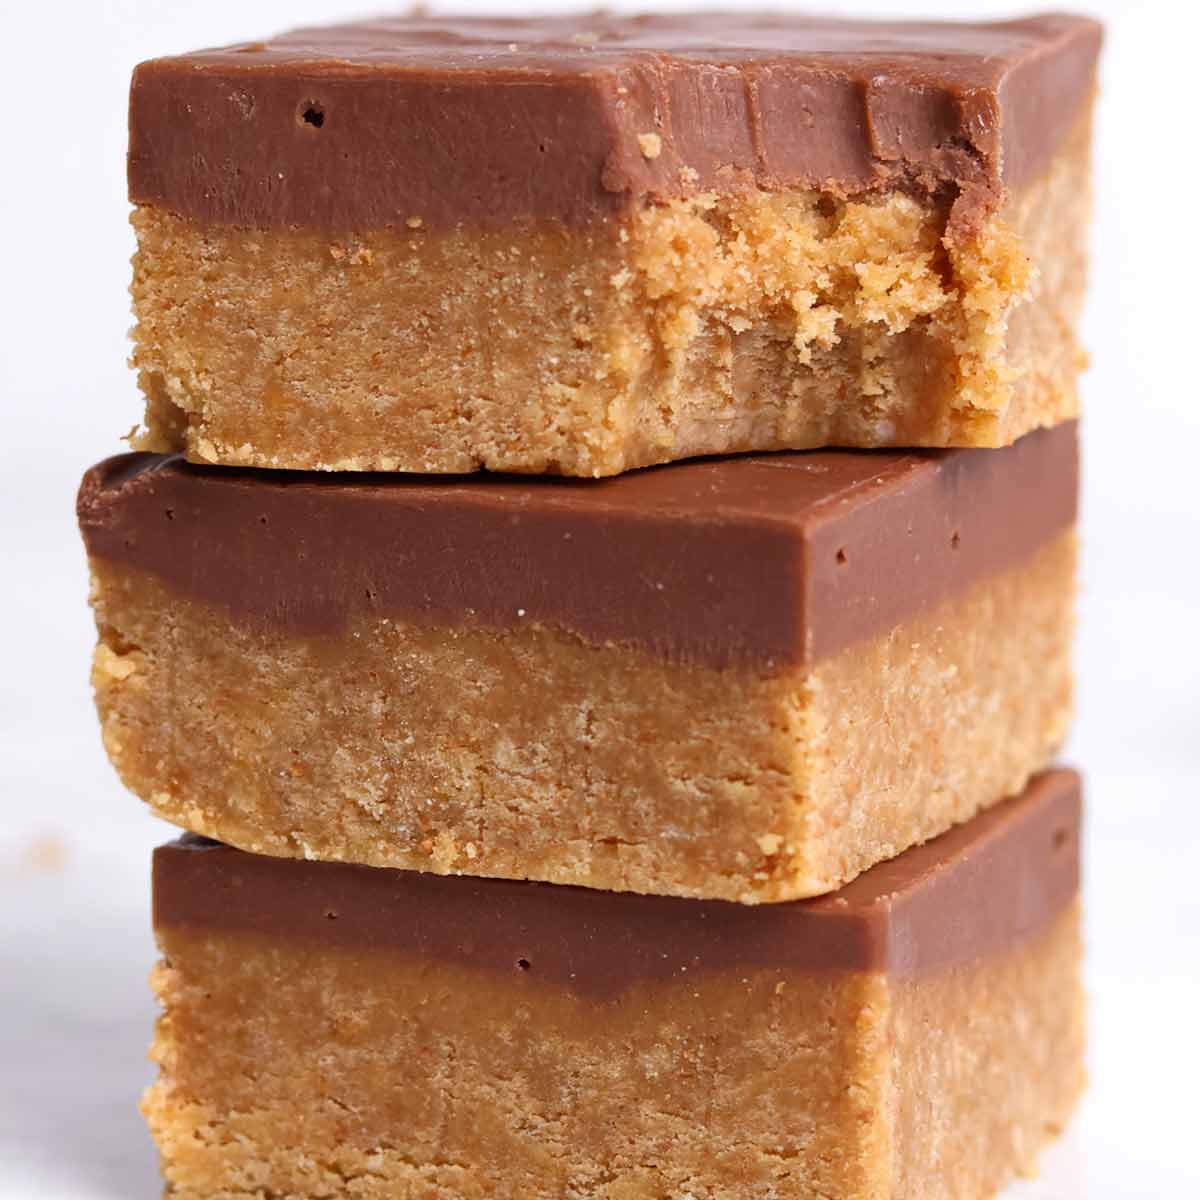
This chocolate fudge digestive biscuit traybake is a simple condensed milk slice which is always a crowd-pleaser! It's easy to make with no baking required, meaning it's perfect for beginners!
I've got my fair share of no-bake traybake recipes on the blog now but amidst all the fancy flavours and biscuit combos, I realised I'd forgotten the most classic one: A digestive biscuit traybake!
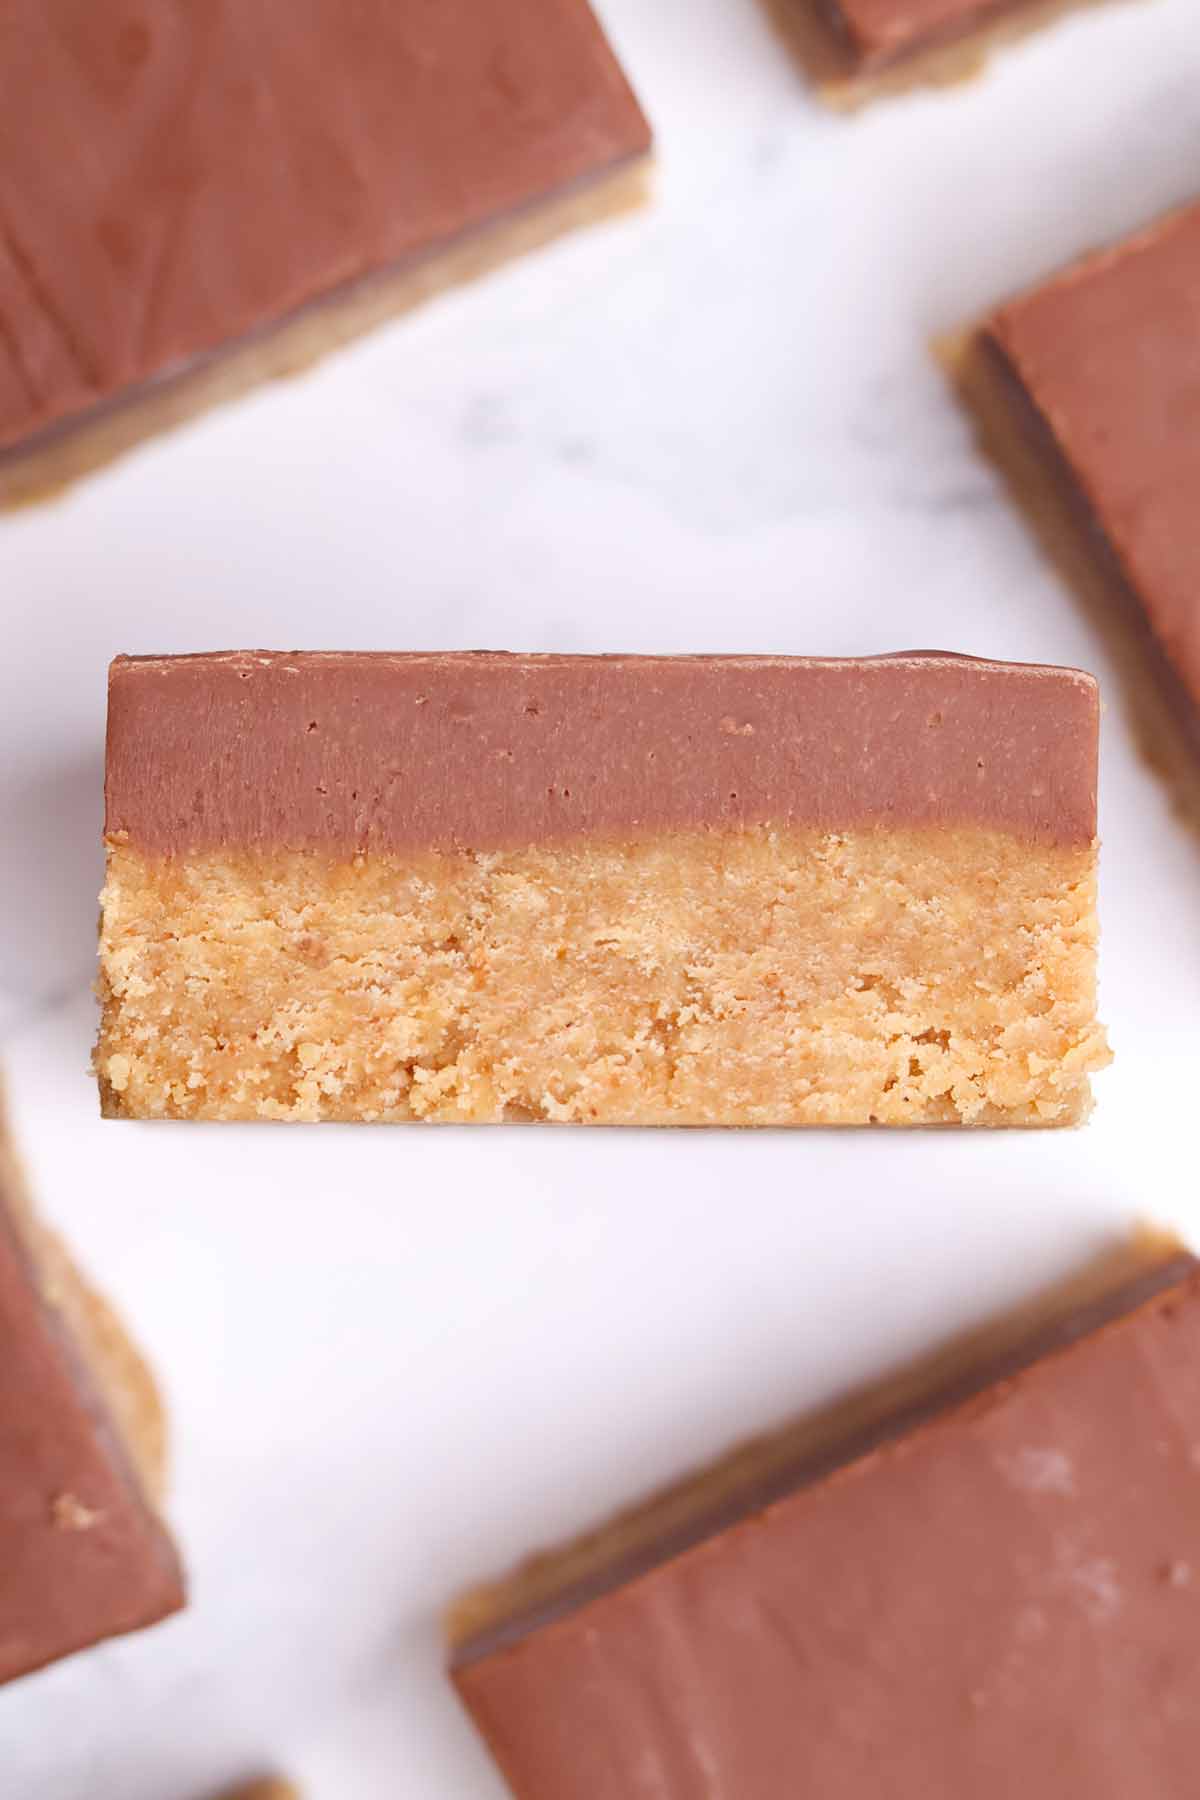
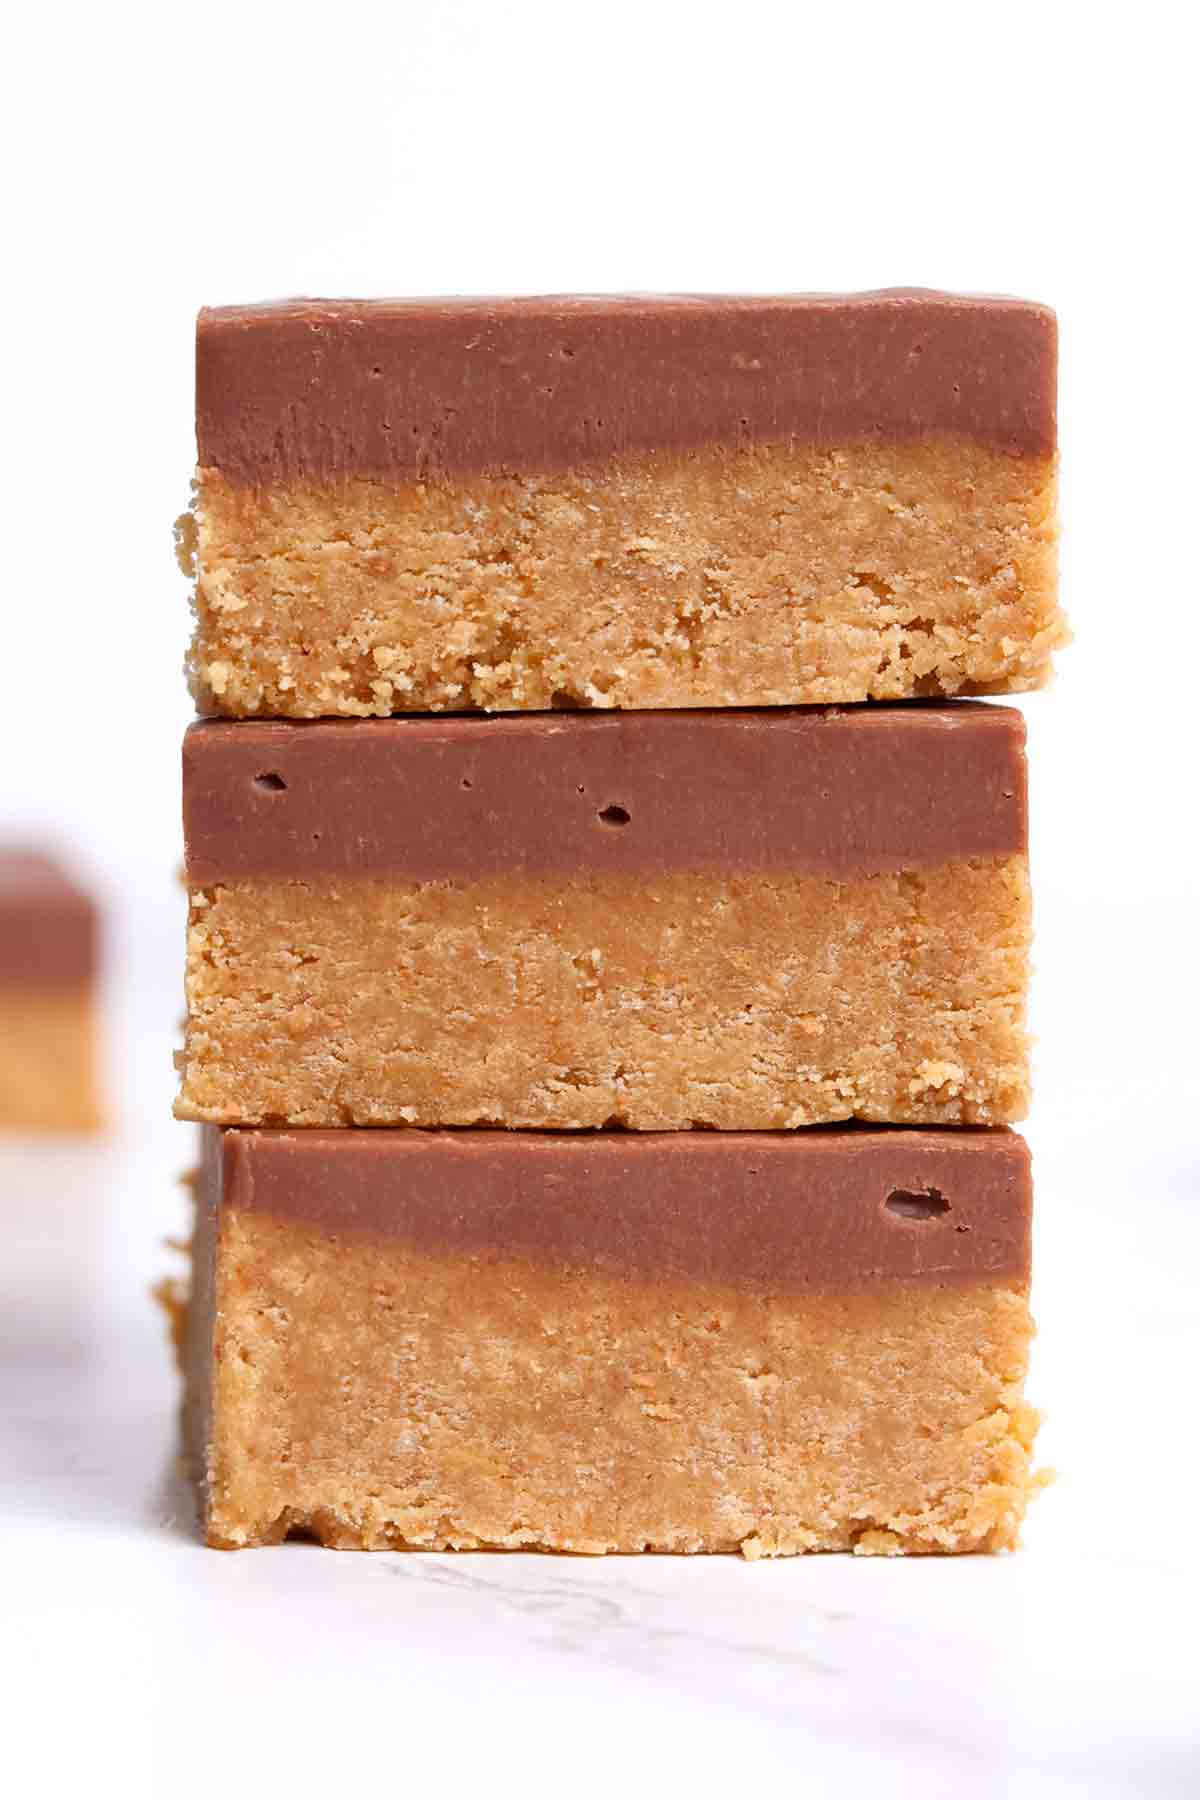
This condensed milk slice may be simple but it's by no means boring! It's made with digestive biscuit crumbs and topped with chocolate fudge, giving it a gorgeously soft texture. It's a bit similar to my white chocolate cranberry traybake, except this one has milk chocolate fudge instead of white chocolate.
This traybake is perfect for bake sales, a last-minute birthday treat or a tasty office snack to share with colleagues. Whatever the occasion, it's sure to be devoured quickly!
As always, I've written a post with all my top tips, step-by-step photos and recipe notes, to help you get this traybake right on the first go. I hope you find it helpful but if you want the short-and-sweet version, just jump straight to the recipe card at the end of the post. Enjoy!
Ingredients
Here's everything you need to make this digestive fudge slice:
- Digestive biscuits: The star of the show! Any brand will work fine. Make sure to crush them up finely so the biscuit slice holds together nicely when you cut into it later.
- Condensed milk: We will use some of this in the base and the rest in the chocolate fudge topping. Be careful not to rush and add it all at the wrong time! If you're new to baking, you can learn more here about the difference between condensed milk and evaporated milk.
- Butter: Salted or unsalted is fine. Use real butter (not margarine) for the best texture and flavour.
- Milk chocolate: I made my version with milk chocolate but you can use white or dark chocolate if you prefer. From my experience, I find that the fudge layer sets better when you use the cheaper types of chocolate.
Equipment
- 8x8-inch tin: This is the best tin size for thick slices but a 9x9-inch will work if you don't mind them slightly thinner. For different tin sizes, use my cake tin converter to adjust the recipe accordingly.
- Baking paper: Leave a bit hanging over the sides for easy removal later. The condensed milk slice will crumble if it's stuck to the tin.
- Food processor or blender: To blitz the biscuits into crumbs. You can also do it by hand with a rolling pin but it'll take a bit longer.
- Mixing bowl: A large one to mix the base ingredients together.
- Saucepan: To melt the chocolate and condensed milk together for making the fudge topping, and to melt the butter. You could also do this in the microwave in a heatproof bowl if you prefer.
- Utensils: Two wooden spoons for mixing, a ½ cup or measuring jug for measuring, and a sharp knife to cut the traybake. Having a metal spoon or silicone spatula is also handy (but not totally essential) for spreading the fudge over the biscuit base.
How to make a digestive biscuit traybake slice
Step 1: Line an 8x8-inch tin with baking paper then set it aside, ready for the biscuit base to go into later.
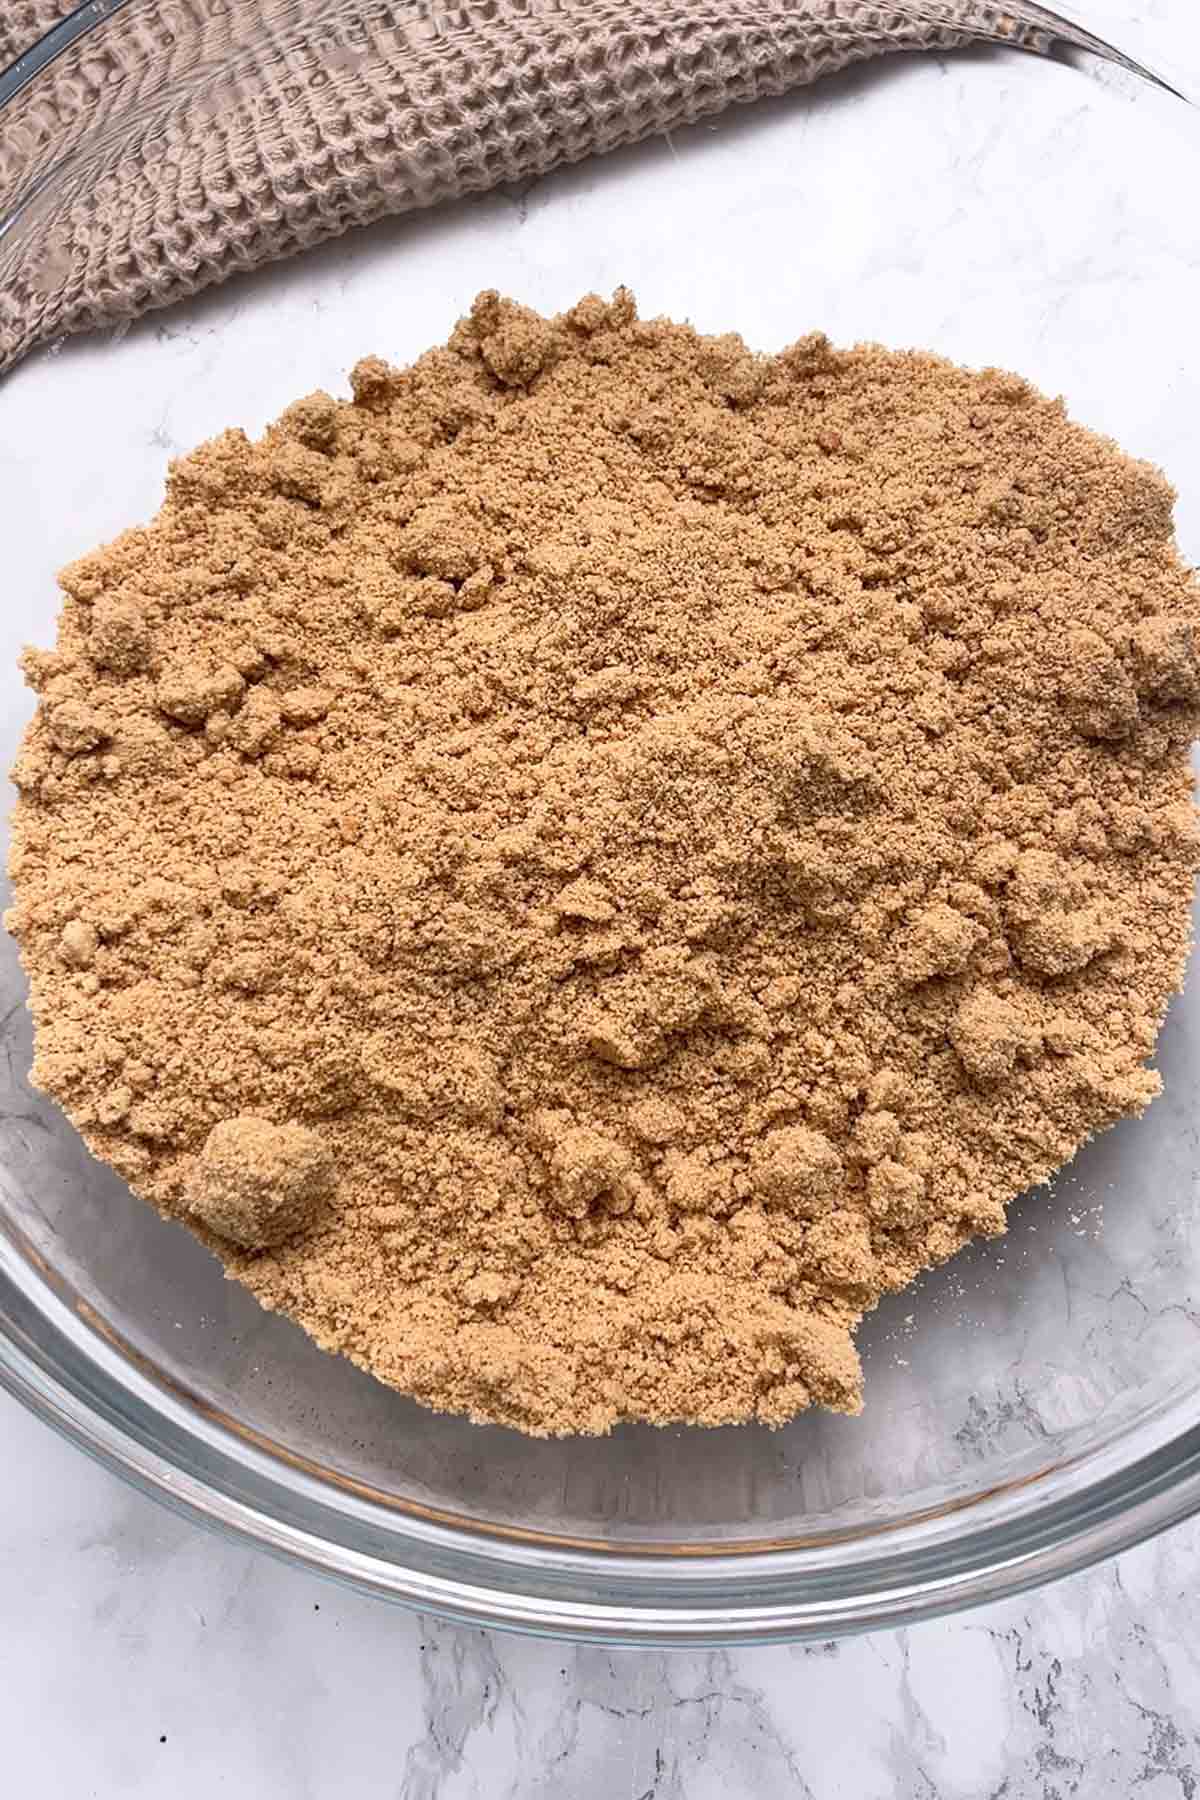
Step 2: Place 450g digestive biscuits into a food processor or blender and blitz until you have fine crumbs. Run your fingers through to ensure there are no large lumps left.
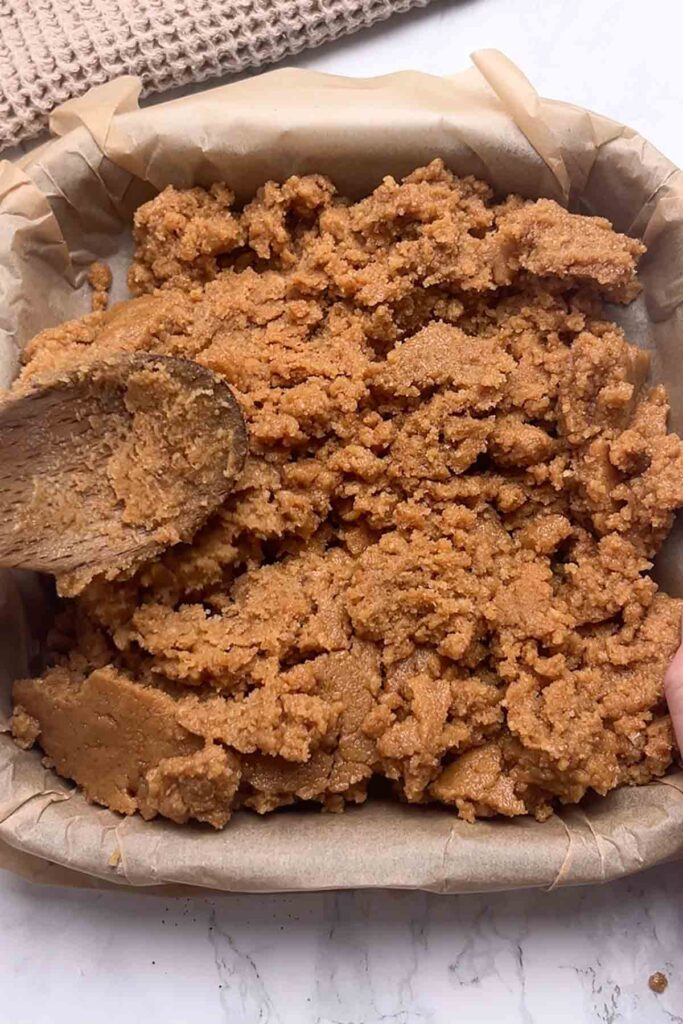
Step 3: Pour the biscuit crumbs into a large bowl then add 120ml condensed milk and 120g melted butter. Mix well until the crumbs are evenly coated.
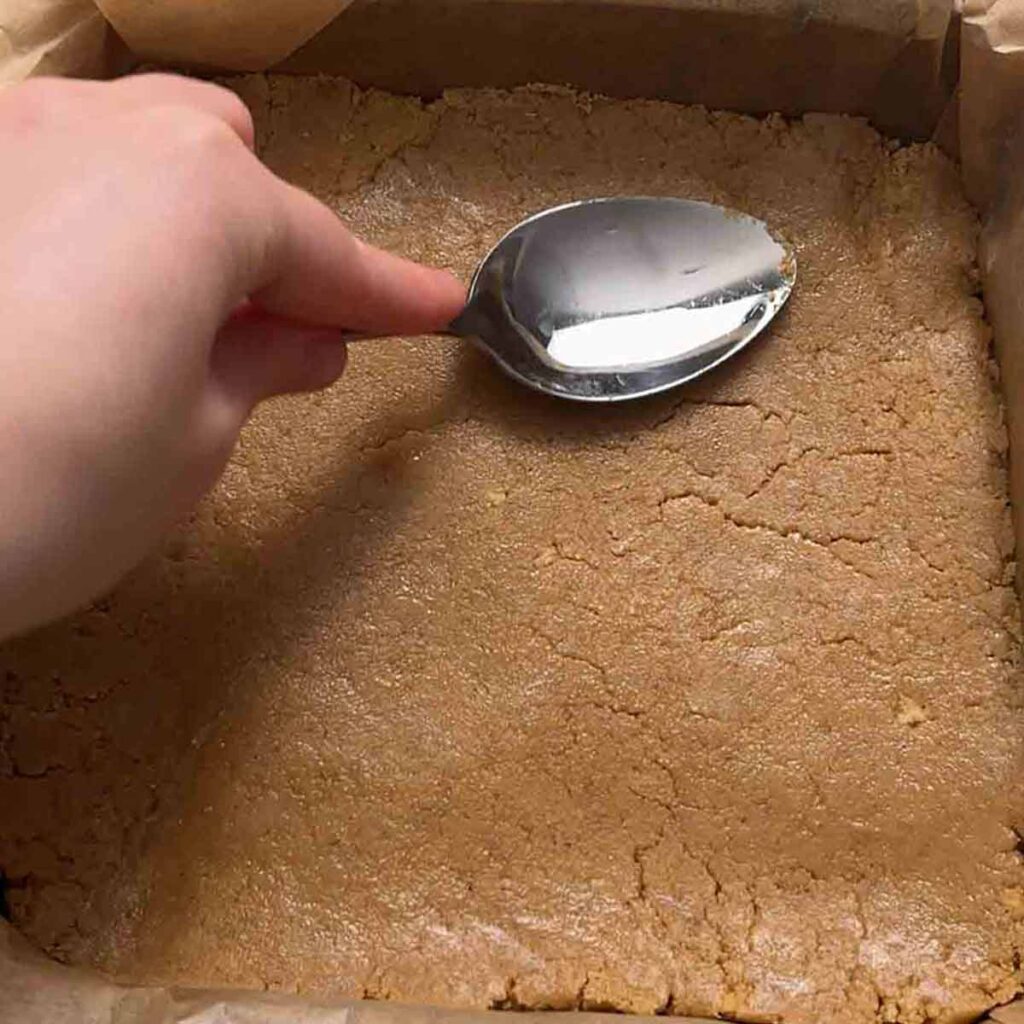
Step 4: Transfer the mixture to your lined tin, then press it into place. Set aside while you prepare the chocolate fudge topping.
Step 5: Break 250g of milk chocolate into pieces, then add it to a saucepan along with ~277ml condensed milk (the remainder of the tin). Place the pan over low heat and gently stir until the mixture is thick and smooth.
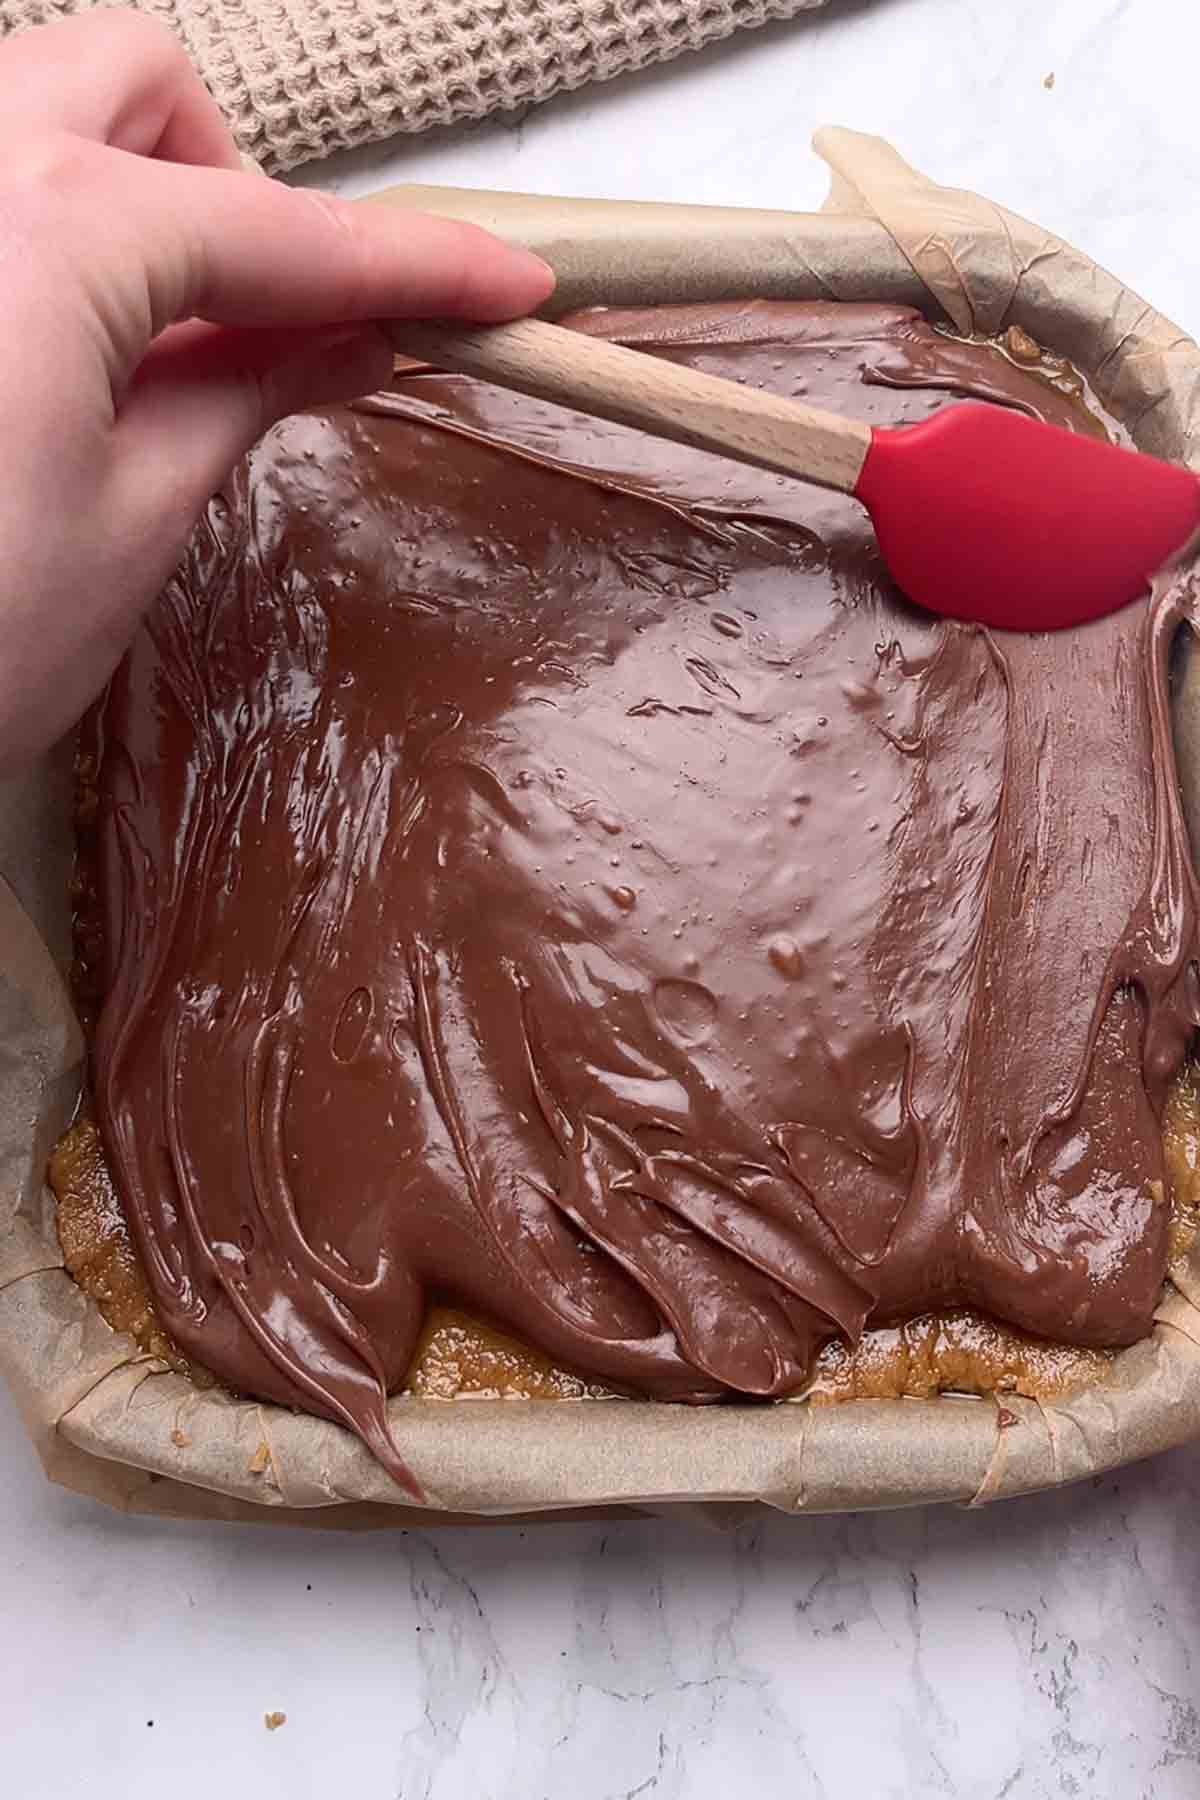
Step 6: Pour the fudge over the biscuit base and gently spread it out to the edges. Then pop it in the fridge for 4 hours to set.
Step 7: Once set, remove it from the tin, cut it into slices and enjoy!
Top tips
- Try to get the biscuit crumbs as fine as possible. If there are big chunks in there, they will cause this condensed milk slice to become crumbly when you cut into it.
- The fudge topping is not like traditional fudge and does not need to be boiled. Melt it slowly over low heat to prevent splitting.
- If you don't want fudge, you can just use the chocolate by itself for the topping. I recommend adding 5g of butter to the chocolate as you're melting it, which will make it easier to cut into without cracking. You can use the leftover condensed milk in another of my condensed milk traybakes or fudge recipes.
FAQs
This condensed milk slice will keep well in an airtight container for up to 5 days. I recommend storing it in the fridge to keep the chocolate topping fudgy.
Yes, you can freeze it for up to 3 months. Either wrap the whole thing tightly in clingfilm or foil, or put slices into airtight containers. To defrost, let it sit out at room temperature for an hour or so.
This will make 12 chunky slices or 24 smaller servings. Or if you want bite-sized pieces, you can get up to 48 out of this recipe!
Yes, the milk chocolate can be swapped for an equal amount of white, dark or semi-sweet chocolate, or even a mixture.
Yes, but you'll need to use different amounts of condensed milk and/or butter depending on the biscuits you're using. Check out my other recipes to make a biscuit slice with custard creams, Jammie Dodgers, bourbon biscuits, Party Rings, Happy Faces and gingernut biscuits.
More no-bake digestive biscuit treats:
I hope you like my chocolate fudge digestive biscuit traybake! If you make it at home, please leave a rating and comment below to let me know what you think. Enjoy!
Digestive Biscuit Traybake With Chocolate Fudge (No Bake)
Ingredients
- 450 g Digestive biscuits
- 120 g Butter, melted
- 120 ml Condensed milk (from a 397g tin)
Fudge topping:
- 250 g Milk chocolate
- Remaining condensed milk from the tin (approx 277ml)
Instructions
- Line an 8x8-inch tin with baking paper.
- Crush the biscuits into fine crumbs using a food processor or blender then pour them into a large bowl.
- Add the melted butter and 120ml condensed milk (save the rest of the tin for the topping). Mix well until the crumbs are evenly coated.
- Press the biscuit mixture into the bottom of your lined tin.
Topping:
- Break the milk chocolate into pieces and place it in a saucepan with the remaining condensed milk. Melt them over low heat on the stove, stirring gently until there are no lumps left. The mixture should look thick and glossy.
- Spoon the chocolate fudge topping over the biscuit base in the tin and spread it out to the edges.
- Refrigerate for 4 hours to set.
- Cut your condensed milk slice into squares and enjoy!
Notes
- Store any leftovers in an airtight container in the fridge for up to 5 days.


Leave a Reply