
This BJ's inspired Cookies & Cream Pizookie is a delightful twist on a classic skillet cookie, packed with Oreos and chocolate chips. It's ready in about 20 minutes and perfect for sharing after dinner. Once you've tried this, you'll be making it on repeat!
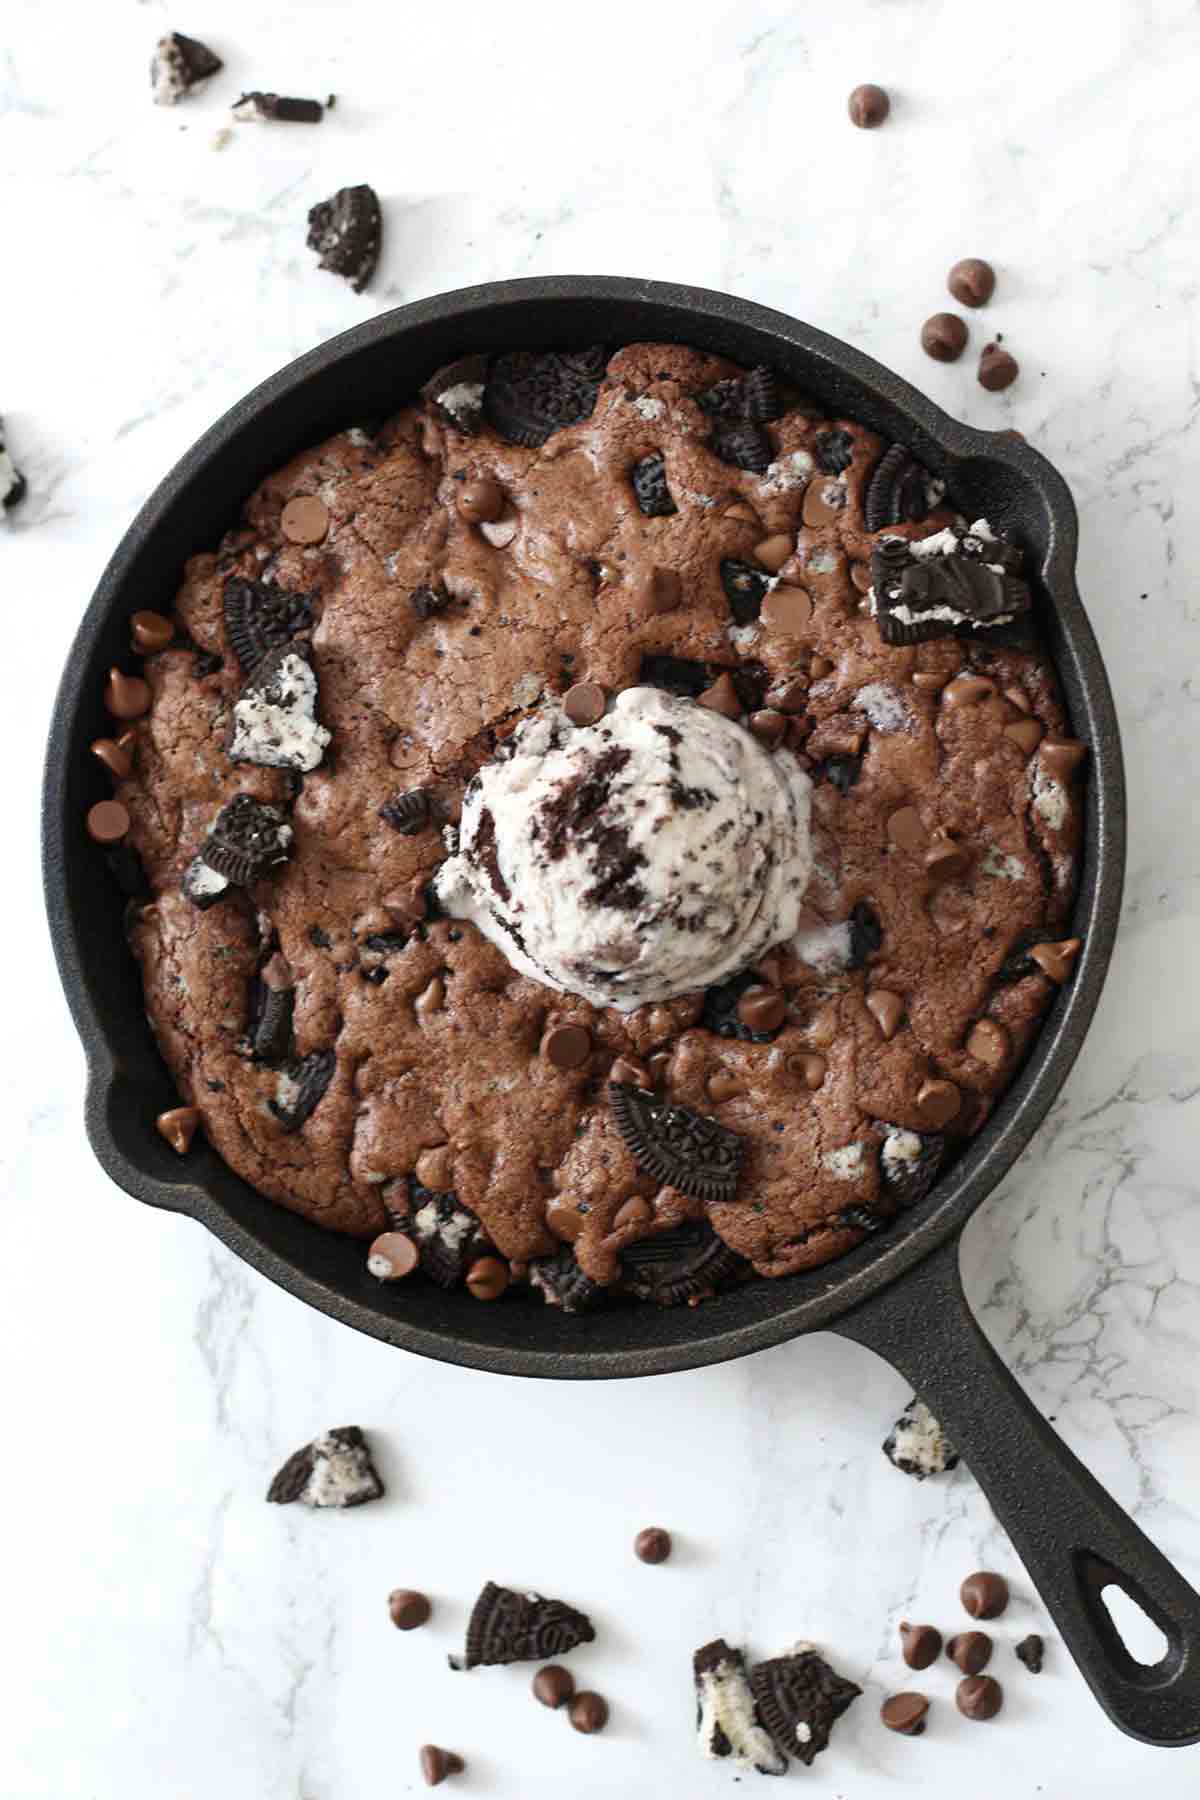
If you've never had a Pizookie, you HAVE to try this recipe! It's essentially a half-baked skillet cookie with baked edges and a gooey centre. The term 'Pizookie', meaning pizza cookie, was coined by BJ's Restaurants and they've made lots of different flavours over the years.
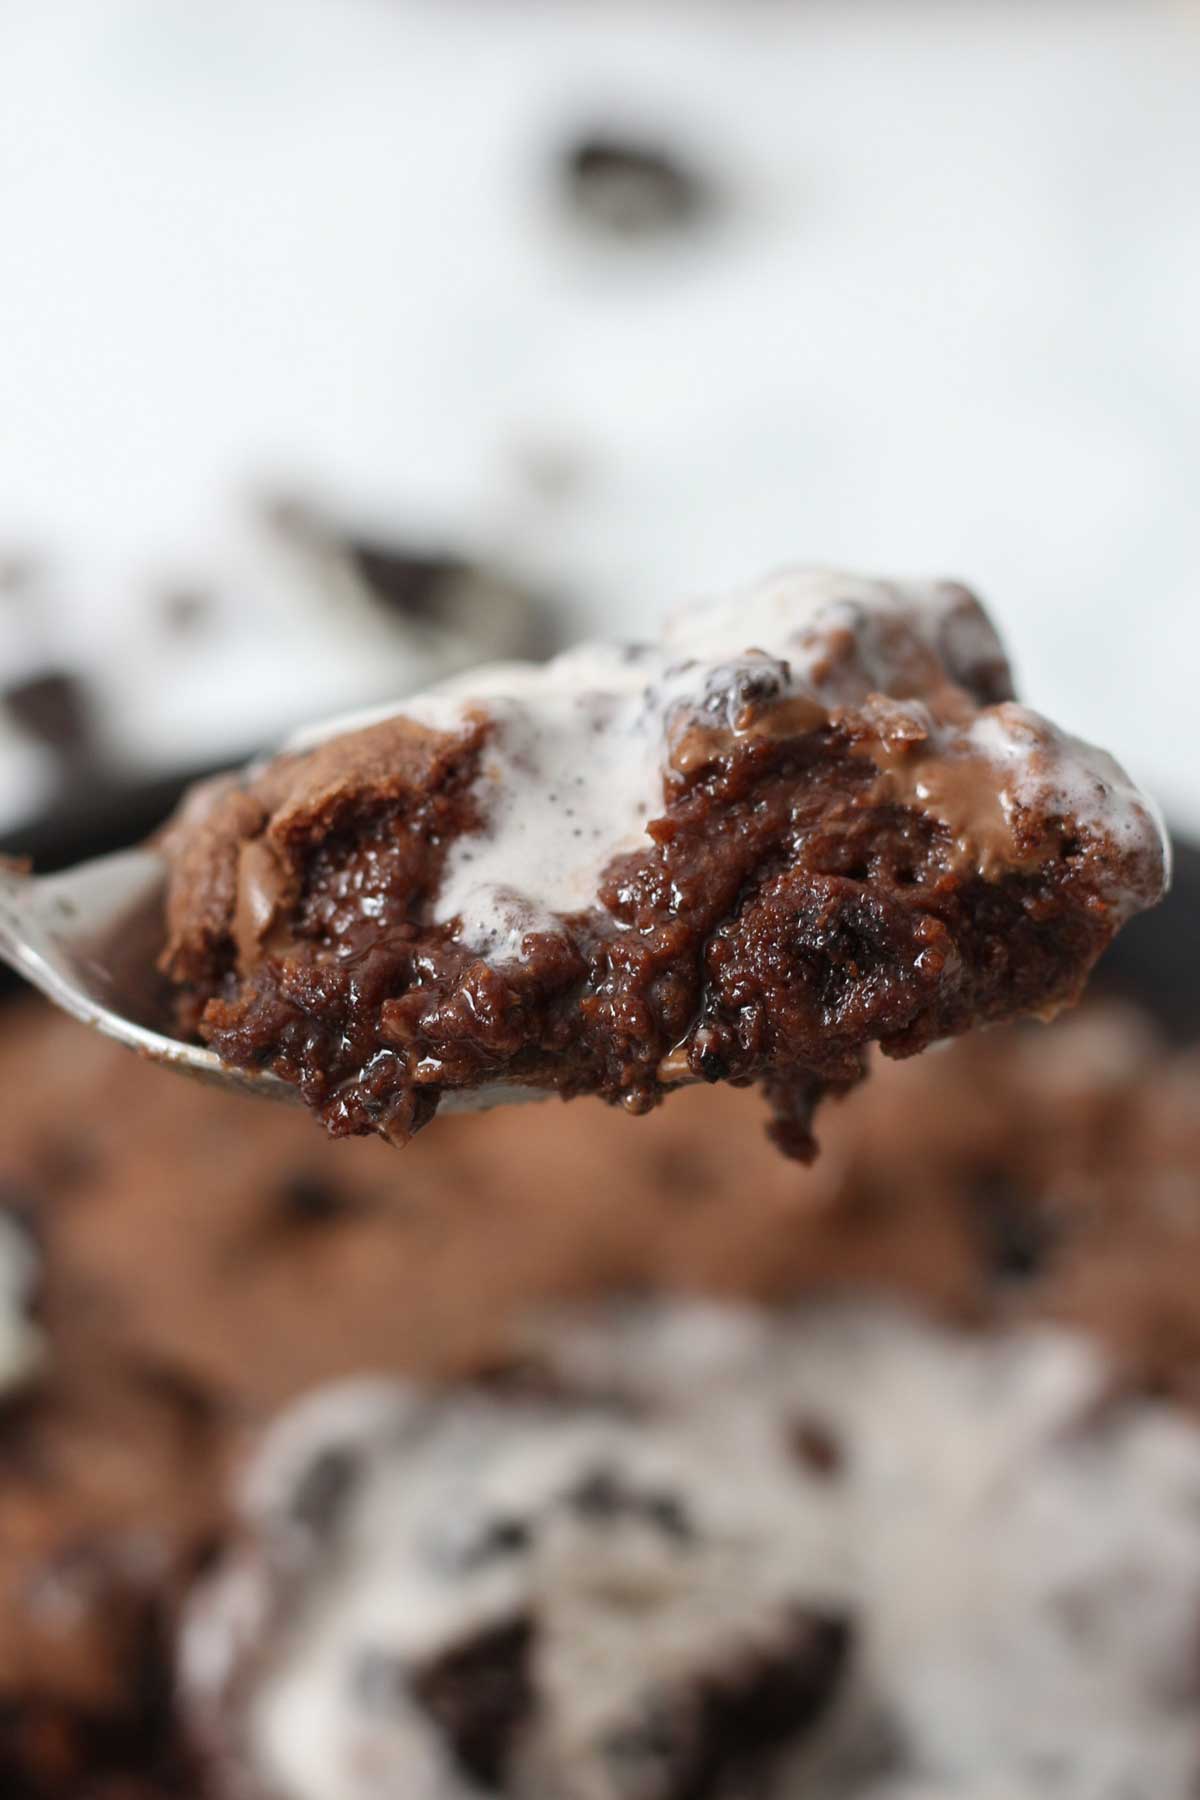
I first tried this flavour when I visited BJ's in Miami a few years ago, and because I loved it so much, I thought it'd be fun to recreate it for the blog. It might not be an *exact* replica but it is pretty darn delicious! It's firm, chewy and slightly crispy at the edges with a soft, gooey centre. SO good served warm with ice cream and it's great for sharing with friends.
If you're ready to get started, keep reading for all my top tips, ingredient and equipment notes, step-by-step images and more. Or, if you prefer the short and sweet version, feel free to jump to the recipe card at the end of the post. Enjoy!
Ingredients
- Butter: Softened butter will give our pizookie an indulgent, gooey texture and a rich buttery flavour. I like salted but feel free to use unsalted if you prefer.
- White sugar: Adds sweetness and helps the cookie to spread in the skillet as it bakes. I like to use caster sugar as it dissolves a bit better but regular white sugar will also work fine.
- Brown sugar: Gives a delicious caramel-like flavour and keeps the cookie moist. It also helps to give it a chewy texture once it cools. Soft light brown sugar is best for this recipe, as dark brown sugar may overpower the other flavours.
- Egg: This acts as a binder, holding all of the other ingredients together, and adds a little bit of lift too. For an egg-free version, use a flax egg or a small splash of milk to help the dough hold together.
- Vanilla extract: Just a small amount. You can swap this for an equal amount of cold espresso, which will help to enhance the chocolate flavour.
- Self-rising flour: Self-rising flour is a bit of a shortcut here. It's got the raising agents already mixed in, which helps give the cookie a bit of lift. If you've only got all-purpose flour, just add 1+½ teaspoons of baking powder to the recipe too.
- Cocoa powder: For that classic chocolatey flavour. I use unsweetened natural cocoa powder.
- Chocolate chips: I used milk chocolate chips but you can use semi-sweet, dark or white chips if you prefer. If you prefer bigger chunks of chocolate, just chop up your favourite chocolate bar instead.
- Oreos: These are what make this a cookies and cream pizookie. You'll need about 7 Oreos, plus a few more for topping if you like.
- Ice cream: For serving. The cold ice cream on the warm cookie is just *chef's kiss*. You can use vanilla or cookies and cream ice cream, whatever you like best.
Equipment
- 7-inch cast iron skillet: If you don't have a cast iron skillet, a regular cake tin will do the trick- just make sure it's a 7-inch one for accurate baking time.
- Food scale: I recommend using a kitchen scale for more precise measurements (and also fewer dishes).
- Mixing bowl: A large one, for making the dough.
- Utensils: You'll need a wooden spoon for mixing, a teaspoon for measuring, and a few tablespoons for serving.
- Ice cream scoop: For serving the ice cream. Not essential, but it makes for a neater presentation!
How to make Cookies and Cream Pizookie
For cup measurements, check out the recipe card at the end of the post.
Step 1: Preheat your oven to 200°C (400°F) and have a 7-inch cast iron skillet to hand. If you're using a fan or convection oven, set the temperature to 180°C (350°F) instead.
Step 2: Cut 100g of salted butter into cubes then add it to a large bowl with 90g white sugar and 60g soft light brown sugar. Mix well.
Step 3: Stir in 1 medium egg and 1 teaspoon of vanilla extract. The mixture should be smooth and glossy.
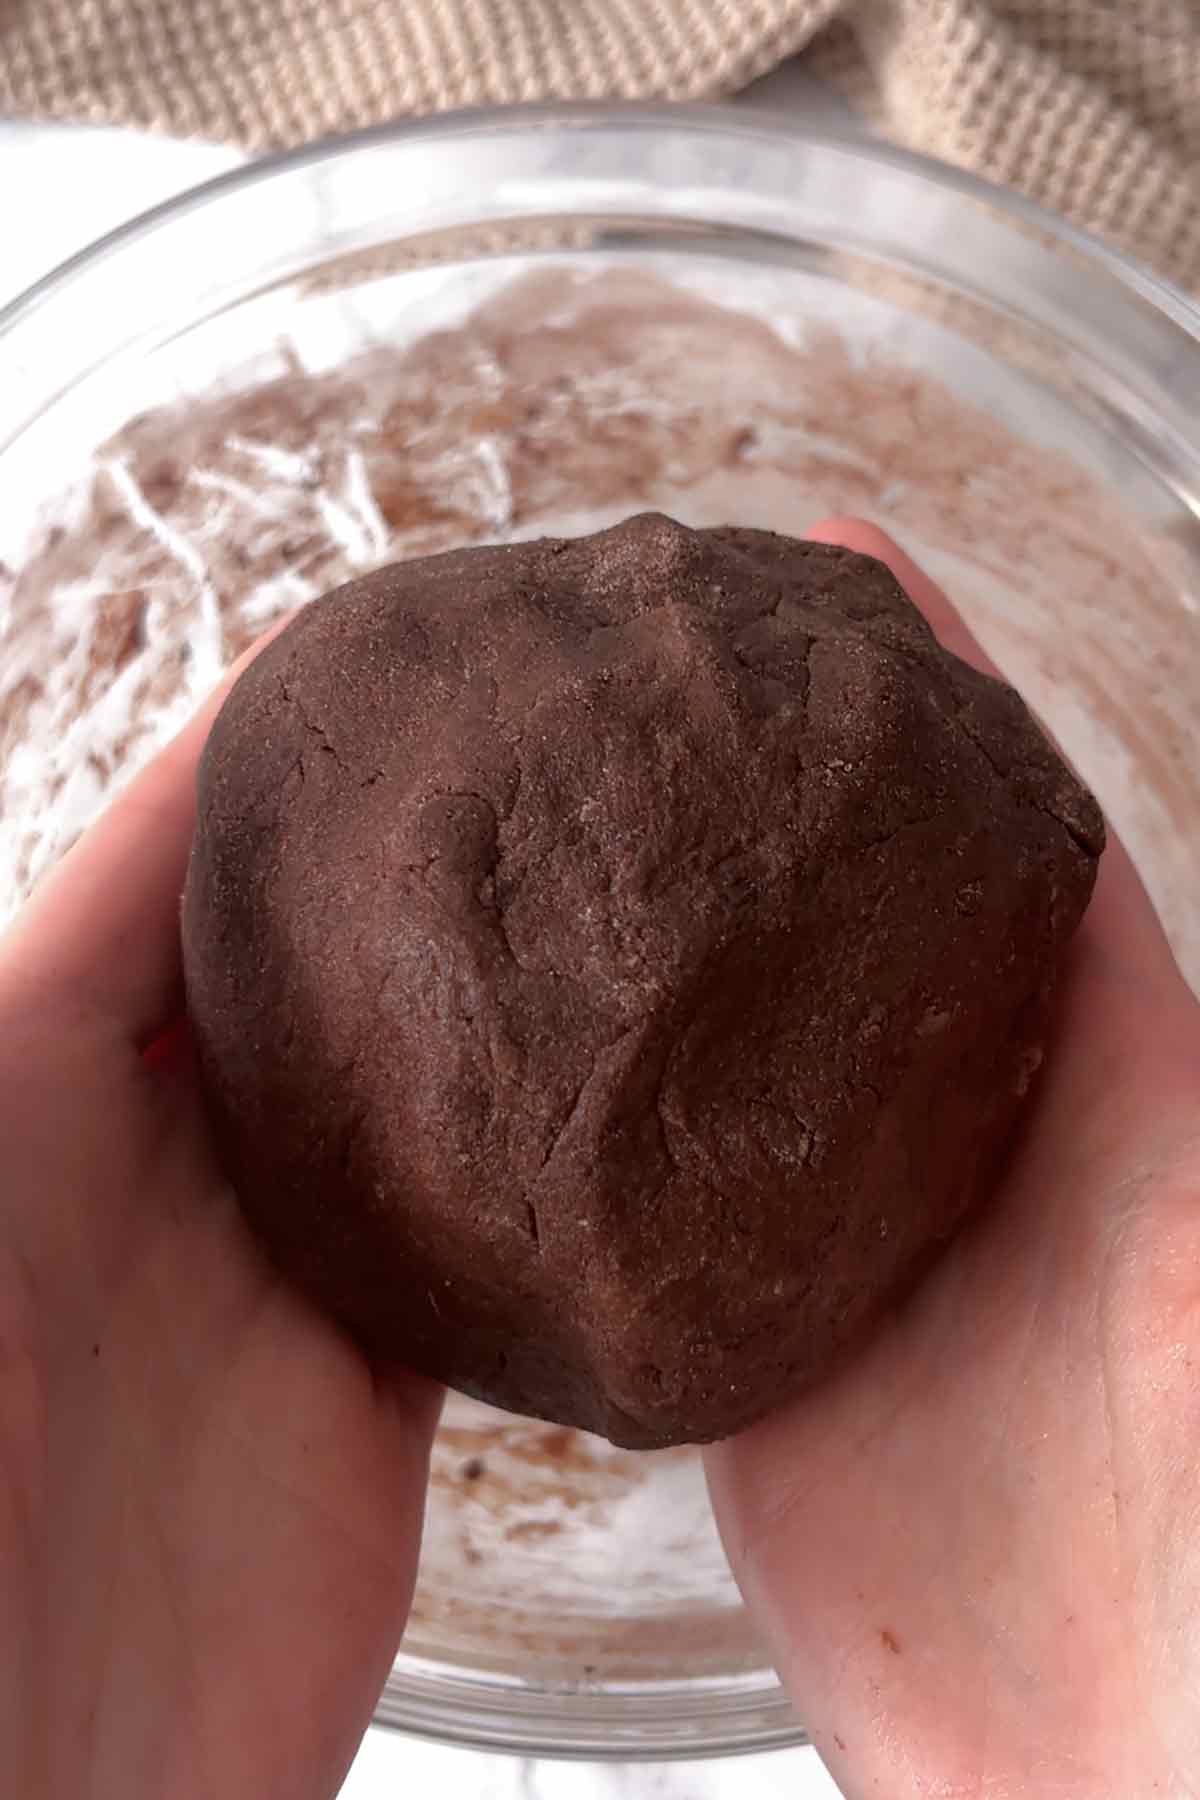
Step 4: Next, add 150g self-rising flour and 2 tablespoons of cocoa powder. Mix well, then press together to make a ball of dough.
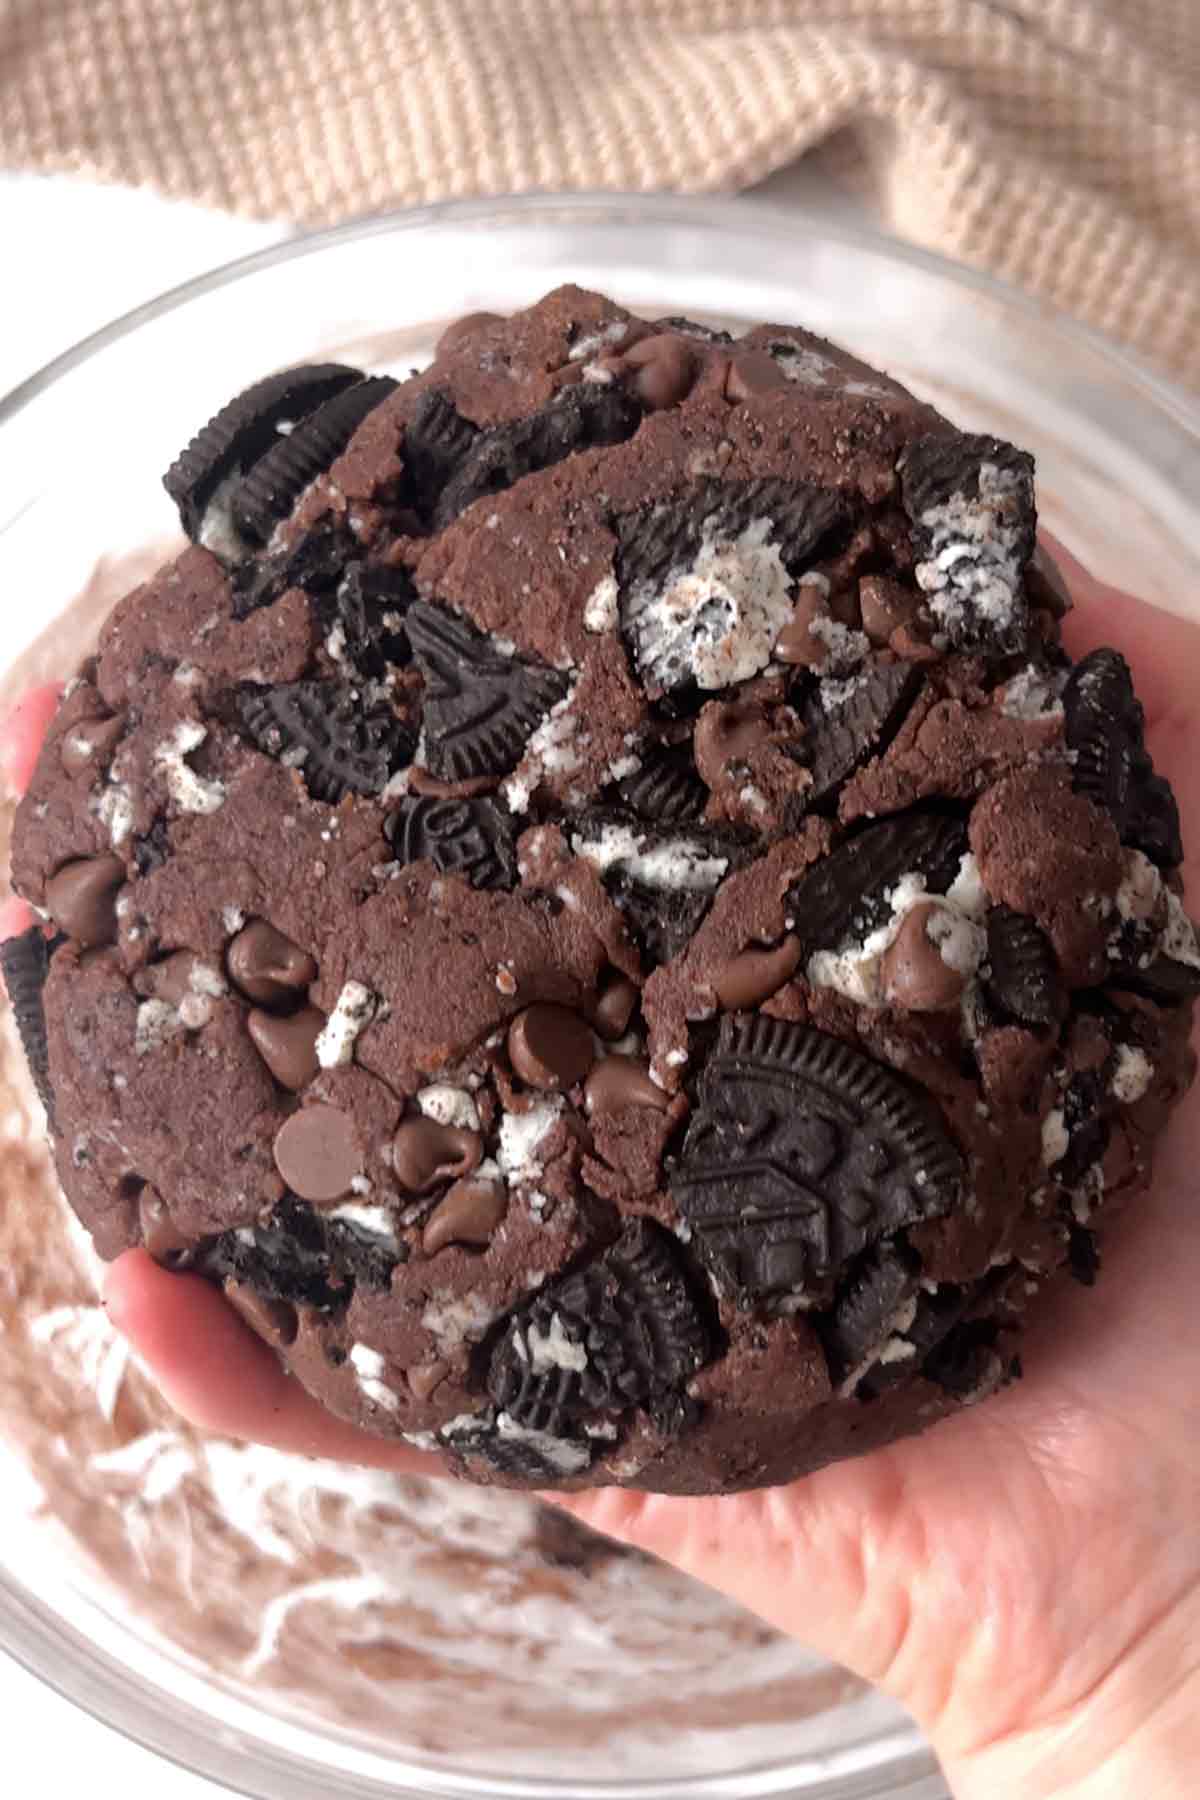
Step 5: Crush up 7 Oreos and add them to the dough with 85g of milk chocolate chips. Briefly stir them in to combine.
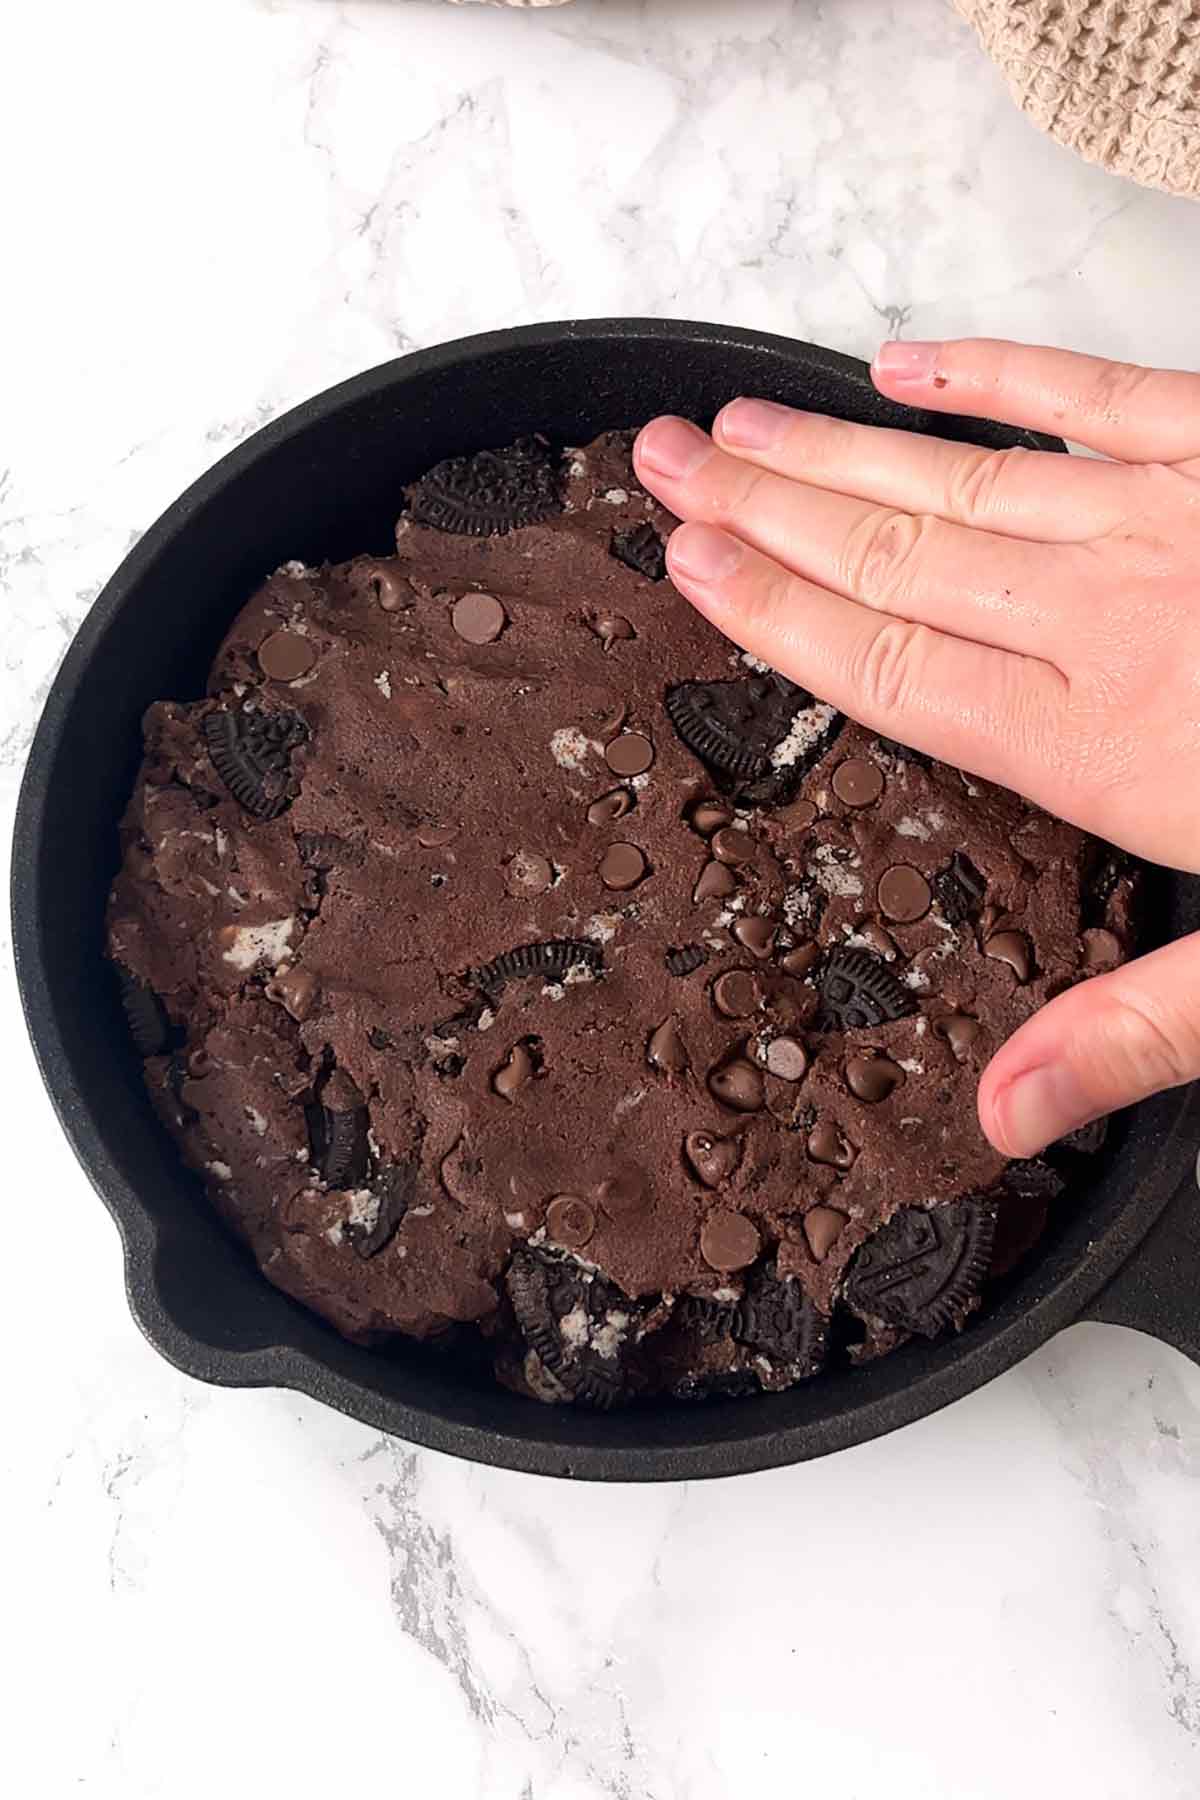
Step 6: Transfer the dough to your skillet and press it in. It'll spread out as it bakes so don't worry about making it super even.
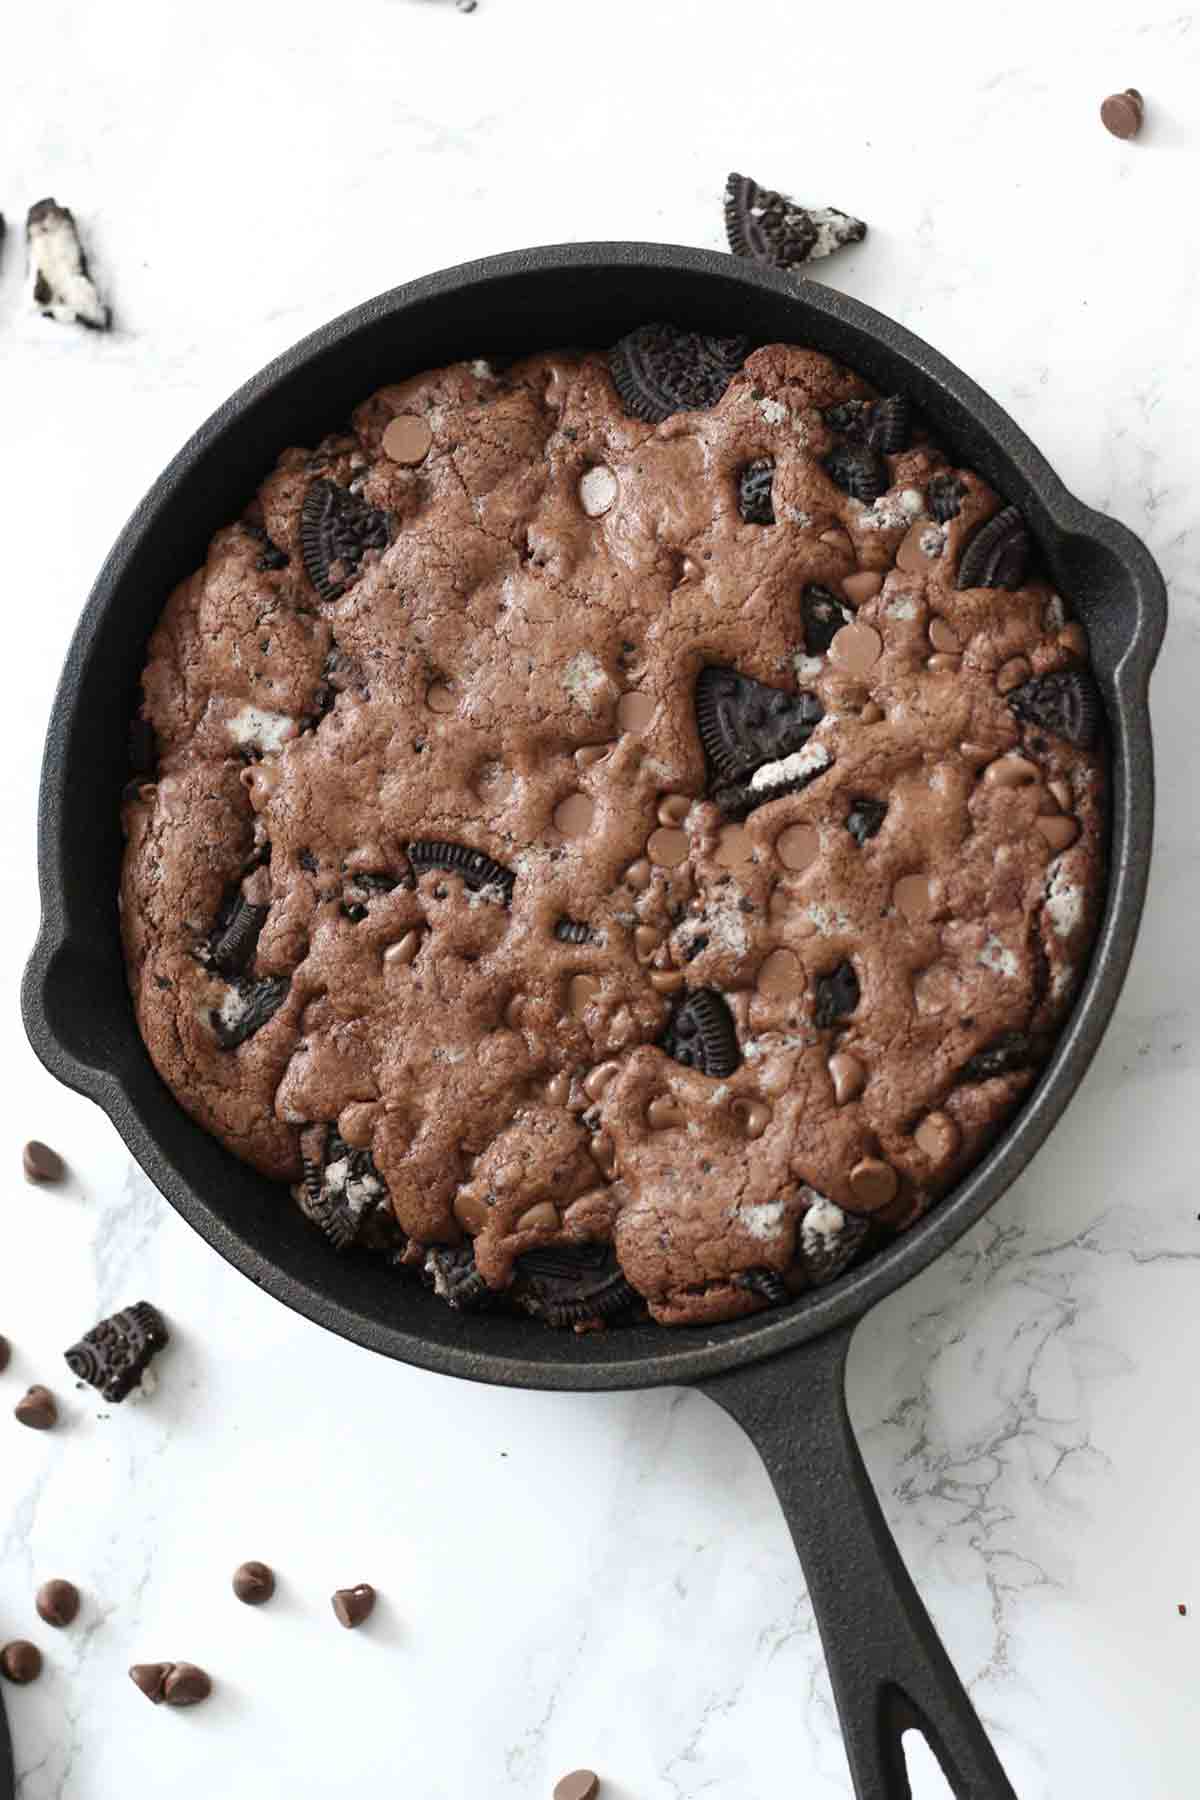
Step 7: Bake for 11-12 minutes, until the cookie has a crust on top and a slight wobble in the middle. Set it aside to cool slightly for about 5 minutes.
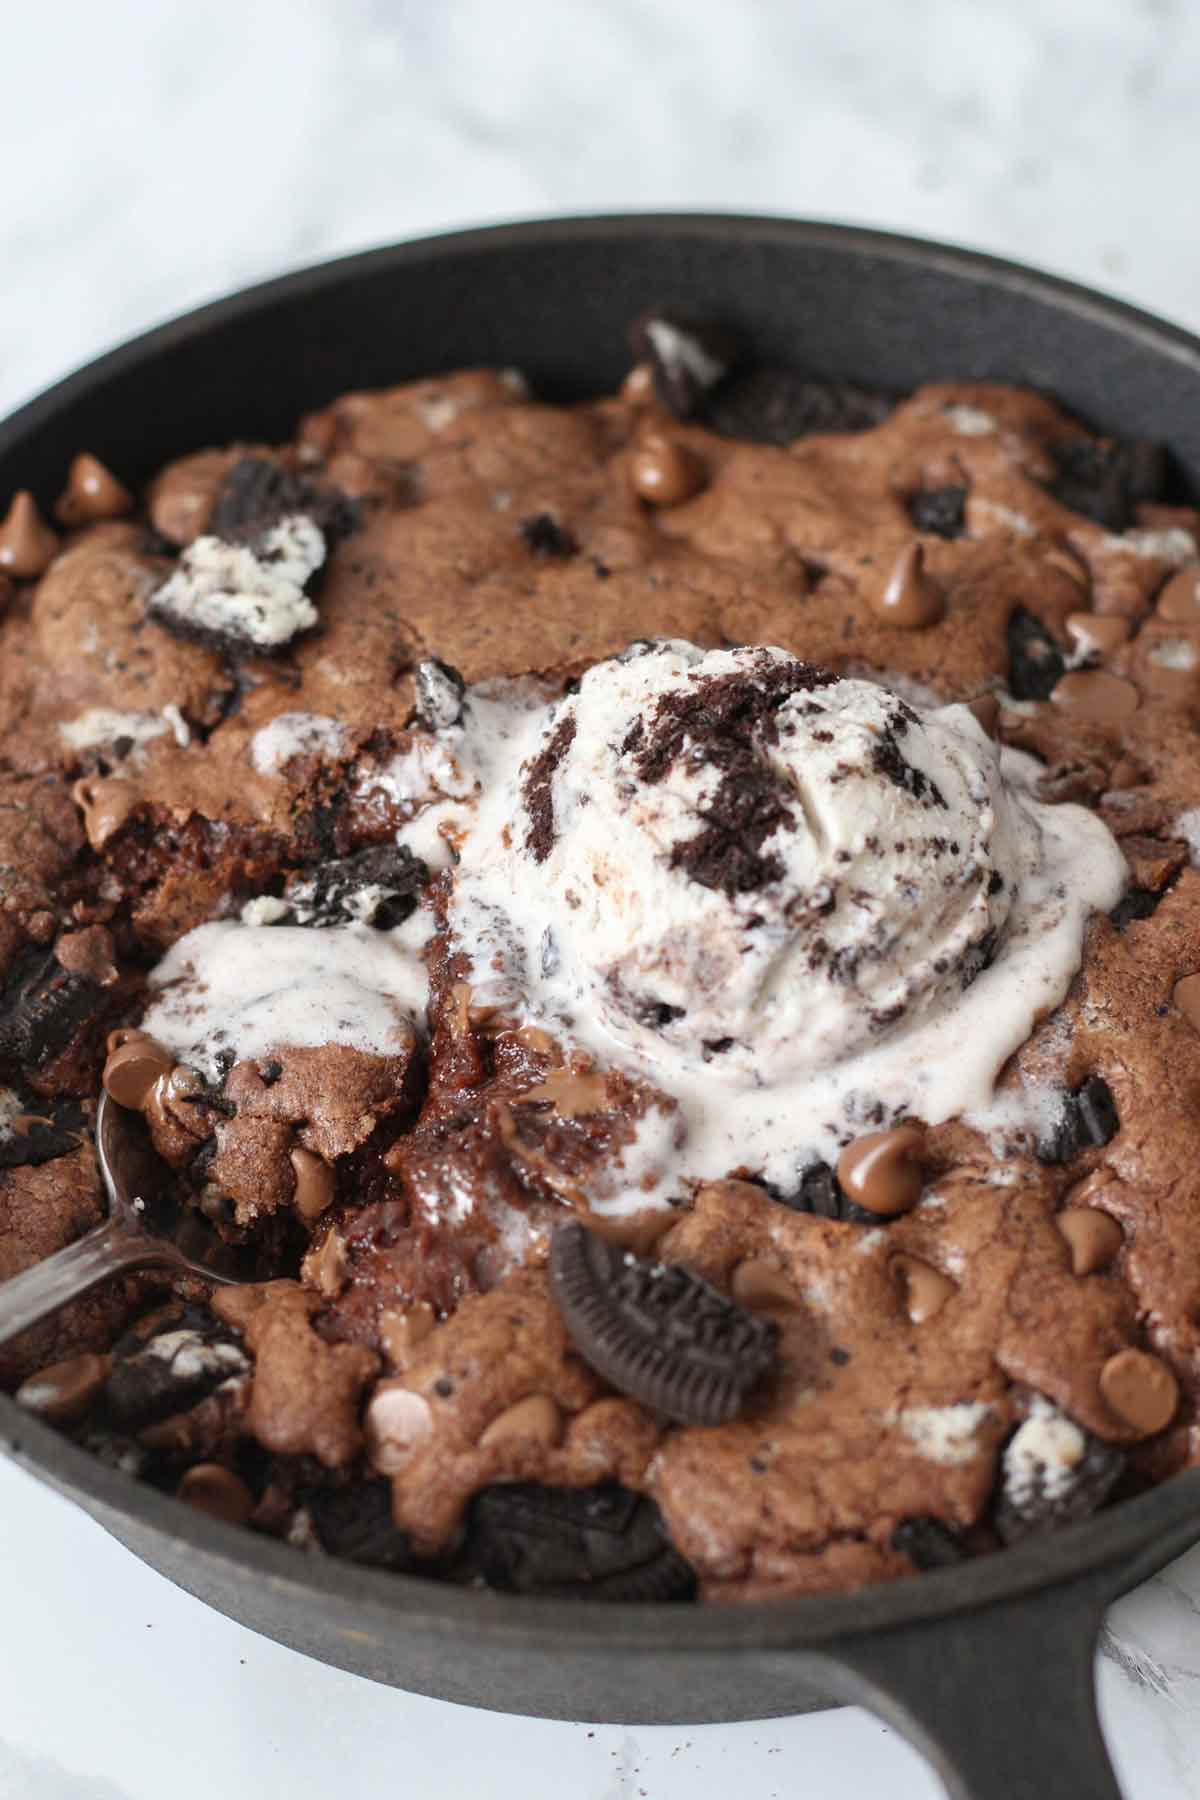
Step 8: Add a scoop or two of ice cream on top then dig in!
Top Tips
- If you don't have a cast-iron skillet, any 7-inch oven-safe skillet or cake tin will work just as well.
- Keep the Oreo pieces chunky- don't crush them into crumbs. This way, you'll get a good amount of Oreo flavour in each bite.
- Don't forget to wear an oven glove when handling the skillet as it stays hot for a lot longer than a cake tin.
- Let the pizookie cool completely for a giant, chewy cookie.
- For a fun twist, try using different flavoured Oreos like mint or peanut butter.
FAQs
Yes, you can prepare the dough up to 2 days in advance and keep it covered in the fridge. Let it come to room temperature for about 30 minutes before pressing it into the skillet and baking.
The cookie should have a shiny crust all over with a slight wobble in the middle when you (gently) shake it. The toothpick test won't work for this recipe as it's supposed to be slightly gooey inside.
This recipe makes one large 7-inch cookie, which can serve about 4-6 people, depending on how much you want to eat. Rather than portioning it out, it's best to dig in with your spoon directly from the skillet!
More Oreo desserts:
I hope you like my take on the cookies & cream pizookie! If you make it at home, please leave a rating and comment below to let me know what you think. Enjoy!
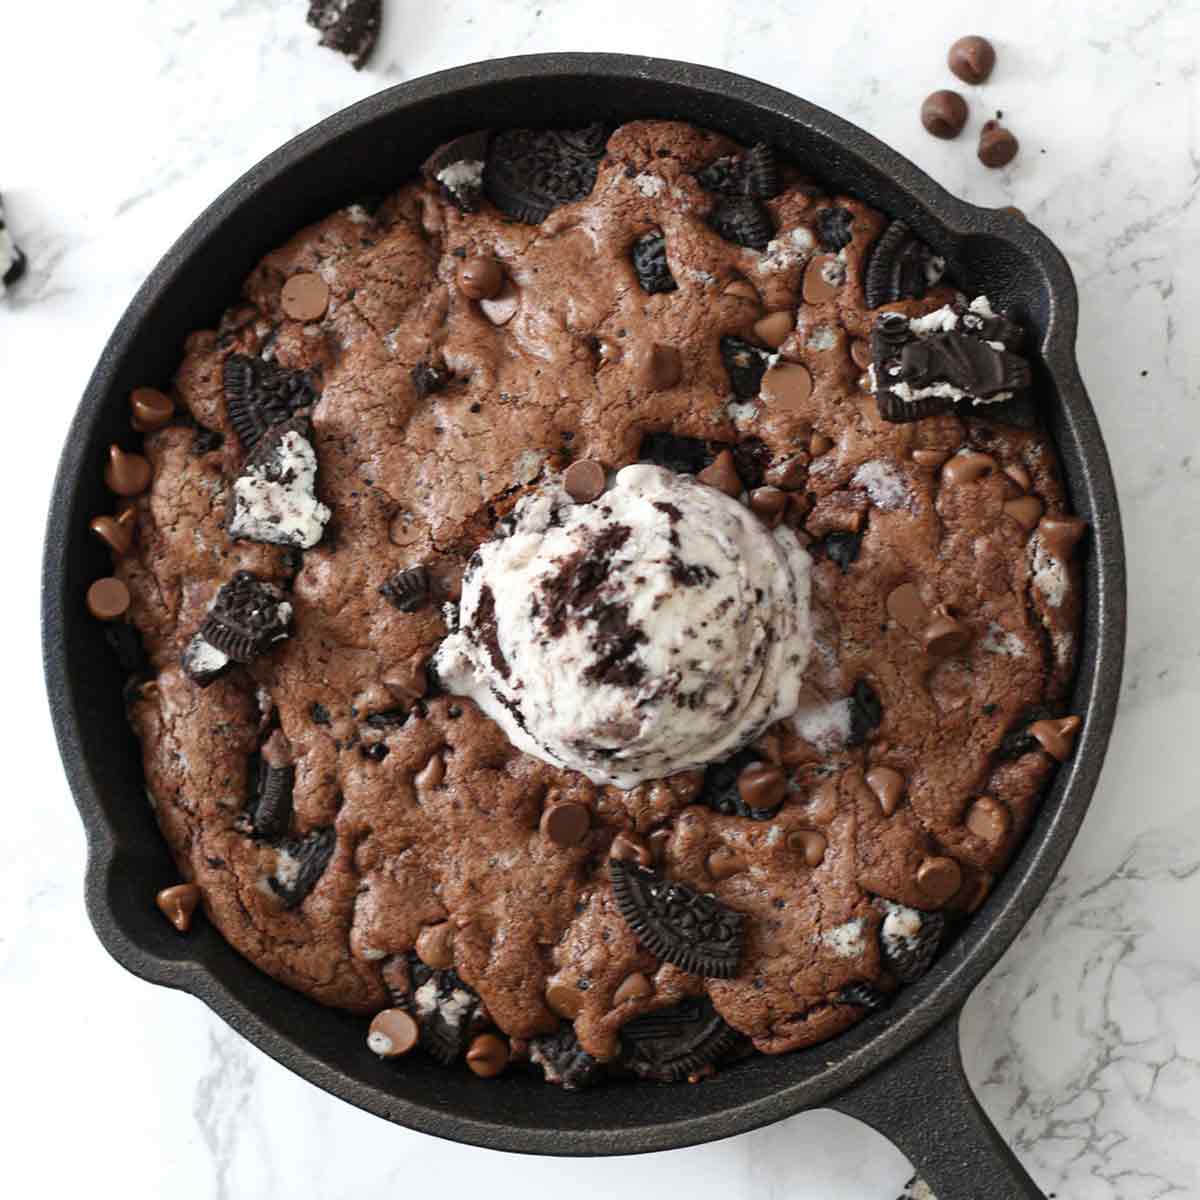
Cookies & Cream Pizookie
Ingredients
- 100 g Butter, softened (7 Tablespoons)
- 90 g White sugar (⅓ cup + 2 tablespoons)
- 60 g Soft light brown sugar (¼ cup packed)
- 1 Medium Egg
- 1 Teaspoon Vanilla extract
- 150 g Self-rising flour (1+¼ cups)
- 2 Tablespoons Cocoa powder
- 85 g Milk chocolate chips (½ cup)
- 7 Oreos, roughly crushed
To serve:
- 1-2 Scoops Cookies & cream ice cream
- More Oreos and chocolate chips
Instructions
- Preheat your oven to 200°C/400°F (180℃/350℉ for fan or convection ovens). Make sure you have a 7-inch cast iron skillet or non-stick cake pan to hand.
- Mix the butter, white sugar and brown sugar together in a large bowl.
- Add the egg and vanilla extract. Mix well until smooth.
- Stir in the self-rising flour and cocoa powder. Press everything together to make a ball of dough.
- Gently knead in the chocolate chips and the Oreo pieces.
- Press the cookie dough into your cast iron pan and bake for 11-12 minutes.
- Serve with ice cream and several spoons and eat straight out of the skillet!
Notes
- Once cool, this can be enjoyed as a chewy chocolate cookie. Do not reheat.


Leave a Reply