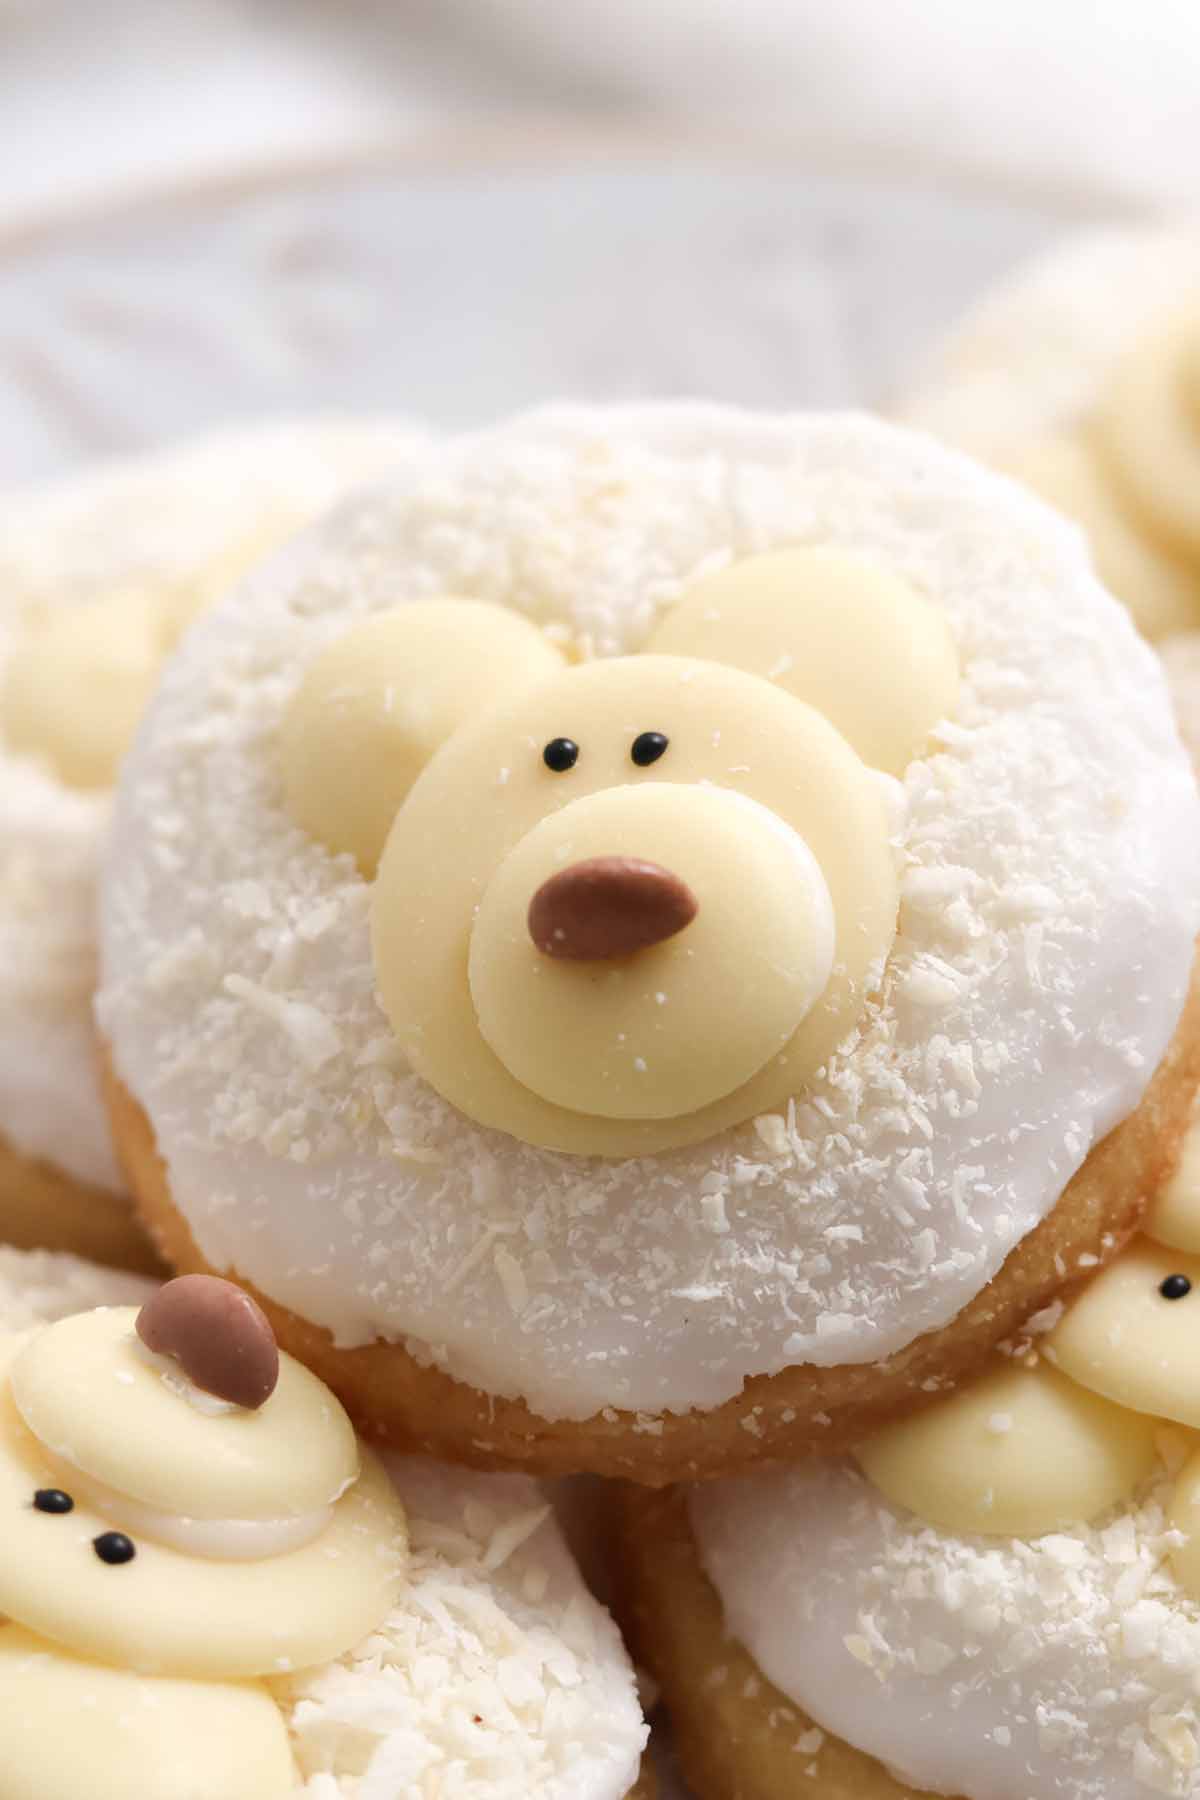
These cute polar bear cookies are fun, festive and easy to make. They are simple shortbread rounds topped with glacé icing, white chocolate buttons and desiccated coconut. They make a great addition to any Christmas event and kids will love them!

After the huge success of my penguin shortbread and melting snowman cookies last year, I knew I wanted to add another cute character to my Christmas cookie collection… so say hello to these adorable polar bear cookies!
Just like the others, they start with a simple shortbread base- buttery, crumbly and super easy to make. Then they're topped with some glacé icing, white chocolate button 'faces', and a few more edible decorations to bring them to life. I love how they turned out and think they'd be perfect for Christmas baking with kids!
If you're ready to get started, keep reading for my top tips, FAQs, step-by-step photos and more. And if you have any questions or feedback about the recipe, be sure to let me know in the comments. Enjoy!
Here's what you'll need
A quick list of everything you need to make these cookies:
- Butter: Salted is my preference. Make sure it's nice and soft before you start baking, otherwise you might end up with little lumps in your cookies.
- Sugar: I recommend caster sugar for shortbread as it helps give that 'melt-in-your-mouth' texture. This is also known as superfine sugar.
- Vanilla extract: For a hint of warming flavour.
- Flour: Always use plain flour for cut-out cookies, not self-raising. We want them to be quite dense and hold their shape rather than spread in the oven.
- Icing sugar: To make the glacé icing. You'll also need a few tablespoons of cold water.
- Black food colouring: We'll set a couple of spoonfuls of icing aside to dye it black, which we can then use to make the polar bears' eyes. If you prefer, you can use black writing icing from a tube, or use small black sprinkles.
- Desiccated coconut: I sprinkled some of this on top of the icing to create a snowy effect.
- White chocolate buttons: You'll need 15 giant white chocolate buttons (one for each face) and 45 regular-size white chocolate buttons, for the ears and snouts.
- Mini M&Ms or Smarties: Cut in half, these are the perfect size to make our polar bear noses. I used brown ones but I think blue or pink would look cute too.

Kitchen tools
- Baking tray and baking paper: A large tray, and some baking paper to line it (unless you're using a non-stick tray).
- Mixing bowls: A large one for the shortbread and two smaller ones for the icing.
- Utensils: A wooden spoon for mixing the shortbread ingredients, two smaller spoons for mixing the icing, a teaspoon for measuring, an a sharp knife to cut the mini M&Ms.
- Rolling pin: To roll out the cookie dough, ready for cutting.
- Cookie cutter: I recommend using a 2.5-inch cutter. Please note that if you use a different size of cutter than this, the baking time may change, so keep an eye on them in the oven.
- Wire rack: To cool the cookies on, which will help to prevent greasy bottoms.
- Piping bag: This is not essential but I like to pipe my icing onto the cookies for quickness and neatness. If you prefer, you can use a teaspoon to spread it on.
- Toothpicks: This will help to transfer a tiny amount of black icing onto the polar bear faces. Using a toothpick will allow you to add just a dot, whereas piping it on neatly can be a bit more tricky.
- Kitchen scale: As this recipe uses precise measurements, I recommend weighing everything out on a scale. Grams are always more accurate and reliable than cups.
How to make polar bear cookies step-by-step
Step 1: Line a large tray with baking paper. Set it aside for now.
Step 2: In a large bowl, mix together 200g of soft butter and 100g of caster sugar. Once that's nice and smooth, stir in 1 teaspoon of vanilla extract.
Step 3: Add 280g of plain flour, mix it in, then press everything into a ball with your hands. Note that shortbread dough isn't supposed to be super smooth, so don't worry if it looks slightly crumbly right now.

Step 4: On a floured surface, roll out your dough to around ¼-inch thick. Then use a 2.5-inch cutter to cut out your cookies.

Step 5: Place the cookies onto your lined tray and pop them in the fridge for 30 minutes. This will chill the fat a bit and prevent spreading in the oven.
Step 6: While the cookies are chilling, preheat your oven to 180°C (or 160°C if you're using the fan setting).
Step 7: Once chilled, bake the cookies for 12-15 minutes. They should be quite pale in colour but firm to the touch around the edges. They will firm up more as they cool.
Step 8: Let the cookies cool for 5 minutes on the tray, then transfer them to a wire rack and let them cool completely.
Step 9: In the meantime, prepare your icing by mixing together 400g of icing sugar and 4-5 tablespoons of cold water. If you want it thicker, add more icing sugar, or add more water to make it thinner.
Step 10: Transfer 2 tablespoons of the icing to another bowl and stir in a few drops of black food colouring. We'll use this later for the eyes.
Step 11: Pipe or spoon the rest of the white icing onto the cookies. You should have a small amount leftover so keep a hold of this.
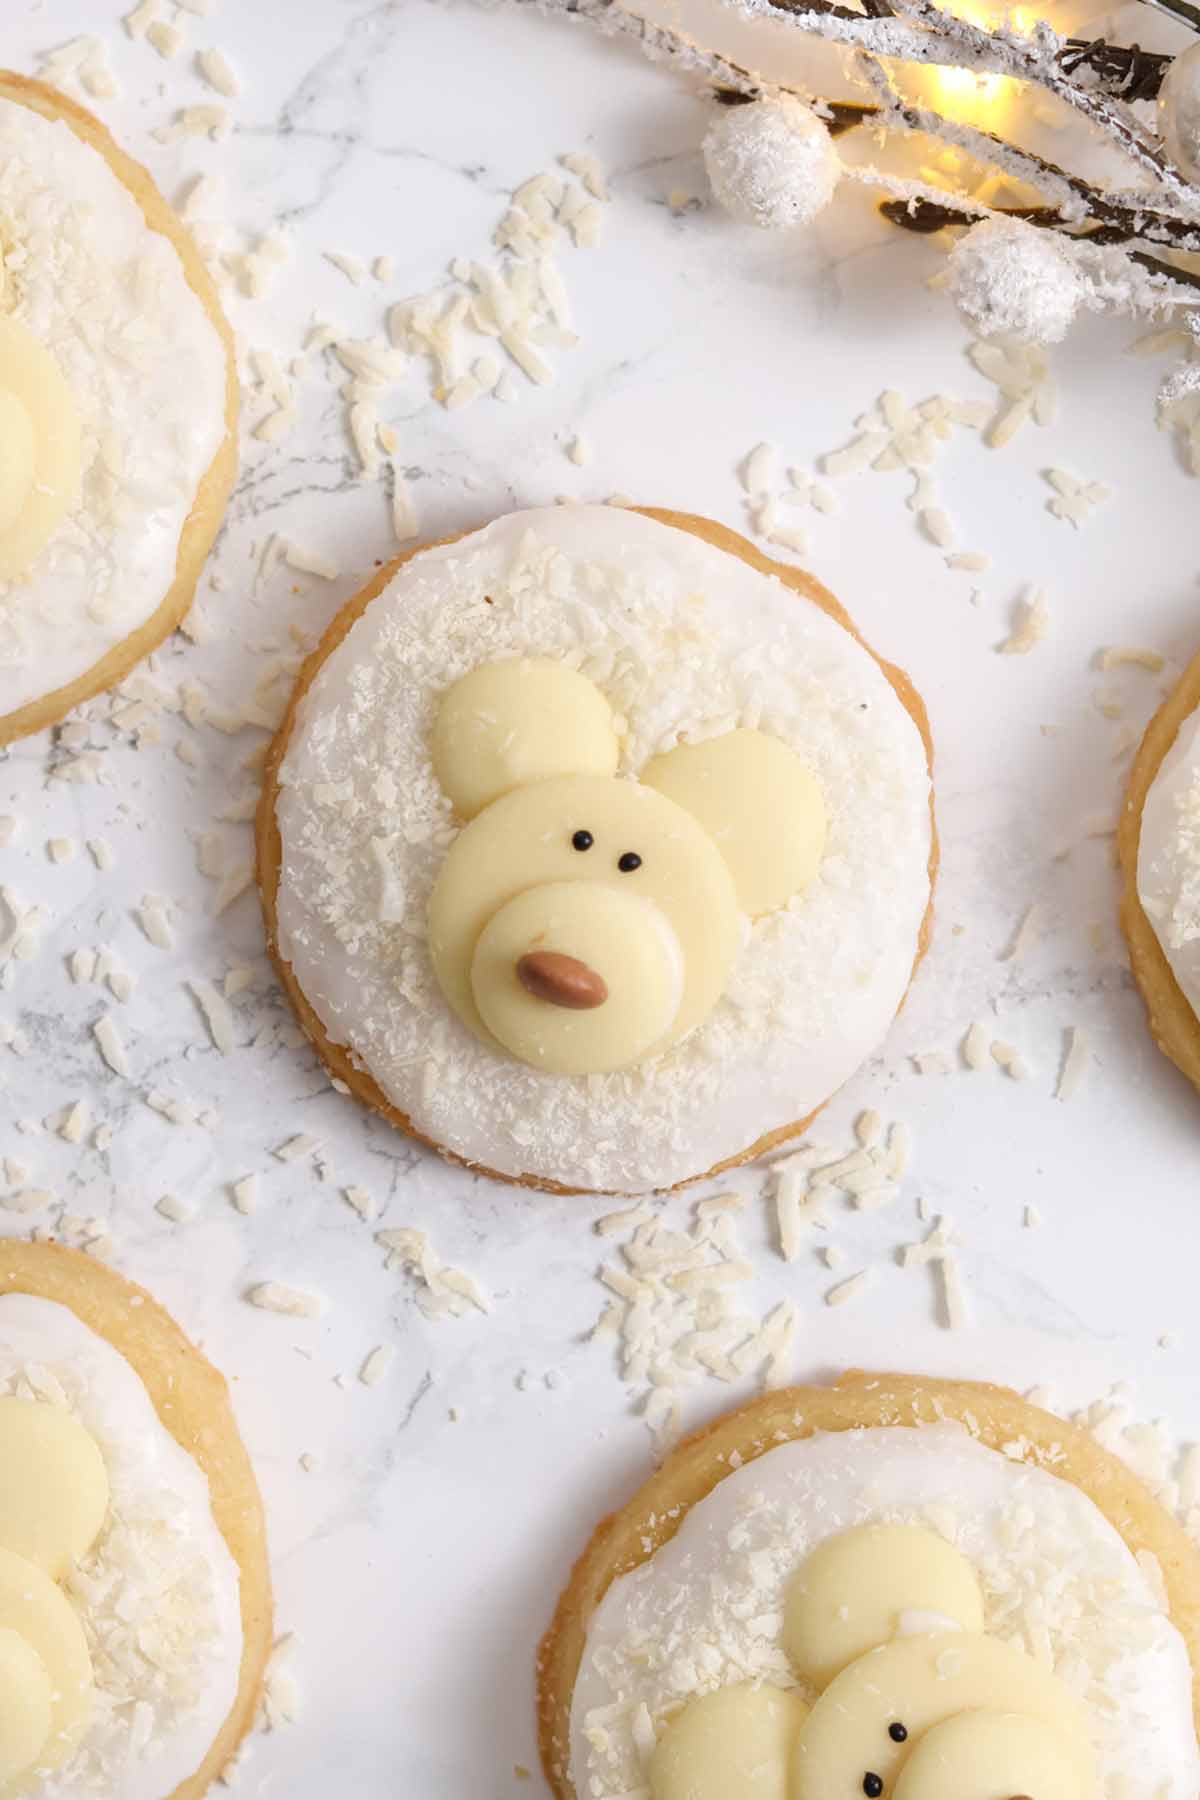
Step 12: While the icing is still wet, sprinkle some desiccated coconut onto each cookie. This creates a cute snowy effect!


Step 13: Use leftover white icing to stick on one giant white chocolate button for the face, two small white chocolate buttons for the ears, and one small button for the snout. Then 'glue' half of a mini M&M onto each one for the nose.
Step 14: Dip a toothpick into the black icing then dab it onto the polar bear faces to create two eyes on each one.


Step 15: Let the icing set and harden then your cookies are ready to enjoy!
Cut out cookie tips
- Shortbread dough is supposed to be a bit on the crumbly side, but it should stick together nicely in a ball with the heat from your hands. Avoid adding more liquid, which can cause a gummy cookie rather than a crisp, crumbly one.
- Don't skip refrigeration! Chilling the dough helps prevent the cookies from spreading or becoming greasy in the oven.
- It's better for the icing to be on the thicker side than too thin. If it's too runny, it can spill over the edges of the cookies and make them look less neat. You can use a wet teaspoon to spread the thick icing around the cookie.
- I used a 2.5-inch cookie cutter. If your cookies are larger than this, they will need more time in the oven. Likewise, if they're smaller, they will bake faster.
- Desiccated coconut can be swapped for white chocolate shavings.
FAQs
They should feel firm around the edges and a bit soft in the middle (they will continue baking for a few minutes after they come out of the oven). They should be pale on top but if you gently flip one over, it'll be golden brown underneath when done.
These will last for around 5 days if you keep them in an airtight container. I recommend storing them at room temperature for the best texture.
Yes, these can be frozen for up to 3 months. You can either put them into an airtight container, or you can freeze them solid on a baking tray then pop them into freezer bags. Let them defrost at room temperature for an hour or so.
For an ultra dark black colour, I always recommend using a gel or paste rather than a liquid one. This allows you to get your colour easily, without making the icing super runny. I have been really loving Wilton gel colours lately.
More Christmas cookie recipes
I hope you like my polar bear cookies! If you make them at home, please leave a comment and rating below to let me know what you think. Enjoy!

Christmas Polar Bear Cookies
Ingredients
- 200 g Salted butter, softened
- 100 g Caster sugar
- 1 Teaspoon Vanilla extract
- 280 g Plain flour
Topping:
- 400 g Icing sugar
- 4-5 Tablespoons Cold water
- Black gel food colouring (or black writing icing)
- 60 g Desiccated coconut (or white chocolate shavings)
- 15 Giant white chocolate buttons
- 45 Regular white chocolate buttons
- 8 Mini M&Ms or Smarties, cut in half (in brown, pink or blue)
Instructions
- Line a large tray with baking paper.
- Mix the butter and sugar together until smooth then stir in the vanilla extract.
- Add the flour and mix well until it starts to stick together. Then use your hands to press everything together into a crumbly ball of dough.
- Roll the dough onto a lightly floured surface until it's around ¼-inch thick. Use a 2.5-inch round cookie cutter to cut out 15 biscuits, re-rolling the scraps together until it's all used up.
- Place the biscuits onto your lined tray then pop them in the fridge for 30 minutes. This will help them to hold their shape in the oven.
- Preheat your oven to 180°C (or 160°C for fan ovens).
- Bake for 12-15 minutes, until they're firm around the edges (they should look pale, not golden brown). Let them cool on the tray for 5 minutes then transfer them to a wire rack to cool completely.
Topping:
- Make your icing by mixing the icing sugar and water together.
- Place 1-2 tablespoons of the icing into a separate bowl and colour it with the black food colouring. Set aside.
- Pipe or spoon the white icing onto the biscuits then sprinkle some desiccated coconut on top. Keep hold of the leftover icing for the next step.
- Use a small amount of leftover icing to stick on one giant chocolate button for the face, two small chocolate buttons for the ears, and one small button for the snout. Then stick on the mini M&M halves to make the noses.
- Use a toothpick to pick up some of the black icing then carefully dot it onto the polar bear faces to make the eyes (see video below if you're unsure).
- Let the icing harden at room temperature then enjoy!
Video
Notes
- Store in an airtight container at room temperature for up to 5 days.


Leave a Reply