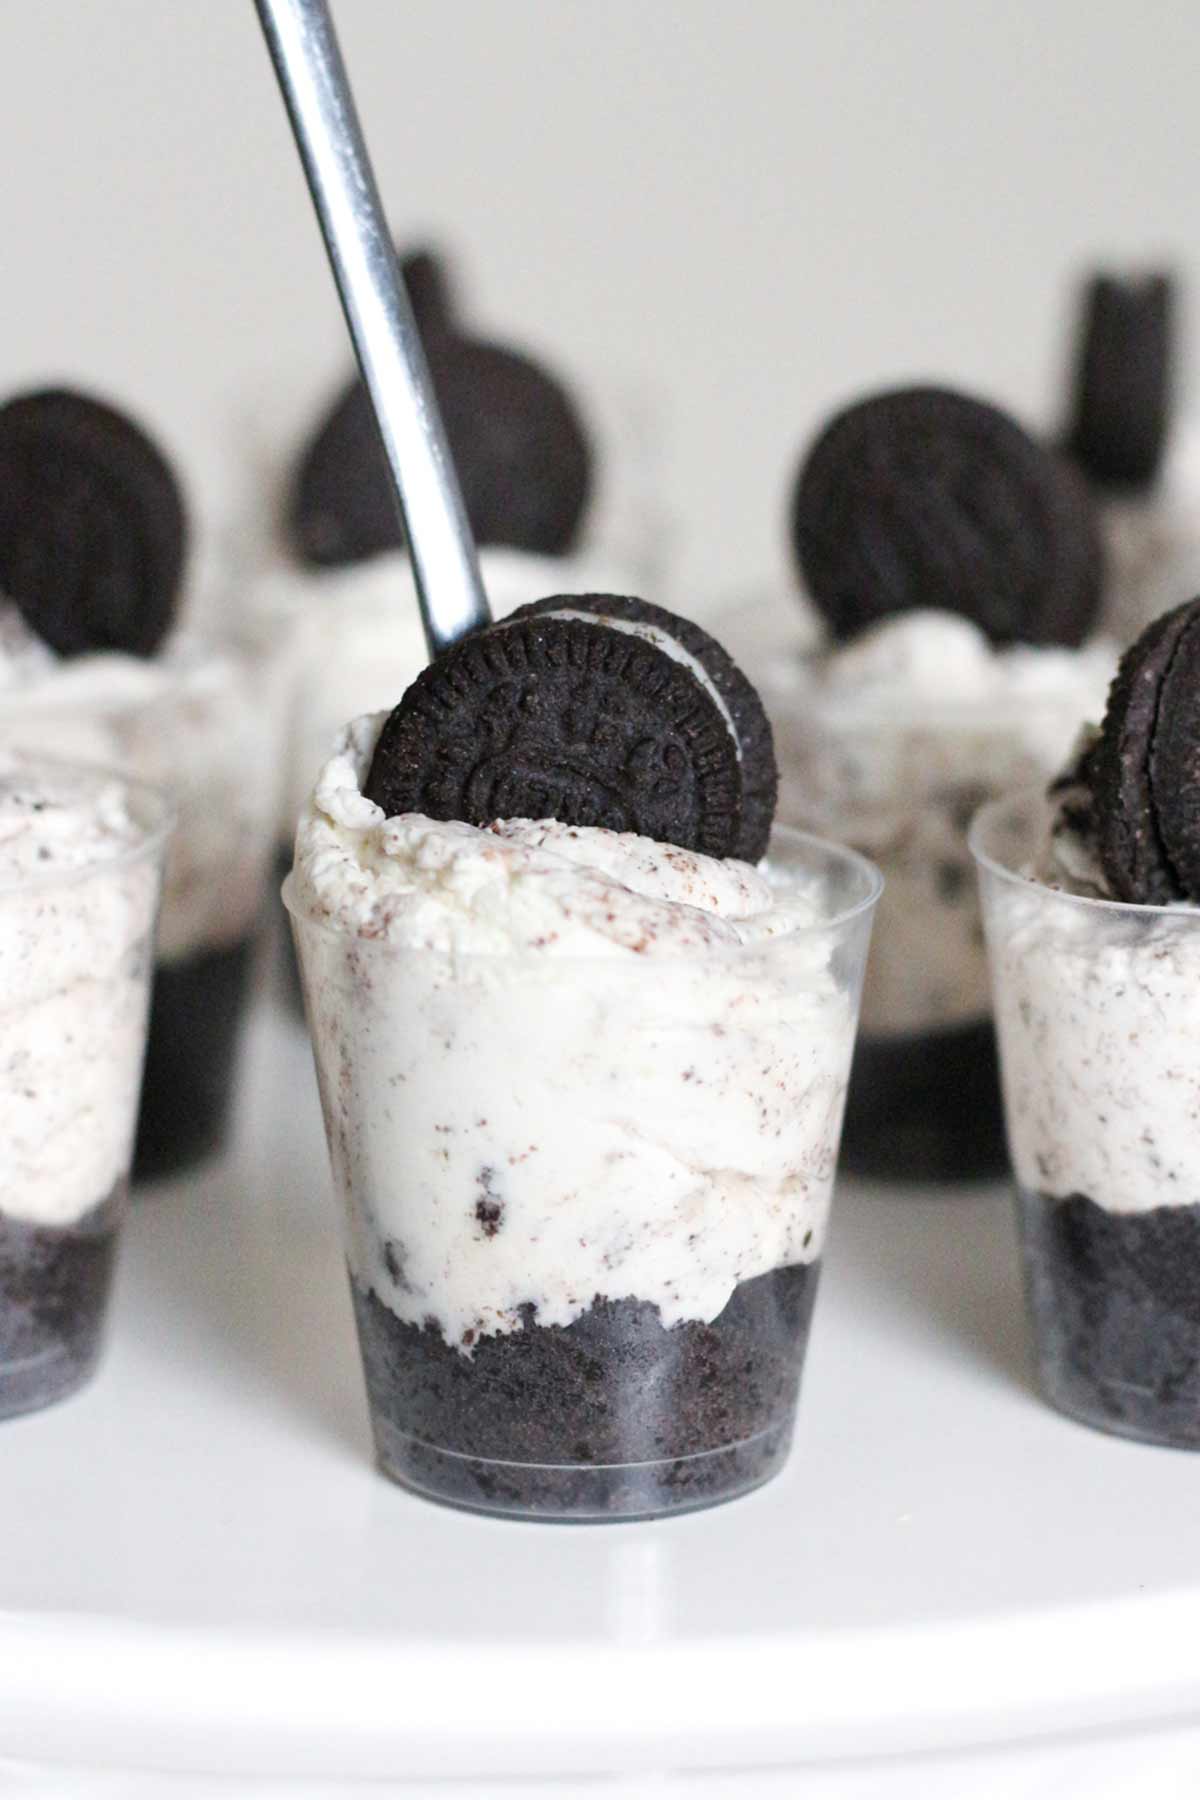
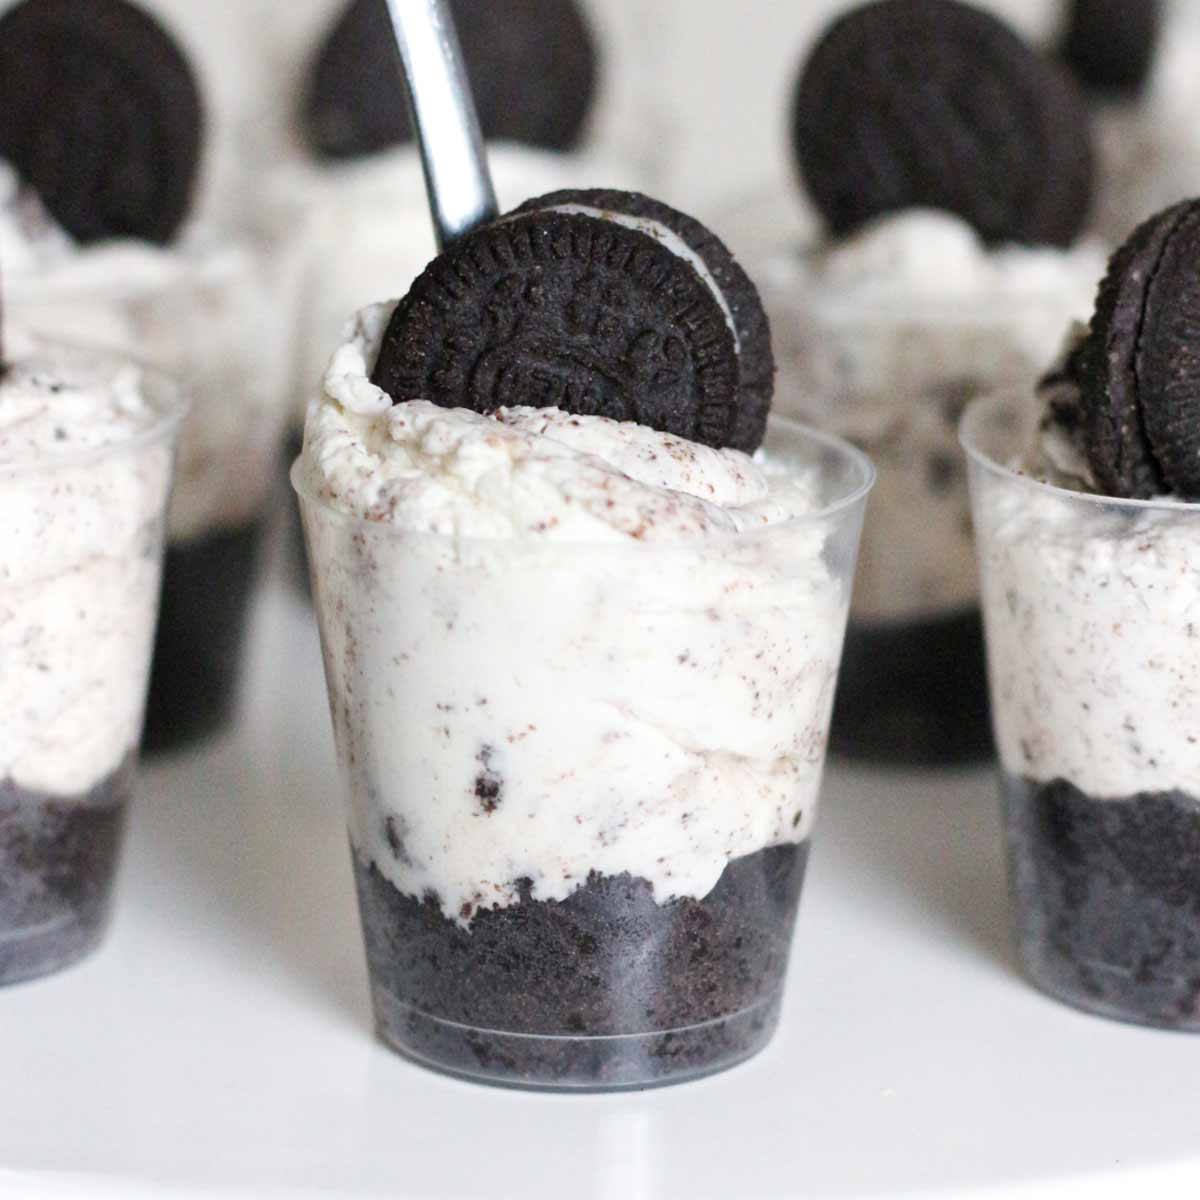
These mini no-bake Oreo cheesecake shots are the perfect dessert to serve a crowd. They're ideal for birthday parties, baby showers, weddings, bake sales and more!
I don't know about you, but I think everything is cuter in miniature size. And that includes desserts!
Although I love a full-sized cheesecake as much as the next person, these mini cheesecake shots look so much sweeter! They'd be the perfect addition to any birthday party or baby shower dessert table.
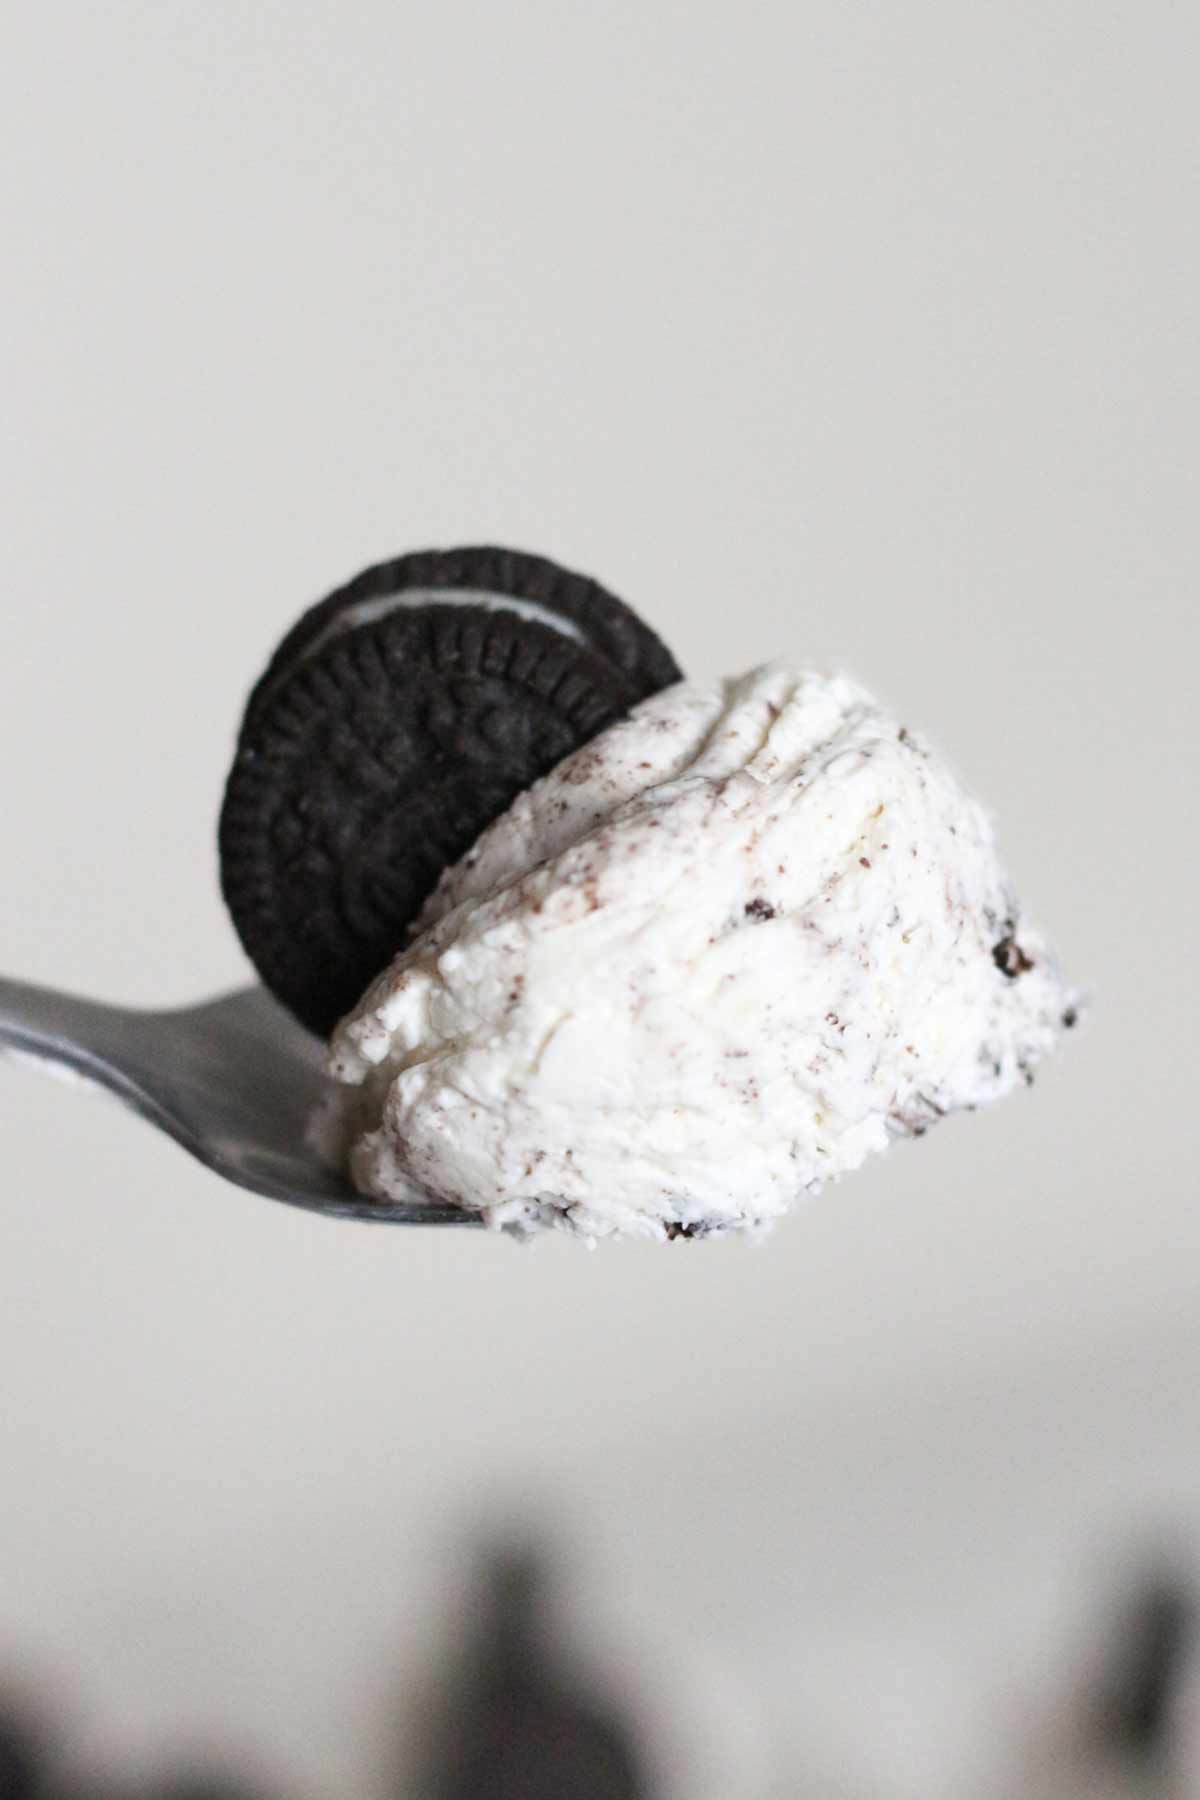
They taste absolutely divine and they're SO easy to make, with just 20 minutes of prep time needed. All you need to do is blitz the biscuits, mix them with butter, whip up the filling and pipe it into the shot glasses.
For those who are new to no-bake cheesecakes, I've written detailed notes and instructions below for you. For those who just want the condensed version of the recipe, you'll find it in the recipe card at the end of the post. Enjoy!
Ingredients
You can make no-bake Oreo cheesecake shooters with the following 6 simple ingredients:
- Oreos: Since Oreos are the star of the show here, we'll need quite a lot of them! There's 150g in the biscuit base and 120g in the filling, plus some more Mini Oreos on top.
- Butter: Melted butter is mixed with Oreo crumbs to make a crunchy, chocolatey biscuit base. Make sure to use actual butter for this recipe and not margarine- the latter may leave the base a little on the soggy side.
- Cream cheese: I usually say to use full-fat cream cheese in my no-bake cheesecake recipes but since we don't need to cut these into slices, low fat cream cheese should be fine to use if you want to.
- Vanilla extract: This adds a little touch of flavour to the plain cheesecake filling. You only need to use 1 teaspoon.
- Icing sugar: To add a little extra sweetness. I personally think around 80g is just right but you can add a little more to taste.
- Double cream: When whipped up with the other ingredients, double cream will transform the mixture into a super thick cheesecake filling. For this ingredient, you must use the full-fat version.
Equipment
Here are the items you'll need to make these cute mini Oreo cheesecake shots:
- Food processor: Using a food processor or high-speed blender to blitz the biscuits into crumbs will be so much quicker than doing it by hand. If you have the patience, you can put the Oreos into a bowl and crush them using the end of a rolling pin.
- Shot glasses: I used plastic shot 'glasses' so I could gift them to friends and family without them worrying about handing them back. I got my 50ml shot glasses from Amazon.
- Utensils and bowls: You'll need a wooden spoon for mixing the filling together plus two mixing bowls.
- Electric mixer: This is needed to help you whip up the cheesecake filling. A stand mixer or electric whisk will do the job just fine. I typically just use my budget electric hand whisk.
How to make Oreo cheesecake shots
Step 1: Prepare the shot glasses for the cheesecake by laying 30 of them on a flat surface.
Step 2: Blitz 150g of Oreos into fine crumbs using a food processor or high speed blender. If you prefer to do it by hand, crush them in a bowl using the end of a rolling pin.
Step 3: Melt 40g of butter then add it to a bowl with the crushed Oreo crumbs. Mix well until all of the crumbs are evenly coated in melted butter.
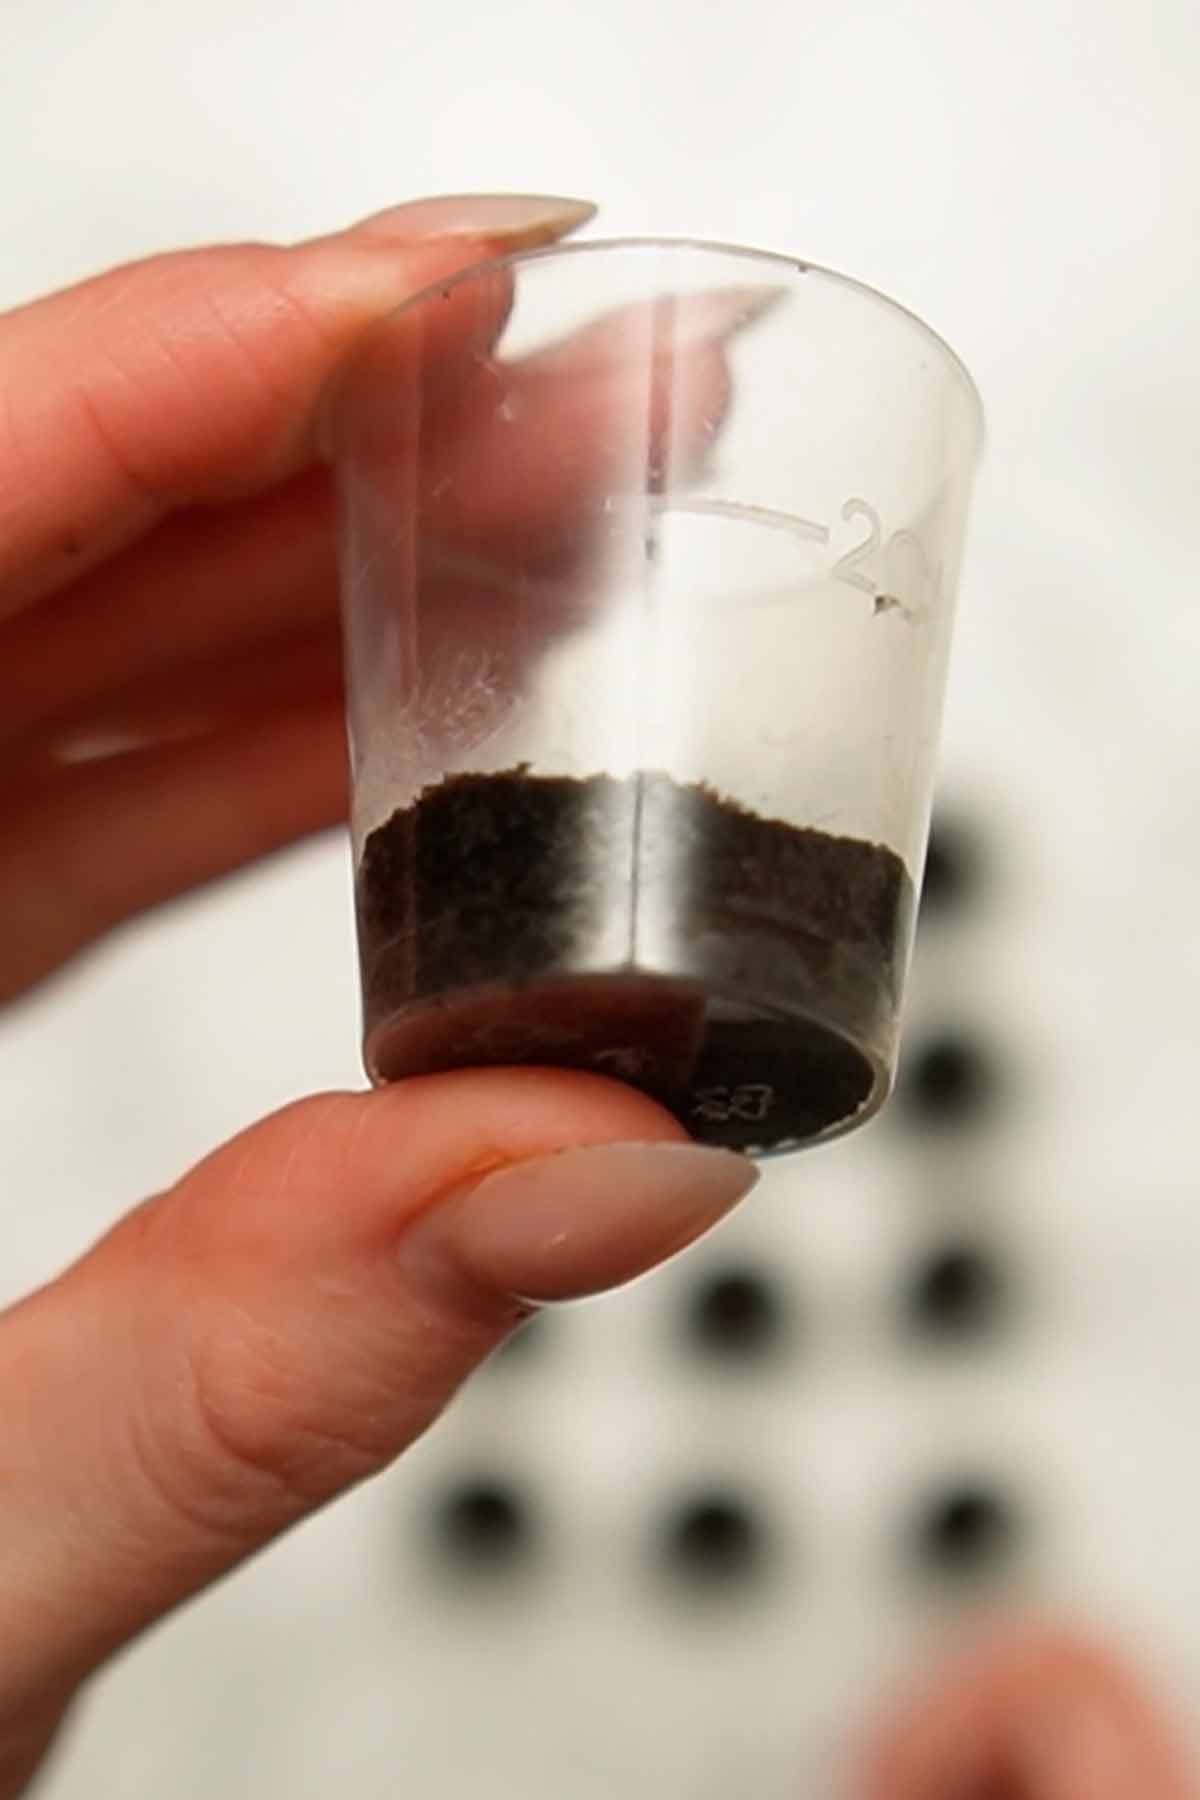
Step 4: Place 2 teaspoons of the Oreo biscuit base into the bottom of each shot glass then use a small object (I used the tip of a wooden spoon) to press it firmly into place.
Step 5: To prepare the cheesecake filling, add 500g cream cheese, 1 teaspoon of vanilla extract and 80g of icing sugar to a large bowl. Mix until combined.
Step 6: Add 200ml of double cream to the bowl then whip it up until thick, using an electric whisk or stand mixer.
Step 7: Crush 120g more Oreos into crumbs. Add them to the bowl with the filling and gently fold them in.
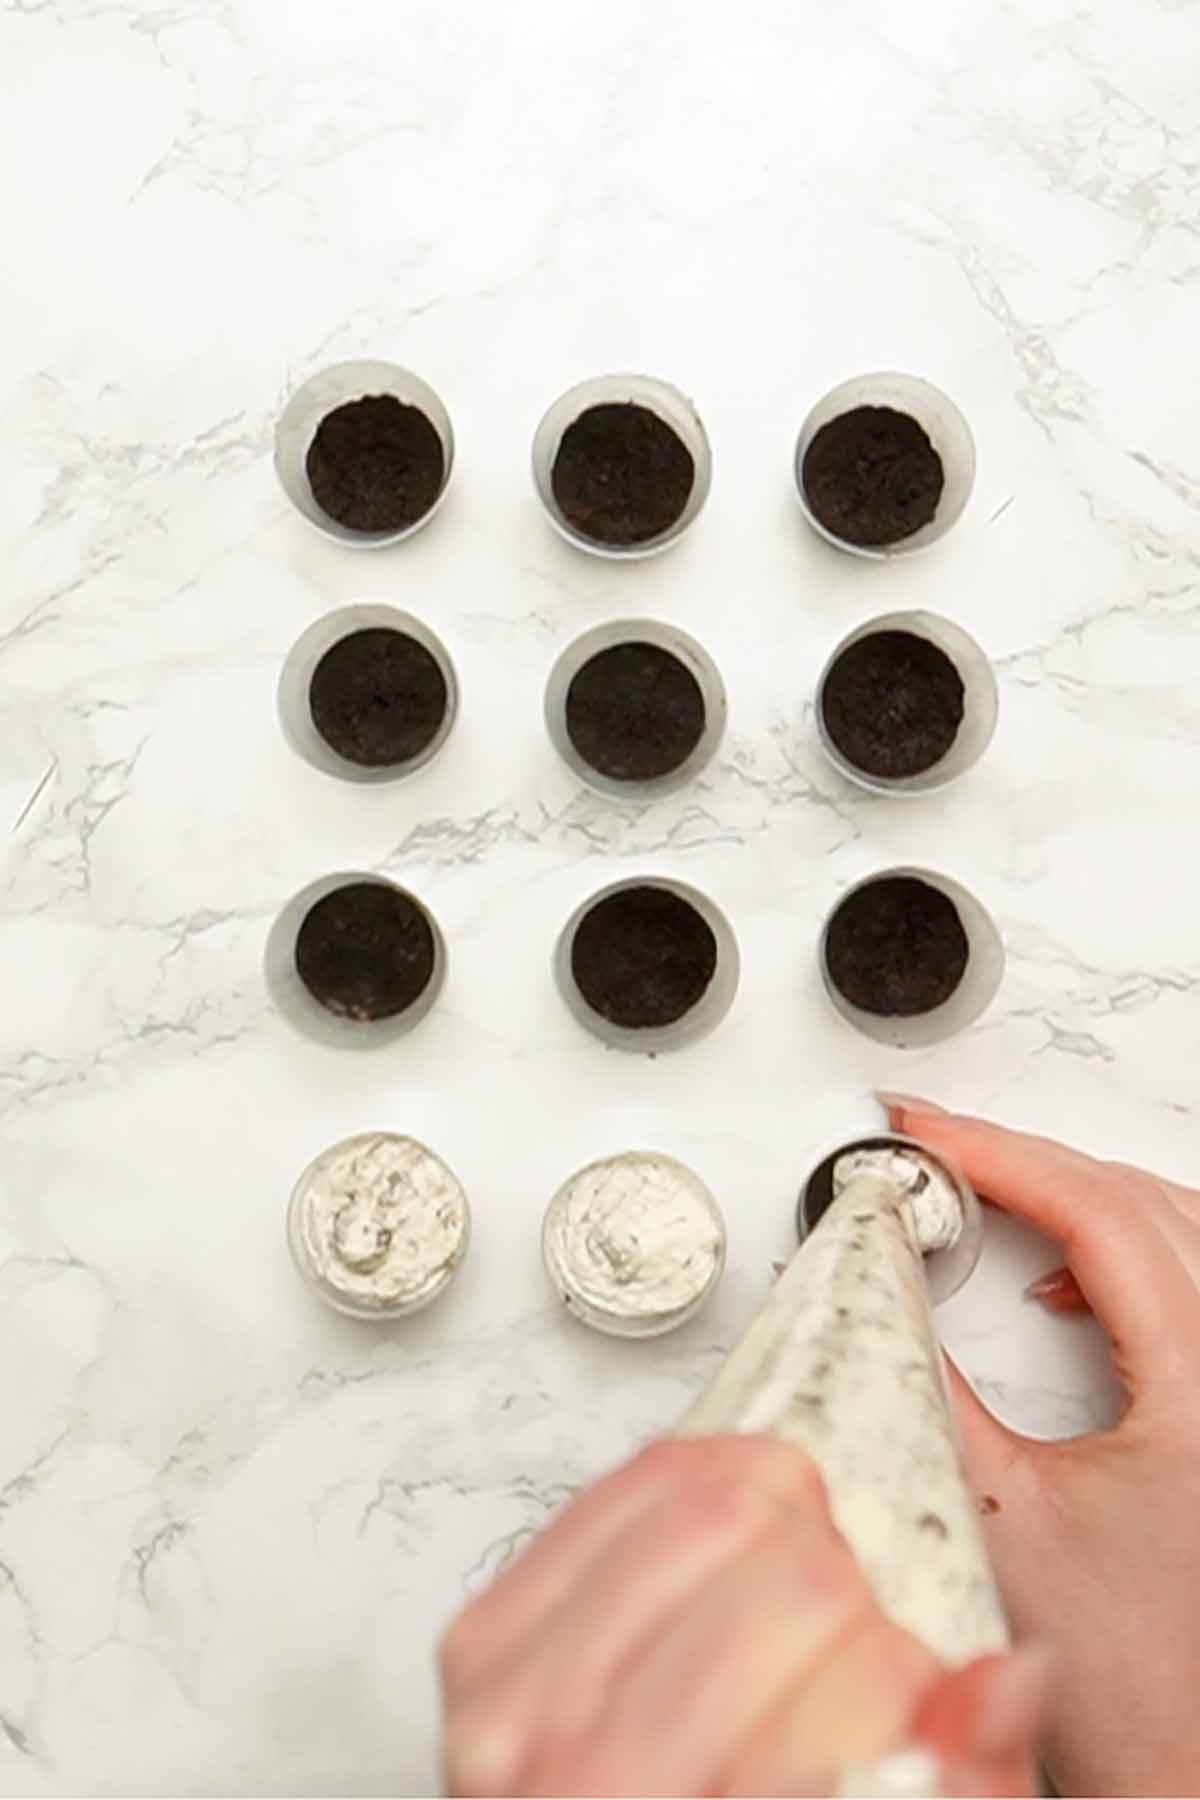
Step 8: Put the cheesecake filling into a piping bag and cut off the tip, creating a hole big enough for the Oreo pieces to fit through. Pipe a little bit of filling into each shot glass, dividing it equally between them all.
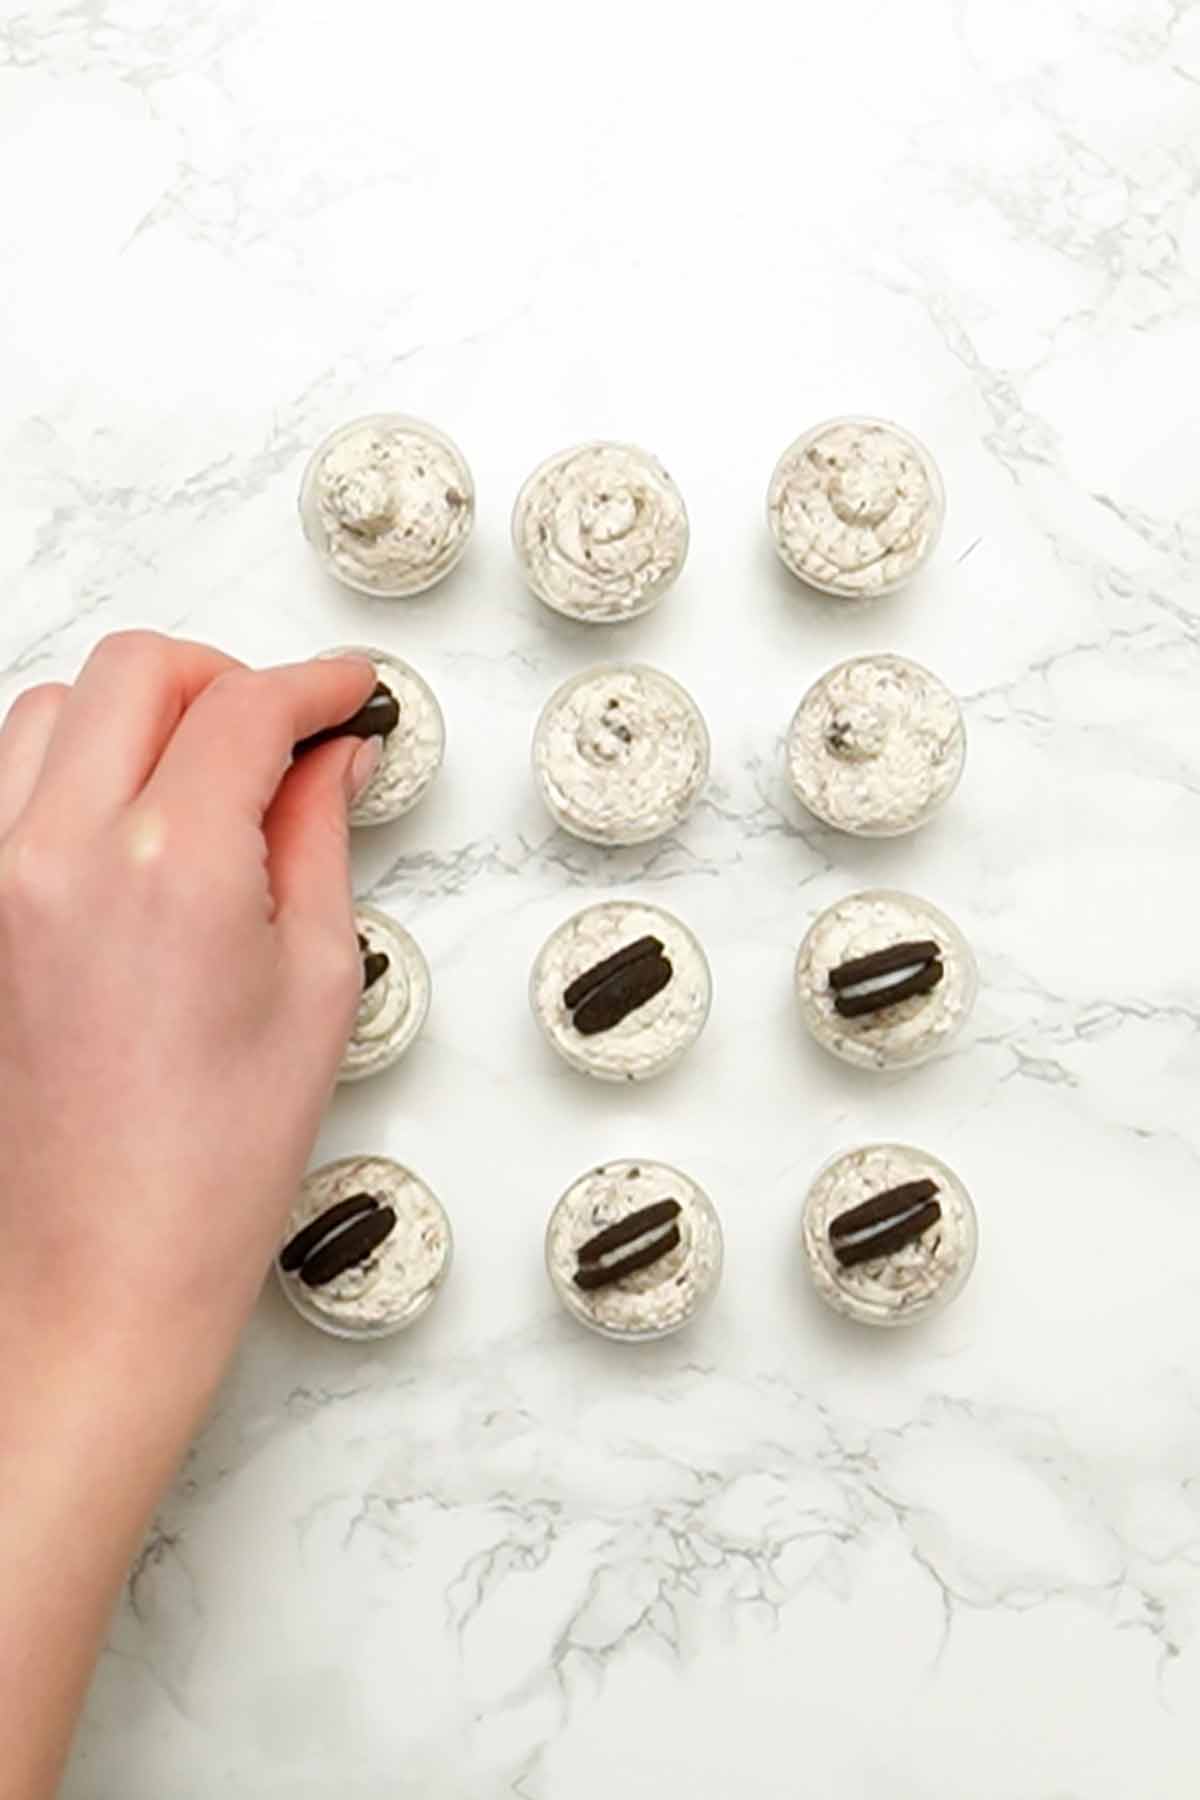
Step 9: Top each cheesecake shot with a Mini Oreo and enjoy! You can also add some extra crushed Oreos for decoration if you like.
Top tips
- If you don't have piping bags to hand, you can place the filling into the shot glasses using a teaspoon. It might be a little bit more messy and time consuming but it does the job!
- Add 2 tablespoons of cocoa powder to the filling if you want chocolate Oreo cheesecake shots. Or drizzle some melted chocolate on top.
- If you're making these cheesecake shots in advance, save the Mini Oreo topping until you're ready to serve them. This will stop the Oreos from going soggy in the fridge.
FAQ
They'll taste best if enjoyed within the first 4 days. Make sure to store them covered in the fridge to keep them fresh.
Yes, you can freeze these if you're using plastic shot glasses. Cover them with clingfilm or pop them into airtight containers and freeze for up to 2 weeks. When you want to defrost them, let them sit in the fridge overnight or at room temperature for a few hours. Once they've been defrosted, do not refreeze them.
You'll find these in many supermarkets, home stores and hobby stores. I purchased my 50 plastic shot glasses on Amazon.

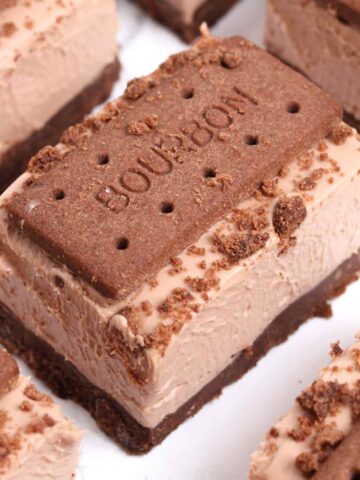
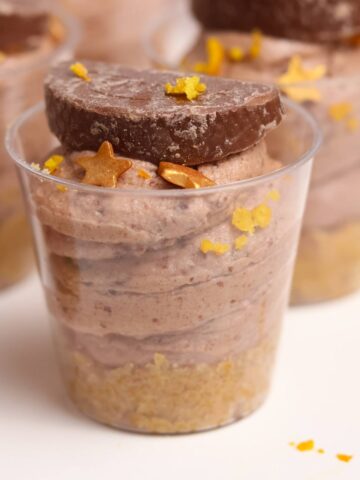
More dessert shots:
I hope you like these no-bake Oreo cheesecake shots. If you make them at home, please let me know what you think by leaving a rating or comment below. Enjoy!
BEST Oreo Cheesecake Shots (No-Bake)
Ingredients
Base:
- 150 g Oreos
- 40 g Butter, melted
Filling:
- 500 g Cream cheese
- 80 g Icing sugar
- 1 Teaspoon Vanilla extract
- 200 ml Double Cream
- 120 g Oreos
Topping:
- 30 Mini Oreos (5 snack bags/95g total)
Instructions
- Lay out 30 shot glasses for the cheesecakes.
Base:
- Blitz the Oreos into fine crumbs and mix with the melted butter. Place 2 teaspoons of the biscuit base into each shot glass and press firmly into place. You can use the small end of a spoon or your finger to do this.
Filling:
- In a large bowl, mix together the cream cheese, vanilla extract and icing sugar. Add the double cream then use an electric whisk to whip it up until thick.
- Crush the Oreos then fold them into the cheesecake filling.
- Transfer the filling to a piping bag and cut the end off so there's enough space for the Oreo crumbs to fit through. Pipe the filling evenly between the shot glasses.
Topping:
- Top each cheesecake shot with a Mini Oreo and extra Oreo crumbs if desired.
Video
Notes
- Enjoy immediately or store in the fridge for up to 4 days.


Sara
when you “blitz the Oreos” for the base, does that mean the entire Oreo (black cookie & white filling) or just the black cookie? Appreciate your help!
Chloe
The entire cookie with the filling 🙂
Tracy
Im goin to do these for my black food platter all my friends have chosen a colour and mine is black!
Chloe
That sounds so fun! Hope you enjoy the recipe 🙂