
This Halloween chocolate bark is perfect for edible gifting or a simple snack throughout spooky season! It's super easy to make with just a handful of ingredients, and you can fully customise it according to your personal taste.
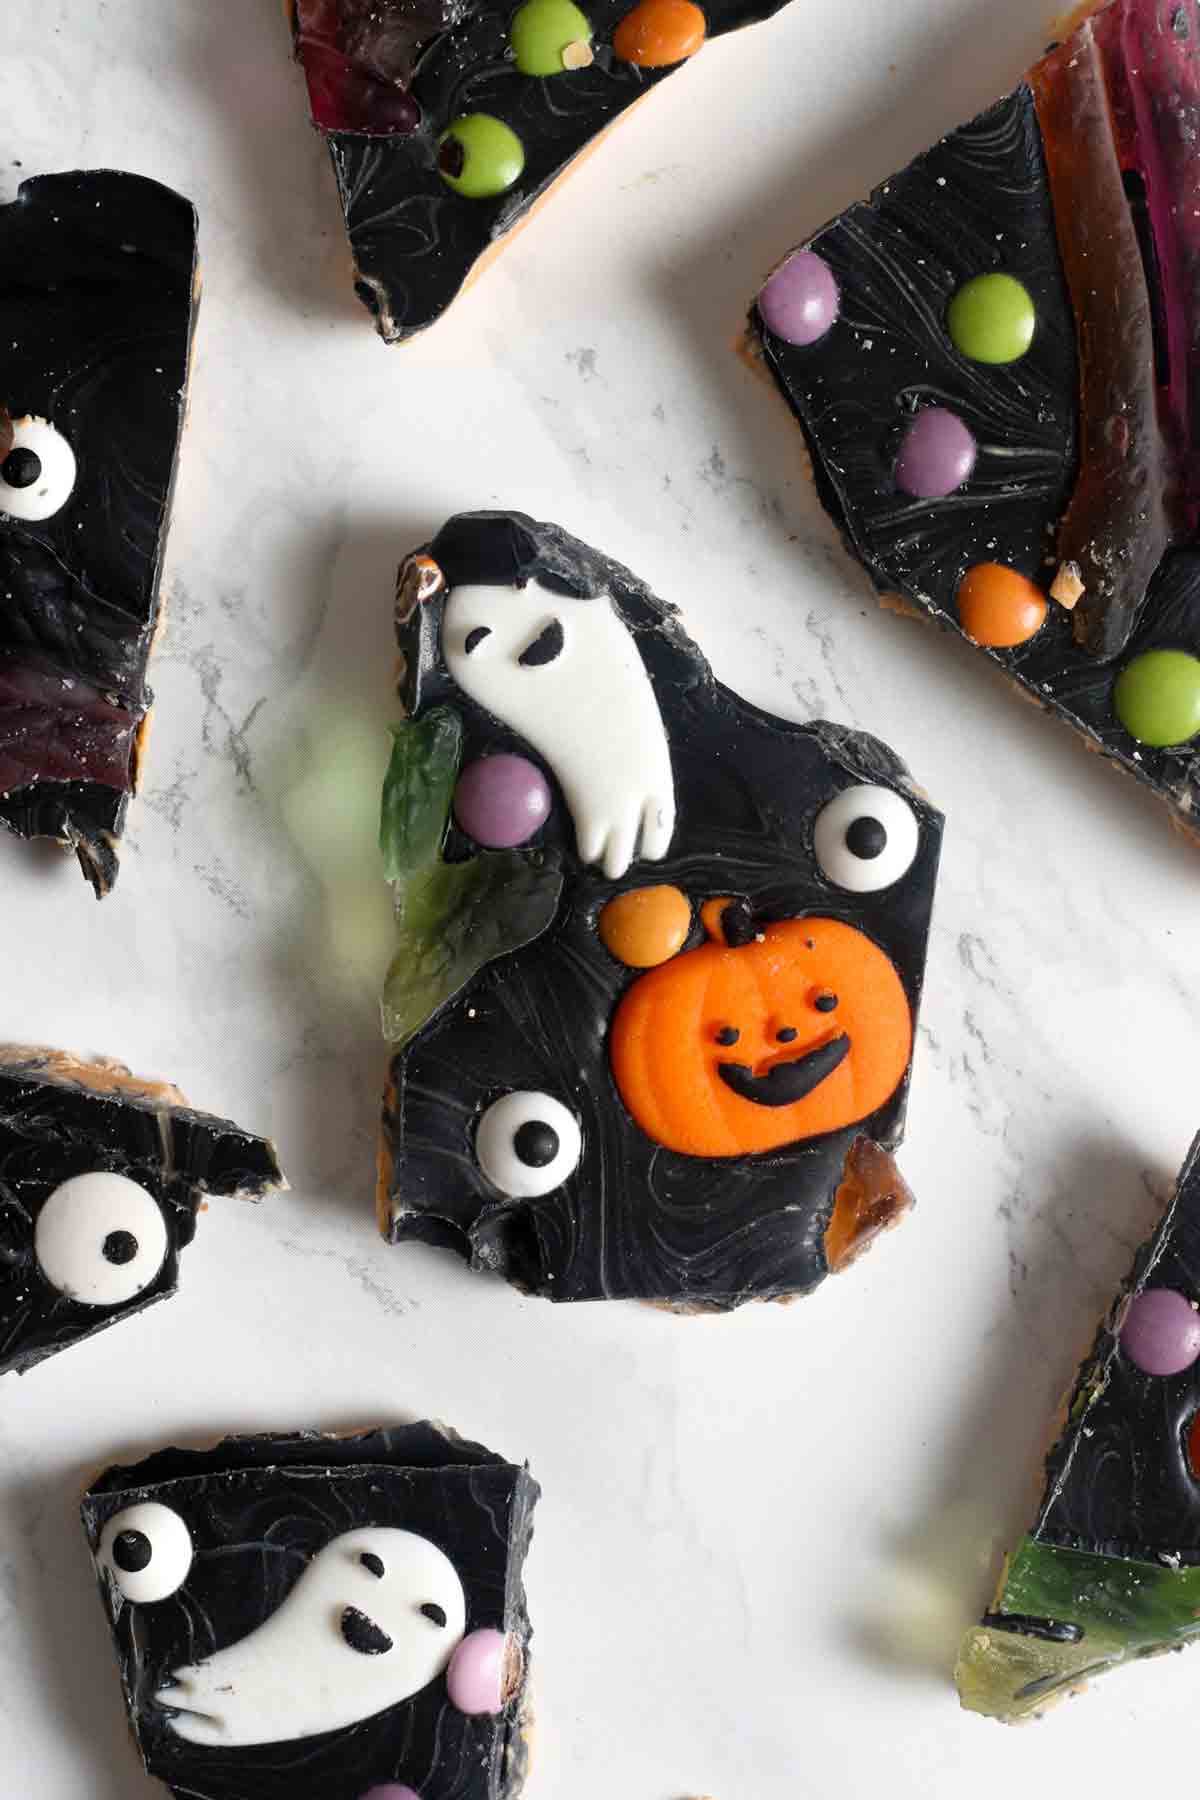
If you're looking for a quick and easy treat for kids (and adults) this Halloween, this spooky chocolate bark is just the thing. Bursting with chocolate orange flavour and your favourite Halloween sweets, you won't be able to stop at just 1 piece!
Below you'll find everything you need to know about making the perfect Halloween bark. This includes ingredient and equipment notes, top tips and plenty of topping ideas. I hope you find it helpful but if you'd prefer to skip straight to the recipe card, you can find this at the end of the post. Enjoy!
Ingredients
Here's everything you need to make this recipe...
- Black candy melts: Or milk/dark chocolate if you prefer. I liked the dark contrast the candy melts gave which is why I used these. If you're using chocolate, make sure to use chocolate bars over chocolate chips as they melt a lot better and taste more indulgent.
- White chocolate: This is the base of the orange chocolate on the bottom of the bark that you can see pictured. If you don't particularly like white chocolate, feel free to just use extra candy melts or milk/dark chocolate instead.
- Orange extract: This is optional but it adds a little extra something to an otherwise simple treat. I used ½ a teaspoon and found this to be just the right amount.
- Orange food colouring: I recommend using gel food colouring because you'll need a lot less of it to get a vibrant colour. Liquid food colouring is also more likely to seize the chocolate.
- Oil: This helps to keep the chocolate smooth after you colour it. A neutral-flavoured oil such as rapeseed or sunflower will work best.
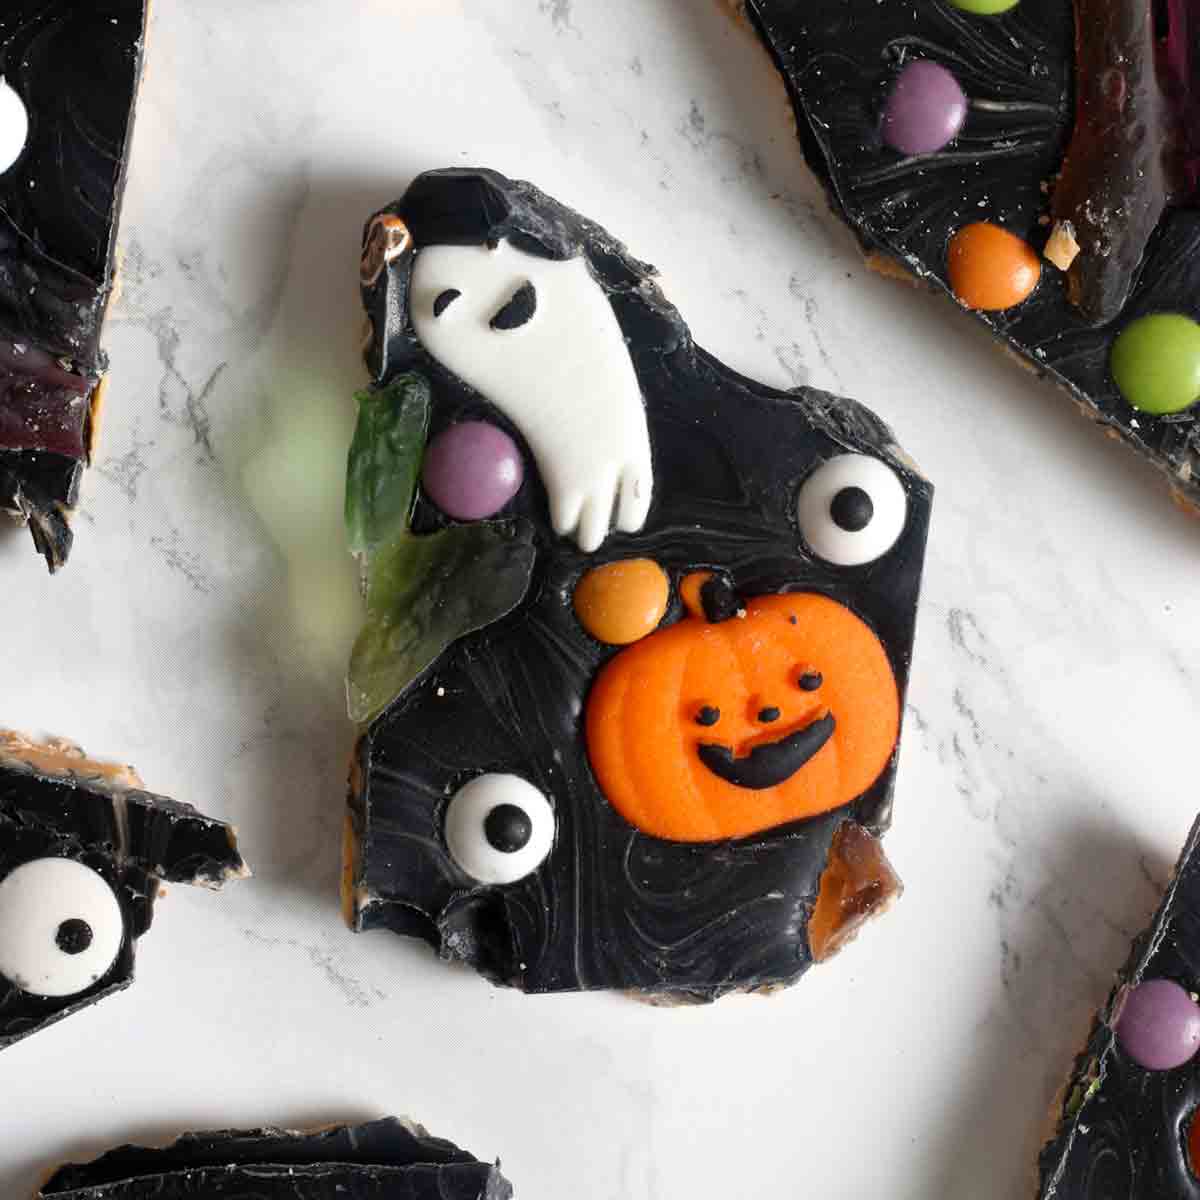
- Edible Halloween decorations: I used gummy snakes, edible eyes, chocolate beans and Halloween cake decorations but I've included more ideas further on in this post.
Equipment
- 8x8-inch tin: I like to use a square tin to keep my bark on the thicker side but you can use a regular baking tray if you don't mind it being thinner.
- Baking paper: To easily remove your spooky bark from the tin.
- Heatproof bowls: Or a saucepan, for melting the chocolate in. If you're using the microwave, stir the chocolate every 30 seconds and if you're using the stove, keep the heat very low. This will ensure you don't end up with lumpy or burnt chocolate!
- Utensils: You'll need a teaspoon for measuring, a small spatula or spoon for spreading, and a sharp knife for cutting.
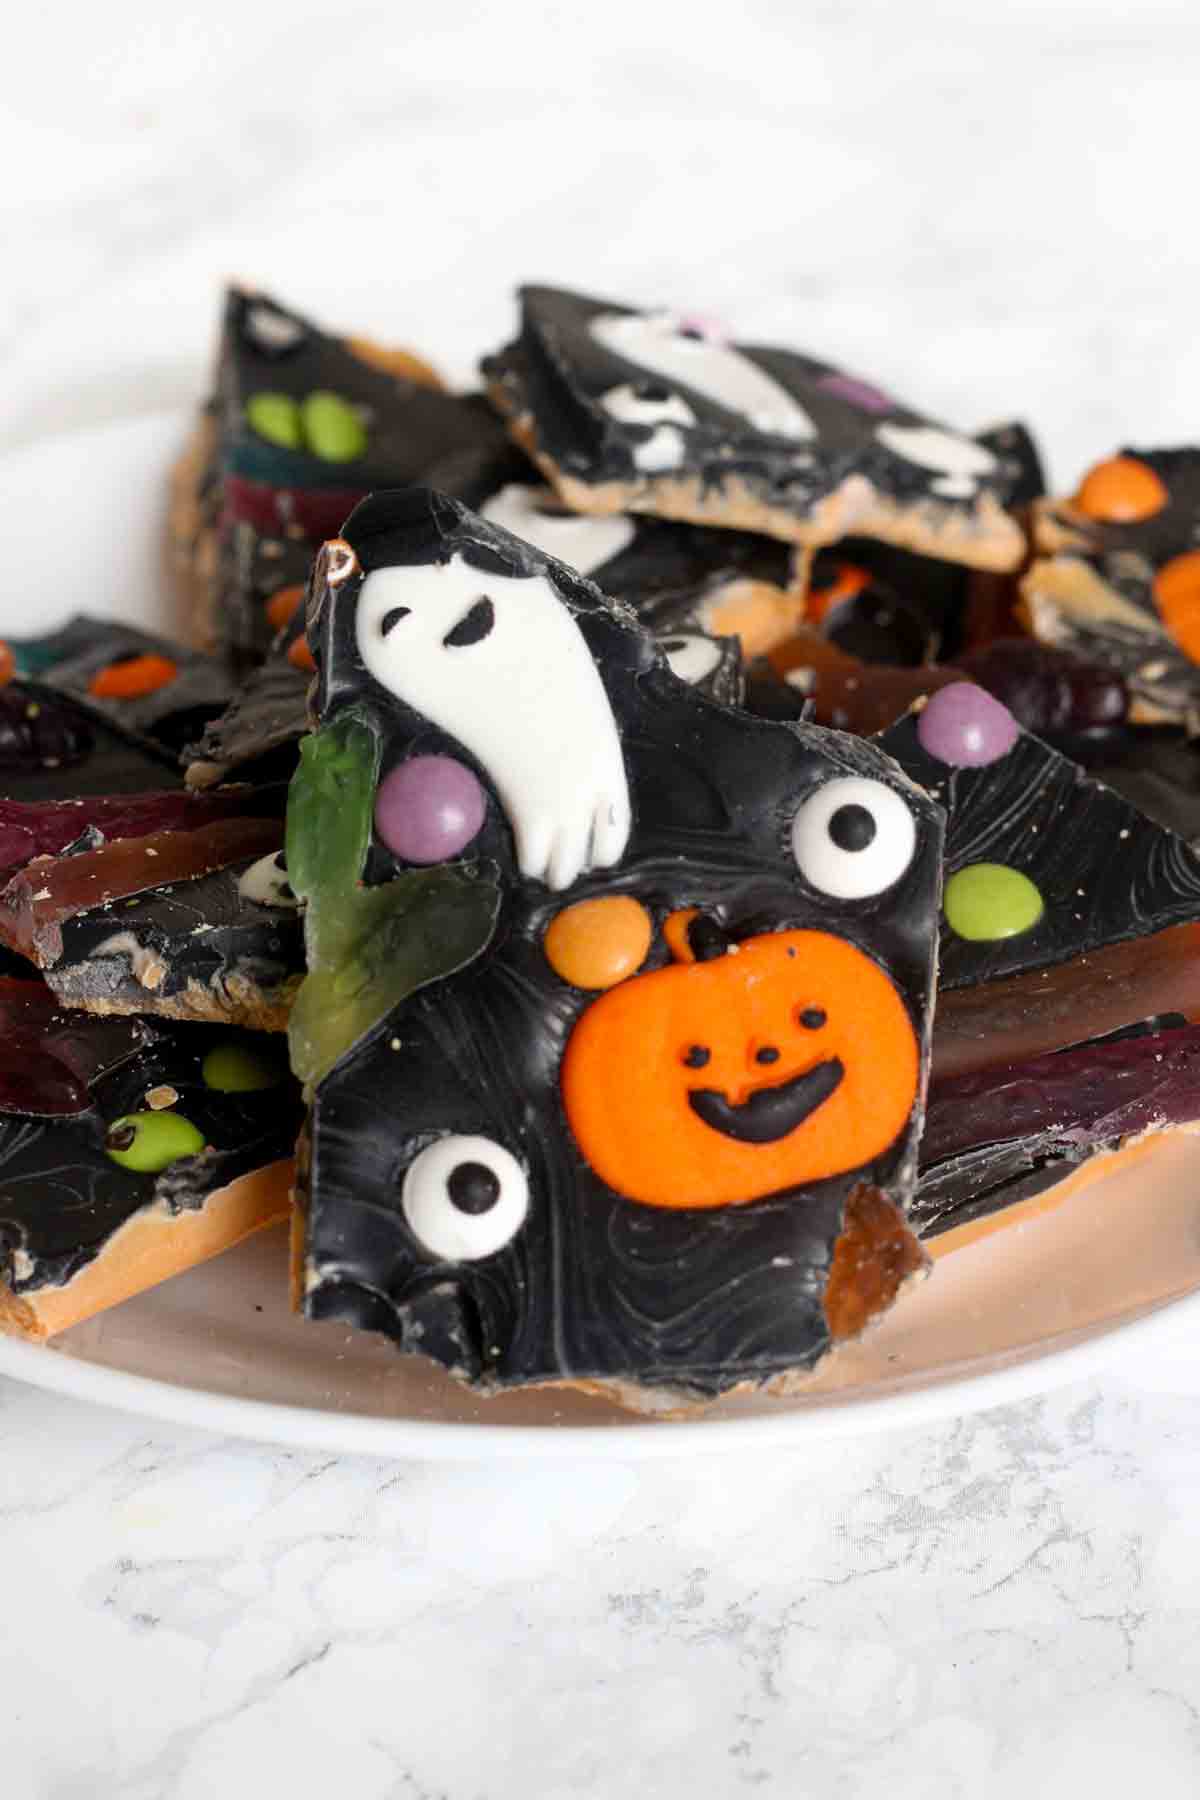
How to make spooky Halloween chocolate bark
Step 1: Start by lining an 8x8-inch tin with baking paper. I like to line it all the way up the edges so I can pull it out easily later.
Step 2: Break 200g of white chocolate into segments and melt it in the microwave. White chocolate is particularly finicky so make sure to take it out and stir it every 30 seconds or so to prevent burning or seizing.
Step 3: Add ½ a teaspoon of orange extract to the melted white chocolate, along with ¼ teaspoon of orange gel food colouring and ¼ teaspoon of vegetable oil. Mix well until smooth.
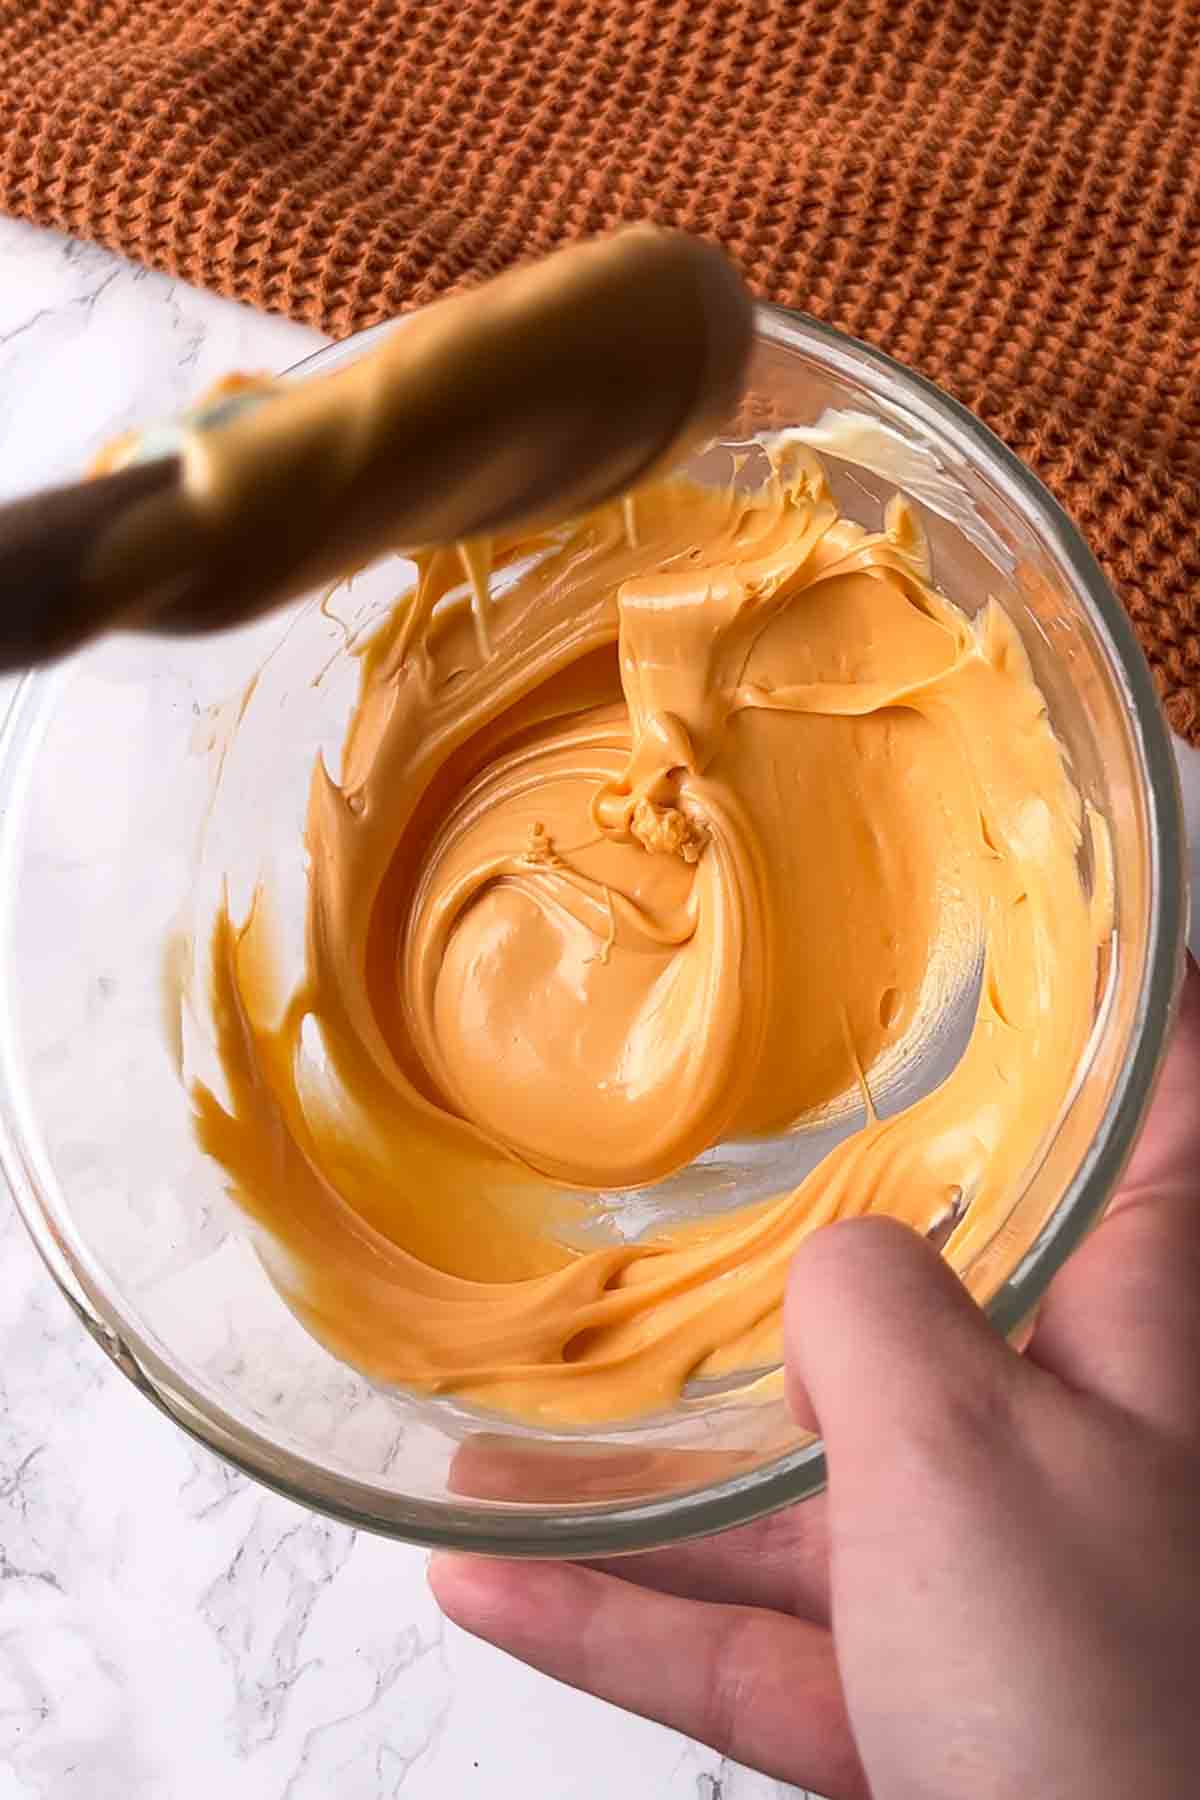
Step 4: Pour the chocolate into your lined tin and spread it out evenly, all the way to the edges.
Step 5: Next, add 150g of black candy melts or milk/dark chocolate into a heatproof bowl. Microwave it in 30-second bursts, stirring each time you take it out, until smooth.
Step 6: Pour the black candy melts over the orange chocolate in the tin then spread it out to the edges.
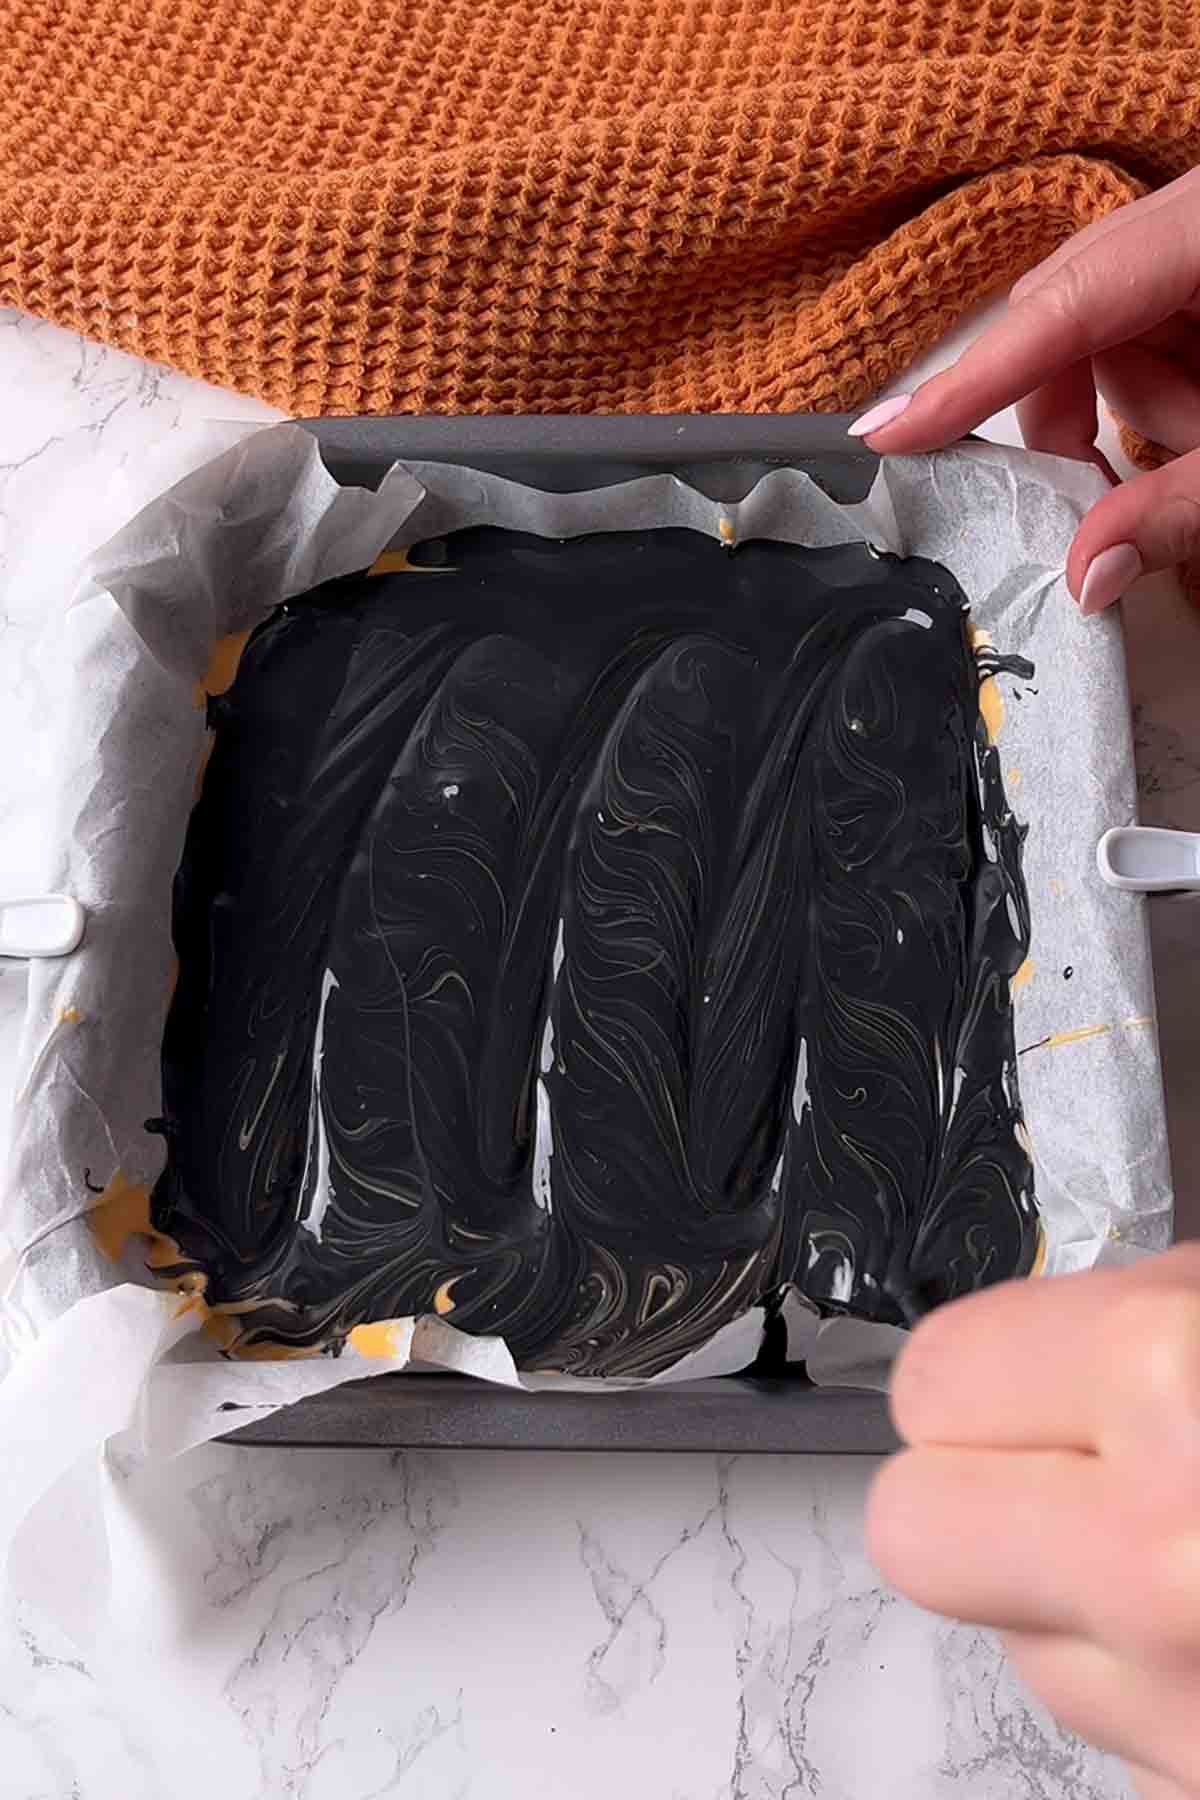
Step 7: Add your Halloween sweets on top, gently pressing them down to make sure they stick. Feel free to use as many or as little as you like.
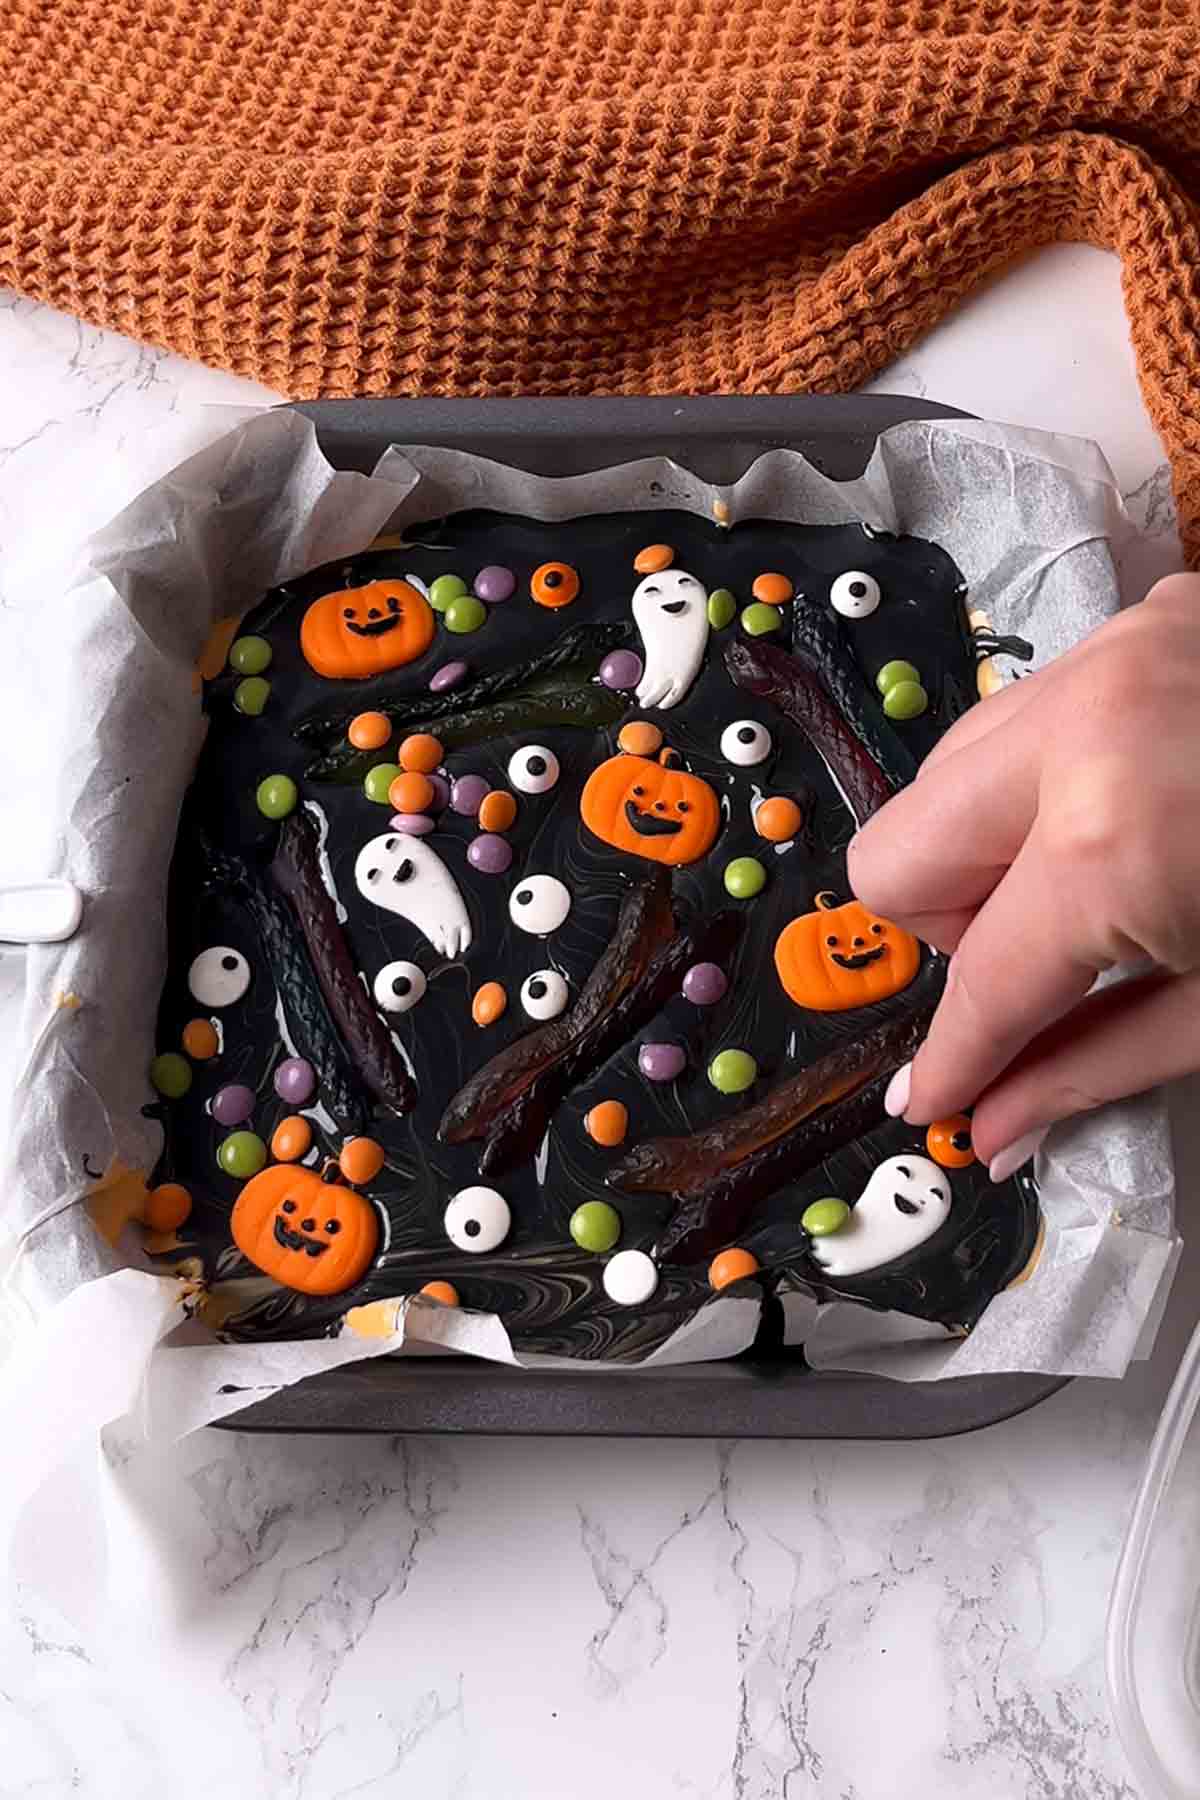
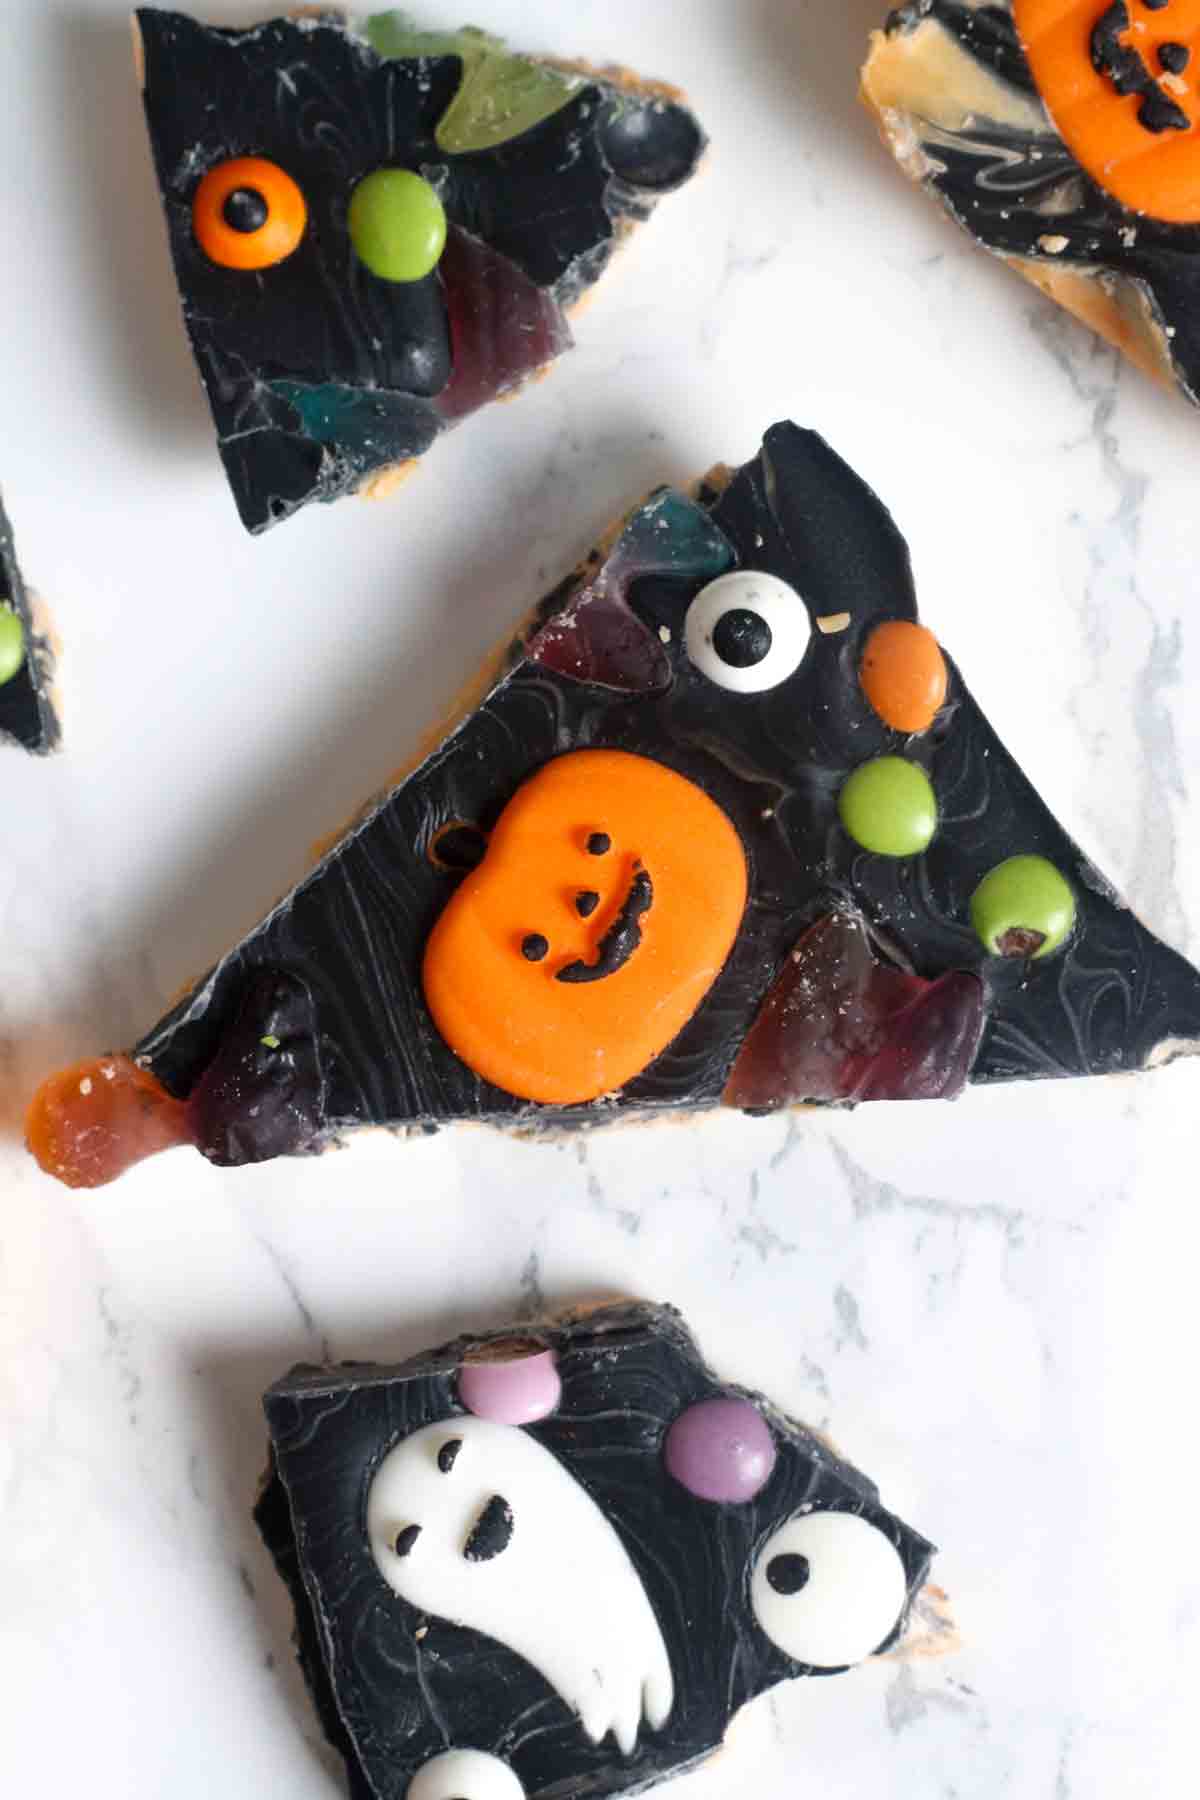
Step 8: Leave your Halloween bark out at room temperature for a few hours until it becomes hard. Then cut or break it into shards. If you're having trouble cutting it, you can warm your knife up first by running it under boiling water.
More spooky bark topping ideas
If you're struggling for other ideas, here are some more of my favourite Halloween bark decorations!
- Homemade white chocolate ghosts
- Halloween Oreos
- Leftover Halloween sweets like Skittles, peanut butter cups or mini Snickers bars
- Gummy fangs
- Reese's pumpkins
- Candy skulls
Top tips
- Make sure to add a small amount of oil alongside the food colouring. White chocolate tends to seize quite easily when colouring is added but this will help it to stay smooth and soft.
- An 8x8-inch tin will help the bark hold shape and it will therefore be a bit thicker. If you don't mind slightly thinner bark, you can use any size of tray lined with baking paper.
- Let your spooky bark set at room temperature for a shiny finish- this is especially important if you want to gift it. Putting it in the fridge can cause sugar bloom which will give the bark a whitish film on top.
FAQ
Halloween chocolate bark is perfect for making ahead of time because it lasts for at least 3 weeks! Make sure to keep it in the fridge in an airtight container to keep it tasting fresh.
You sure can! Freeze your spooky chocolate bark shards in airtight containers or in a freezer bag for up to 3 months. To defrost it, just transfer it to the fridge and leave it there overnight. Once it's defrosted, do not refreeze it.
Yes, you can definitely use candy melts instead of the white chocolate. This would save on food colouring and make the process a little easier if you're a beginner. I personally wanted some chocolate flavour in my bark which is why I used it.
More Halloween treats
- Chocolate-covered ghost strawberries
- Halloween Mickey cookies
- Halloween rocky road
- Halloween fudge
- Nutella mummy pastries
- Halloween Oreo brownies
I hope you like this spooky Halloween chocolate bark recipe! Let me know what you'll be adding to yours by leaving a comment below. Enjoy!
Spooky Halloween Chocolate Bark
Ingredients
- 200 g White chocolate
- ½ Teaspoon Orange extract
- ¼ Teaspoon Orange gel food colouring
- ¼ Teaspoon Vegetable oil (this will prevent the white chocolate from seizing when you colour it)
- 150 g Black candy melts or milk/dark chocolate
- 2 Large Handfuls Halloween sweets (I used gummy snakes, chocolate beans, edible eyes and Halloween cake decorations)
Instructions
- Line an 8x8-inch tin with baking paper.
- Melt the white chocolate in a heatproof bowl then stir in the orange extract, the orange food colouring and the oil.
- Pour the orange chocolate into the tin then spread it out all the way to the edges.
- Melt the black candy melts in a heatproof bowl then spread it on top of the orange chocolate.
- Top with your Halloween sweets.
- Let the bark sit out at room temperature for a few hours until the chocolate is fully set. Then break or cut it into pieces and enjoy!
Video
Notes
- Store in an airtight container in the fridge for up to 3 weeks.
- Don't try to colour milk or dark chocolate with black food colouring as it will seize up before you can add enough to get the desired shade.



Leave a Reply