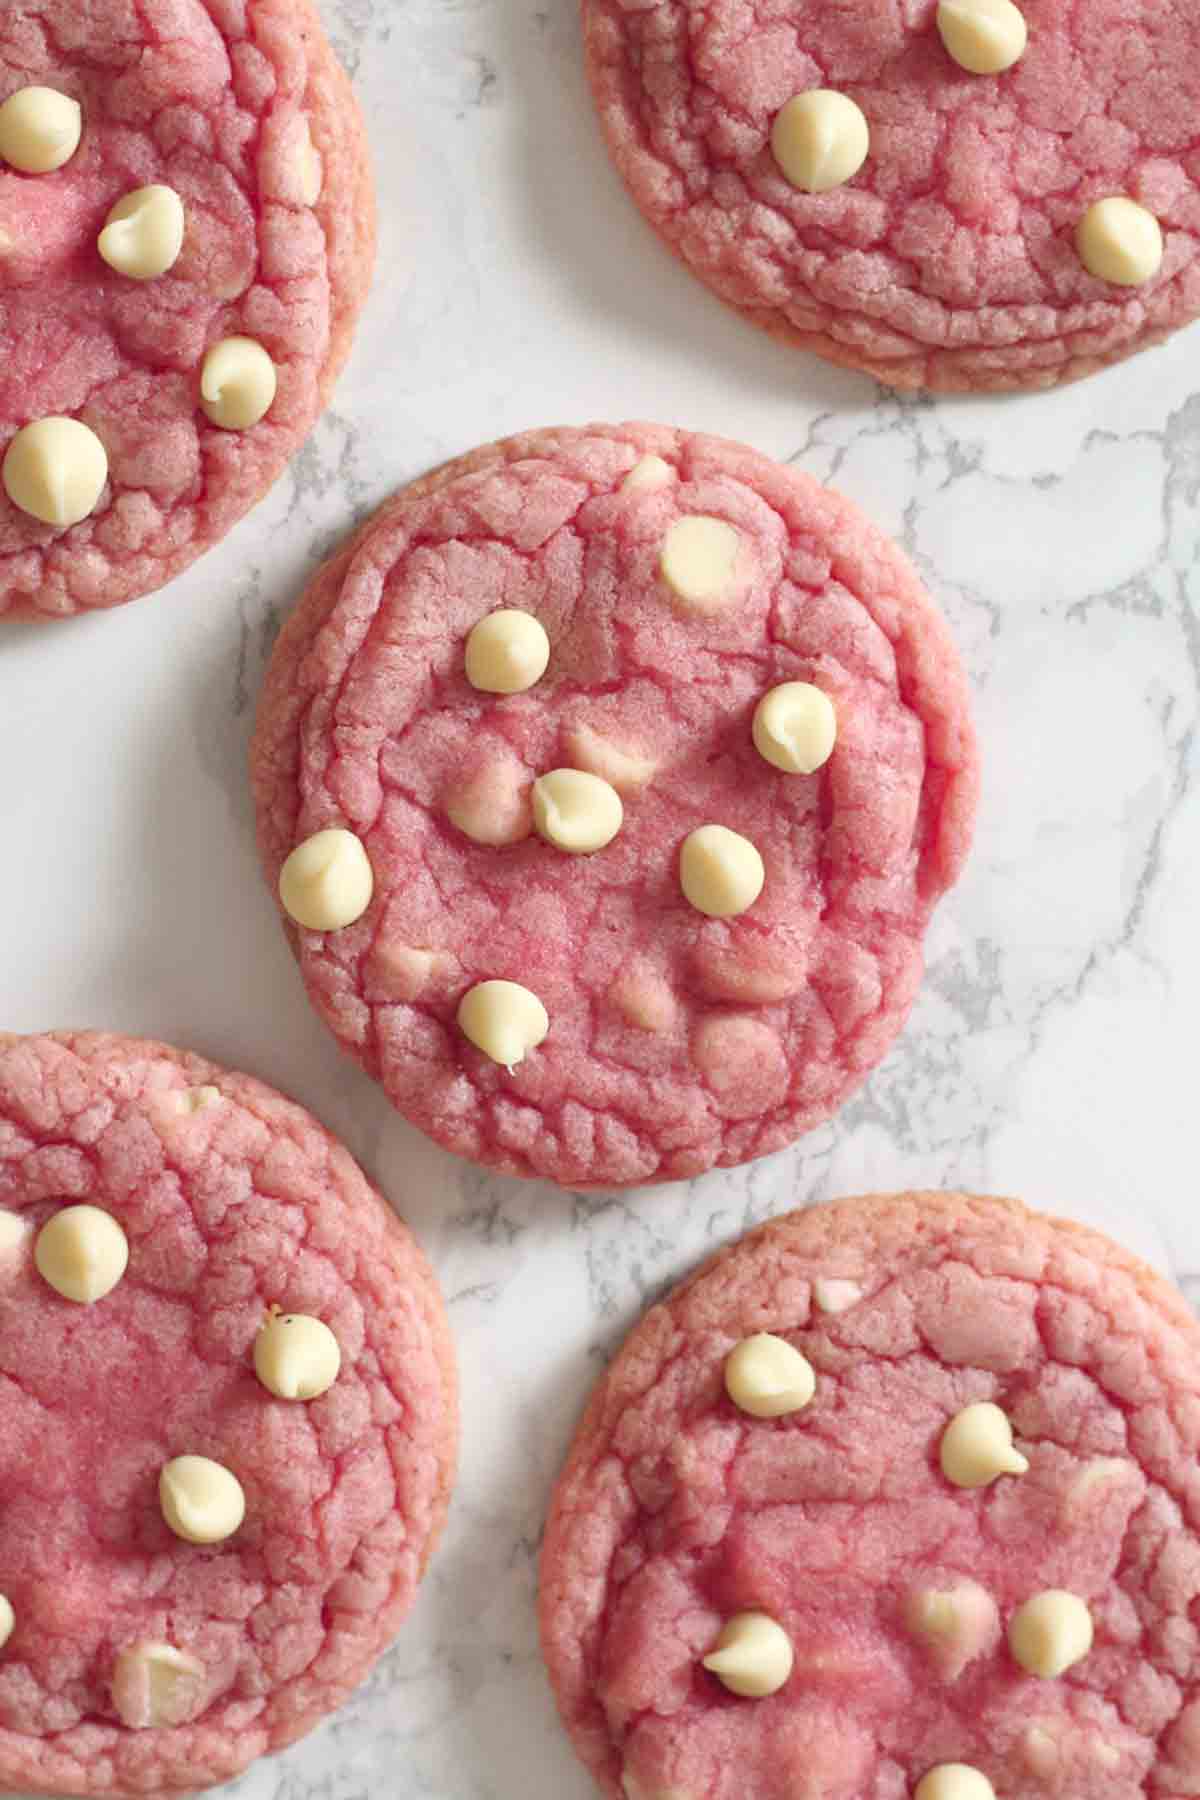
These strawberry Nesquik cookies are a fun, nostalgic treat that'll transport you straight back to your childhood. With their vibrant pink colour and sweet strawberry milkshake flavour, kids and adults will love them!
Who doesn't love some Nesquik?! I was absolutely crazy about this milkshake growing up in the 90s, and after recently spotting it on sale in my local Tesco, I thought I'd have a go at making some cookies with it. It took a few practice runs but I am SO pleased with how they turned out!
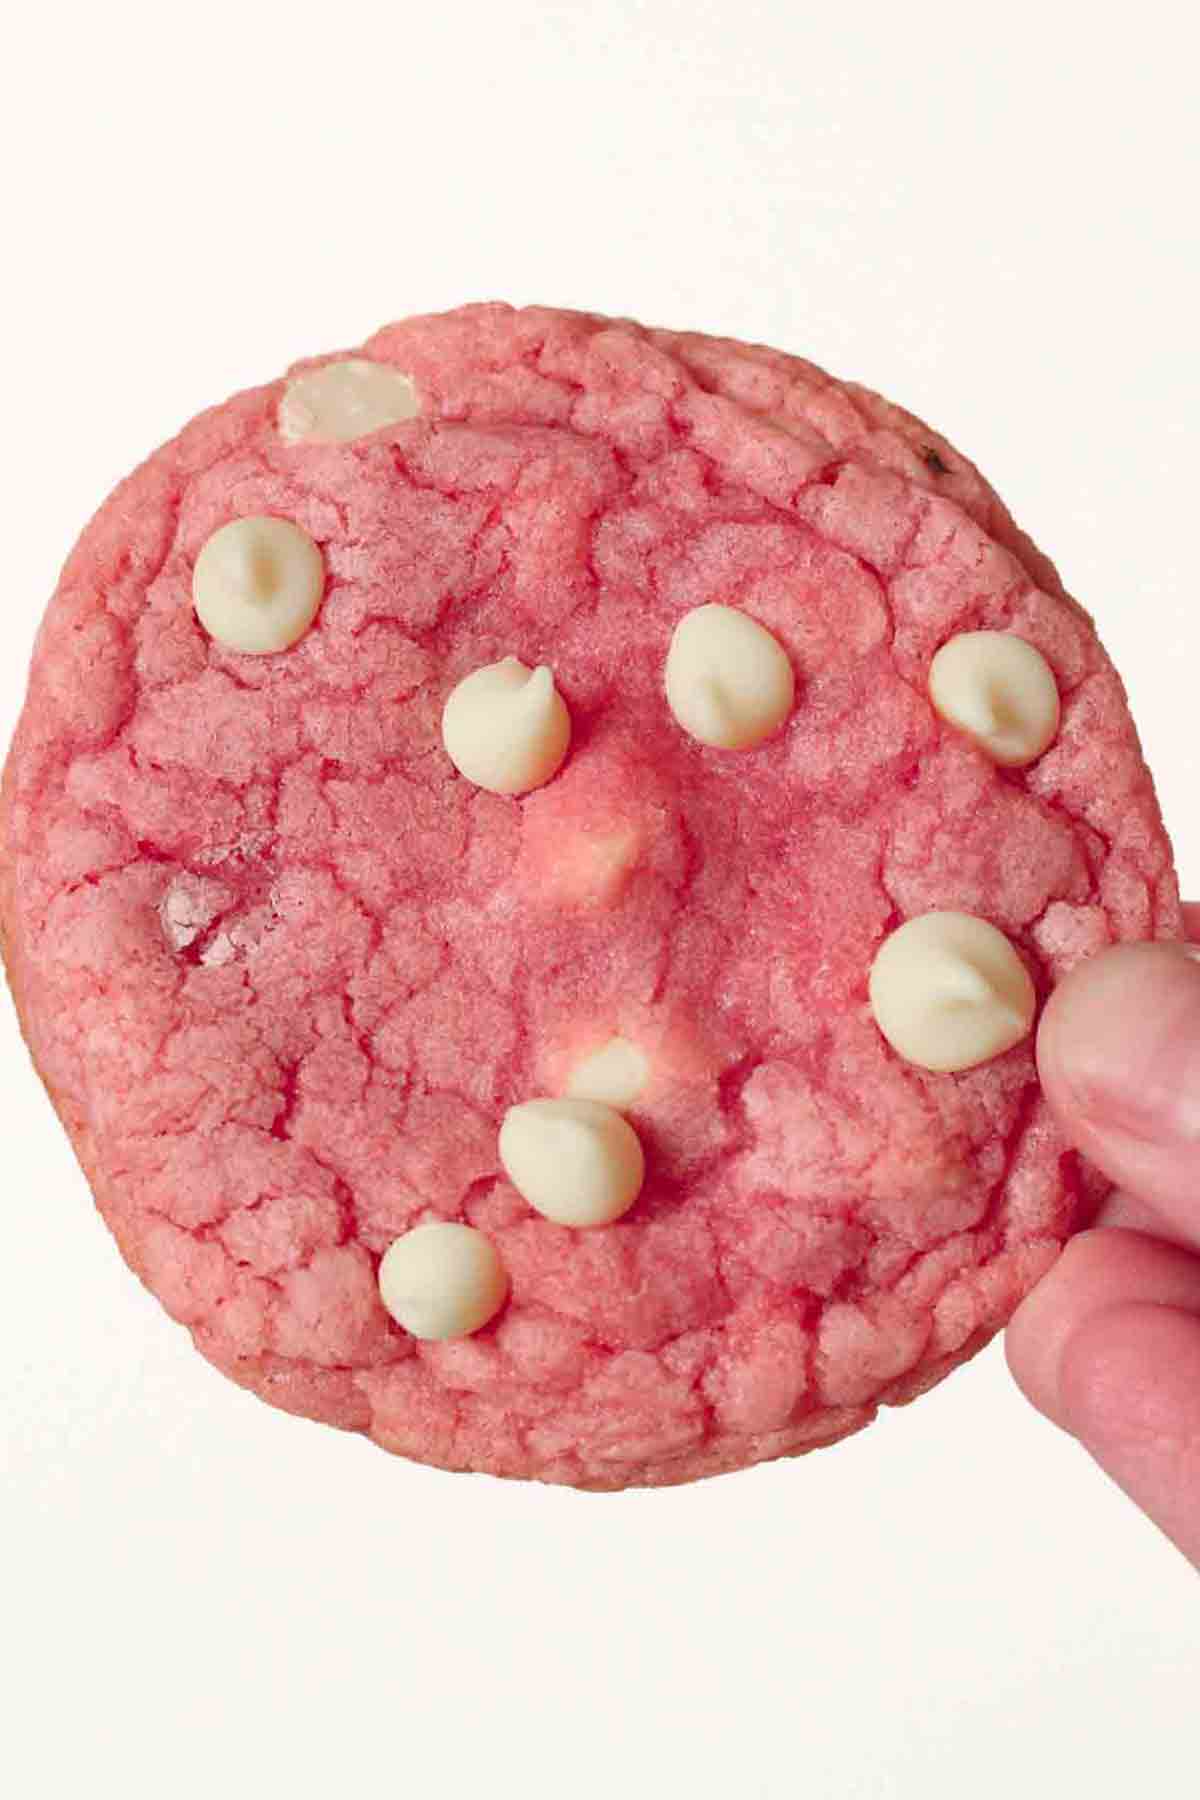
My strawberry Nesquik cookies are soft and chewy with crispy edges, and they're packed with white chocolate chips for extra sweetness and texture. I think they'd make a fun Valentine's Day bake or cute addition to a bake sale, or even just a nice treat for snacking on after work or school. Whatever the occasion, I'm sure you're going to love them! After you have a go at these, make sure to try my Nesquik fudge too!
Ingredients
Ready to get baking? Grab all of these ingredients before you get started:
- Butter: These cookies are pretty sweet, so I'd recommend using salted butter to help balance things out. Make sure to soften it before you start so that it's easy to mix- you can do this by leaving it out at room temperature for an hour or two.
- Caster sugar: This type of sugar is best for baking as it dissolves more easily into the butter, giving your cookies a better texture. This is also known as superfine sugar.
- Brown sugar: Soft light brown sugar gives the cookies and nice chewy texture and a slight hint of caramel flavour. Avoid dark brown sugar for this recipe as the molasses flavour will overpower the strawberry milkshake.
- Egg: This is our binder. If you prefer not to use an egg, you can substitute this for a 'flax egg'. Simply mix 1 tablespoon of ground golden flax seeds with 2 tablespoons of cold water, let it sit for 5 minutes until it's thick, then add it when the recipe calls for the egg.
- Vanilla: Just a teaspoon. This works really nicely with the Nesquik flavour.
- Pink food colouring: This is purely for aesthetics so you can skip it if you prefer. The Nesquik gives the dough a slight pink hue but I wanted a more vibrant colour. I recommend gel food colouring for best results.
- Strawberry Nesquik powder: For that delicious strawberry milkshake taste. For a fresher flavour, you can use freeze-dried strawberry pieces (not powder) in addition to or instead of the milkshake powder.
- Self-raising flour: Make sure to use self-raising flour for this recipe. It really creates such a lovely texture! If you only have plain or all-purpose flour, add 1+½ teaspoons of baking powder to the recipe separately.
- White chocolate chips: These complement the strawberry flavour beautifully. You can chop up a white chocolate bar if you don't have chocolate chips, or use dark or semi-sweet chocolate for more of a contrast.
Cookie Equipment
- Baking tray: You'll need one or two large baking trays to make these cookies. They spread quite a bit in the oven so it's best to stick to about 5 per tray.
- Baking paper: To prevent sticking.
- Mixing bowl: A large one, for mixing all of the ingredients together.
- Utensils: A wooden spoon for mixing and a teaspoon for measuring.
- Digital kitchen scale: For precise measurements, I recommend using a digital kitchen scale when baking. It'll give you much more consistent results than using imperial measurements, which tend to vary each time.
How to make Strawberry Nesquik Cookies step-by-step
Step 1: Preheat your oven to 180°C (160°C for fan ovens) and line a large baking tray or two with baking paper. You can either bake two trays at once (as long as you can fit them on the same oven shelf) or use the same tray and bake in batches.
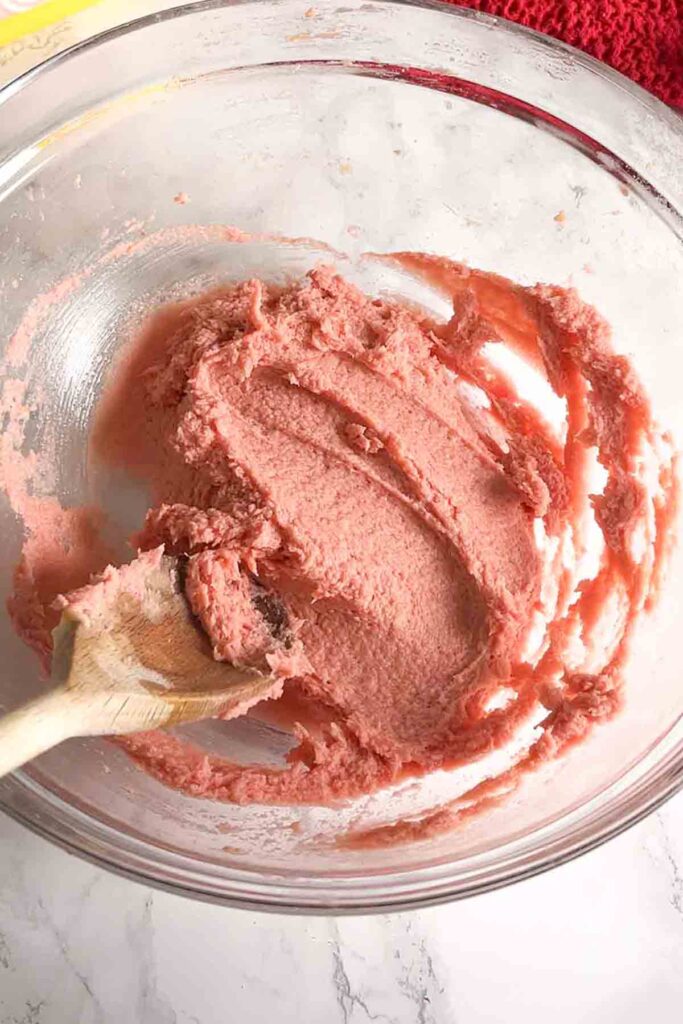
Step 2: In a large bowl, mix 120g of softened butter with 100g of caster sugar and 50g of soft light brown sugar.
Step 3: Once that's smooth, add 1 medium egg, 1 teaspoon of vanilla extract and a small amount of pink gel food colouring. Mix well until the colour is evenly distributed.

Step 4: Next, add 200g of self-raising flour and 55g of strawberry Nesquik powder. Mix well then use your hands to press everything together into a ball of dough.
Step 5: Gently press 100g of white chocolate chips into the dough with your hands. Try to make sure they're evenly dispersed.

Step 6: Divide the dough into 12 pieces (use a scale to ensure they're all an equal weight) and roll into balls. Place the balls onto your lined baking tray, leaving a bit of space between them to allow for spreading. I usually bake 5 per tray.

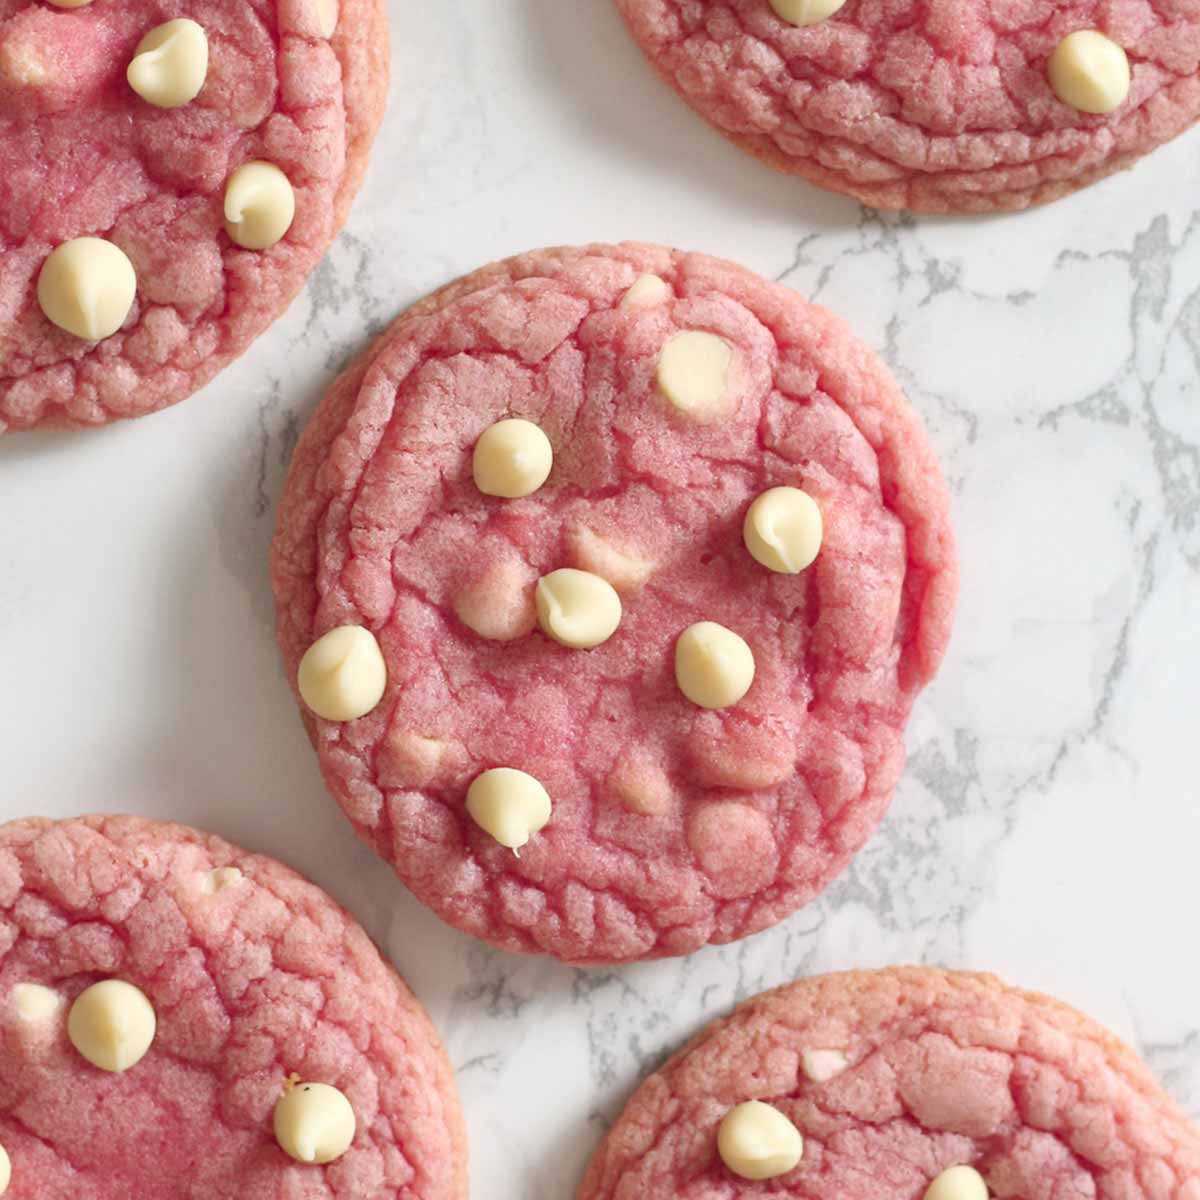
Step 7: Bake your cookies for 11-12 minutes, until they are firm around the edges and no longer look 'wet' in the middle. While they're still warm, you can add some extra white chocolate chips on top if you like.
Step 8: Let them cool completely on the tray then enjoy!
Top Tips
- For a more intense strawberry flavour, you can switch the vanilla extract for strawberry extract, or sprinkle some freeze-dried strawberry pieces into the dough.
- These cookies will spread and may look uneven after baking. To make them perfectly round again, use a large round cookie cutter to gently shape them immediately after they come out of the oven.
- Swap white chocolate chips for dark chocolate chips if you prefer less sweetness.
- Use gel food colouring instead of liquid if you can. This will prevent too much liquid from going into the dough, which can affect the final result.
FAQs
If you keep them in an airtight container, they'll last for up to 5 days at room temperature. You can also store them in the fridge if you want to keep them nice and chewy.
Yes! You can refrigerate the dough for up to 48 hours before baking. I recommend dividing and rolling it into balls before refrigerating. If you're baking them straight from the fridge, allow an extra minute or two in the oven.
Yes, most types of strawberry milkshake powder will work in this recipe; however, they will be missing that distinctive Nesquik flavour!

More strawberry desserts:
- Strawberry white chocolate fudge
- Strawberry Oreo balls
- Strawberry cheesecake shots
- Strawberry coconut bars
- White chocolate strawberry brownies
I hope you like my strawberry Nesquik cookies! If you make them at home, please let me know what you think by leaving a comment and rating below. Enjoy!
Strawberry Nesquik Cookies
Ingredients
- 120 g Butter, softened (½ cup)
- 100 g Caster sugar (½ cup)
- 50 g Brown sugar (¼ cup)
- 1 Medium Egg
- 1 Teaspoon Vanilla extract
- Pink gel food colouring (start with a small amount and add more as needed)
- 55 g Strawberry Nesquik milkshake powder (~½ cup)
- 200 g Self-raising flour (~1+⅔ cups)
- 100 g White chocolate chips (⅔ cup)
Instructions
- Preheat your oven to 180°C (350°F) and line a large tray or two with baking paper. For fan/convection ovens, the temperature is 160℃/320℉.
- In a large bowl, mix together the butter, caster sugar, and brown sugar.
- Stir in the egg, vanilla extract and pink food colouring.
- Add the strawberry Nesquik powder and the self-raising flour. Mix well then use your hands to press everything together into a ball.
- Gently press the chocolate chips into the dough.
- Divide the dough into 12 equal-sized pieces and roll into balls. Place them onto your baking tray, leaving a few inches of space in between to allow for spreading.
- Bake for 11-12 minutes until the cookies are firm around the edges. They should look soft in the middle but not wet.
- Top with extra white chocolate chips while the cookies are still warm.
- Let them cool completely on the tray then enjoy!
Video
Notes
- Store in an airtight container at room temperature for up to 5 days.


Jamie
Made these today and theyre great! Really soft and chewy. I used granulated sugar and dark brown sugar since its what I had. Needed to adjust the bake time to about 15-16 mins, and theyre just Slightly* too sweet for me, but otherwise they are perfect! No complaints 🙂 Would definitely make again, especially for Valentines
Chloe
Thank you so much! 🙂
ambrose
very nice recipe! has a very nice consistency and flavour, although it makes way more than 12 cookies! 🙂
Chloe
Thank you! 🙂