
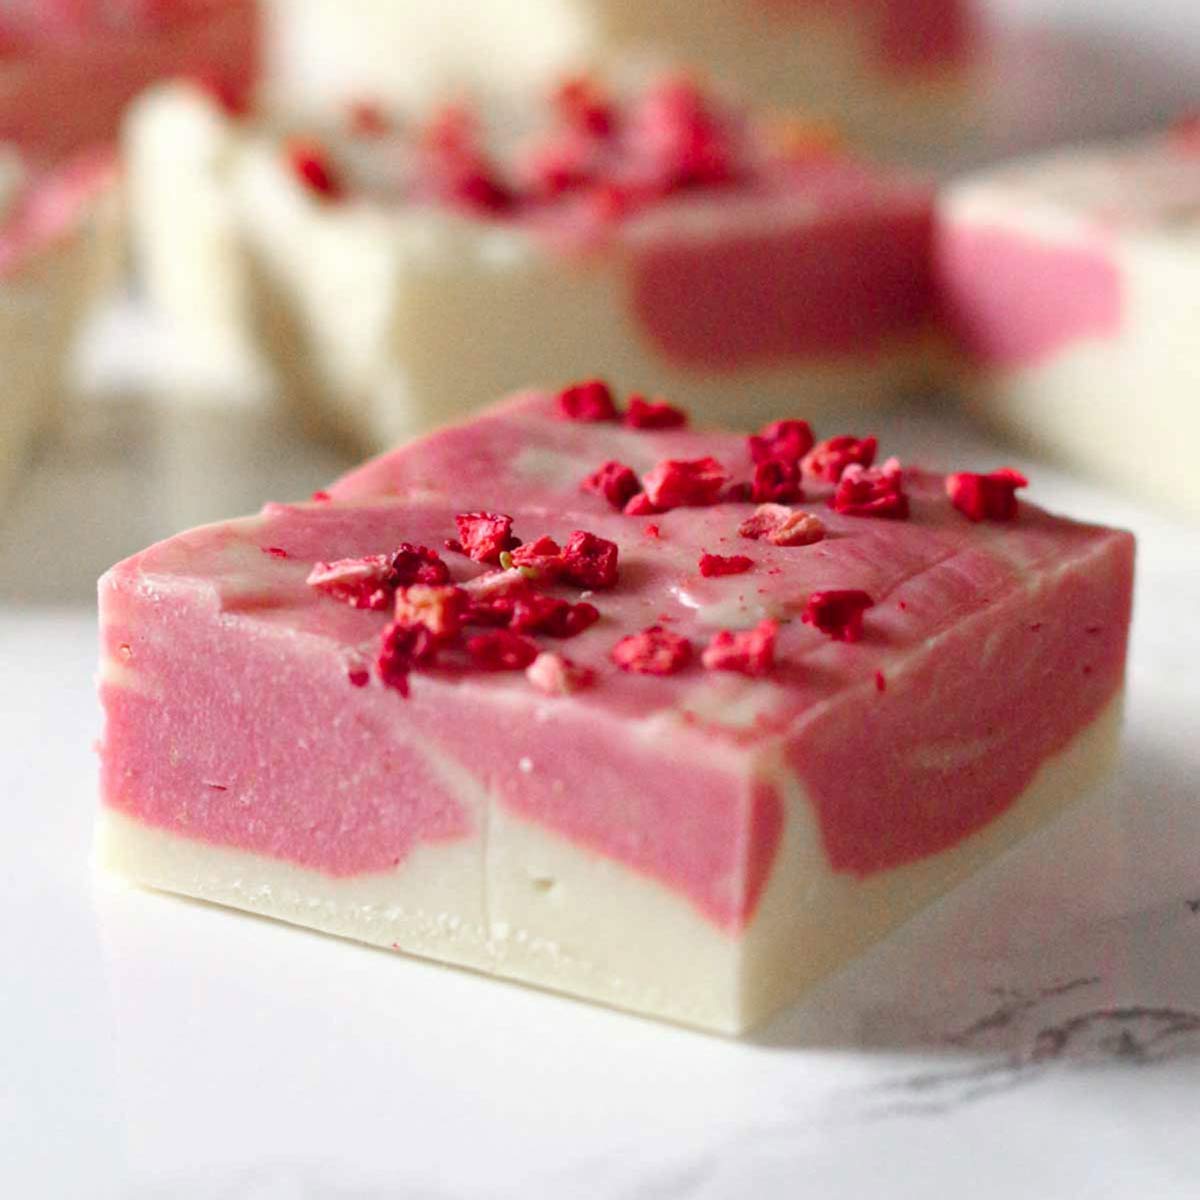
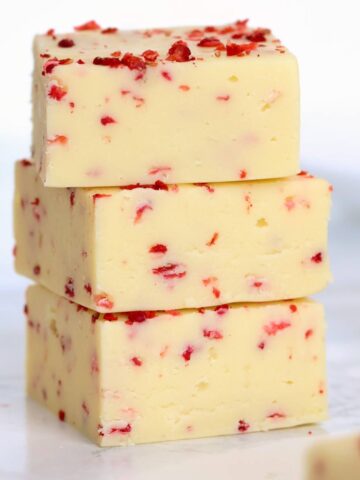
This white chocolate strawberry fudge is perfect for any occasion. It has a gorgeous pink strawberry swirl and is topped with freeze-dried strawberry pieces. It's made with only 5 ingredients and it's so easy that you'll want to make it over and over again!
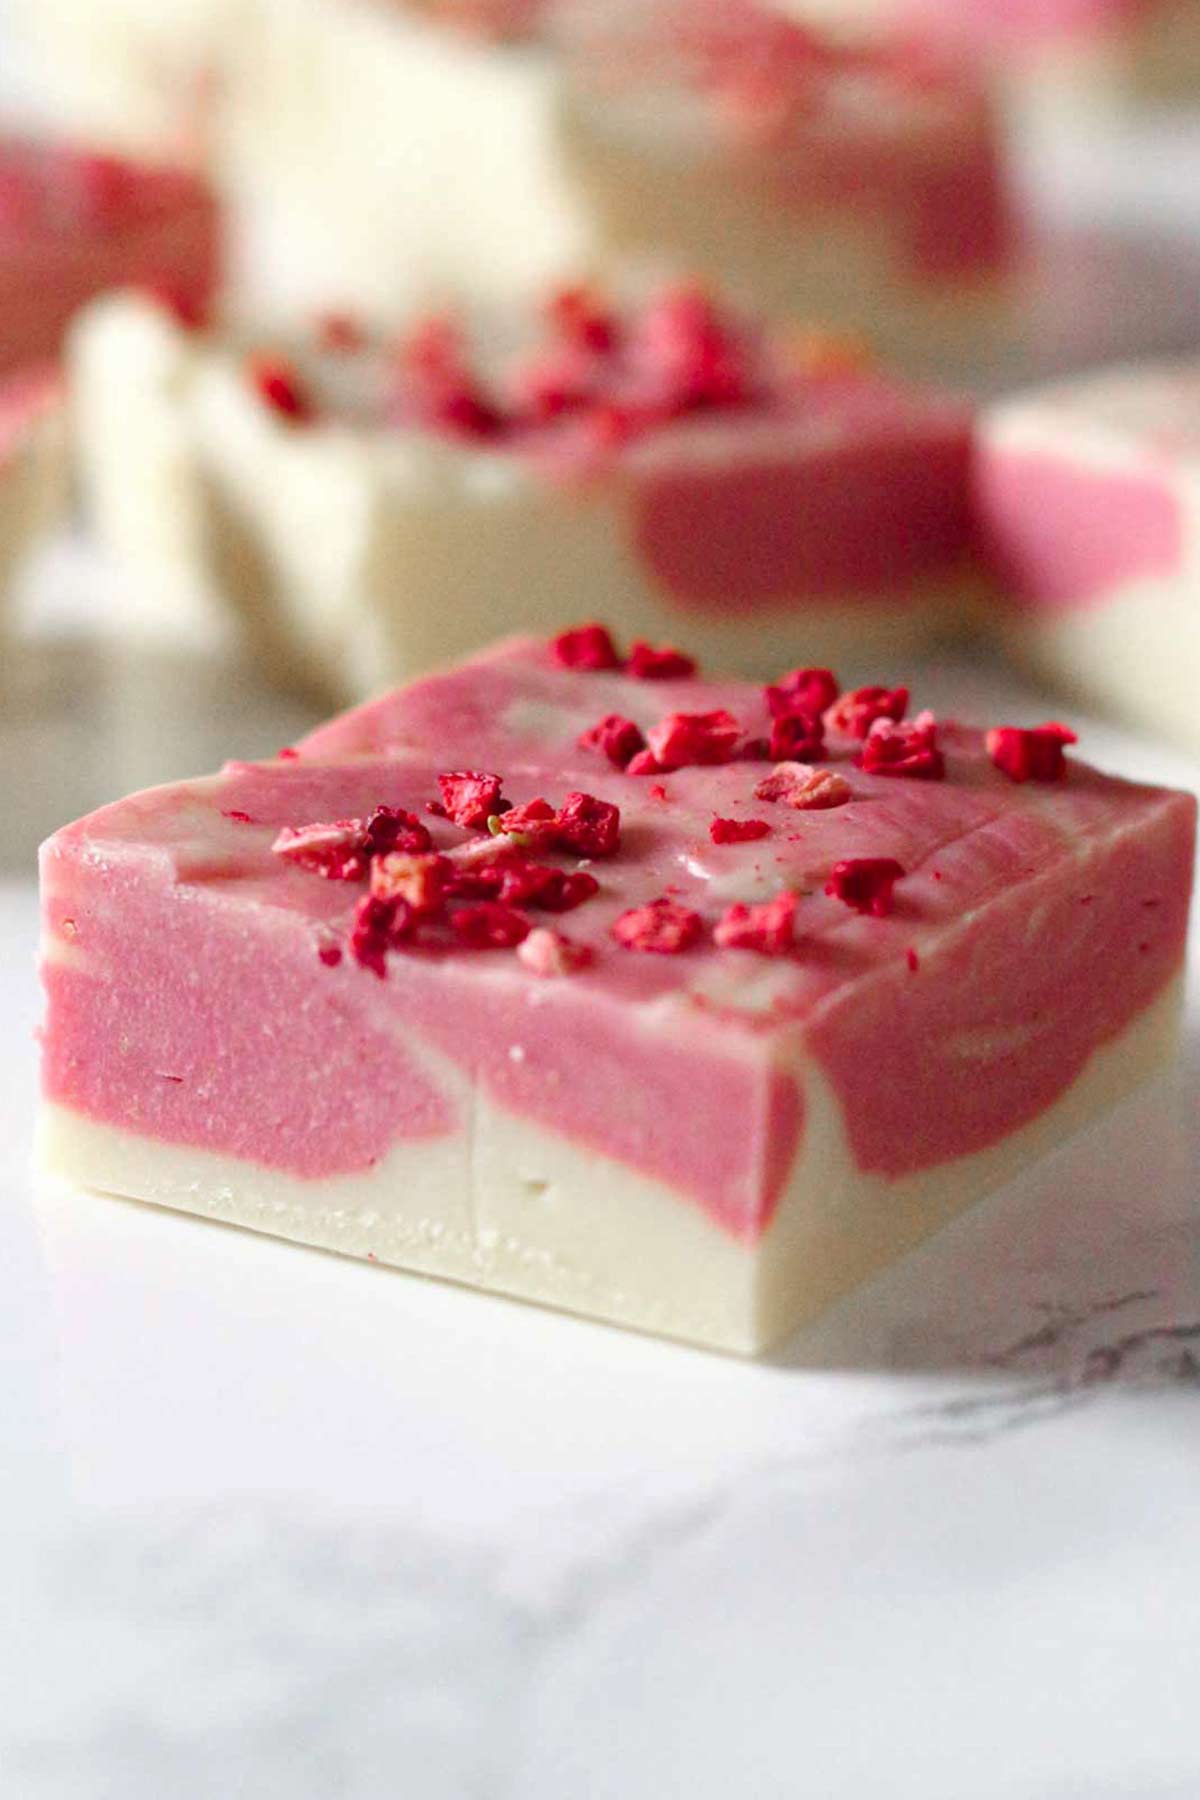
If you love the white chocolate and strawberry combo then you're going to absolutely love this fudge! It's rich, it's creamy, and the freeze-dried strawberry swirl gives it a nice burst of fresh strawberry flavour. I love to make this as a last-minute no-bake dessert or package it up nicely to make a cute edible gift.
If you're ready to get started, keep reading for my top tips, step-by-step images and more. Or, if you prefer to get straight to the point, you can find the condensed version in the recipe card at the end of the post. Enjoy!
Ingredients
- White chocolate: Of course, you can't make condensed milk fudge without it! You can use any type of white chocolate you like for this recipe. I tend to use the super cheap supermarket brand because I bake a lot, and many of my readers have noted that it works better than the more premium brands!
- Condensed milk: You'll need 1 tin of sweetened condensed milk, which is 397g in the UK, or 14oz. Make sure it's condensed, not evaporated!
- Freeze-dried strawberries: You'll need two types of freeze-dried strawberries for this recipe: freeze-dried strawberry powder and freeze-dried strawberry pieces. This helps to add a nice fresh strawberry flavour without adding excess liquid to the fudge mixture. The freeze-dried pieces are for decoration, a little more flavour and an extra pop of colour.
- Pink or red food colouring: I like to add this to desserts when I'm using freeze-dried strawberry powder because the powder alone tends to give more of a muted pink colour than a vibrant one. Note that adding too much food colouring to white chocolate can cause it to seize. To prevent this, you can mix it with an equal amount of vegetable oil before adding it to the mixture.
Kitchen tools
- 8x8-inch tin: An 8x8-inch tin is just the right size for making this fudge. It's the one I use almost every time! It ensures the slices are thick enough and you can get up to 30 small squares out of it. If you want to use a different size of tin, you can use my cake pan converter tool to adjust the ingredient quantities accordingly.
- Baking paper: Don't forget the baking paper when making fudge- it's a must-have to prevent it from sticking to the tin. Try leaving a bit hanging over the edges for easy removal later.
- Saucepan: To melt the ingredients. You can do this in the microwave in a heatproof bowl if you prefer, but I recommend using a pan on the stove for more control of the heat. Low heat reduces the chance of the mixture seizing or splitting.
- Wooden spoon: A wooden spoon is great for mixing the strawberry powder into the fudge. I find it does a better job than a metal spoon or spatula.
- Rubber spatula: This isn't totally essential but I recommend using a rubber or silicone spatula to pat the fudge into place in the tin. It won't stick to the fudge mixture the way that a spoon does so it makes the whole process a lot easier.
- Toothpick or butter knife: Use either of these tools to swirl the two fudge mixtures together. If you prefer, you can just lay the two colours on top of one another without swirling.
- Sharp knife: To cut the fudge once it's set.
How to make white chocolate strawberry fudge
Step 1: First, line your tin with baking paper. Set it aside for now.
Step 2: Next, break up 450g of white chocolate into pieces and place it into a saucepan along with 1 tin of condensed milk (397g).
Step 3: Place the saucepan over low heat on the stove. Stir gently until the chocolate has melted then remove it from the heat. The mixture should be thick and look glossy.

Step 4: Spoon half of the fudge mixture into a bowl then add 1 tablespoon of freeze-dried strawberry powder to it. You can also stir in a few drops of pink or red gel food colouring for a more vibrant colour.

Step 6: Transfer the white fudge into the tin and press it into place. Then spoon dollops of the pink fudge mixture on top.
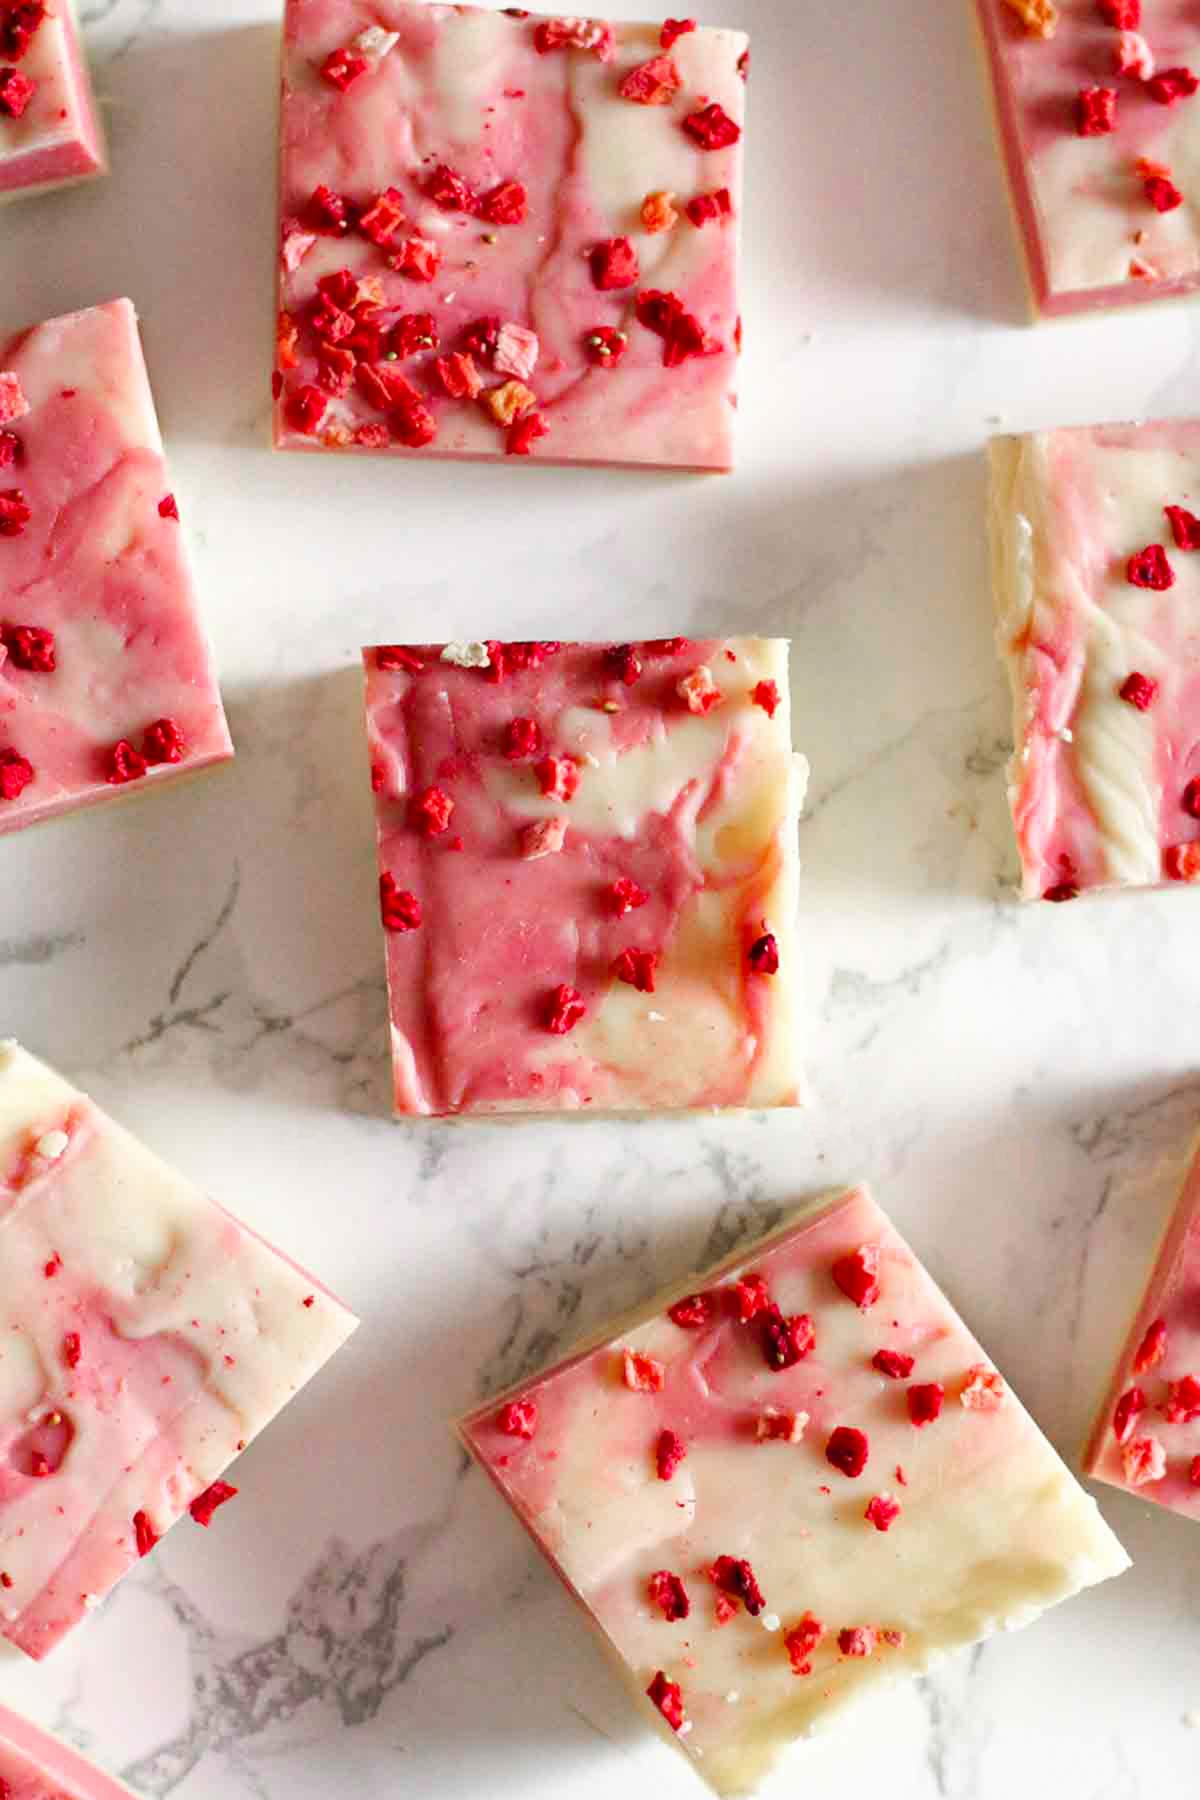
Step 7: Use a toothpick or butter knife to swirl the two colours of fudge together then sprinkle some freeze-dried strawberry pieces on top. Make sure to gently press them into place so they stick properly.

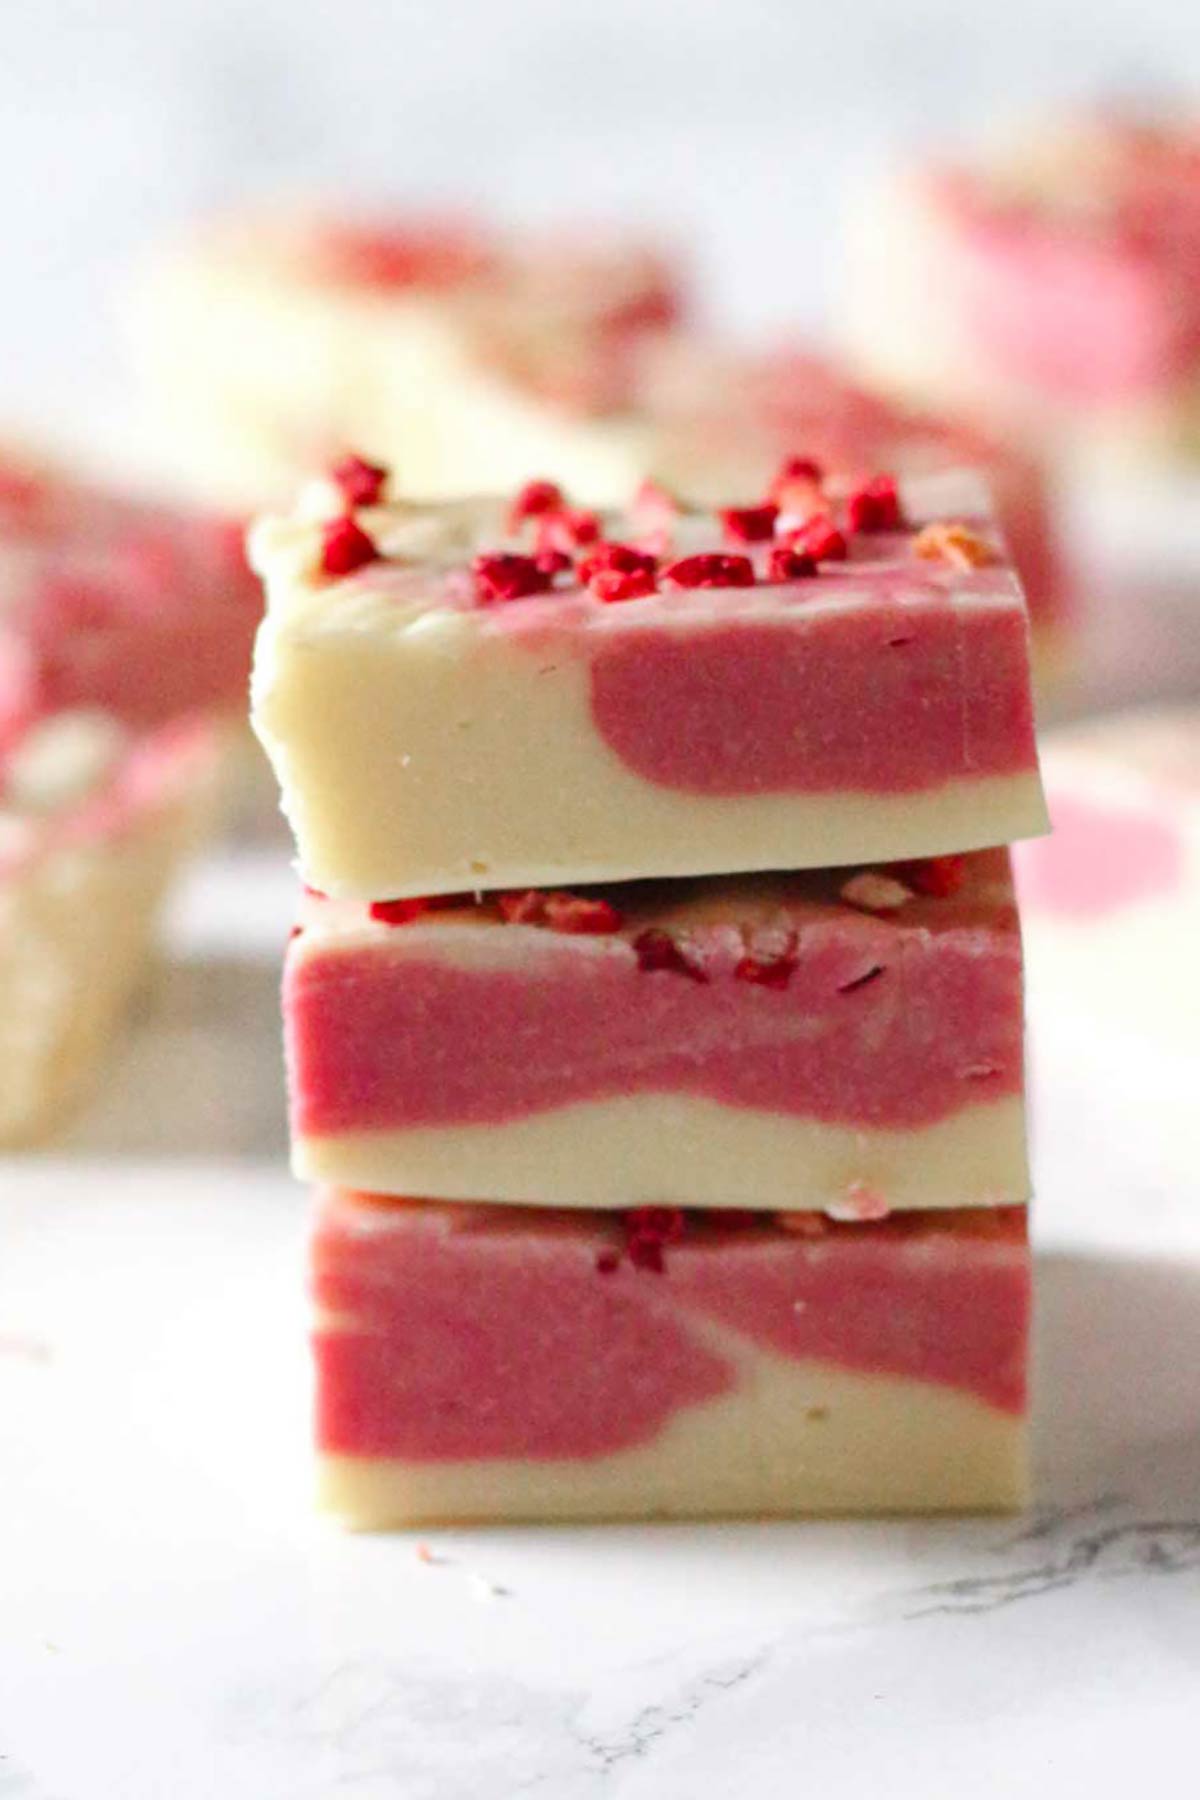
Step 8: Put the fudge in the fridge for 4 hours or until it's firm to the touch. Remove it from the tin using the baking paper, cut it into squares and enjoy! Depending on how big you want your slices to be, you can get 12-30 servings out of a slab this size.
My top tips
- If you prefer to melt the ingredients in the microwave, make sure to take the bowl out every 20 seconds or so and give the mixture a good stir. This will help to prevent seizing, splitting or burning.
- Use freeze-dried strawberry powder, not pieces, in the fudge, to ensure a strong strawberry flavour and deep colour.
- To create a swirly pattern, use a toothpick or butter knife to drag the pink fudge across the white fudge. If you prefer, you can have a simple double-layered fudge, but I think the swirl makes it look a bit more fun.
- If you're using a lot of food colouring, mix it with equal amounts of oil before adding it to the fudge.
FAQs & troubleshooting
This will last for at least 1 week in an airtight container in the fridge.
Yes, this is perfect for freezing. Just pop your pieces into an airtight container or freezer bag and freeze for up to 1 month. Once defrosted, do not refreeze.
Freeze-dried strawberry powder is quite hard to find in UK stores but I buy mine from Amazon. You can find freeze-dried strawberry pieces in the baking aisle of certain supermarkets like Sainsbury's.
This usually happens if the mixture is heated too quickly. Unlike traditional fudge, condensed milk fudge doesn't need to be boiled. Low heat and patience are key for this recipe! Seizing can also happen if there is too much liquid in the mixture, such as from liquid food colouring. I recommend adding a small amount of oil at the same time as the colouring to prevent this.
Again, this can be down to using too high of a heat, but it most likely just needs more time in the fridge to set. Learn more about why condensed milk fudge doesn't set.
More strawberry desserts
I hope you like my white chocolate strawberry fudge recipe. If you make it at home, please leave a rating and comment below to let me know what you think. Enjoy!
White Chocolate Strawberry Fudge
Ingredients
- 450 g White chocolate (16oz)
- 397 g Sweetened condensed milk (14oz)
- 1 Tablespoon Freeze-dried strawberry powder (I used Honey Berry)
- Few drops Pink or red food colouring (optional)
- 2-3 Tablespoons Freeze-dried strawberry pieces
Instructions
- Line an 8x8-inch tin with baking paper, leaving a little hanging over the edges for easy removal later.
- Break up the white chocolate and add it to a saucepan with the condensed milk. Place the pan over low heat on the stove.
- Keep the heat low and gently stir until the chocolate has melted. Alternatively, you can melt the ingredients in short bursts in the microwave, stirring every 20 seconds to prevent burning.
- Transfer half of the fudge mixture to a separate bowl then stir in the freeze-dried strawberry powder and food colouring. Make sure to work quickly as the fudge will set quite fast.
- Transfer the white fudge mixture to your lined tin and spread it evenly into place.
- Put spoonfuls of the pink strawberry fudge mixture on top of the white then use a toothpick to swirl the two colours together.
- Top with freeze-dried strawberry pieces.
- Refrigerate for at least 4 hours until firm, then cut into squares and enjoy.
Video
Notes
- Store in an airtight container for up to 1 week.

Leave a Reply