This marble chocolate bark is fun to make and eat and is perfect for both kids and adults. It's great for edible gifting any time of year and makes a delicious treat for any chocolate lover.
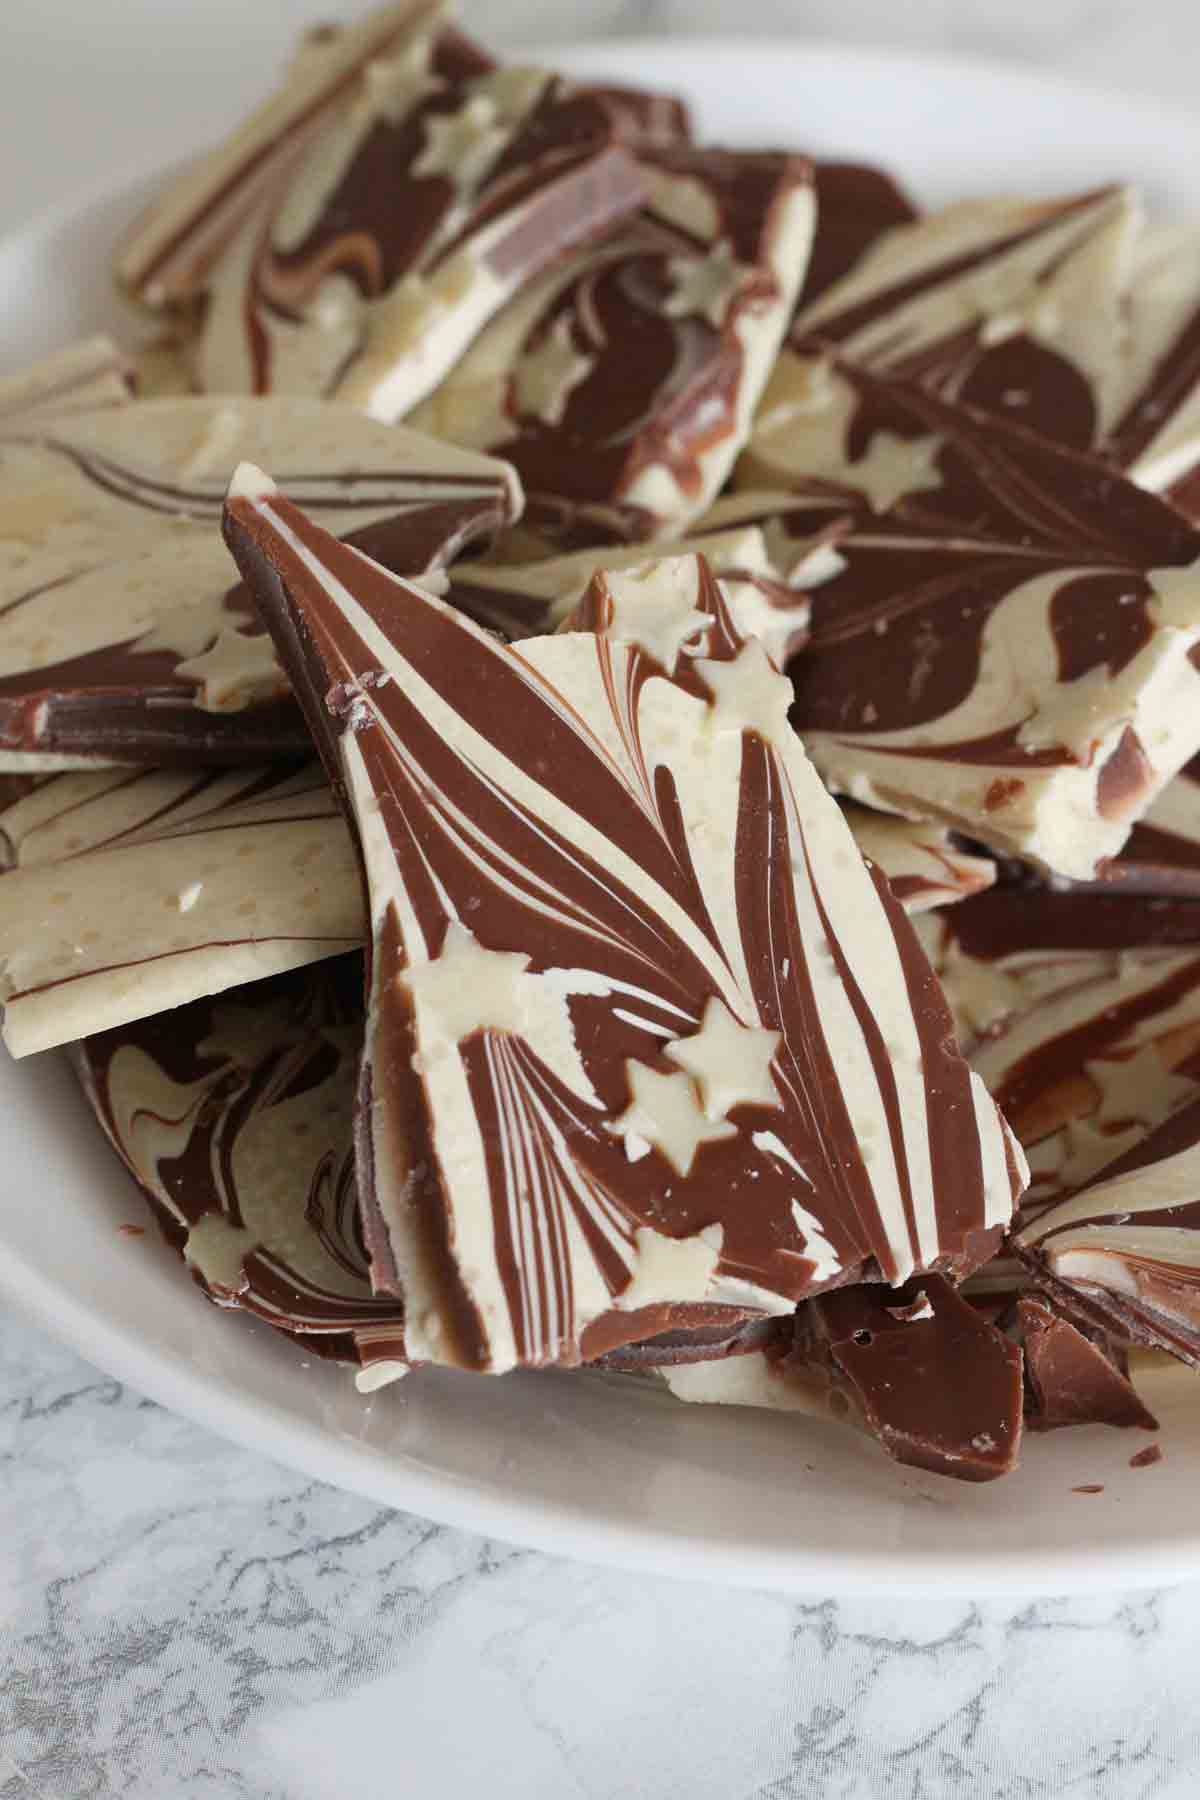
If you can't decide between milk and white chocolate, you can enjoy them both in one dessert by making this chocolate marble bark. It's super quick to make with only 3 ingredients, and it's so easy that even kids can make it.
This recipe is easy to customise with your favourite mix-ins or toppings, and if you package it up in small bags, it makes an adorable edible gift! Ideal for Christmas, Easter, Valentine's Day or any other occasion.
In the post below, you'll find ingredient and equipment notes, step-by-step instructions with photos, my top tips, and lots more. I hope you find it helpful. If you prefer the TLDR version, feel free to skip straight to the recipe card at the end of the post. Enjoy!
Ingredient and equipment notes
- Milk chocolate: Use whichever type of milk chocolate you like for bark. I usually use the cheap supermarket own-brand type and it works really well.
- White chocolate: Again, any type will work. Use the one that you like the best!
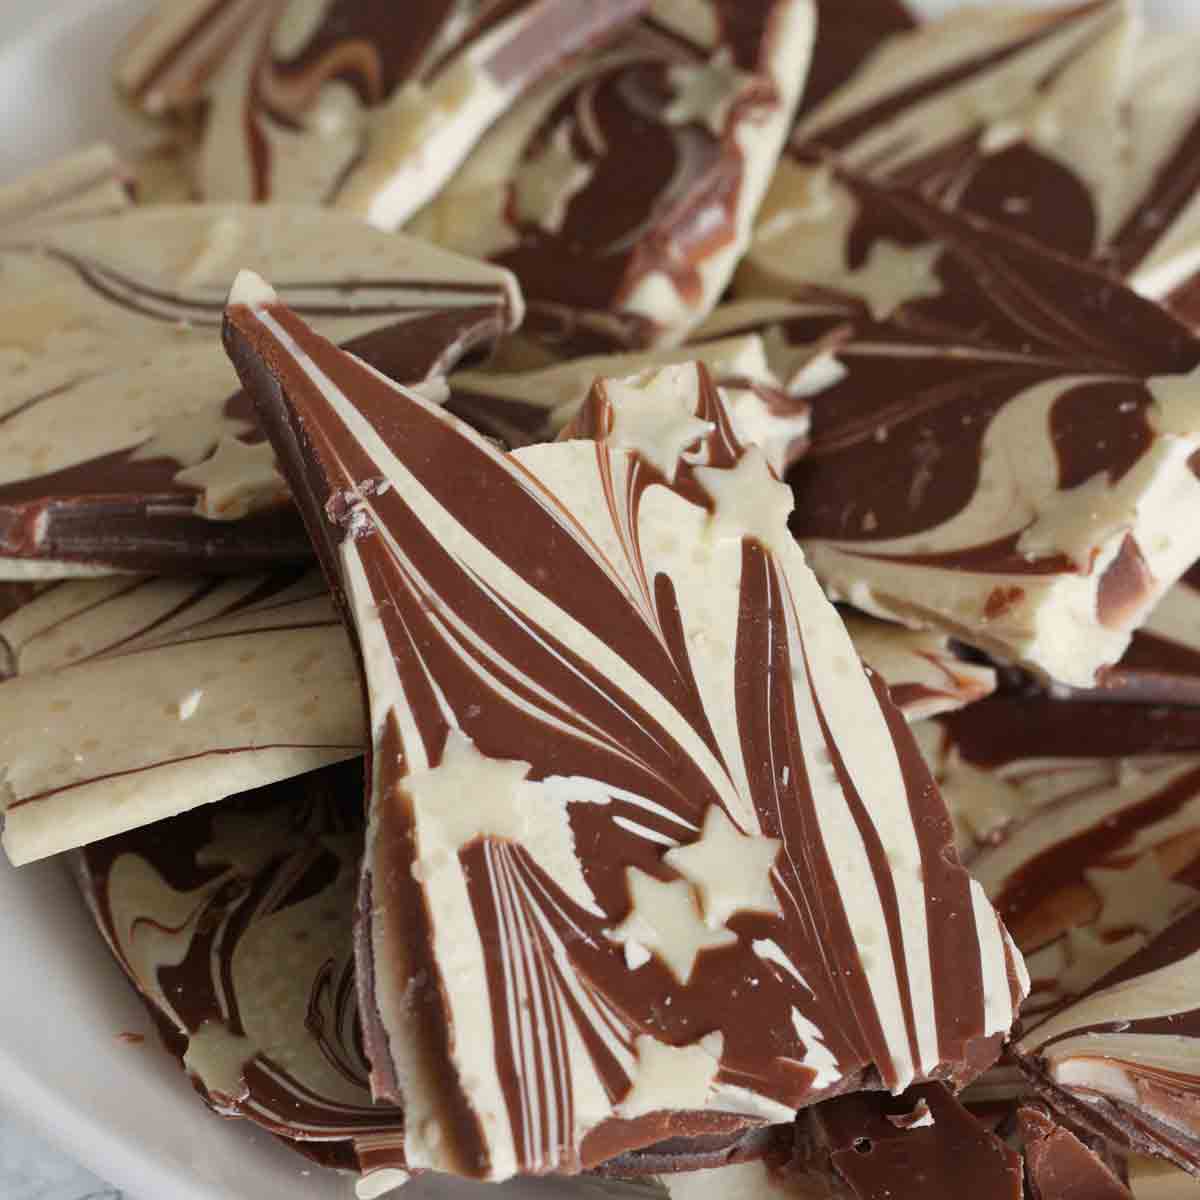
- Cake sprinkles: I used mini white chocolate star sprinkles to decorate my bark with. Although these are not totally necessary, they do add a nice finishing touch.
- Utensils: All you'll need is two tablespoons and perhaps a knife if you want to cut the bark rather than break it with your hands.
- Heatproof bowls: Two heatproof bowls- one to melt the milk chocolate in and one to melt the white chocolate. You can also melt it in a saucepan over the stove if you prefer.
- Toothpick or skewer: To combine the two types of chocolate and create the marble effect.
- Baking tray or tin: To help your bark hold shape, you can use an 8x8-inch tin. Otherwise, if you don't mind it being a little thinner, you can use a regular flat baking tray.
- Baking paper: To stop the chocolate from sticking to the tray.

How to make marble chocolate bark
Step 1: First, line a baking tray with baking paper and set it to one side for now.
Step 2: Next, melt the chocolate. Break 200g of milk chocolate into squares and add it to a heatproof bowl. Microwave in 30-second bursts, stirring each time until there are no lumps of chocolate left. Repeat with the white chocolate in a separate heatproof bowl.
Step 3: Take one spoonful of milk chocolate and place it on the lined tray. Then put a spoonful of white chocolate beside it. Repeat, alternating until all of the chocolate is used up.
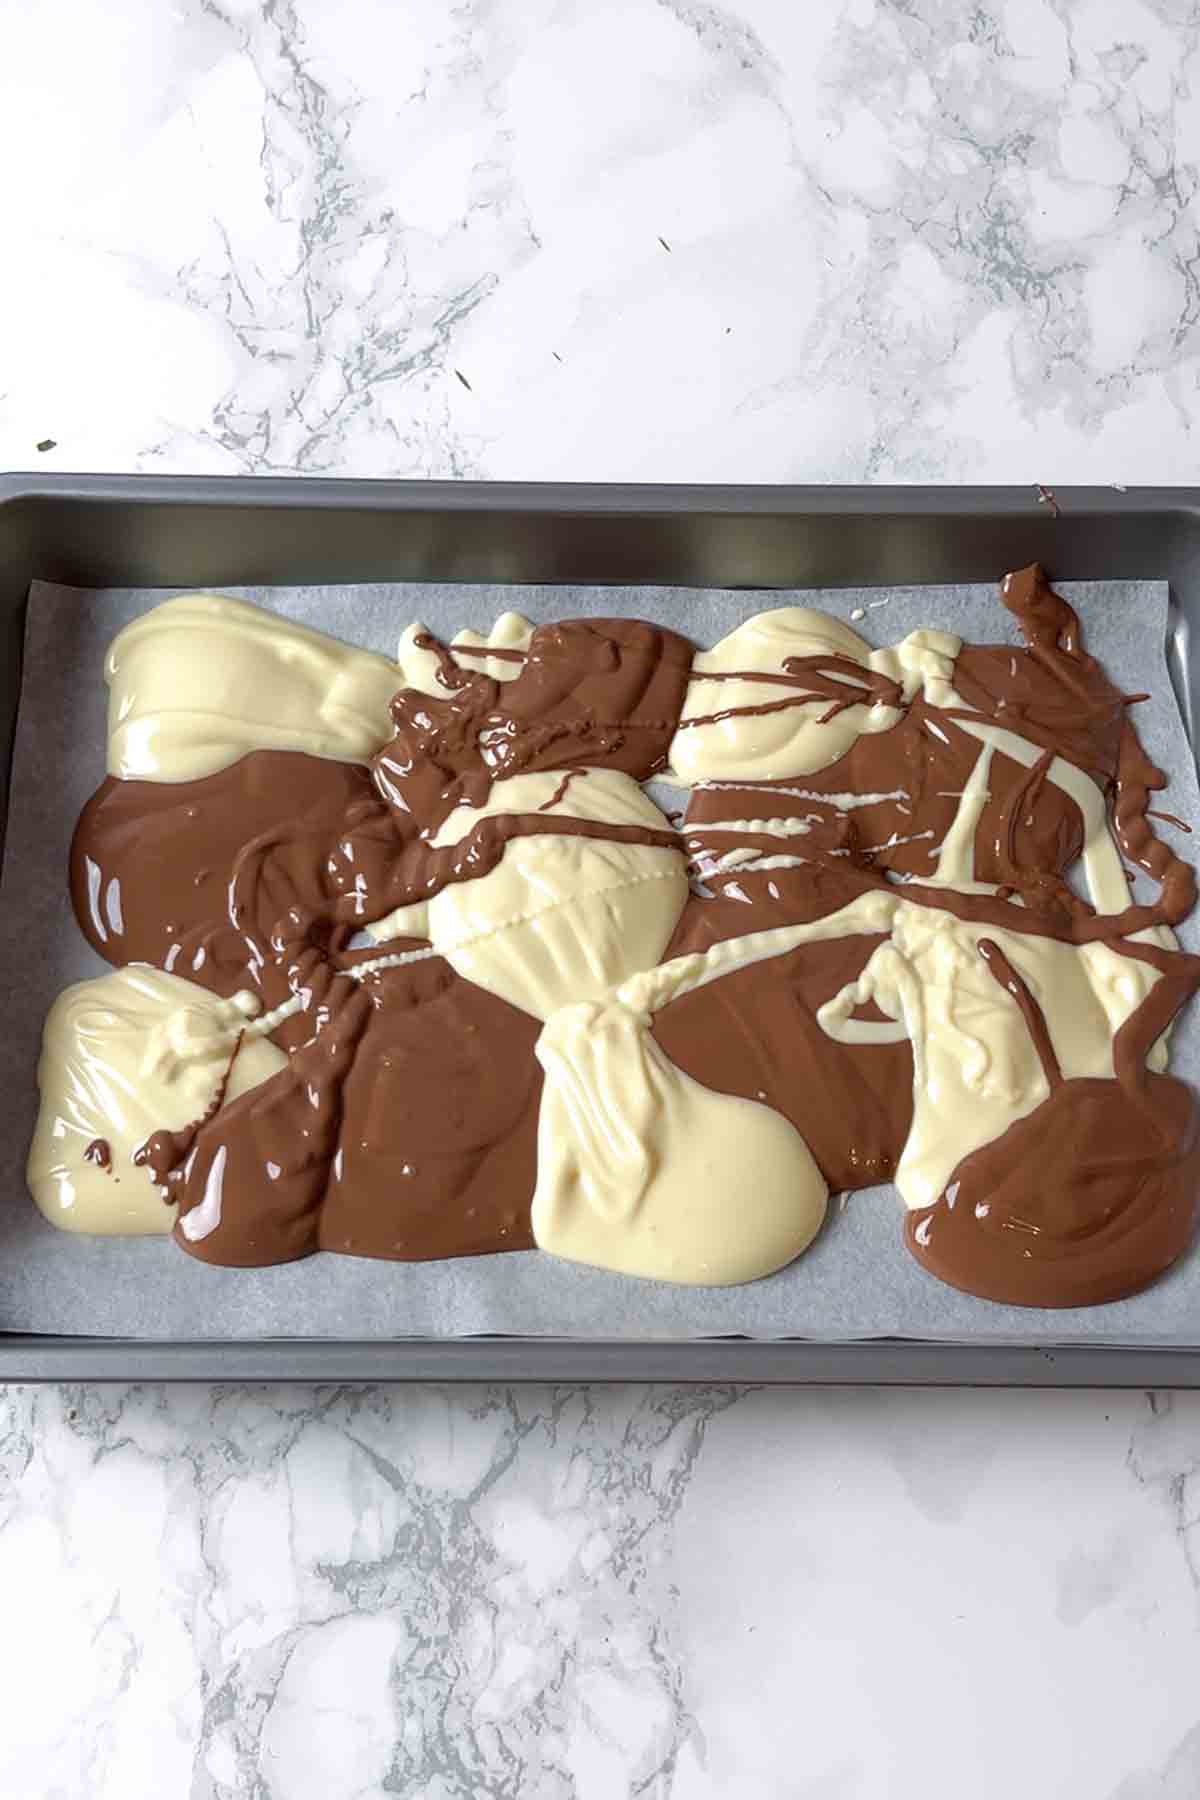
Step 4: Drag a toothpick or skewer up and down the tray to combine the two types of chocolate and create a marble pattern.
Step 5: Top with sprinkles if using. You can also use any other topping that you like.

Step 6: Let the bark set at room temperature (or pop it in the fridge if you're pinched for time). Once it's fully set, break or cut it up into pieces and enjoy!
Top tips
- If you want your bark to be thicker, use an 8x8-inch tin rather than a baking tray. This will stop it from spreading out so much.
- For neater bark pieces, cut it up with a knife rather than breaking it with your hands.
- Use chocolate bars over chocolate chips- the chips tend to seize more easily and don't melt as nicely as the bars.
Topping ideas
Aside from sprinkles or cake decorations, you can also use any of the following things to top your bark...
- Dried fruit such as apricots or raisins
- Mini marshmallows
- Chocolate chips
- Candies such as M&Ms, Twix pieces or honeycomb
FAQ
If you store it in an airtight container in the fridge, it'll last for up to 1 month. It can also be stored in a cool, dry place such as a kitchen cupboard. Note that some toppings such as pretzels or popcorn can go soft quite fast if they're not covered with the chocolate.
Yes. You can freeze pieces on a baking sheet until they're solid then pop them into airtight containers or freezer bags. This will stop them from sticking together as they freeze. Alternatively, you can wrap the whole slab tightly in clingfilm. To defrost it, just let it sit out at room temperature for an hour or two.
Yes! If you prefer a richer flavour, you can swap the milk chocolate out for equal amounts of milk chocolate.

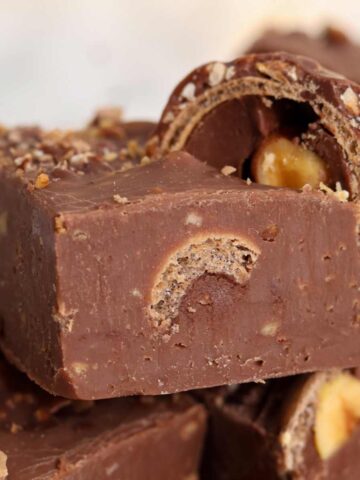
More chocolate bark recipes:
- Chocolate walnut bark
- White chocolate peanut butter bark
- Milk chocolate pecan bark
- M&M chocolate bark
- White chocolate pretzel bark
- White Christmas bark
I hope you have fun making this marble chocolate bark at home. Make sure to leave a rating and comment below to let me know what you think. Enjoy!
Marble Chocolate Bark
Ingredients
- 200 g Milk chocolate (7oz)
- 200 g White chocolate (7oz)
- Few Tablespoons Cake sprinkles (optional) I used white chocolate star sprinkles
Instructions
- Line a baking tray with baking paper. If you like your bark on the thicker side, use an 8x8-inch tin to prevent it from spreading too much.
- Melt the milk chocolate in one heatproof bowl and the white chocolate in another.
- Add a spoonful of the melted milk chocolate to your lined tin then a spoonful of the melted white chocolate beside it. Repeat until all of the chocolate is used up.
- Use a toothpick to blend the spoonfuls of chocolate together, creating a marbled pattern.
- Top with sprinkles if using.
- Let your marble bark sit out at room temperature or pop it in the fridge for a couple of hours, until the chocolate is fully set. Then break or cut it into pieces and enjoy!
Video
Notes
- Store in an airtight container in the fridge for up to 4 weeks.
Leave a Reply