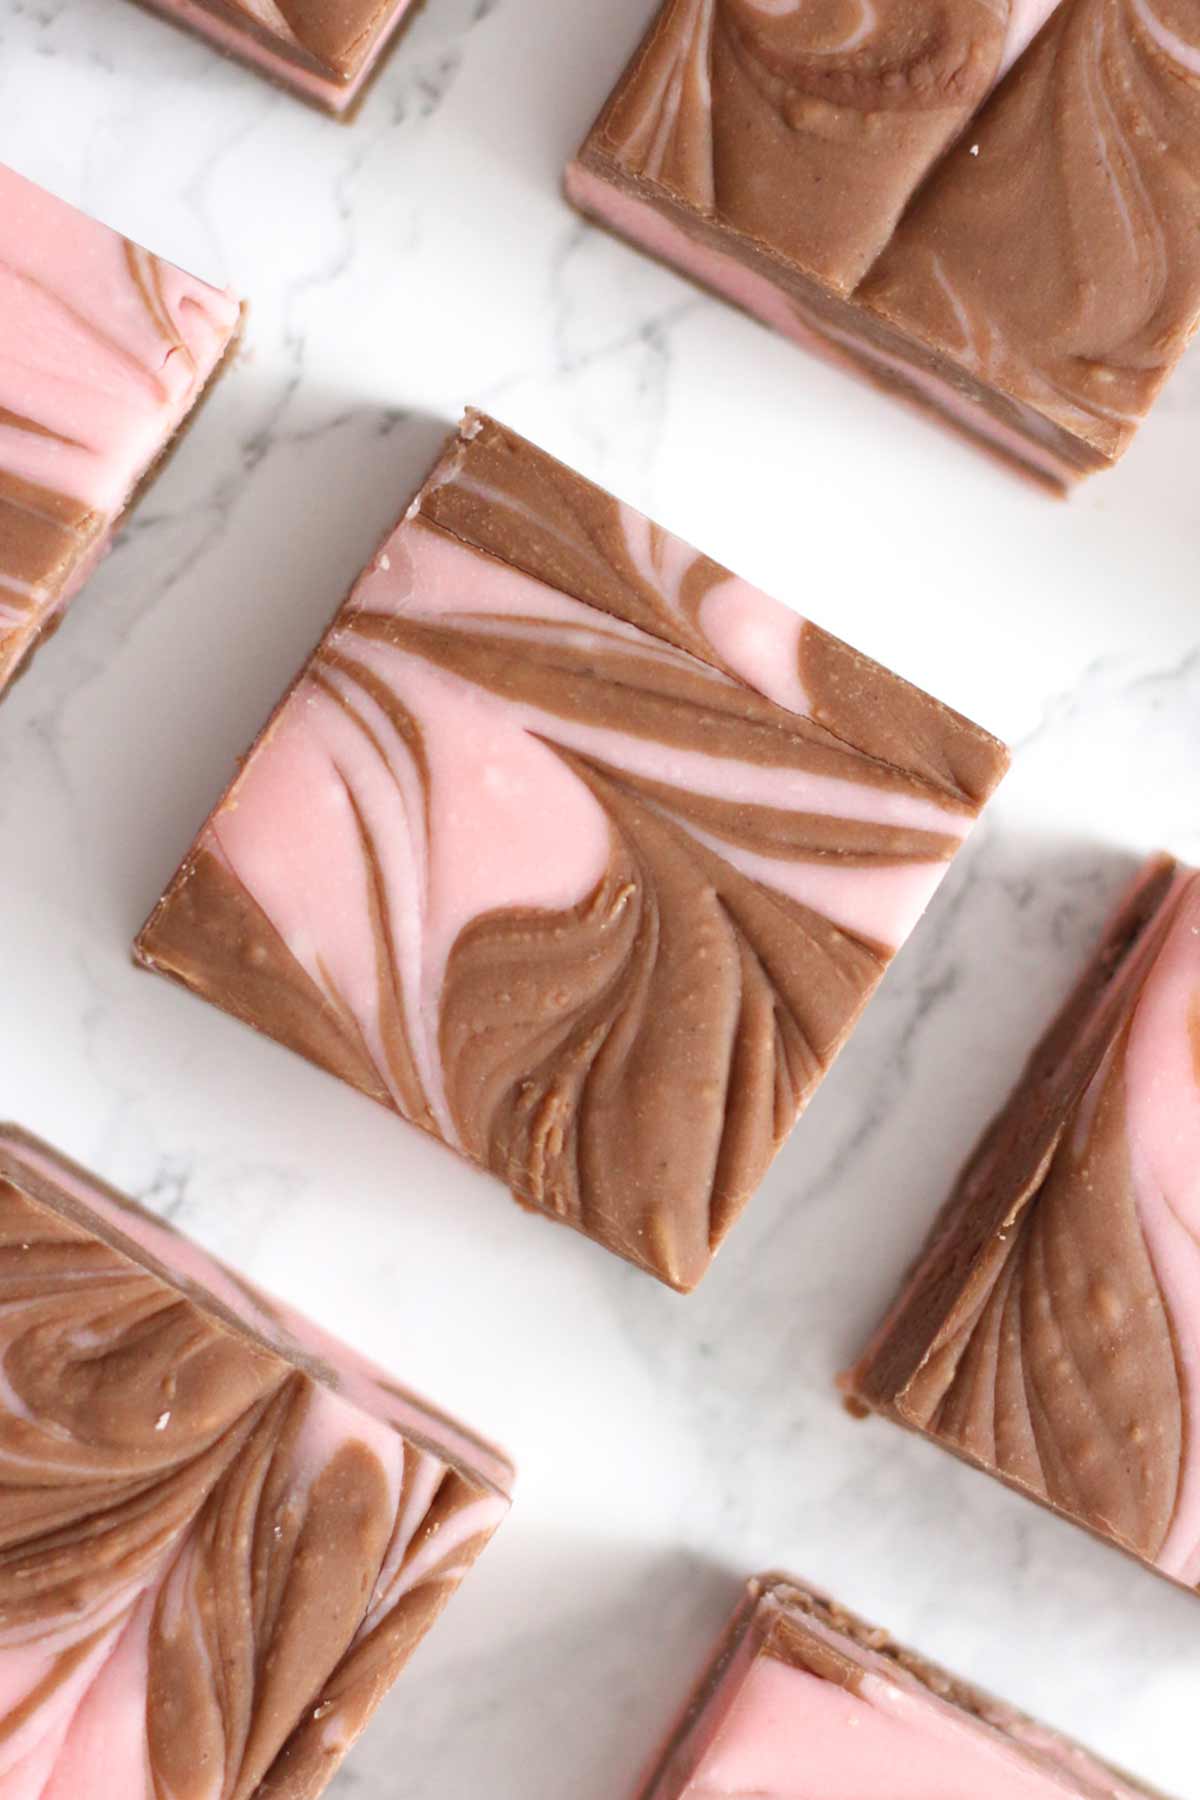
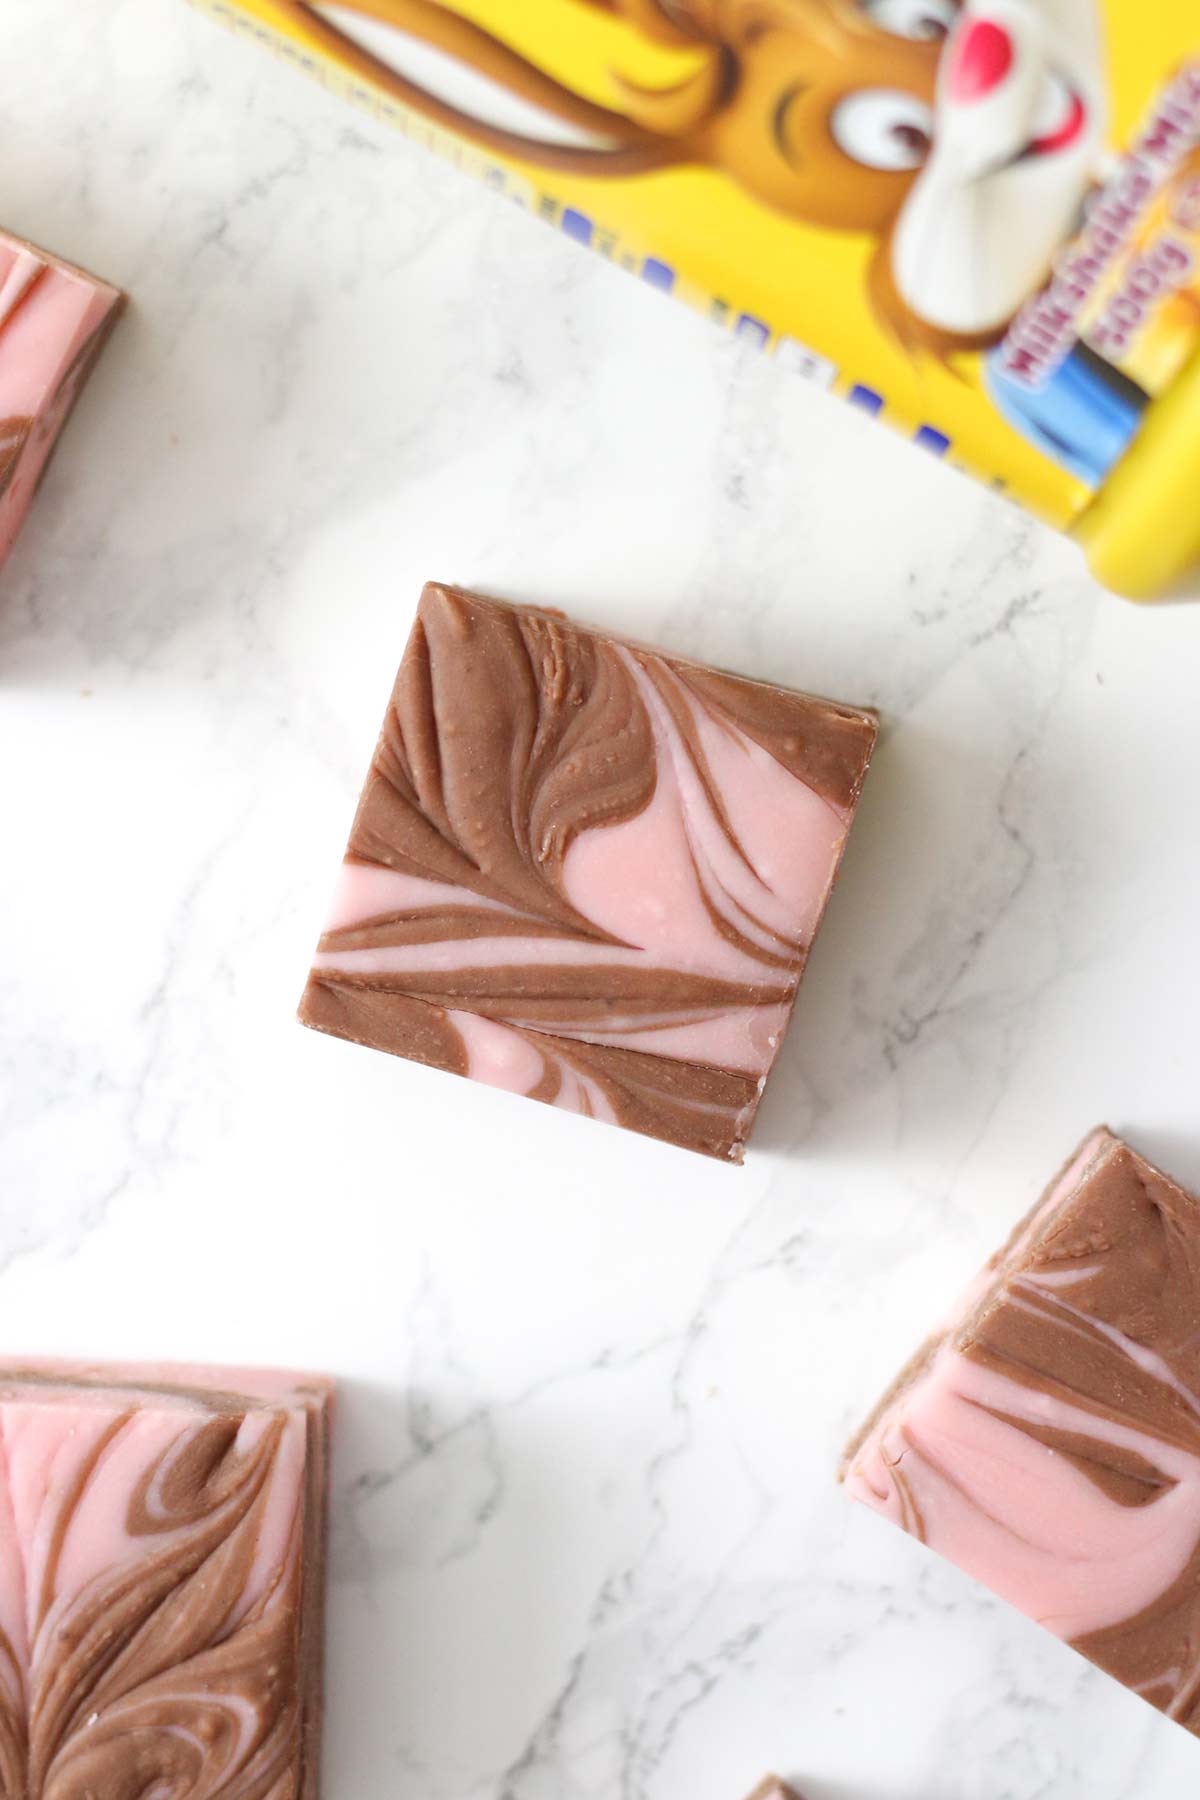
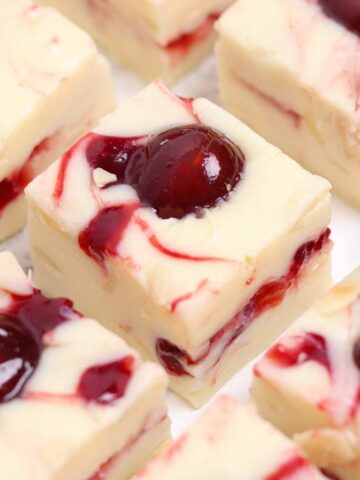
This chocolate and strawberry Nesquik fudge is super easy to make and packed full of nostalgic flavours. It's great for sharing and so good that you'll want to make it again and again.
This post is a collaboration with Nesquik. They asked me to whip up something tasty using their iconic milkshake powder and obviously, I didn't need much convincing! As always, I only share products I genuinely love and think you will too. I hope you enjoy the recipe!
Ingredients
Here's everything you will need to make this swirly Nesquik fudge:
- White chocolate: White chocolate makes up the base of this condensed milk fudge and you'll need 500g of it. Most types of chocolate will work well- you can even use white chocolate buttons if you like.
- Condensed milk: Using condensed milk in your fudge means you don't need to worry about messing around with candy thermometers, making it great for beginners. Just make sure to use sweetened condensed milk and not evaporated milk as they are not the same thing! Learn about the difference here.
- Nesquik powder: You'll need 6 tablespoons of both strawberry and chocolate Nesquik powder to make this recipe. These give the fudge that iconic milkshake flavour with minimal effort. The two flavours taste SO good when swirled together!
- Boiling water: We'll mix this in with the Nesquik powders to create a paste that's easier to mix into the fudge. This helps to prevent any grittiness or lumps.
Equipment
- 8x8-inch tin: This is the best tin size to use as it'll give you decently thick slices of milkshake fudge while still serving 36. If you prefer to use a smaller or larger tin, you can use my cake pan converter tool to adjust the ingredient quantities too.
- Baking paper: To line the tin. If you leave a little bit hanging over each edge, it'll be super easy to just lift the fudge out once it's set.
- Saucepan: For melting the chocolate and condensed milk together. If you prefer to use the microwave, you can do this in a heatproof bowl but don't forget to take it out and stir it every 20 seconds or so to prevent burning.
- Mixing bowls: You'll need two small ones to make the chocolate and strawberry Nesquik pastes, plus two medium-sized ones to mix them in with the fudge.
- Utensils: You'll need a wooden spoon, a couple of smaller spoons, a toothpick and a sharp knife.
How to make Chocolate Strawberry Nesquik Fudge
If you prefer a condensed, printable version of the recipe, you can jump to the recipe card.
Step 1: Line an 8x8-inch tin with baking paper. Set it aside for now, ready for your milkshake fudge mixture to go into.
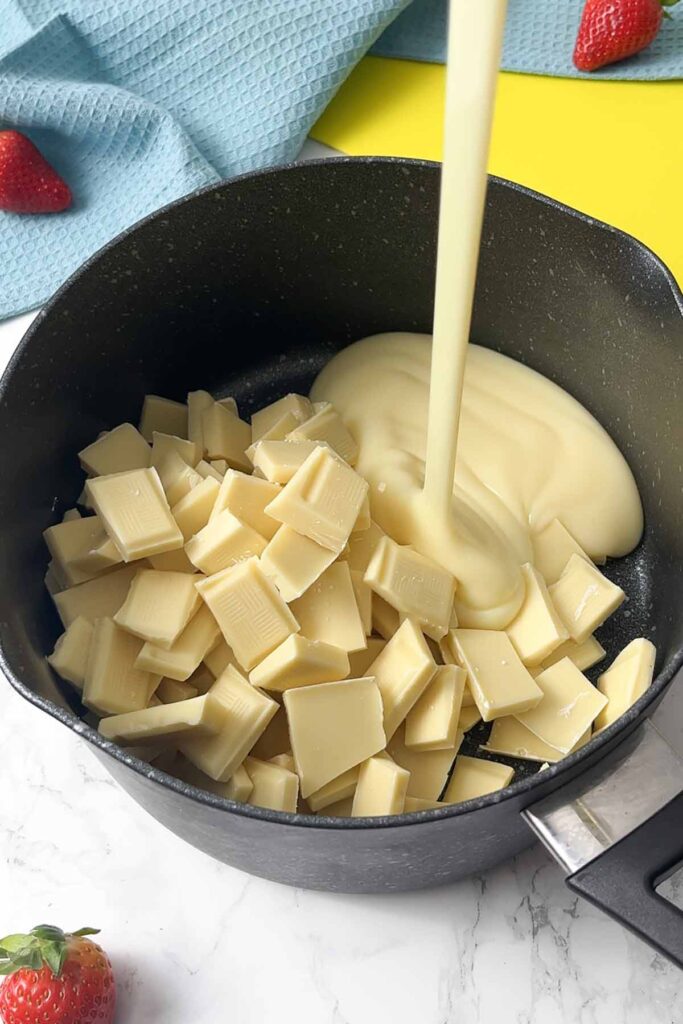
Step 2: Break 500g of white chocolate into segments then pop it into a saucepan along with 300ml of condensed milk. Place it over low heat on the stove and stir occasionally until the chocolate is fully melted.
Step 3: While the chocolate is melting, prepare your Nesquik milkshake pastes. Place 6 tablespoons of strawberry Nesquik into a small bowl then stir in 1 tablespoon of boiling water. Then repeat with 6 tablespoons of chocolate Nesquik powder. You can add an extra small splash of water to help it come together if you need to.

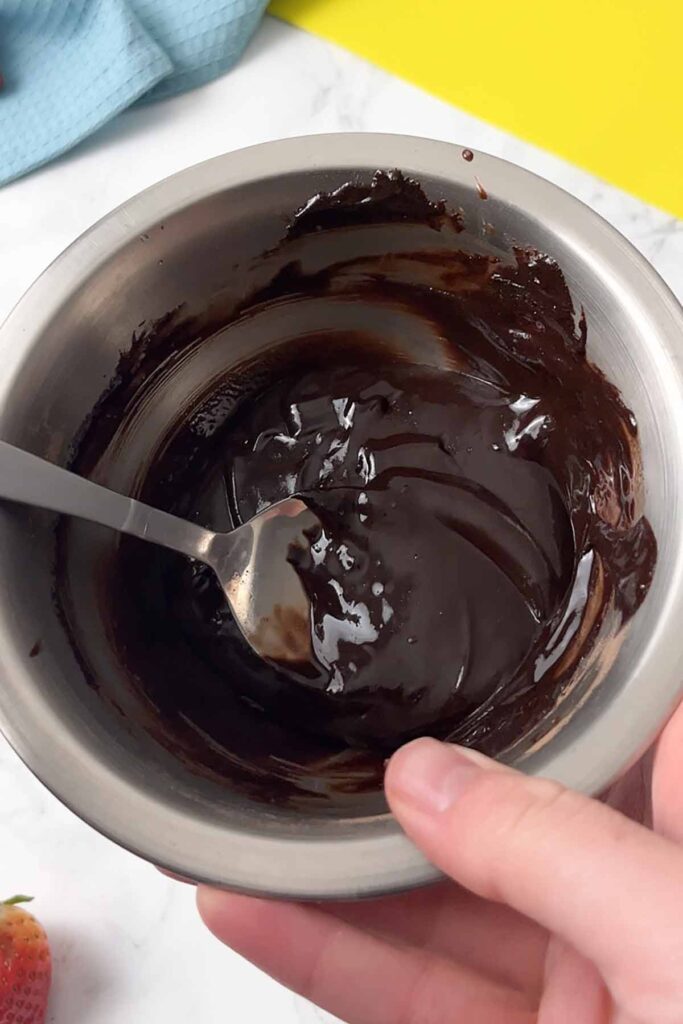
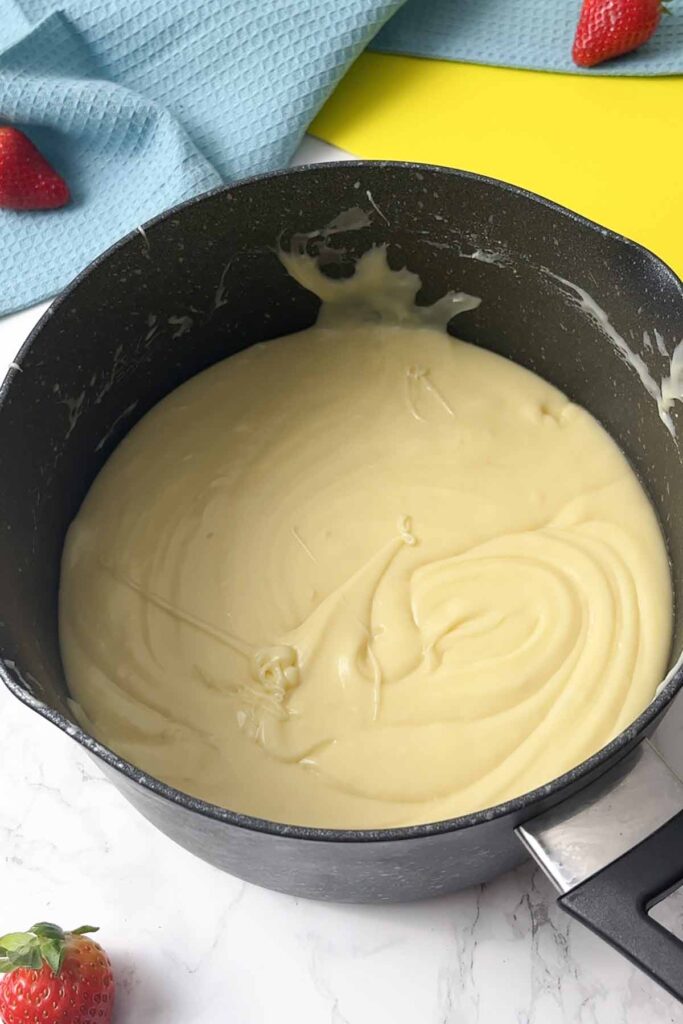
Step 4: Once the white chocolate mixture has melted, it should look thick and glossy. Remove it from the heat and divide it into two separate bowls.
Step 5: Stir the strawberry Nesquik paste into one bowl and the chocolate Nesquik paste into the other. Make sure to mix well so there are no white streaks left in there.

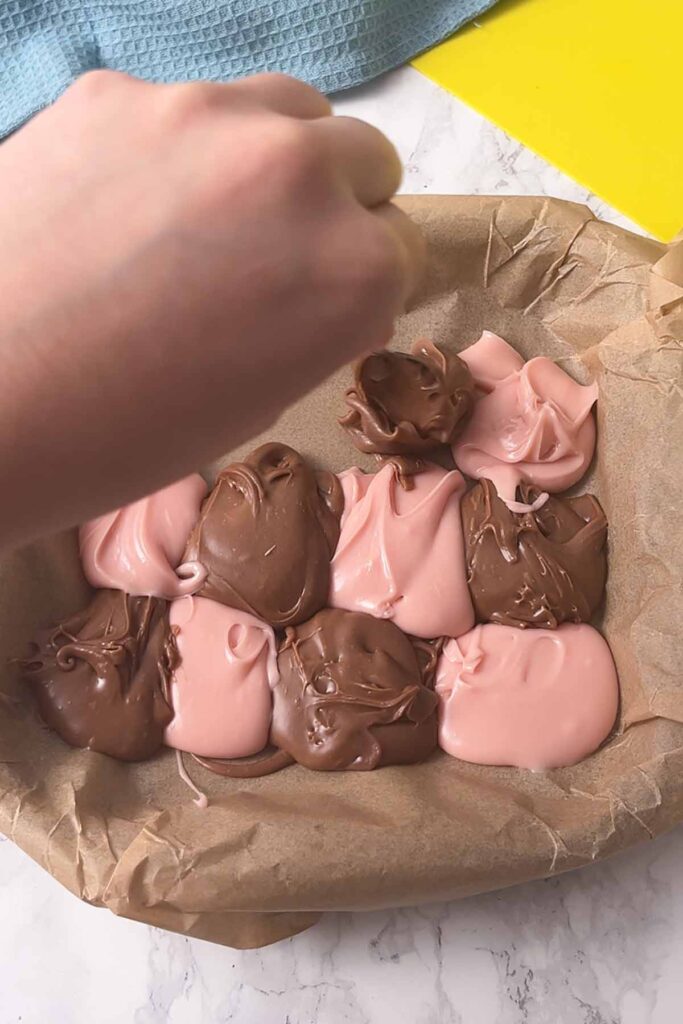
Step 6: Place spoonfuls of the mixture into your lined tin. You can alternate chocolate and strawberry like I did or you can just add random blobs as you please to make it look more unique.
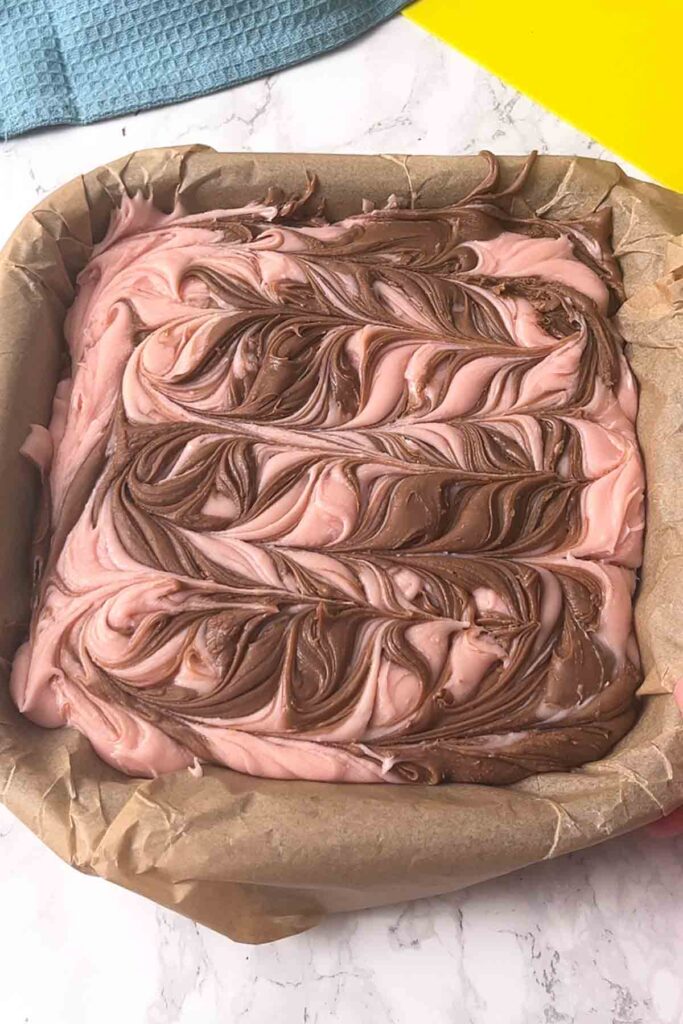
Step 7: Once all of the fudge mixture is used up, use a toothpick to swirl the colours together into a marbled pattern.
Step 8: Let the fudge cool to room temperature then pop it into the fridge for 2-3 hours until firm. If it's not setting, see this post: Why Won't My Condensed Milk Fudge Set?
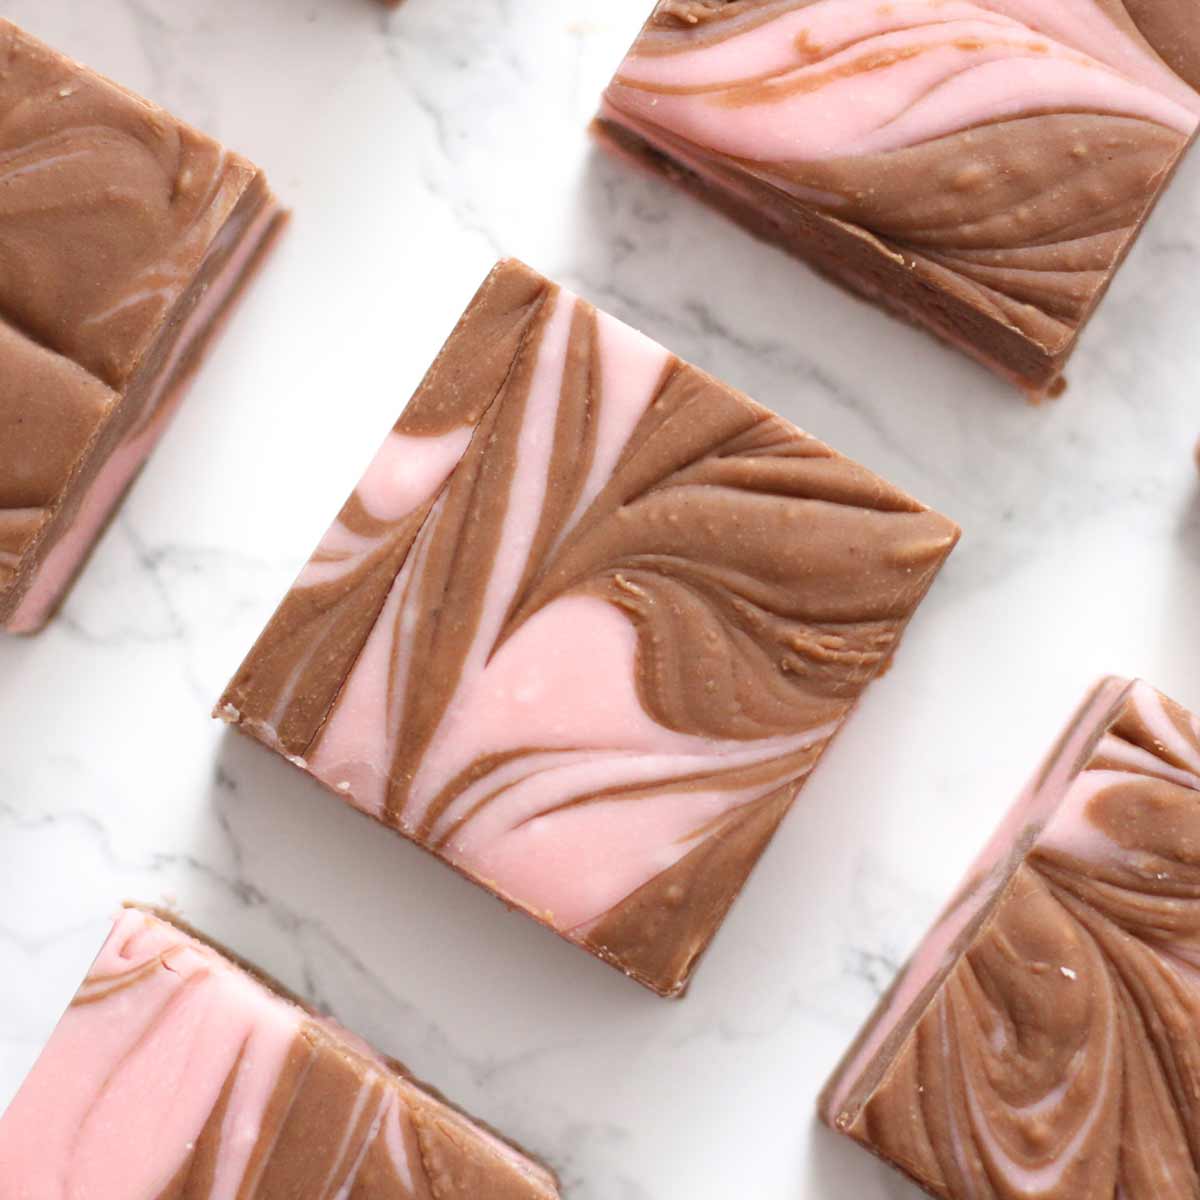
Step 9: Remove it from the tin, cut it into 36 squares and enjoy!
Top tips
- Keep the heat low while melting the chocolate and condensed milk together. White chocolate can be quite finicky and is more prone to burning and seizing.
- If the fudge is starting to harden while you're putting spoonfuls into the tin, you can microwave it in the bowl for 10 seconds or so to make it smooth again.
- For a more vibrant colour, you can add a few drops of pink food colouring to the strawberry milkshake fudge. Gel food colouring will work best.
- Use a warm knife to get super neat slices. You can warm your knife up by running it under water and then drying it thoroughly with a dishcloth. Rinse and repeat in between slices.
FAQs
If you keep it in an airtight container in the fridge, this will last for up to 2 weeks. It's great for prepping in advance so you can enjoy a small treat here and there throughout the week without any extra effort.
Yes, for up to 3 months. You can either wrap the whole slab of fudge tightly in cling film or you can freeze individual slices in an airtight container. You can also freeze slices on a baking tray until they're solid then transfer them to a freezer bag. To defrost, either place it in the fridge overnight or let it sit out at room temperature for an hour or two. Do not refreeze.
You can find it in Tesco, Sainsbury's, Asda, Morrison's, Iceland and even online from Ocado. In my local stores, I can usually find it beside the lunchbox-style kids' drinks.

I hope you like my chocolate strawberry Nesquik fudge recipe- don't forget to check out my Strawberry Nesquik cookies too! Enjoy!
Chocolate Strawberry Nesquik Fudge
Ingredients
- 500 g White chocolate
- 300 g Condensed milk
- 6 Tablespoons Nesquik Strawberry powder
- 6 Tablespoons Nesquik Chocolate powder
- 2 Tablespoons Boiling water
Instructions
- Line an 8x8-inch tin with baking paper.
- Break the white chocolate into segments and place it into a saucepan with the condensed milk.
- Place the saucepan over low heat and stir gently until the chocolate has melted and the mixture is thick.
- While the chocolate is melting, mix the strawberry Nesquik powder with 1 tablespoon of boiling water to make a paste. Then repeat for the chocolate Nesquik powder.
- When the fudge mixture is fully melted, remove it from the heat and divide it into two bowls. Stir the strawberry paste into one and the chocolate paste into the other.
- Place spoonfuls of the strawberry and chocolate fudge mixture into your lined tin, alternating between flavours as you go, then swirl them together using a toothpick.
- Refrigerate the fudge for 2-3 hours until firm, cut into 36 squares and enjoy!
Video
Notes
- Store in an airtight container in the refrigerator for up to 2 weeks.

Leave a Reply