These marshmallow Rice Krispie cakes are quick and easy to make and lots of fun for kids to help with. They're made with just 3 simple ingredients and you don't even need to switch your oven on!
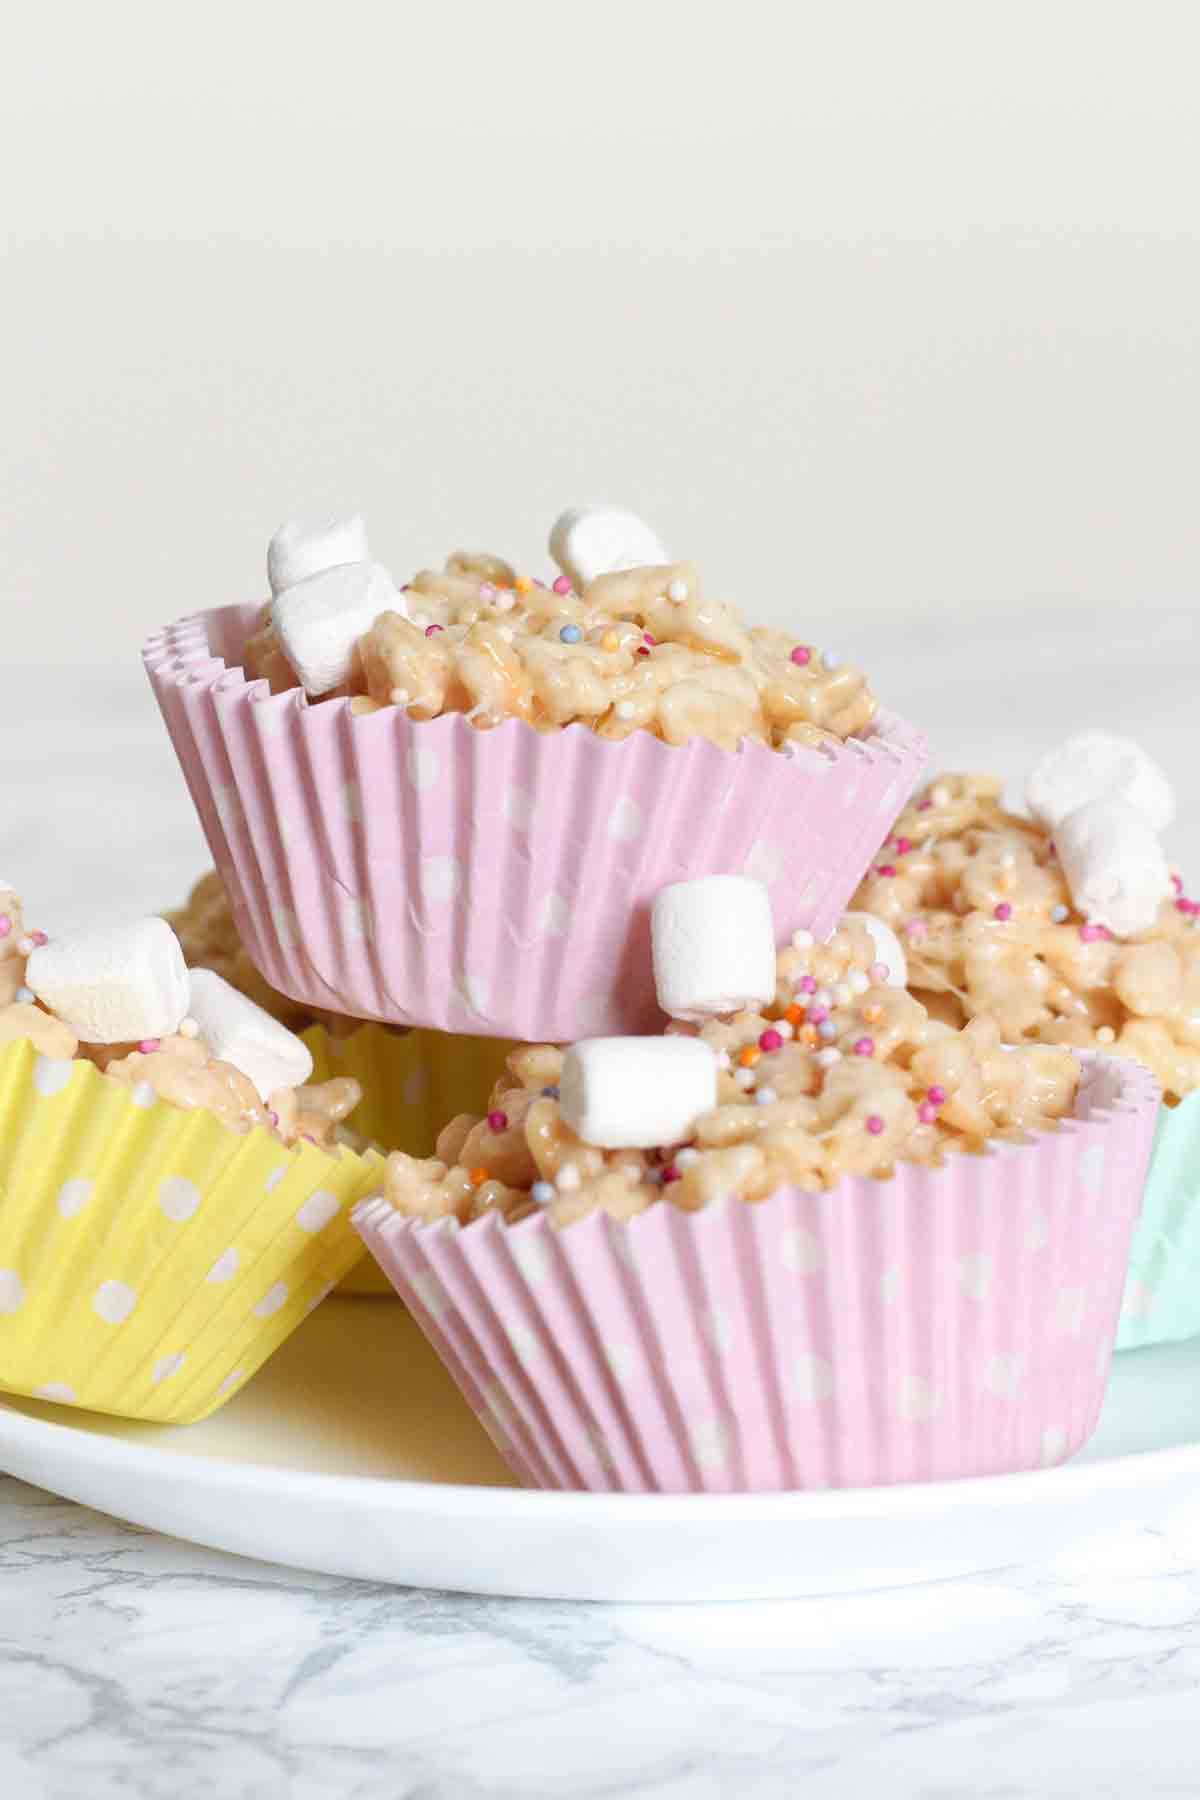
If you've been looking for a kid-friendly dessert that's easy to make with minimal ingredients, these crispy marshmallow cakes are just the thing! They're just like Rice Krispie treats but they're individually packaged, making them perfect for taking along to birthday parties and other special events.
If you've never made these before, don't worry! I've written plenty of information below to help you get them right on the first try. This post contains ingredient and equipment notes, top tips, step-by-step photos and answers to some commonly asked questions. I hope you find it helpful.
If you're a no-bake pro and want to skip straight to the condensed version of the recipe, you can find it in the recipe card at the end of the post. Enjoy!
Ingredients
- Butter: This stops the melted marshmallows from sticking to your pan and it also gives the cakes a richer flavour. You can use unsalted or salted, whichever you prefer.
- Marshmallows: Use the mini ones to ensure they melt evenly. You'll need 125g of them.
- Rice Krispies: Or any other crispy rice cereal that you like. You could try Coco Pops for a chocolate version.
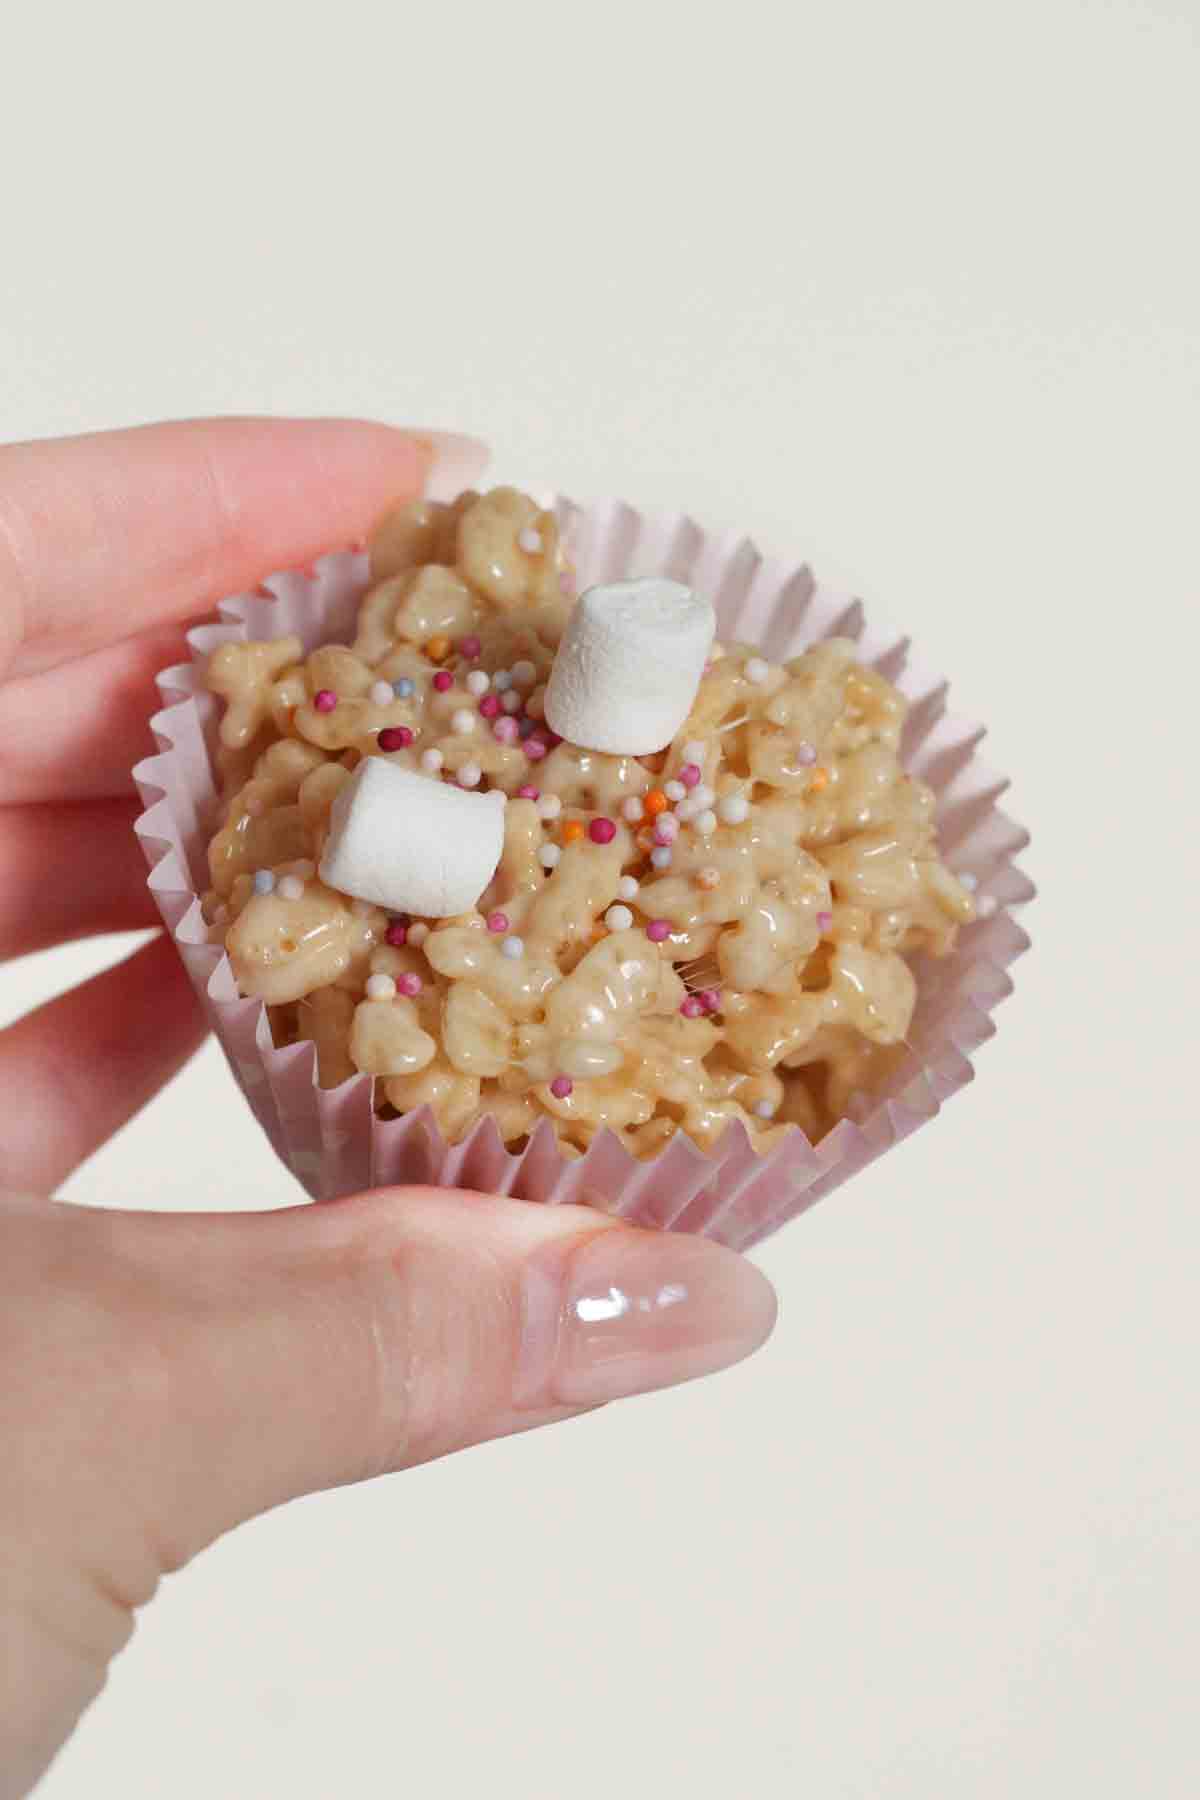
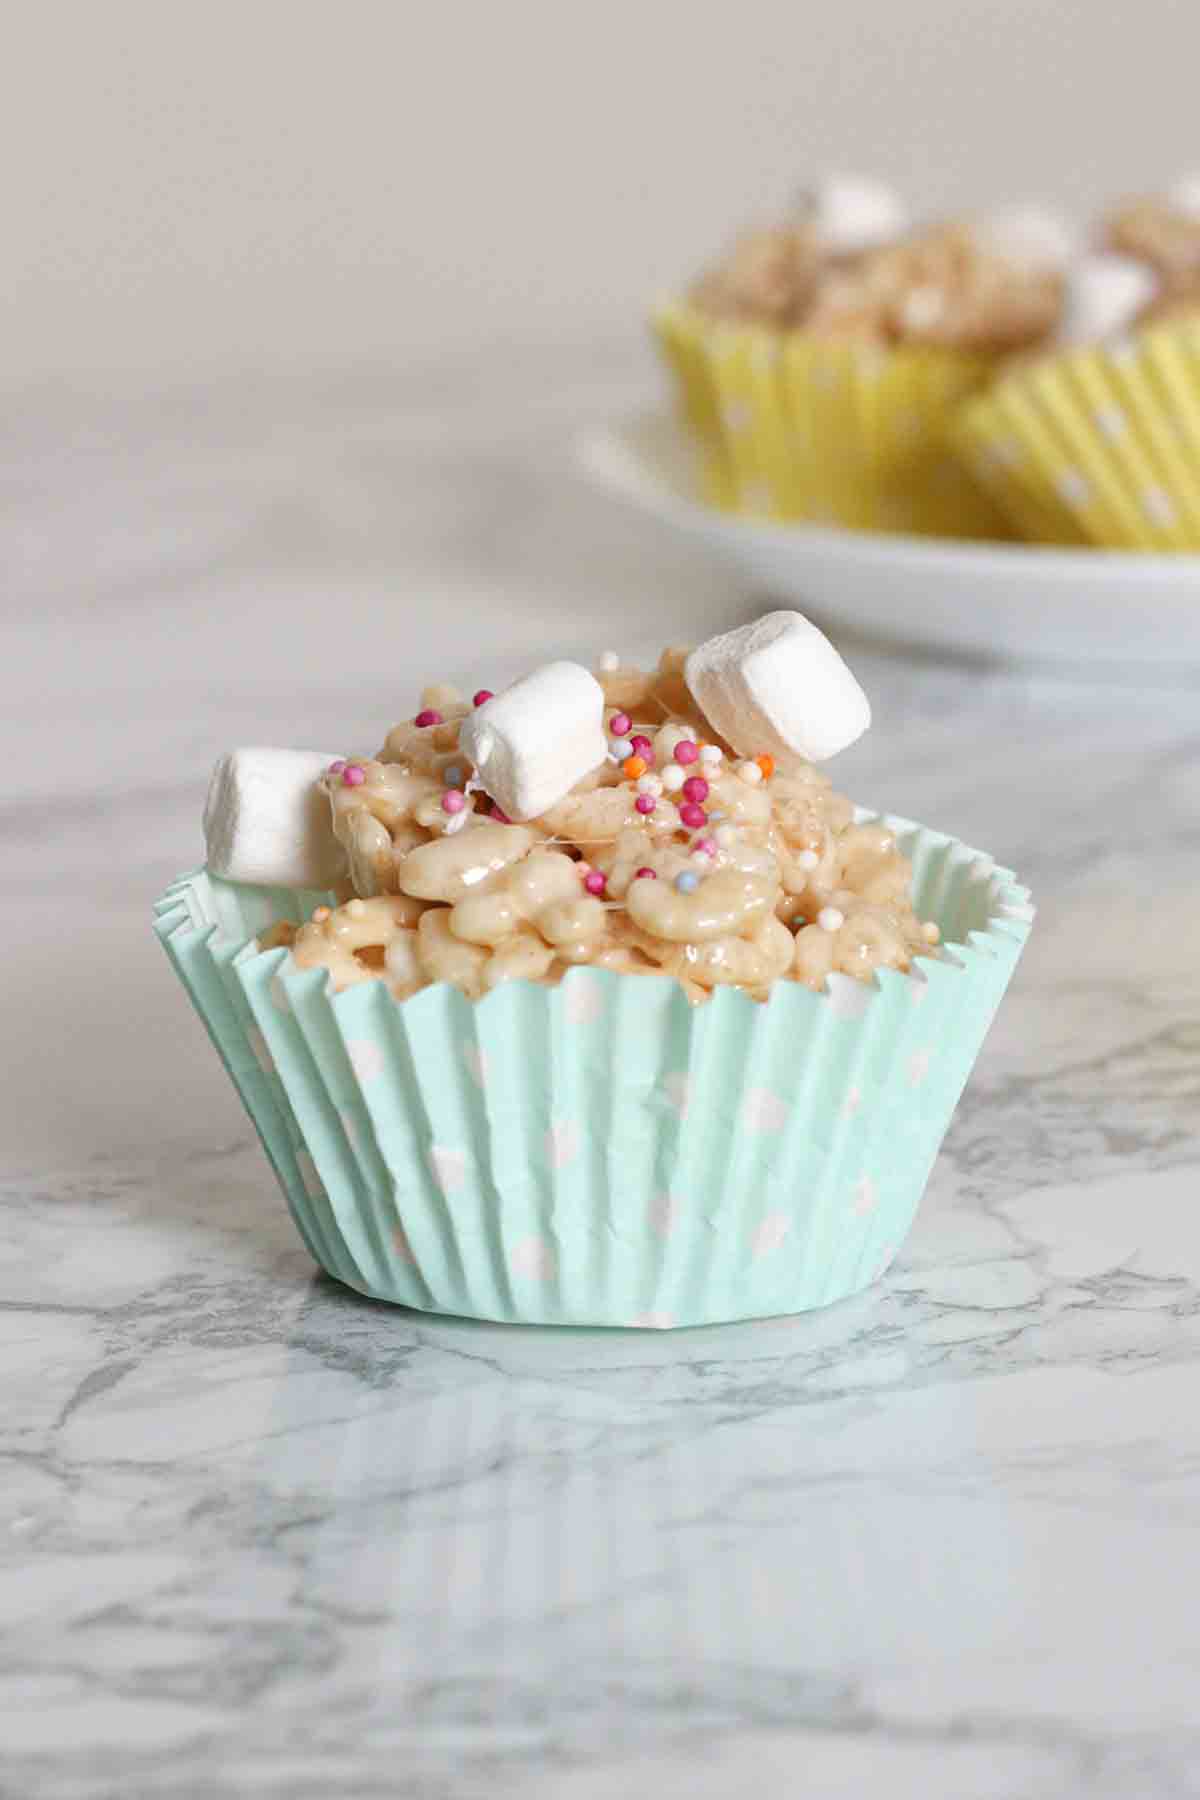
- Sprinkles or other cake decorations: I used hundreds and thousands and some extra mini marshmallows to decorate my cakes. Feel free to get creative!
Equipment you'll need
- Food scale: I recommend using a scale to weigh out your ingredients (rather than using cups) because inaccurate measuring can lead to either dry or soggy marshmallow crispy cakes.
- Saucepan: To melt the butter and marshmallows in.
- Wooden spoon: To mix the Rice Krispies into the buttery marshmallow mixture.
- Muffin tin: You can use a regular cupcake tin if you like but a deeper muffin tin will help these cakes to hold their shape.
- Cupcake cases: You'll need 6 regular-sized cupcake cases for this recipe. The spotty ones I used in the photos were from Tesco.
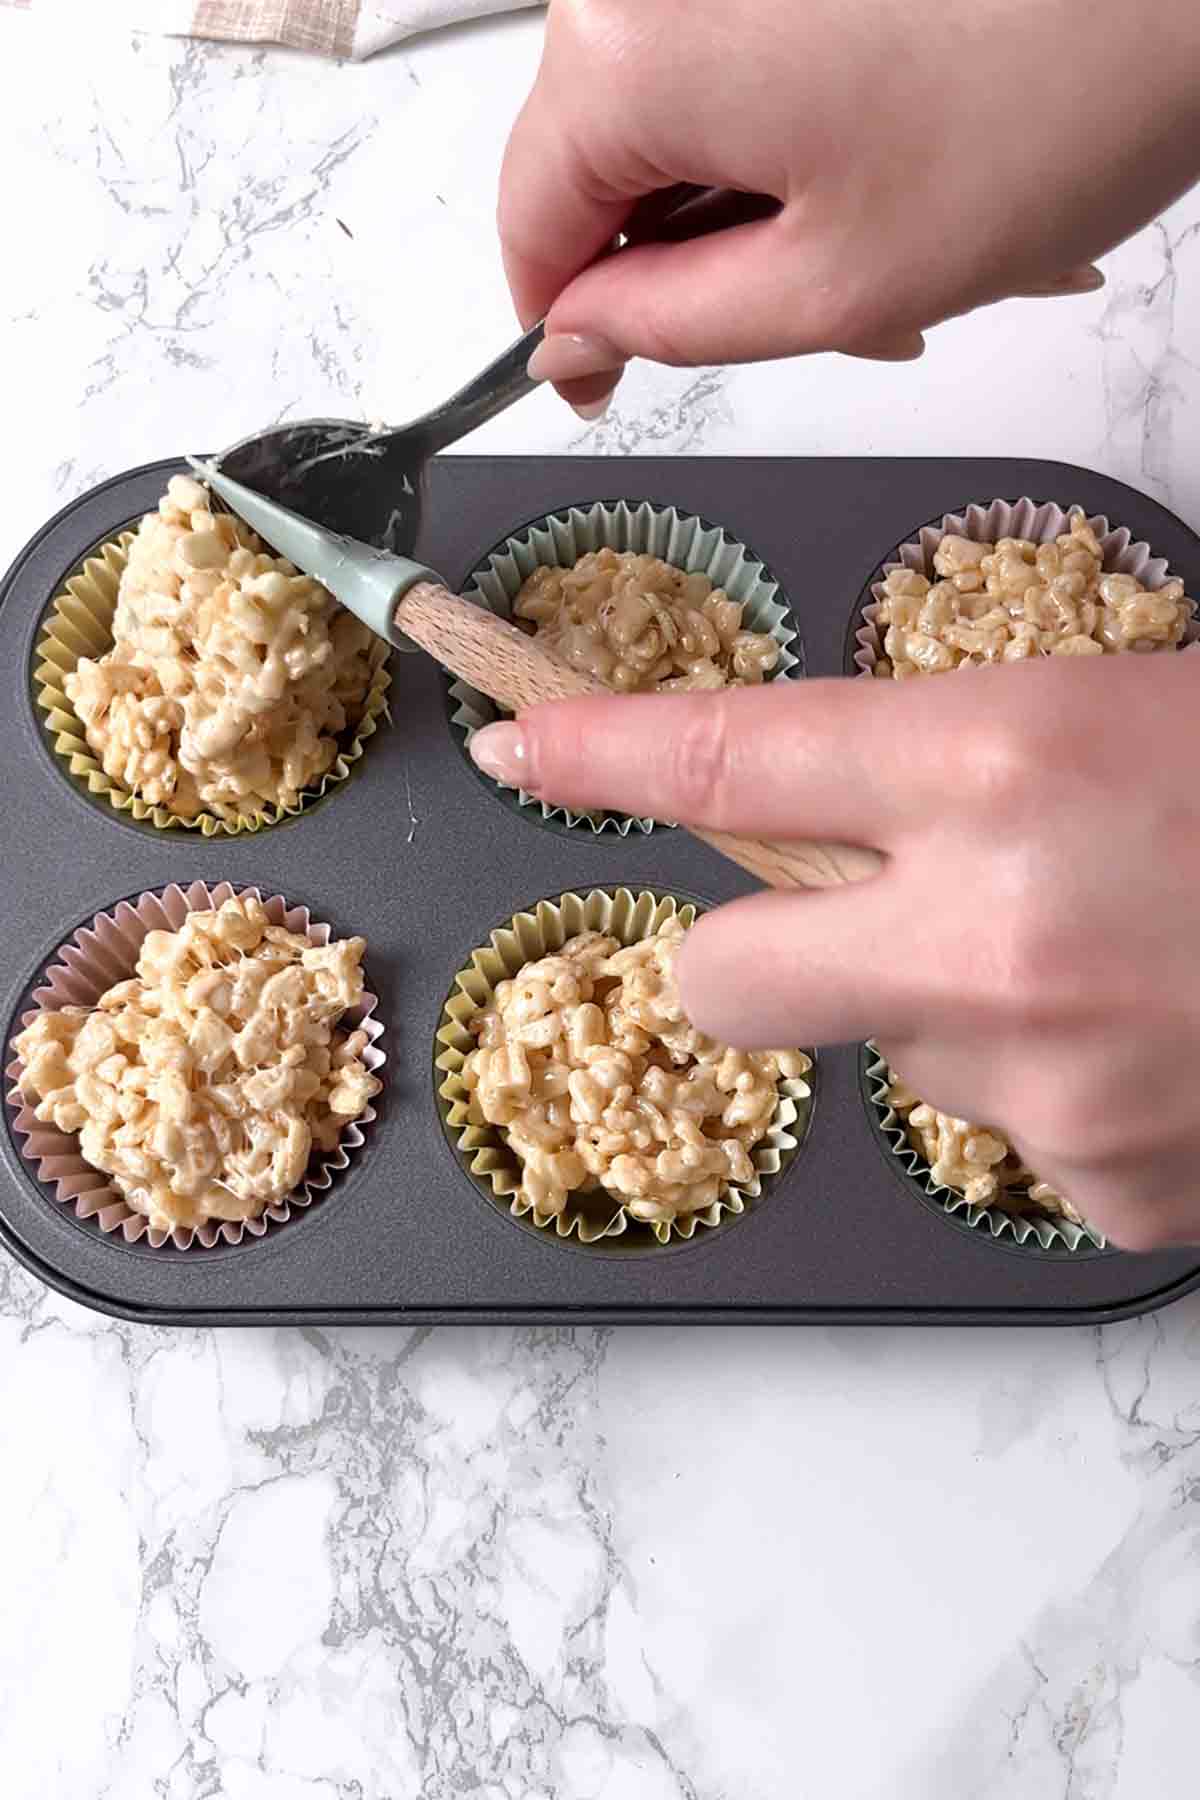
- Small rubber spatula: This will make it easier for you to divide the mixture between your cupcake cases. If you don't have one, you can lightly spray a tablespoon with a neutral-flavoured cooking spray to stop it from sticking.
How to make marshmallow Rice Krispie cakes
Step 1: First, start by lining a muffin or cupcake tin with 6 paper cupcake cases. Set aside for now.
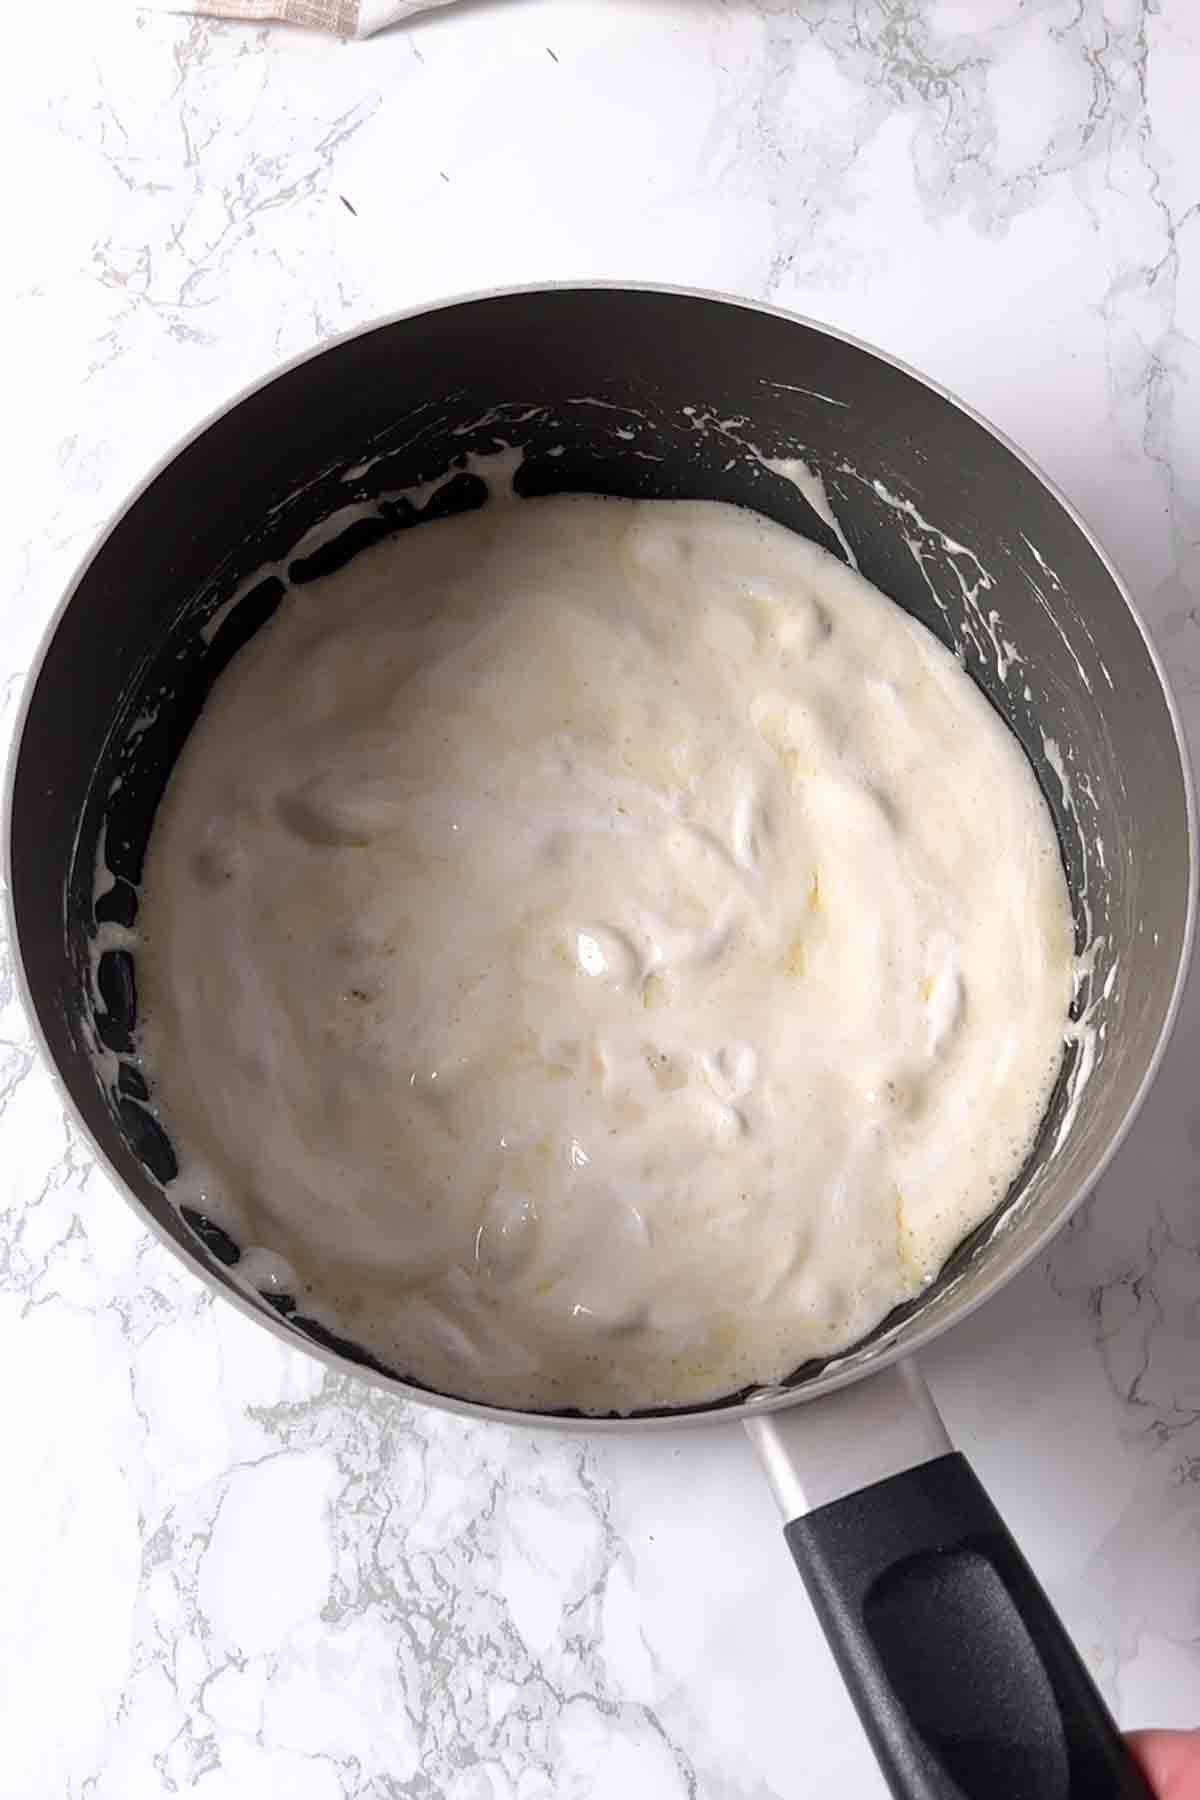
Step 2: Next, measure out 20g of butter and add it to a saucepan. Place the saucepan over low heat on the stove and stir until it's melted.
Step 3: Add 125g of mini marshmallows to the saucepan and mix them into the melted butter. Stir gently over low heat until the marshmallows have melted.
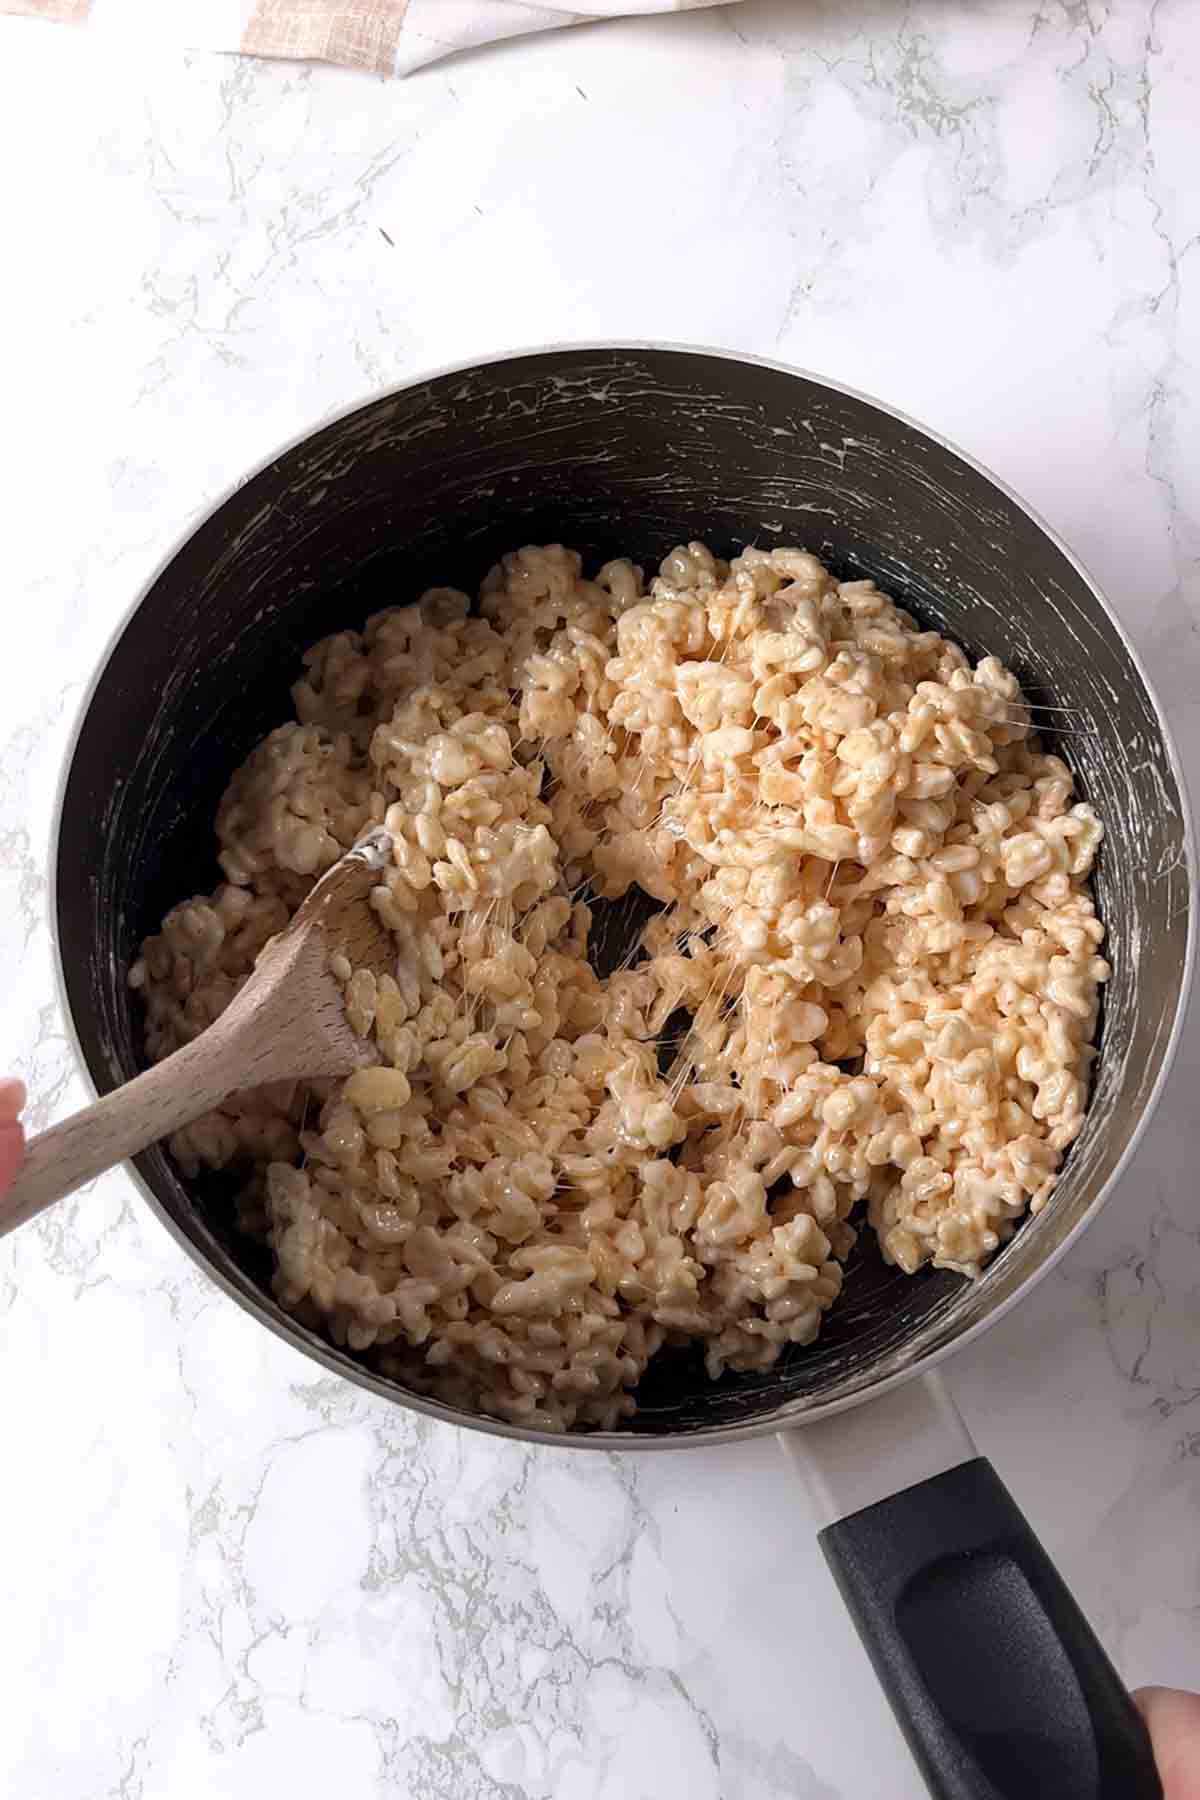
Step 4: Remove the saucepan from the heat and quickly add 50g of Rice Krispies. Mix well until all of the cereal is evenly coated with the marshmallow mixture.
Step 5: Working quickly, divide the mixture equally between your cupcake cases and gently pat it down into place.
Step 6: Top the cakes with sprinkles or any other toppings that you like. You could even drizzle them with melted chocolate if you're feeling fancy!
Step 7: Leave your marshmallow cakes at room temperature for around an hour or so to set then simply unwrap them and enjoy!
Top tips
- Work quickly as the mixture will start to set quite fast after you remove it from the heat, making it difficult to divide the mixture between the cupcake cases. If you'd like to make a lot of them, I'd recommend doing so in batches of 6 for this reason.
- If you like your marshmallow crispy cakes on the more gooey side, use fewer Rice Krispies than the recipe calls for.
- Use mini marshmallows as they melt better than the larger ones. I recommend white ones so the finished product has a nicer colour.
FAQ
These treats will last for up to 1 week if you store them at room temperature, or up to 2 weeks if you store them in the fridge. Make sure that your container is airtight to preserve freshness.
Yes, you can pop them in airtight containers and freeze them for up to 1 month. To defrost them, leave them to sit out at room temperature on a wire rack or plate. Do not refreeze them.
If your mixture is sticking to the spoon too much, I'd recommend using a small silicone spatula to slide it off the spoon and pat it down into your cupcake cakes. Alternatively, lightly spray your spoon with cooking spray before scooping out the mixture. As I mentioned earlier in the post, it's best to make these in batches of 6 to stop the mixture from becoming super sticky too quickly.
Yes, you can use any cereal that you like such as Coco Pops, Cornflakes or even Cheerios! The amount of cereal used won't always be exactly the same so just add them in slowly until you can't fit any more.
I hope you like these Rice Krispie marshmallow cakes! If you make them at home, please leave a comment below to let me know how it goes. Enjoy!
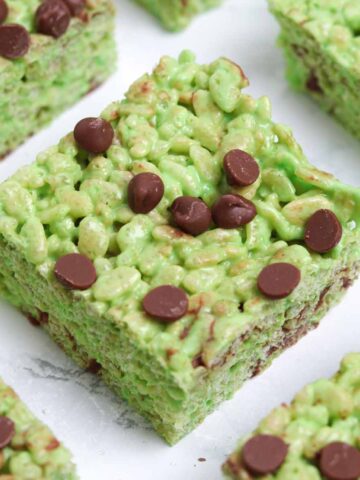
More cereal treats:
- Crispy Mars Bar traybake
- Cornflake rocky road
- Golden syrup Cornflake cakes
- White chocolate Rice Krispie cakes
- Chocolate cornflake cakes

Marshmallow Rice Krispie Cakes
Ingredients
- 20 g Butter (1+½ tablespoons)
- 125 g Mini marshmallows (4.4oz)
- 50 g Rice Krispies (1.7oz)
To top:
- 2 Tablespoons Sprinkles
- Handful Mini marshmallows
Instructions
- Line a muffin or cupcake tin with 6 cupcake cases. If you want to make more, do them in batches of 6 as the mixture sets quite quickly.
- Put the butter into a saucepan and melt it over low heat on the stove.
- Add the mini marshmallows to the saucepan and stir gently until they have fully melted.
- Remove the pan from the heat and add the Rice Krispies. Mix well until they are evenly coated in the marshmallow mixture.
- Working quickly, divide the mixture between your cupcake cases and press them down into place.
- Top with sprinkles and extra mini marshmallows.
- Leave the cakes out at room temperature for 1 hour to fully set then enjoy.
Video
Notes
- If the mixture is sticking to your spoon, lightly spray it with cooking spray or use a small silicone spatula
- Store your marshmallow cakes in an airtight container in the fridge for up to 2 weeks, or at room temperature for up to 1 week.


Leave a Reply