Looking for a fun and festive treat that's both easy to make and super delicious? These Oreo Pinecones are exactly what you need! They're perfect for Christmas or winter-themed parties, and you can make them with only 3 simple ingredients!
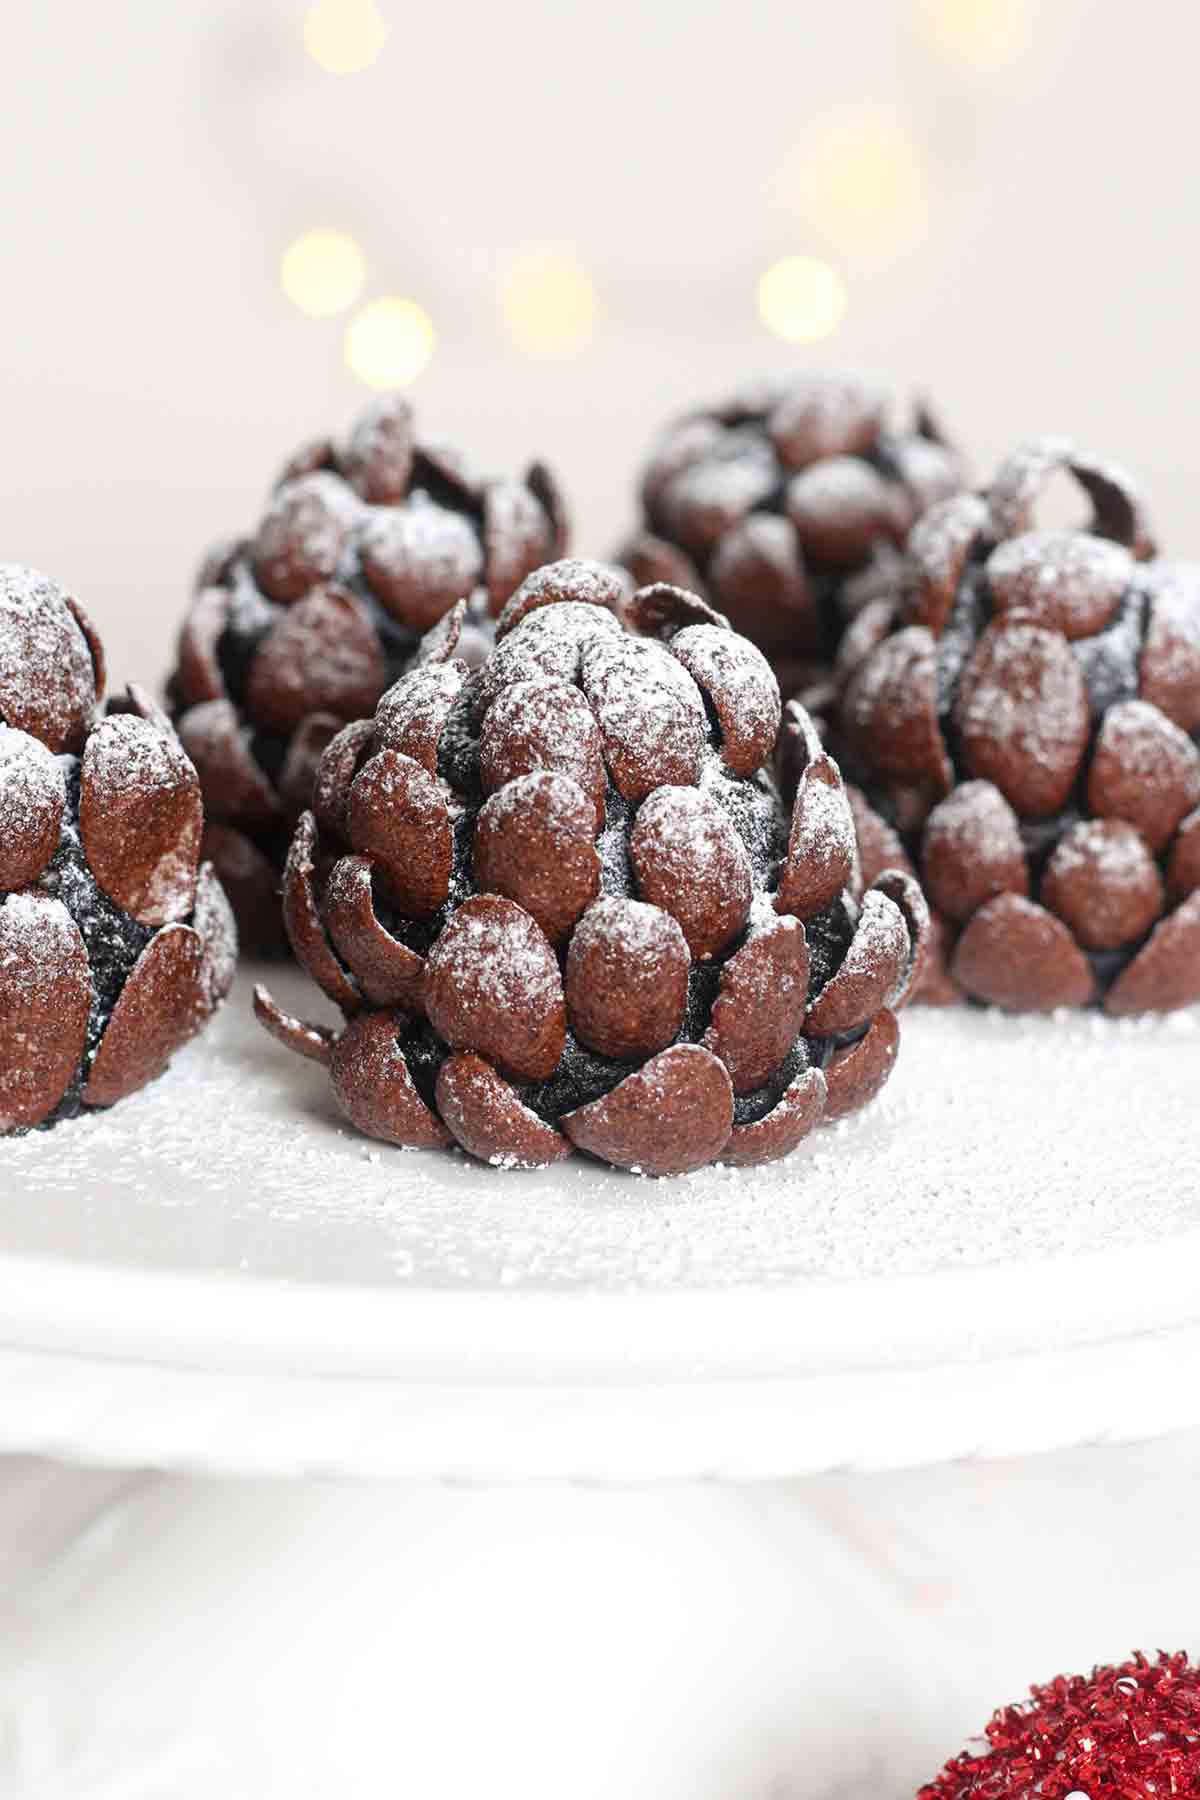
I am utterly obsessed with how these Oreo pinecones turned out! After seeing them all over Pinterest for the last few years, I finally decided to give them a go myself and I was surprised to find out how easy it was to make them look so festive and beautiful. There's no mould required and you'll only need 3 main ingredients to make them. I'd say they're even easy enough for kids to make so this would be a great family activity to do together over the Christmas holidays.
Not only do these look great as edible Christmas decorations, but they also taste absolutely delicious too! They have a rich, chocolatey flavour and the perfect amount of crunch. They're guaranteed to be a hit at parties.
In this post, I'll walk you through everything you need to know about making these edible pinecone truffles, from preparing the Oreo ball mixture to adding the finishing touches. Below you'll find ingredient and equipment notes, step-by-step instructions, top tips and answers to some FAQs. I hope you find it helpful but if you'd prefer the quick, condensed version, you can skip straight to the recipe card at the end of the post. Enjoy!
Here's everything you need...
- Oreos: I used two packs of vanilla Oreos for this recipe but feel free to use a different flavour such as peppermint if you want to make them even more festive.
- Cream Cheese: You'll need 150g of cream cheese to mix in with the Oreos. I'd recommend using full-fat cream cheese straight from the fridge for best results.
- Coco Pops Chocos: Using this shell-like chocolate cereal is the perfect way to transform regular old Oreo balls into fun and festive pinecone truffles. Nequik Choco Waves is another chocolate shell cereal that you can use, but you can also use square-shaped cereal such as Curiously Cinnamon (Cinnamon Grahams), Cinnamon Toast Crunch or Shreddies.
Kitchen tools
You'll only need a few bits of equipment for this recipe:
- Food processor or blender: To crush the Oreos into fine crumbs. If you don't have a food processor or high-powered blender, you can put the Oreos into a plastic bag and crush them with a rolling pin. Make sure there are no big lumps left in the mixture as this may make it difficult to shape your chocolate pinecone truffles without them falling apart.
- Mixing bowl and wooden spoon: To mix the Oreo crumbs and cream cheese together.
- Baking tray or plate: To place the Oreo pinecones on once shaped.
- Baking paper: Lining your tray or plate with baking paper will stop your pinecones from sticking.

How to make chocolate cereal Oreo pinecones
Ready to get started? Let's go!
Step 1: Start by lining a medium-sized tray with baking paper, ready for your edible pinecones to go on.
Step 2: Next, place two packs of Oreos (308g) into a food processor or high-powered blender and crush them into fine crumbs. Run your fingers through them to make sure there are no large chunks left. The finer the crumbs are, the easier it'll be to shape your pinecone truffles.
Step 3: Add 150g of cream cheese to a bowl then mix in your Oreo crumbs. When the mixture is starting to stick, get your hands in there and press it together to make a large ball.

Step 4: Now it's time to shape your pinecones. Divide your mixture into 6 equal-sized pieces and roll each piece into a ball (the mixture will be quite sticky). Then use your fingers to mould each of the balls into a pear shape and place them onto your baking tray. Don't worry if they don't look super neat as this recipe is quite forgiving. The cereal will cover them nicely and they'll look great once they're finished.

Step 5: Grab your Chocos cereal and start pressing pieces into the pinecones, starting at the base and working your way to the top. Try to slightly overlap each row so there are no large gaps showing. This can be quite fiddly and a bit time-consuming but be patient- I promise you the end result is so worth it!

Step 6: Lastly, top your chocolate pinecones off with a light dusting of icing sugar and enjoy! You can arrange them onto a Christmas party plate or pop them into small cellophane bags with a ribbon to give as an edible gift.
Tips for Success
- Use slivered almonds instead of cereal for a more adult-friendly, sophisticated dessert.
- If your mixture is too soft or sticky to shape into pinecones, place it in the fridge for 15-20 minutes to allow it to firm up slightly. This will make it easier to mould.
- Add a finishing touch of edible glitter for an even more festive look!
- This recipe makes 6 snowy chocolate pinecone truffles but you can scale it up or down as desired to suit your needs. You can do this using the slider beside 'servings' on the recipe card.
FAQs
You can store your snowy chocolate pinecones in an airtight container in the fridge for up to 5 days. This is ideal if you want to make them in advance for a party.
Yes, these are perfect for freezing. Place them in an airtight container and freeze for up to 2 months. To defrost, you can either leave them in the fridge overnight or place them on a plate and let them sit out at room temperature for an hour or two. Once defrosted, do not refreeze.

More Christmas desserts
- Biscoff puff pastry Christmas tree
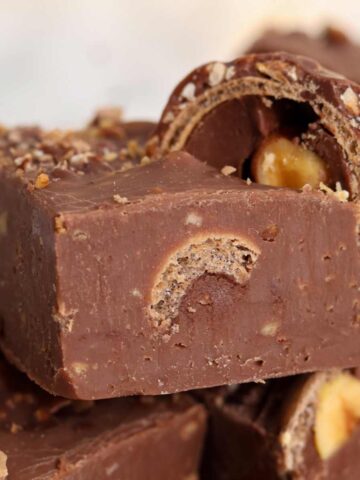
- Cranberry pistachio rocky road
- M&M Christmas cookie bars
- Gingerbread Oreo blondies
- Ritz cracker Christmas crack
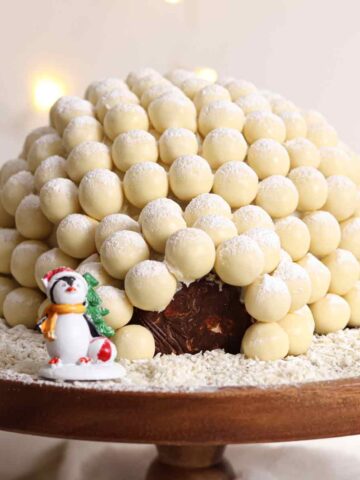
- Malteser Christmas pudding tiffin
I hope you have fun making these festive snowy Oreo pinecones! Let me know what you think by leaving a rating and/or comment below. Enjoy!

Snowy Oreo Pinecones
Ingredients
- 308 g Oreos (2 packs/10.8oz)
- 150 g Full-fat cream cheese (⅔ cup)
- 55 g Coco Pops Chocos cereal (2oz) sub for slivered almonds or any other chocolate shell cereal
- Icing sugar (to dust)
Instructions
- Line a tray with baking paper.
- Crush the Oreos into fine crumbs using a food processor or high-powered blender.
- Add the cream cheese to a large bowl with the Oreo crumbs and mix well. Then use your hands to press everything together into a large ball.
- Divide the ball into 6 pieces and use your fingers to mould each piece into a pear shape. Place them onto your baking tray.
- Starting from the base of the shapes and working your way to the top, press the cereal in. Try to slightly overlap them so there are no large gaps showing.
- Top your edible pinecones with a dusting of icing sugar and enjoy.
Video
Notes
- Store in an airtight container in the fridge for up to 4 days.

Leave a Reply