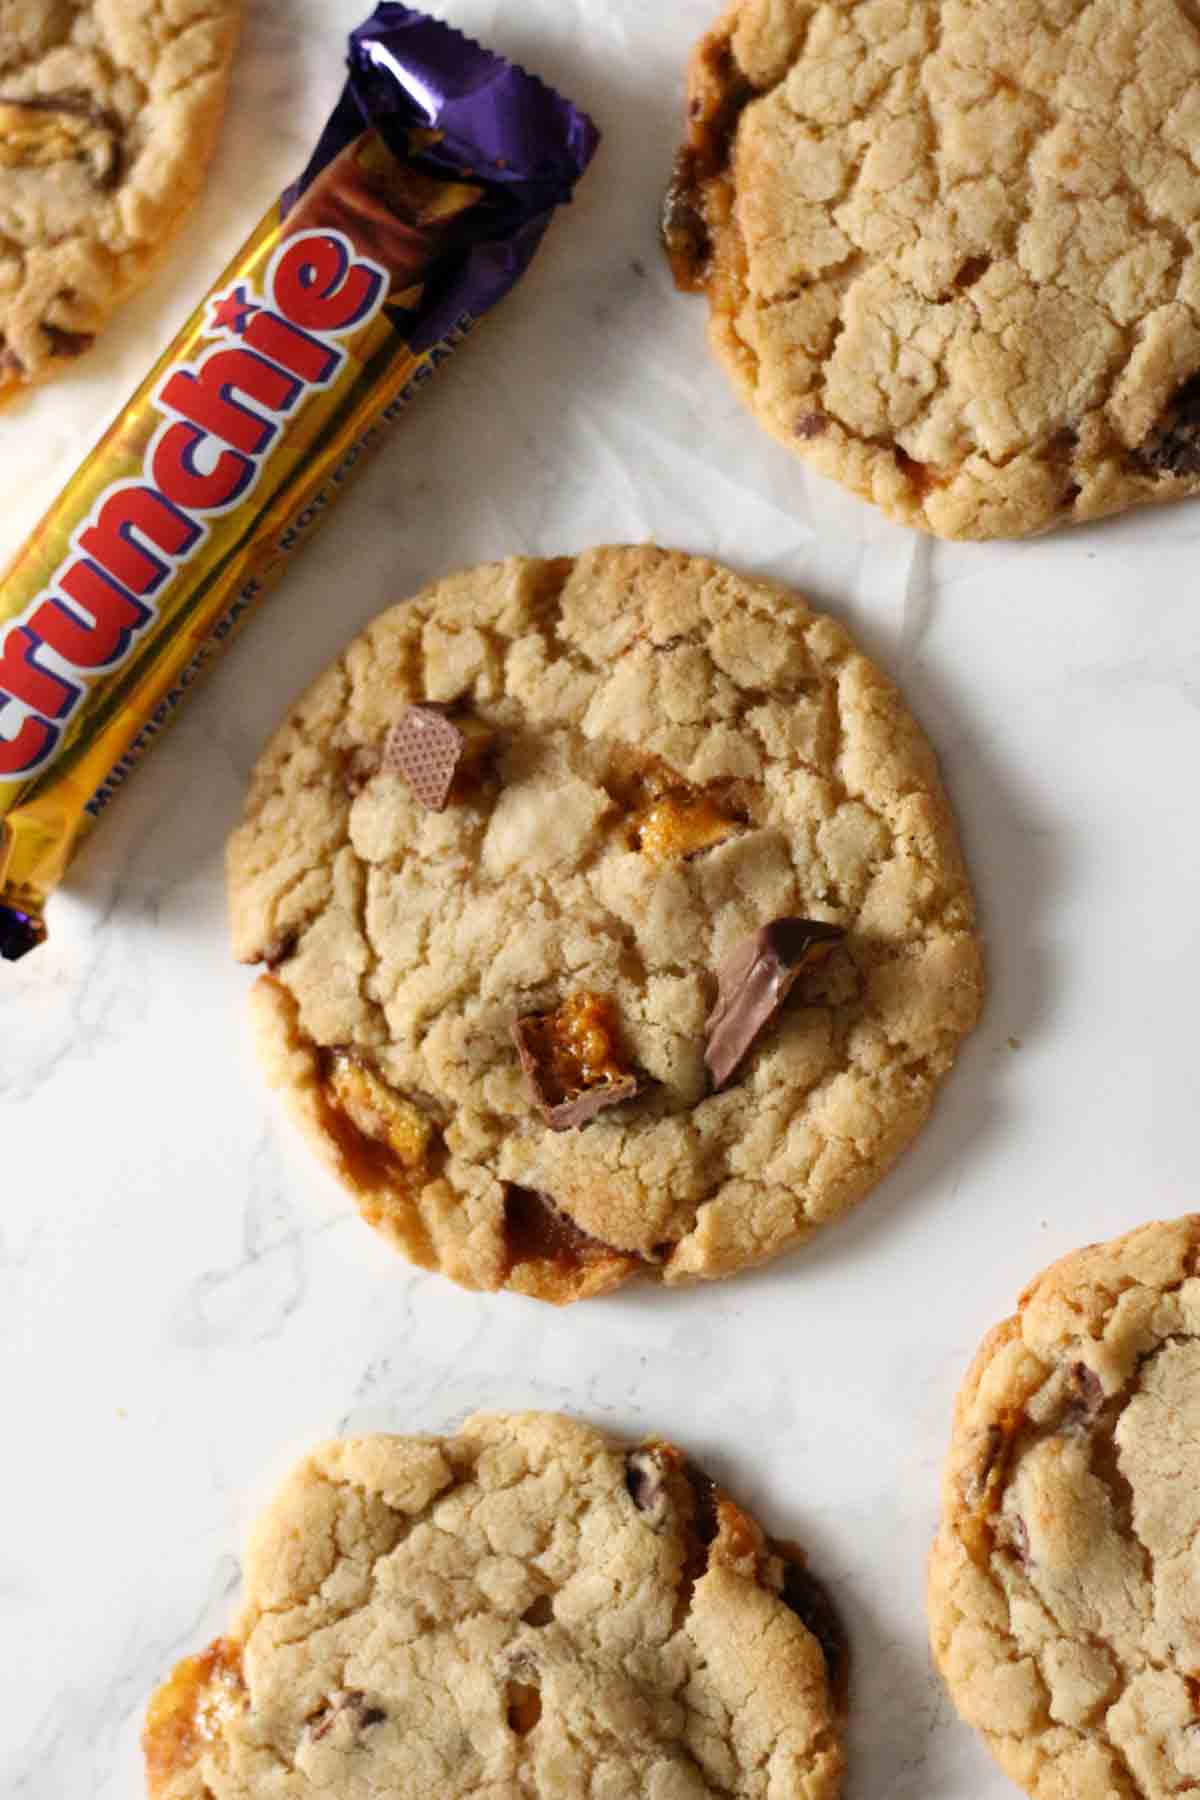
These Crunchie cookies are a honeycomb lover's dream! They're soft and chewy, filled with milk chocolate chips and chunks of Cadbury Crunchie bars. These are so easy to make that they're suitable for beginner bakers and they're so good that you'll want to make them over and over!

Another day, another cookie recipe! Today we're making Crunchie honeycomb cookies. If you're a beginner baker, you can find lots of in-depth, step-by-step information on how to make them below. Otherwise, scroll to the bottom of the page to get the condensed version in the recipe card. Enjoy!
Ingredients
- Caster sugar: Caster sugar, or superfine sugar, is a fine version of granulated white sugar. It dissolves more quickly into the fat, creating a better cookie texture.
- Brown sugar: Use soft, light brown sugar to get the best texture and flavour. I have tried dark brown sugar in the past but found the flavour to be quite overpowering. Light brown sugar has a hint of that caramel flavour but doesn't stand out as the main ingredient.
- Butter: This recipe involves "creaming" the butter together with the caster sugar and brown sugar although it's more like a thick paste. It's always best to use softened butter to do this as it'll be a lot easier to mix. You can soften your butter by cutting it into cubes and letting it sit out at room temperature for around 60 minutes before you begin baking.
- Vanilla extract: To add a little extra flavour to the Crunchie cookies.
- Egg: One medium-sized egg is just right for binding all of the other ingredients together. For an egg-free alternative, try using a flax seed egg by mixing 1 tablespoon ground flax seeds and 3 tablespoons of water together and letting it sit for 5 minutes until gloopy.
- Self-raising flour: I recommend using self-raising flour for this recipe because it means you won't need to add baking powder or baking soda separately.
- Chocolate chips: I think milk chocolate chips are the best kind to use for these cookies but you can use semi-sweet if you prefer. If you don't have any chocolate chips to hand, you can also chop up a bar of your favourite chocolate.
- Cadbury Crunchie bars: Crunchies are honeycomb bars covered in milk chocolate. We'll be cutting them into small chunks and adding them to the cookie dough.
Equipment
Here's all of the equipment and tools you'll need to make these chocolate honeycomb cookies:
- Mixing bowl: A large one that'll hold all of the ingredients.
- Electric whisk or stand mixer: When mixing the butter and sugar together, the end result is a thick paste rather than a light and fluffy mixture. To assist you with this step, I recommend using an electric whisk or stand mixer.
- Wooden spoon: To mix everything together. Feel free to use any other baking utensil you prefer, such as a silicone spatula.
- Baking trays: You'll need one or two large baking trays for these cookies. They need to be baked in small batches because they spread out a lot in the oven.
- Baking or parchment paper: This is only needed if you're using traditional baking trays. If you're using a non-stick cookie tray then you obviously won't need this.

How to make Crunchie cookies
Step 1: Preheat your oven to 180°C, or if you're using a fan oven, 160°C. For those in the US, it's 350°F (or 325°F for fan/convection ovens).
Step 2: Line your baking tray(s) with baking paper or parchment paper. Set aside for now until you're ready to bake the cookies.
Step 3: Chop 4 multipack-sized Crunchie bars (128g) into small chunks and set aside.
Step 4: Let's get baking! Add 150g of softened butter to a large bowl along with 130g of caster sugar and 100g of soft light brown sugar. Use an electric whisk or stand mixer to mix it together. It should look like a thick paste.
Step 5: Add 1 egg and 1 teaspoon of vanilla extract. Mix again until soft and smooth.

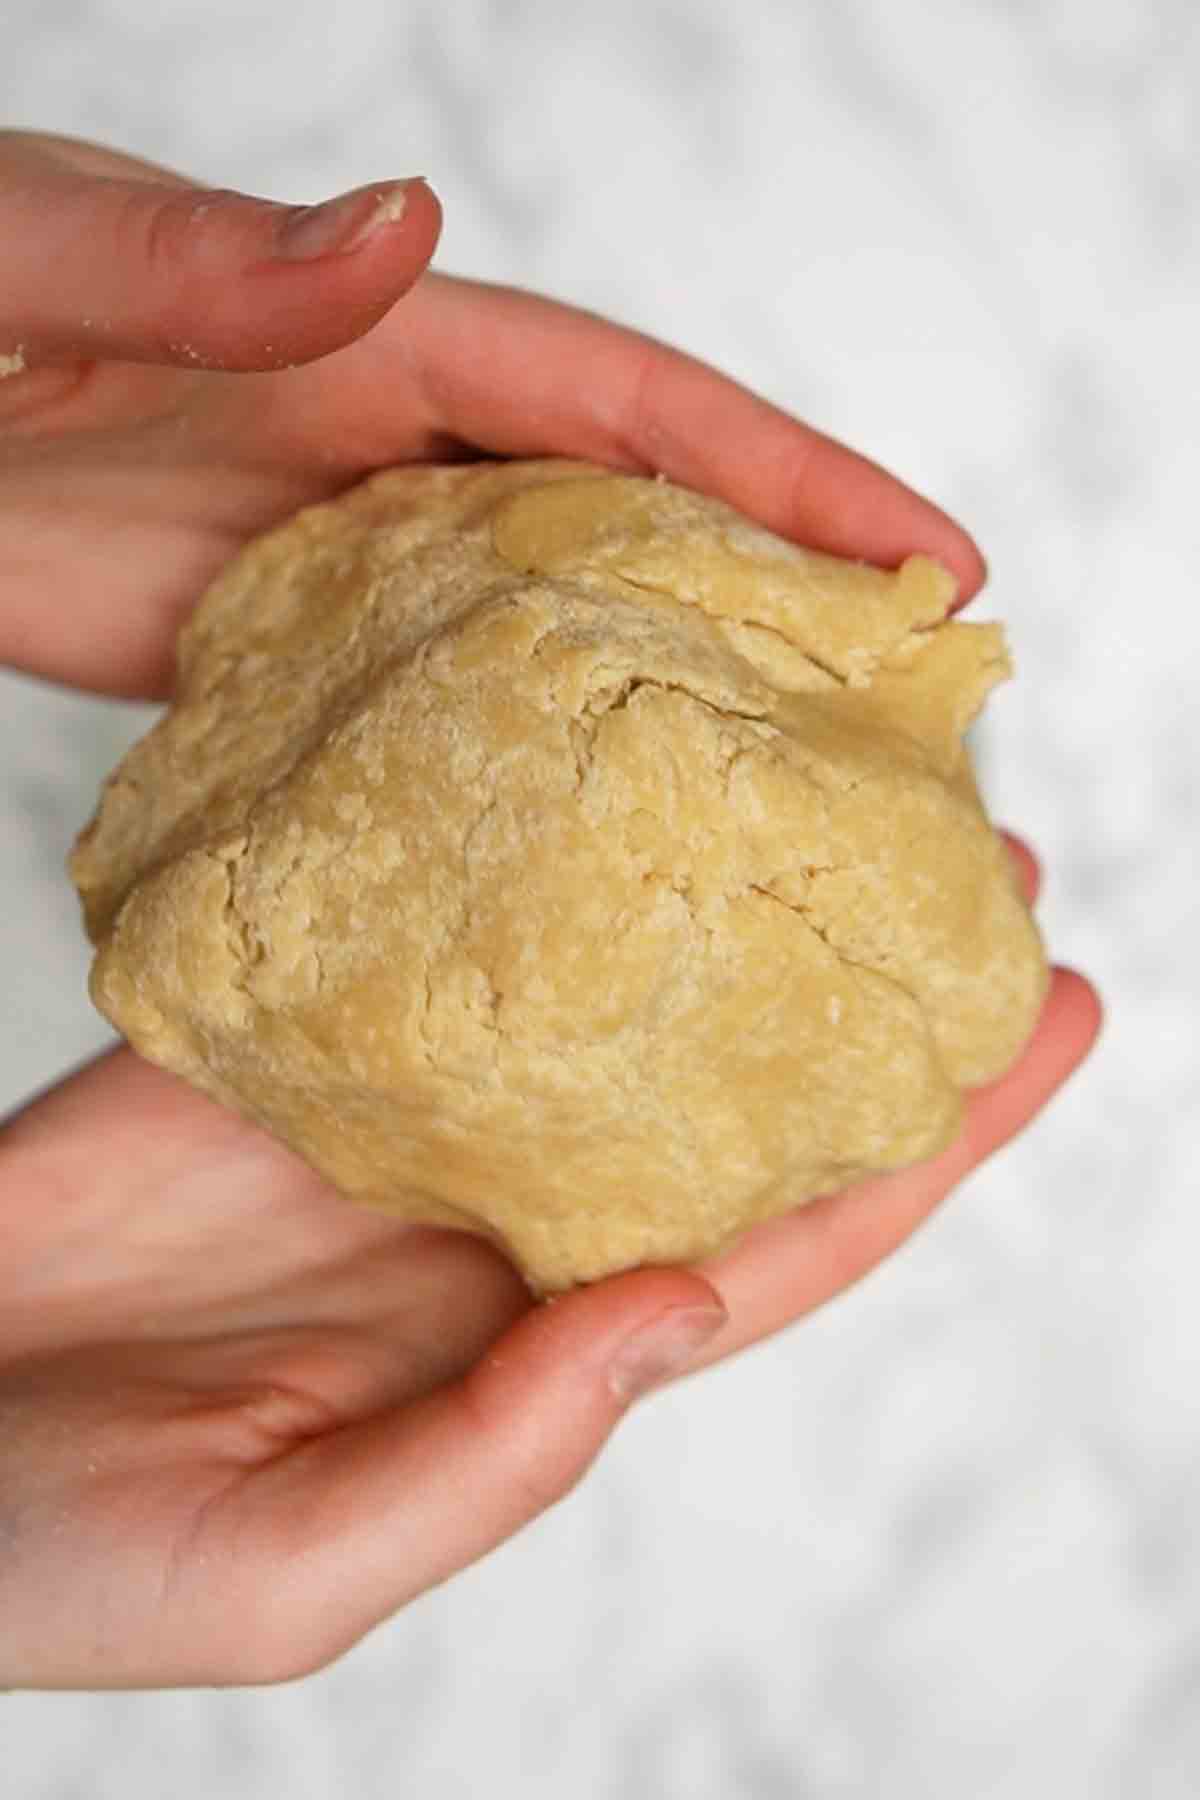
Step 6: Now add 250g of self-raising flour to the bowl and mix it in with the other ingredients. When it's starting to stick together, get your hands in there and press everything together into a large ball of dough. If it's too wet, add more flour and if it's too dry, add a splash of milk.
Step 7: Next, add 70g of milk chocolate chips and the chopped Cadbury Crunchie pieces to the dough. Gently knead them in using your hands.
Step 8: Divide the Crunchie cookie dough into 12 equal pieces and roll them into balls. Gently press them to make discs that are roughly 1 inch thick.
Step 9: Place 4-6 cookies on each tray, ensuring that there are at least 2-3 inches of space in between them to allow for spreading.

Step 10: Bake the cookies, one tray at a time, for 11-12 minutes until the cookies are JUST turning golden brown at the edges. They'll look very underbaked but just trust the process! Cookies continue baking for a few minutes after they come out of the oven so removing them early is key to getting that soft, chewy texture.
Step 11: Let your Crunchie cookies stay on the tray until they're completely cool then enjoy!
Top Tips
- Add extra Crunchie pieces to decorate the cookies when they're fresh out of the oven and still a bit gooey. This adds a touch of glam to the cookies and prevents the Crunchies from getting burnt in the oven.
- Don't skip the chocolate chips! They are the perfect accompaniment to Crunchie honeycomb cookies.
- Swap 25g of flour for 25g of cocoa powder if you'd like a double chocolate version of these cookies.
FAQ
They will last for at least 5 days if you keep them in an airtight container in a cool, dry place such as the kitchen cupboard.
Yes, Crunchie cookies are perfect for freezing and they defrost beautifully. Simply wrap them up tightly in clingfilm or tinfoil, or pop them into airtight containers and freeze for up to 1 month. When you're ready to eat them, let them sit out at room temperature for an hour or so until fully thawed. Do not refreeze.
More cookie recipes
I hope you have fun making these Crunchie cookies! If you find this post useful, please give it a share using the share buttons on this page. Enjoy!

Cadbury Crunchie Cookies
Ingredients
- 150 g Butter (⅔ cup) softened at room temperature and cut into cubes
- 130 g Caster sugar (⅝ cups)
- 100 g Soft light brown sugar (½ cup)
- 1 Egg
- 1 Teaspoon Vanilla extract
- 250 g Self-raising flour (2 cups)
- 70 g Milk chocolate chips (2.5oz)
- 4 Multipack-sized Crunchie bars chopped into small chunks (128g/4.5oz total)
Instructions
- Preheat your oven to 180℃ (or 160℃ for fan ovens) and line a large baking tray or two with baking paper.
- Add the butter to a large bowl along with the caster sugar and brown sugar. Use an electric whisk or stand mixer to mix it into a thick paste.
- Now add the egg and the vanilla extract. Mix again until smooth.
- Add in all of the self-raising flour and stir it in. When it's starting to stick, use your hands to press it all together into a ball of dough.
- Gently knead the chocolate chips and Crunchie chunks into the cookie dough.
- Divide the dough into 12 equal-sized pieces and roll them into balls. Gently press on them with your fingers to make discs that are roughly 1 inch thick.
- Put the cookies on the tray, leaving 2-3 inches of space in between them to allow for spreading.
- Bake for 11-12 minutes, until the cookies are JUST starting to turn golden at the edges. They'll look a bit underdone at first but don't keep baking them! They will turn golden and chewy once they've cooled down.
- Let the cookies cool completely before removing them from the tray.
Video
Notes
- Store in an airtight container at room temperature for up to 5 days.


Amy
Really enjoyed these cookies! Although I had trouble using all of the crunchie bars! I left out ~1/4 of the crunchie and while I was rolling the cookies, I felt like the cookies couldn’t possibly contain any more crunchie. However, I will say that the finished cookies tasted perfect!
Chloe
So glad you enjoyed the cookies Amy! I have updated the weight total for the Crunchies as I was using the smaller bars, sorry about that. Thanks so much for your feedback.