
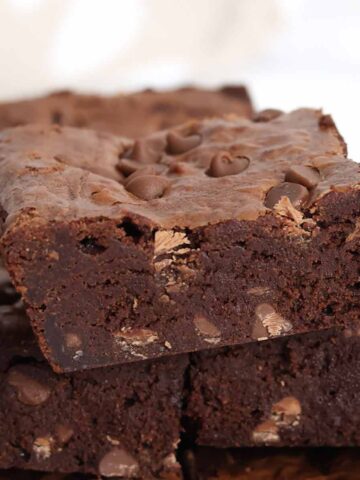
Want to make brownies without chocolate? Then my cocoa powder brownies are just the thing! With a rich flavour and fudgy texture, these are so good that you'll want to bake them again and again!
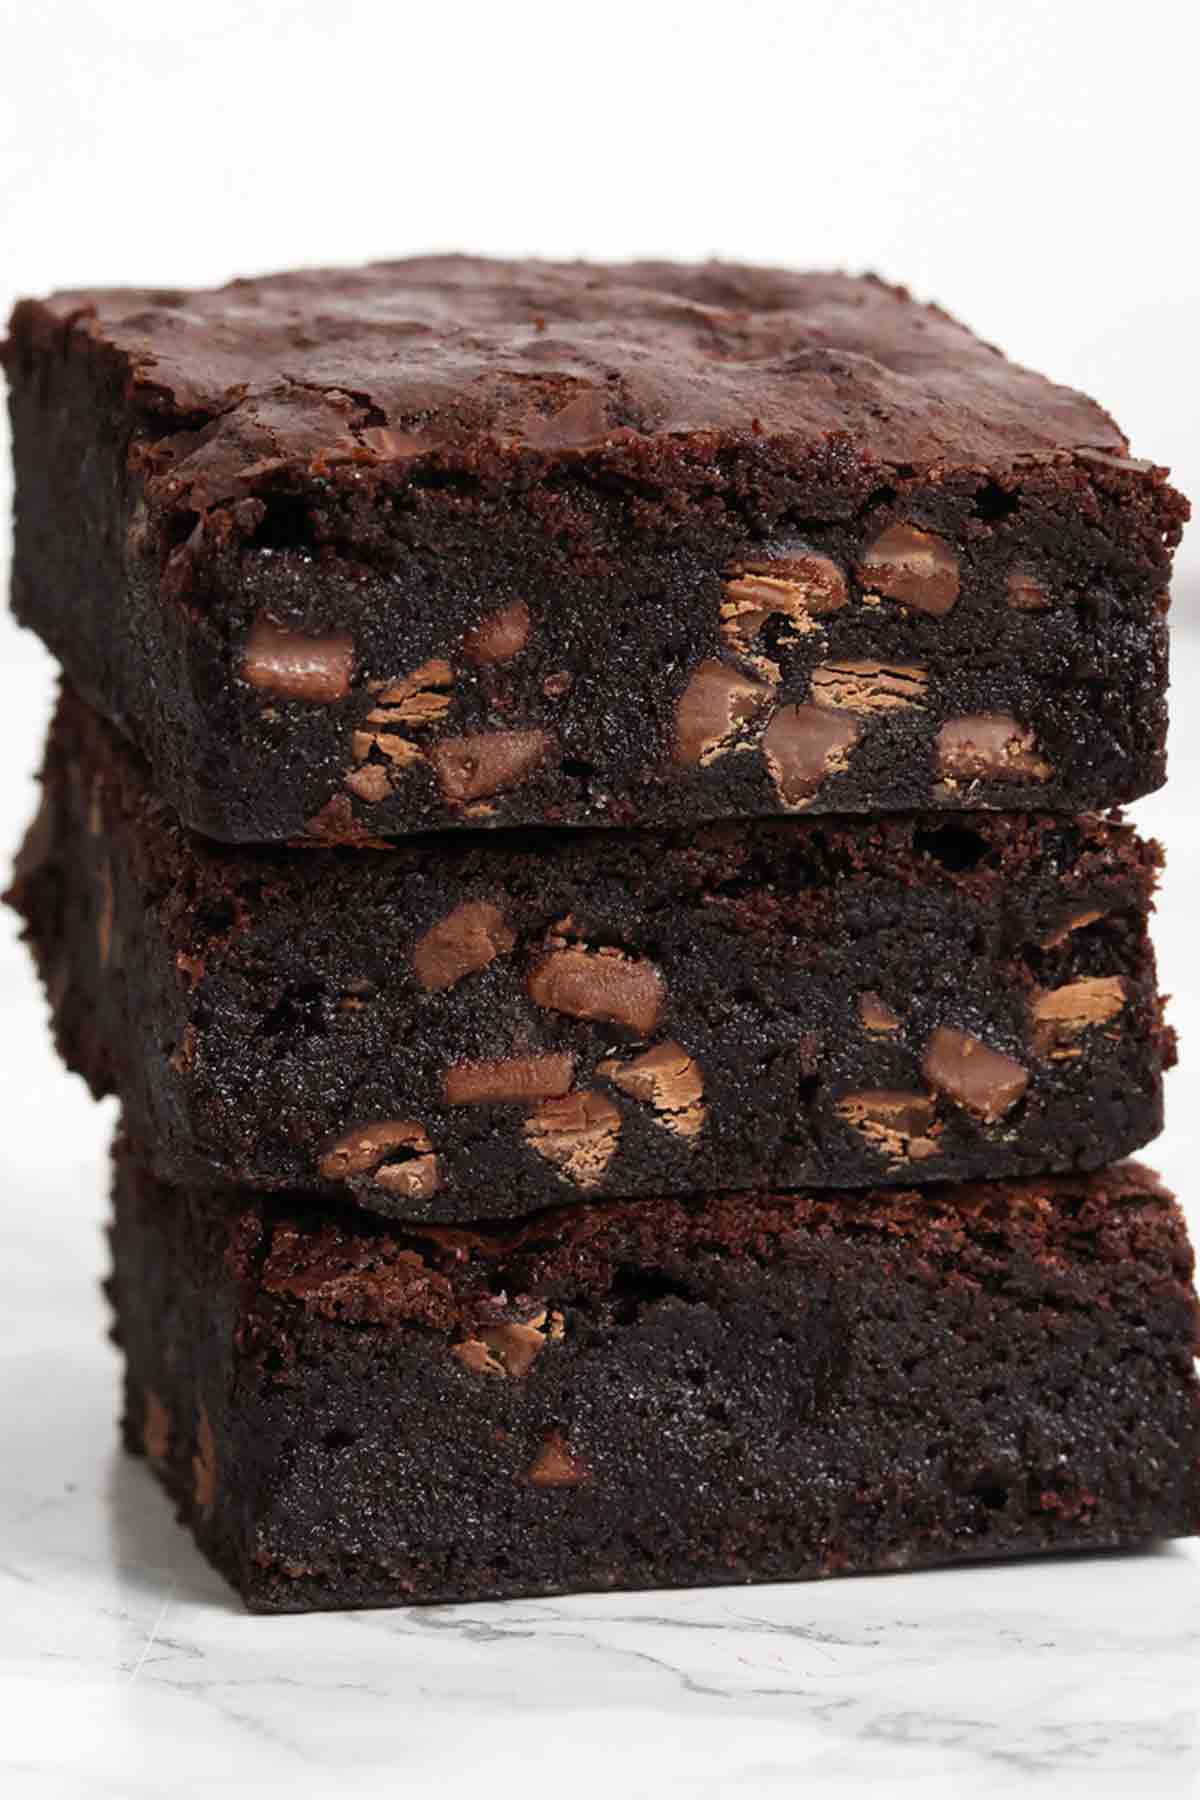
Say hello to my new favourite creation: Cocoa Powder Brownies. The price of dark chocolate these days is absolutely diabolical, so I wanted to come up with a cheap and cheerful alternative to homemade brownies without the price tag, and these didn't disappoint! This is a super easy recipe and so much better than box mix!
When I tell people these are made without chocolate, they usually don't believe me at first because they're just as rich and indulgent as my classic fudgy brownies. The only difference is that these are a lot quicker to make, with fewer steps and less washing up. No melting or whisking required!
With just 7 ingredients and less than 15 minutes of prep time, you can make budget-friendly, chocolate-free brownies from scratch. They are great for any occasion (such as watching a movie alone and eating the entire pan in one sitting parties or bake sales).
To help you get the best brownies with the right texture and flavour on the first go, I've written all my best tips and tricks in this post, as well as detailed step-by-step instructions with photos. I hope you find it useful but if you'd like to learn more about brownie baking, have a read of my ultimate brownie guide. Enjoy!
Ingredients
- Salted butter: I love using salted hot butter in my brownie recipes because it helps to balance out the sweetness. If unsalted is all you have, add a pinch of salt separately, at the same time as the flour.
- Caster sugar: This type of sugar dissolves into the brownie batter more easily, helping prevent the grainy texture you can sometimes get in baked goods.
- Eggs: 3 medium cold eggs help contribute to that shiny top, as well as helping with binding and lifting.
- Cocoa powder: Use regular, unsweetened cocoa powder for this recipe.
- Flour: Plain/all-purpose flour is best for brownies. Avoid self-raising flour, which will create a light, cakey texture rather than a dense one.
- Baking powder: I added ½ a teaspoon to help lift these brownies ever-so-slightly (without making them cakey as I mentioned above).
- Milk chocolate chips: These are a MUST for brownies, especially ones that are made without chocolate bars. Don't skip them! They really help with the fudgy texture and the brownies are just not the same without them, trust me.
Equipment
- 8x8-inch tin: The tin size is important for getting the right thickness and baking time for your brownies. If you don't have an 8x8-inch tin, you could use a 9x9 one but you'll need to reduce the baking time by a few minutes. For other tin sizes, use my cake pan converter to adjust the recipe to fit your tin.
- Baking paper: Leave some hanging over the edges so your brownies don't bake onto the sides of the tin. This makes removal so easy later!
- Mixing bowls: A large one for mixing and a smaller heatproof one for melting the butter.
- Utensils: You'll need a large whisk, a wooden spoon, and a teaspoon.
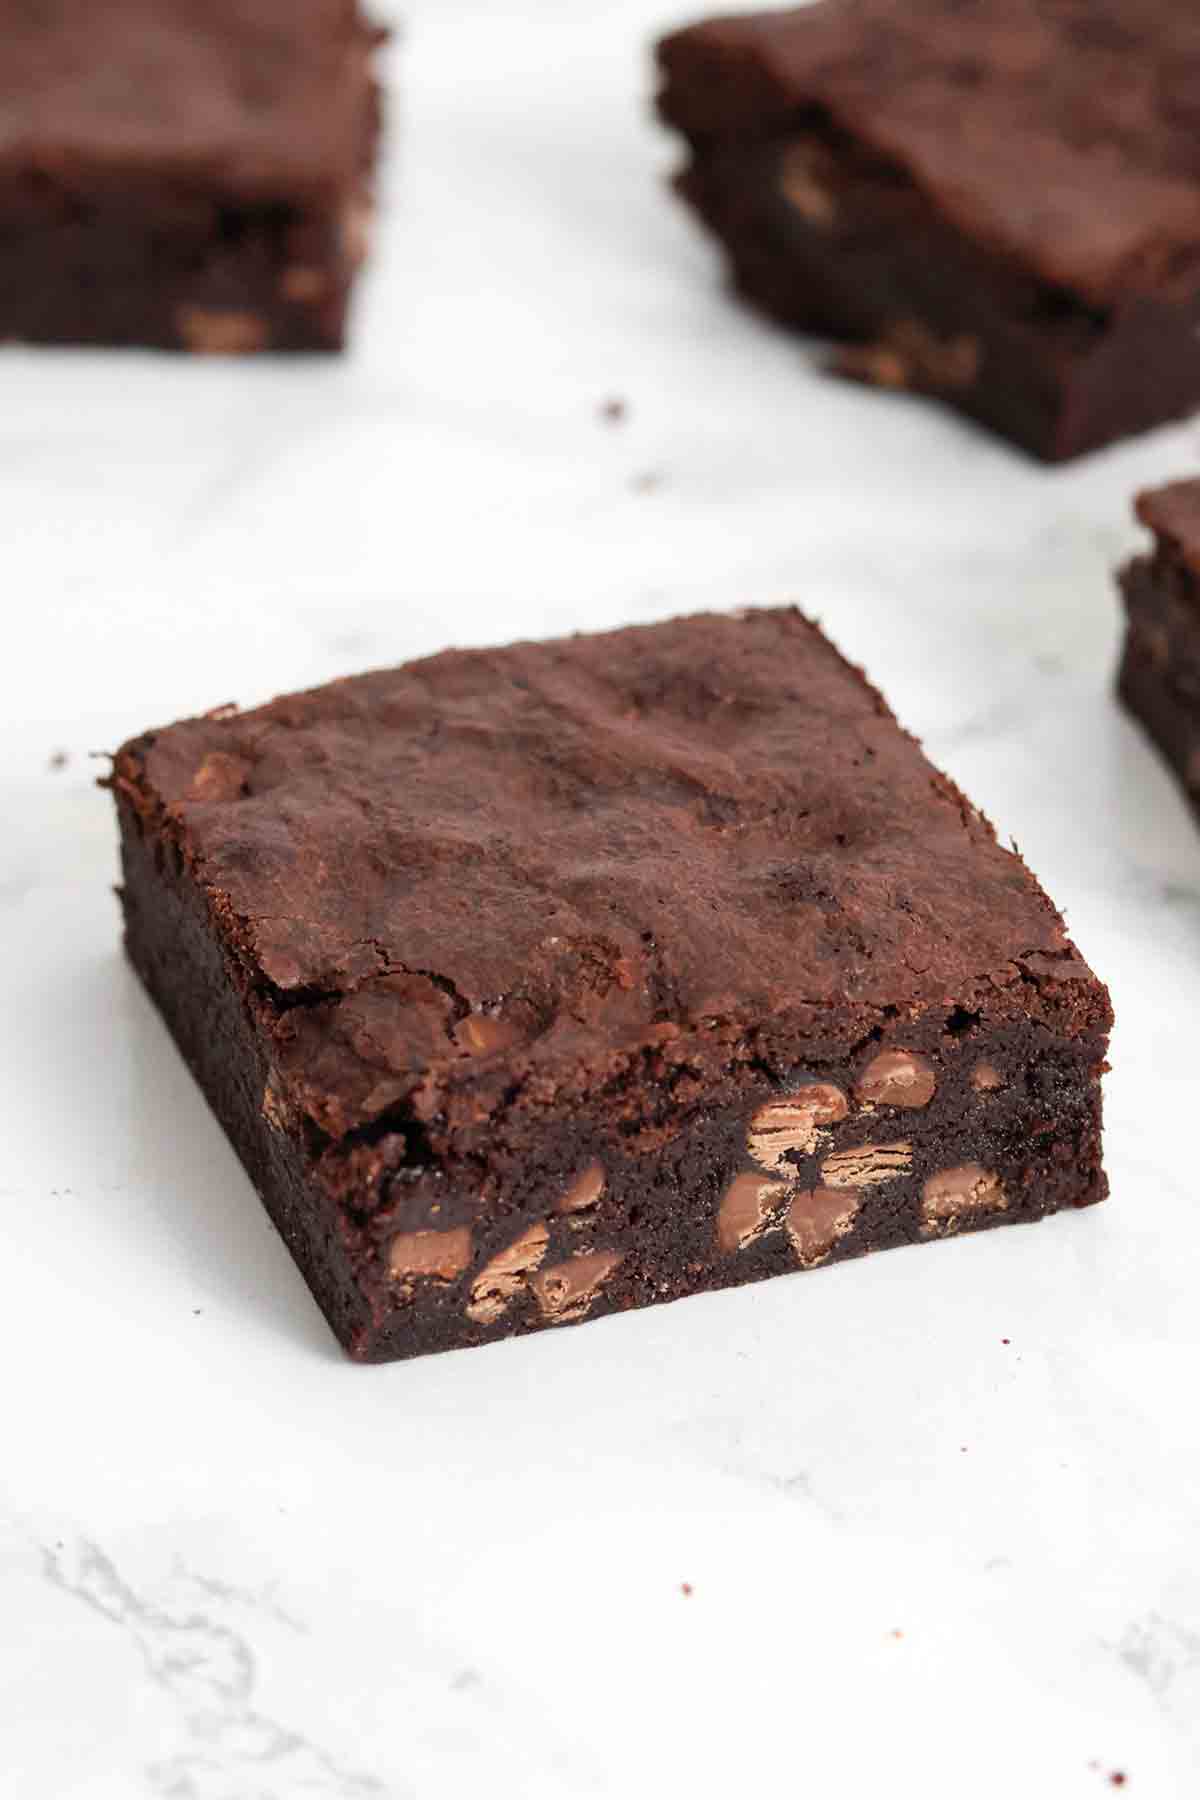
How to make cocoa powder brownies
Step 1: First, preheat your oven to 160°C (140°C for fan ovens) and line an 8x8 brownie tin with baking/parchment paper.
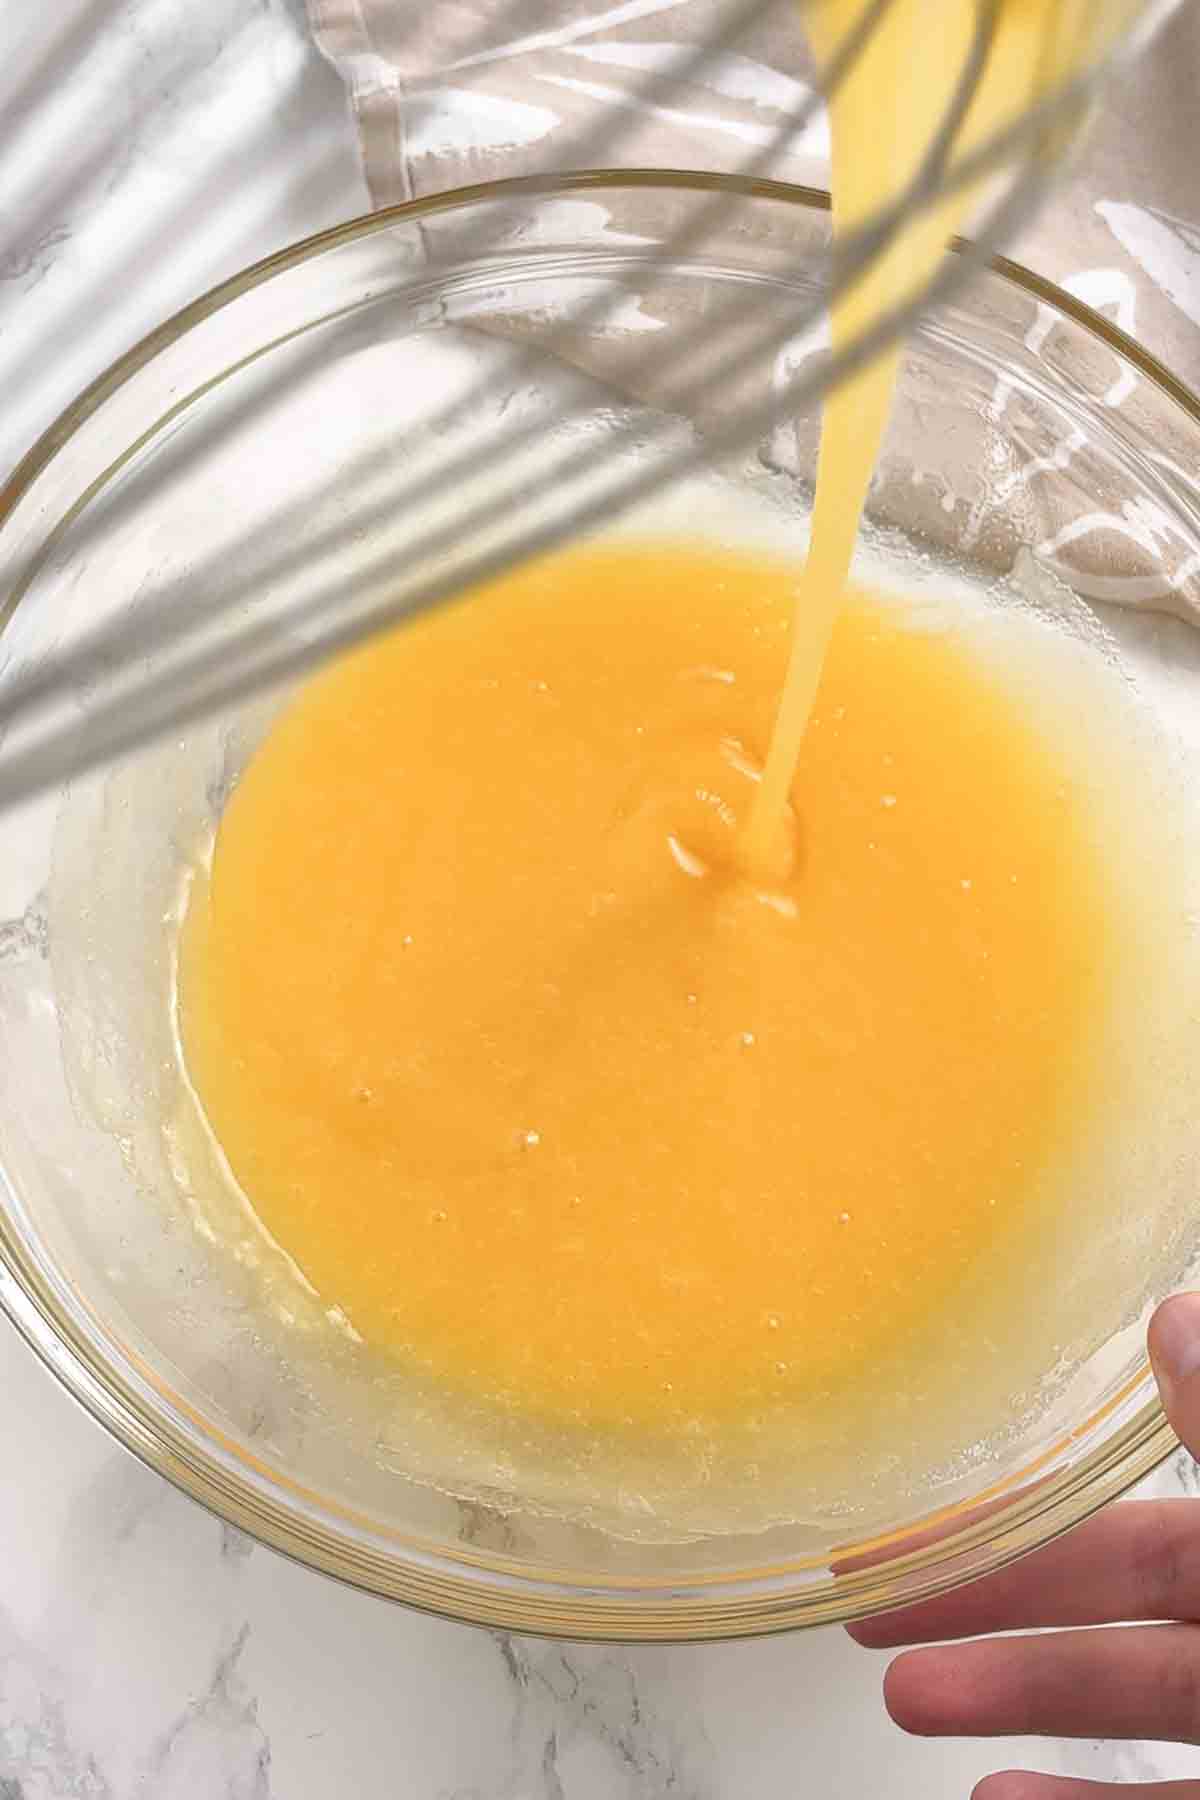
Step 2: In a large bowl, mix together 180g melted butter and 280g of caster sugar. Then stir in 3 medium eggs. You can also add a splash of vanilla here if you like, for some extra warmth.
Step 3: Stir in 60g of cocoa powder, then once that's smooth, add 125g of plain flour and ½ a teaspoon of baking powder. Mix well to make a smooth batter.
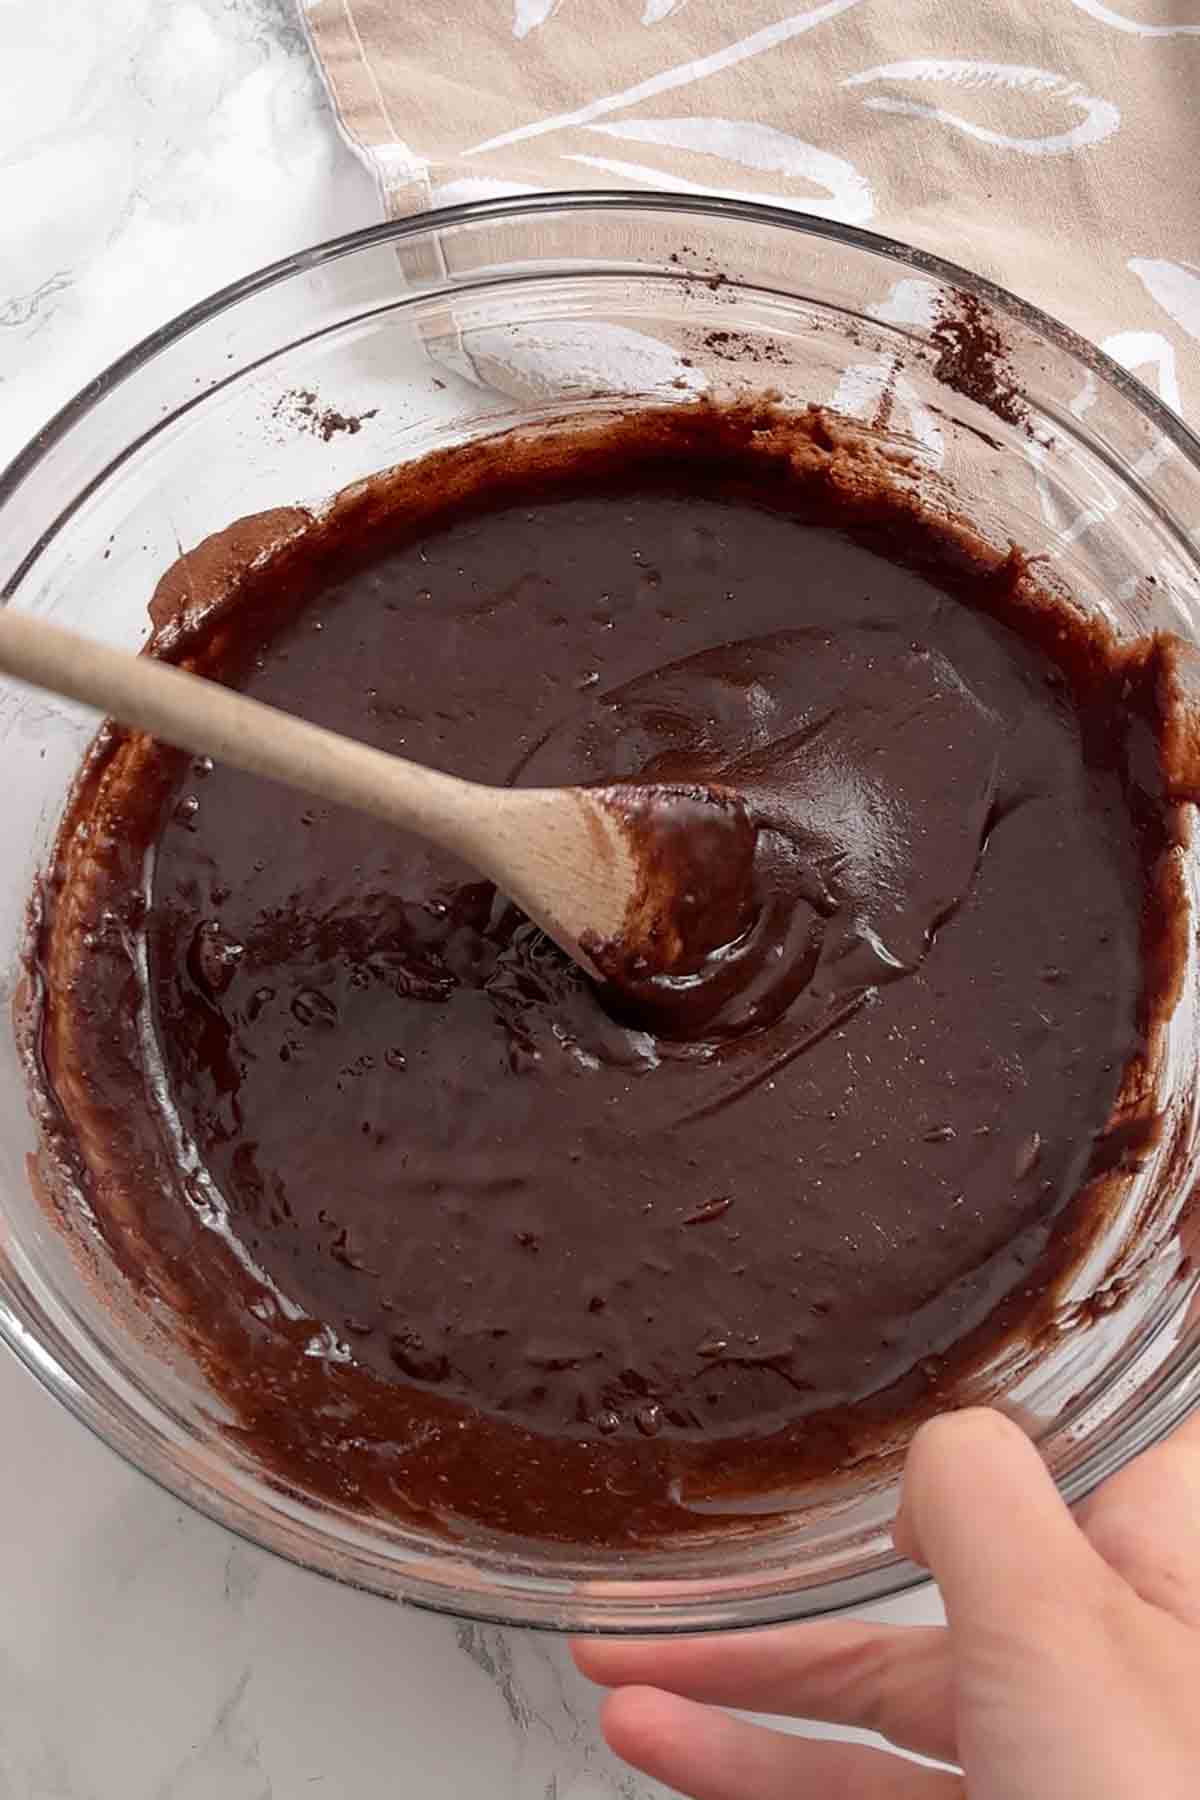
Step 4: Pour 100g of milk chocolate chips into the batter and mix briefly to combine.
Step 5: Pour the batter into your lined tin and spread it out evenly. Then pop it in the oven for 25-30 minutes. You'll know they're done when a toothpick comes out with some moist crumbs and chocolatey smears on it, but not wet batter (and not completely dry either).
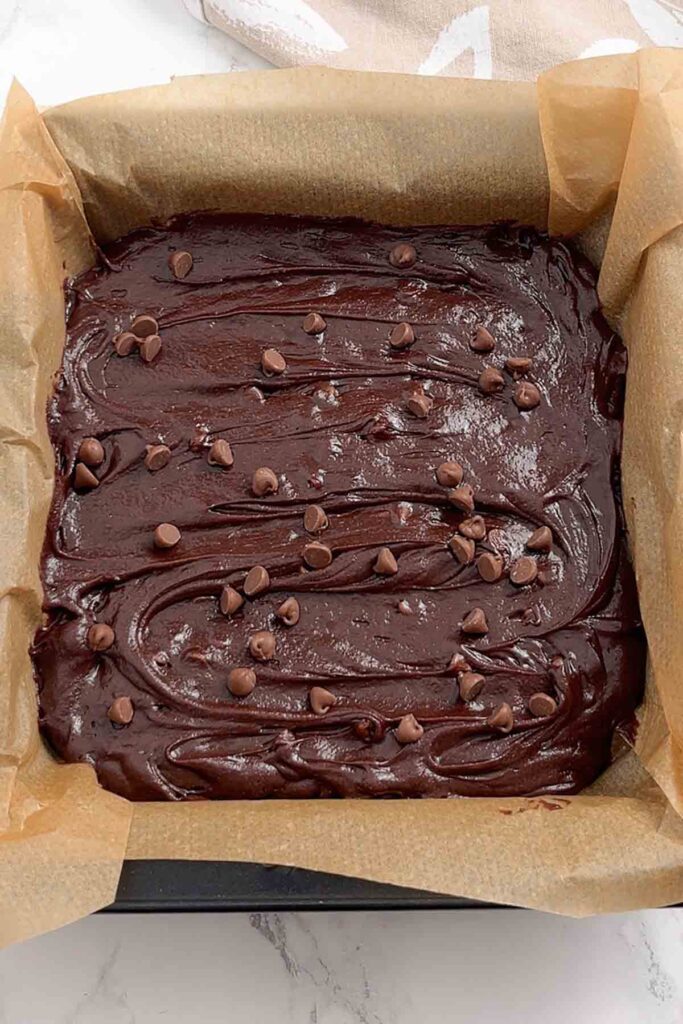
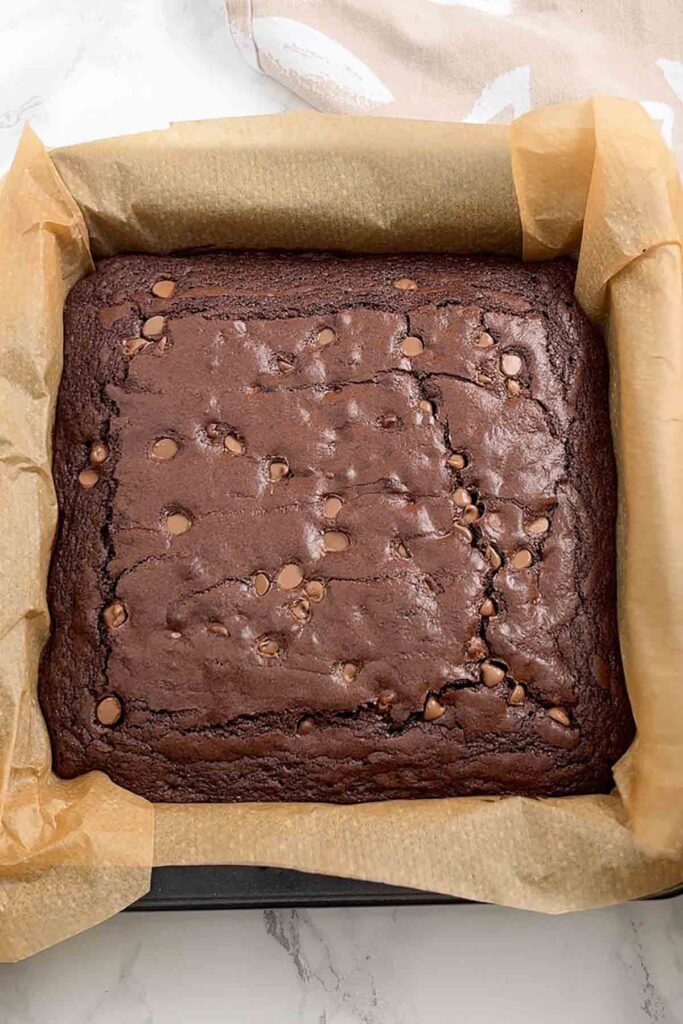
Step 6: Let the brownie cool in the tin, then once it reaches room temperature, put it in the fridge to set for 4 hours. This will help re-solidify the fats and create a lovely, fudgy texture.
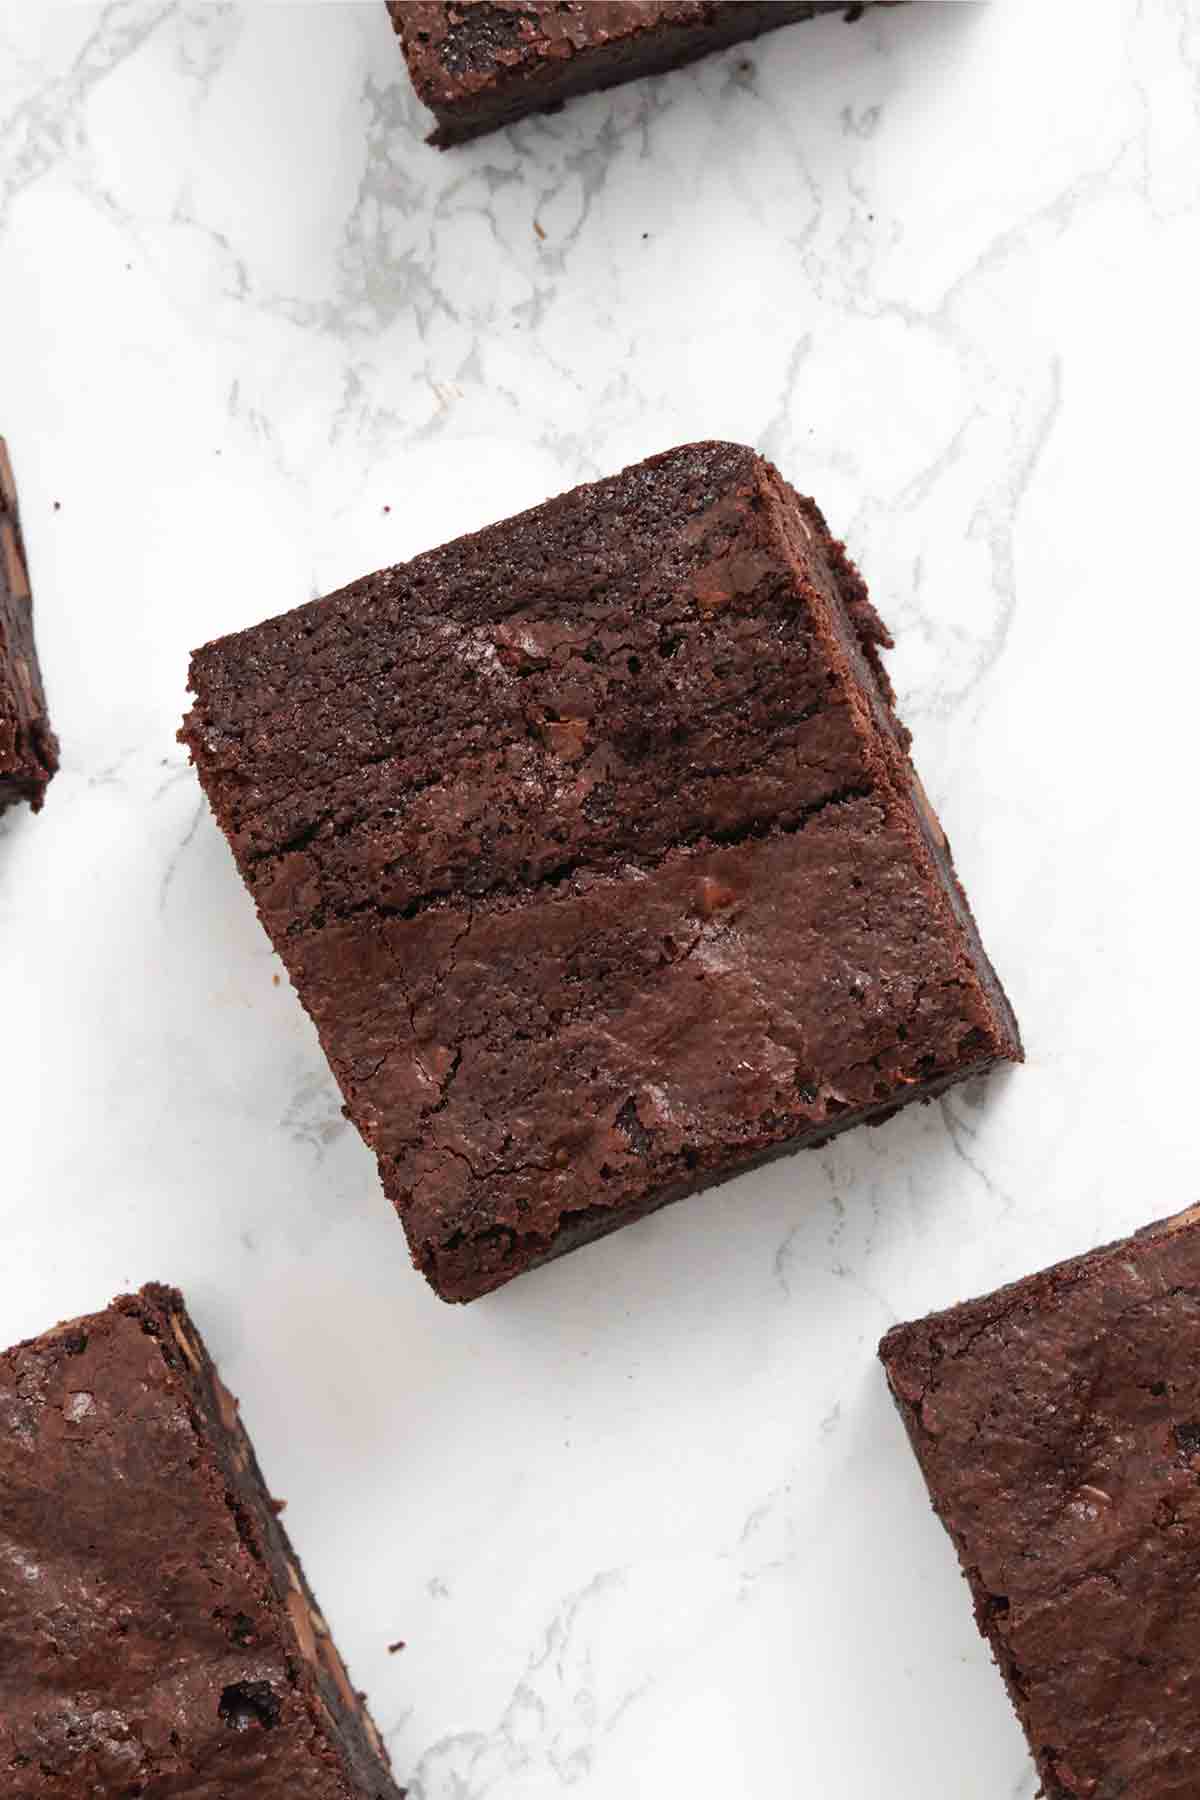
Step 7: Once set, remove your brownie from the tin and cut it into slices. I cut mine into 9 very large slices, but you can get up to 16 from this batch.
Tips for making brownies without chocolate
- Don't skip the chocolate chips! They really do make a big difference in texture and flavour.
- Mix the ingredients in the correct order so the batter doesn't split.
- Refrigerate the brownies for a few hours after they've cooled. This will help create that classic fudgy brownie texture. I talk more about this in my brownie-baking tips post.
FAQs
These will keep well in an airtight container in the fridge for around 1 week. They hold up fine at room temperature, too but will have a softer texture.
Yes, you can put them into containers or wrap them in foil before popping them in the freezer for up to 3 months. Let them defrost overnight in the fridge or at room temperature for an hour or so. Check out my how to store brownies post for more info.
I haven't tested this recipe with gluten-free flour yet. If you want to try, I'd recommend a gluten-free plain flour blend that contains xanthan gum, otherwise add ¼ teaspoon separately. This will help with binding and prevent a crumbly texture.
More brownie variations
I hope you like my cocoa powder brownies! If you make them at home, please leave a comment and rating to let me know what you think. Enjoy!
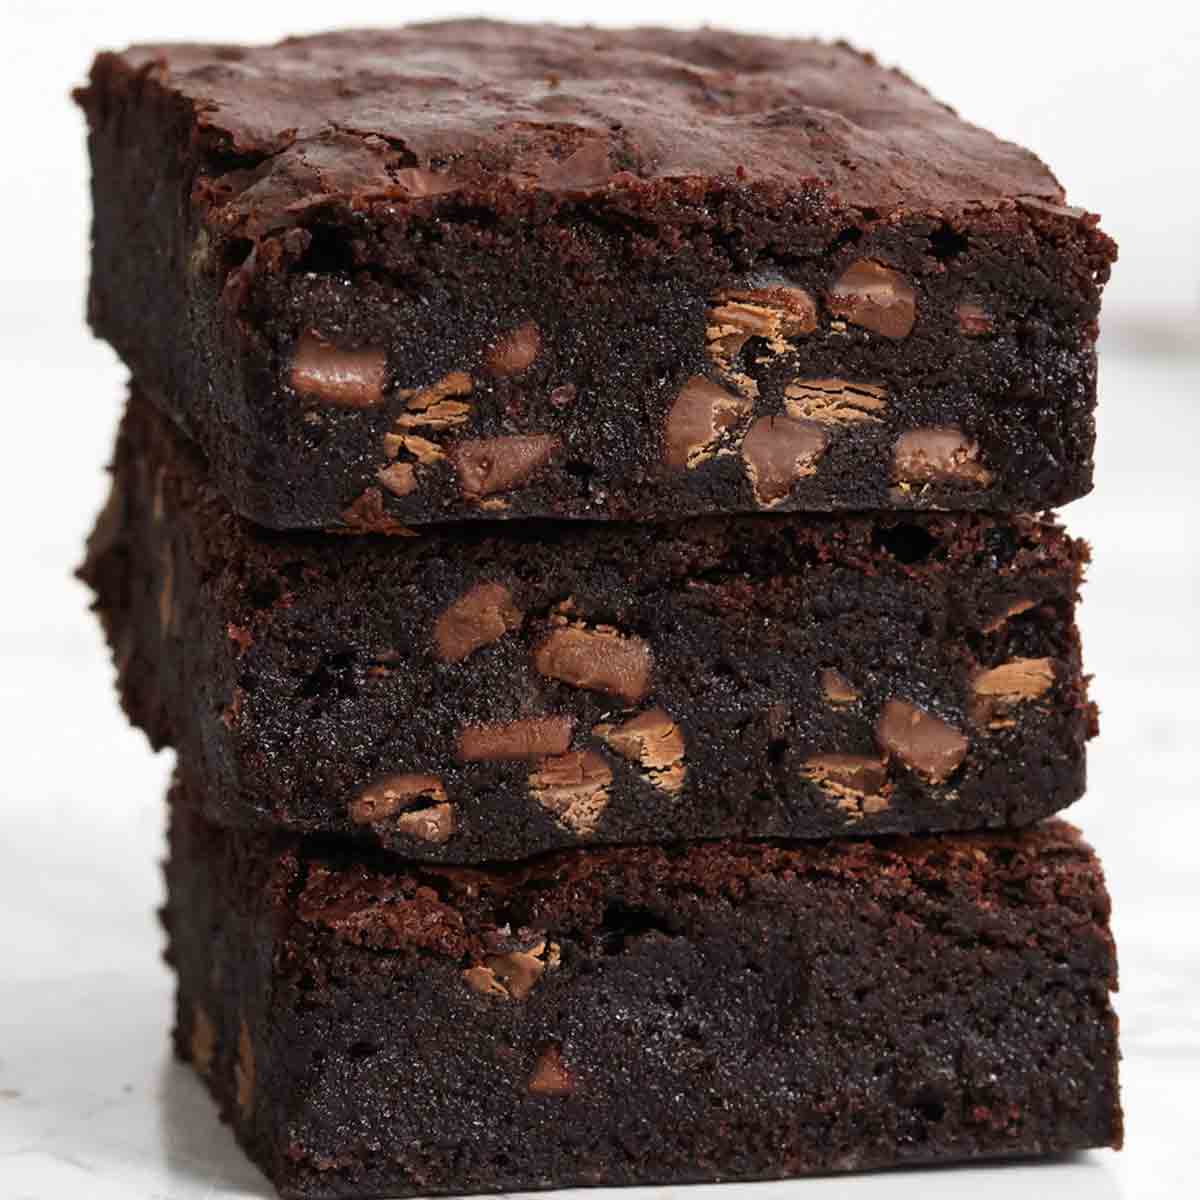
Cocoa Powder Brownies (Without Chocolate)
Ingredients
- 180 g Salted butter, melted
- 280 g Caster sugar
- 3 Medium Eggs
- 60 g Cocoa powder
- 125 g Plain flour
- ½ Teaspoon Baking powder
- 100 g Milk chocolate chips
Instructions
- Preheat your oven to 160°C (or 140°C for fan ovens) and line an 8x8-inch tin with baking paper.
- Mix the melted butter and sugar together in a large bowl. Then stir in the eggs.
- Add the cocoa powder, flour and baking powder then mix well until smooth.
- Fold in the chocolate chips then transfer the batter to your lined tin.
- Bake for 25-30 minutes. A toothpick through the centre should have a few chocolatey smears on it but not be completely covered in batter.
- Let the brownie cool to room temperature then pop it in the fridge for 4 hours to set.
- Cut into squares and enjoy!
Notes
- Store leftovers in the fridge for up to 1 week.


Leave a Reply