This Halloween rocky road is quick and easy to make and perfect for parties. It's packed full of mini marshmallows, Halloween Oreos and chewy colourful sweets for a burst of flavour and crunch in every bite.

I’ve been having so much fun experimenting with spooky desserts this month, and these Halloween Rocky Road squares are definitely one of my new favourites!
It’s super easy to throw together and perfect for getting kids involved. And best of all, you don’t even need to turn on the oven to make it! This is ideal for parties, bake sales or a simple spooky sweet snack. I just know you're going to love it!
Ingredients
Here's everything you need to make this recipe:
- Dark chocolate: Make sure to use dark chocolate for this recipe as the ingredient quantities won't work with milk chocolate (I have a separate milk chocolate rocky road recipe if you'd prefer to use that). I like to use dark chocolate that's between 50-60% cocoa for the best flavour and texture.
- Butter: I used salted butter in this recipe as the salt really helped to bring out the rest of the flavours, but you can use unsalted if you like.
- Golden syrup: This ingredient will add extra sweetness to the rocky road and make it a bit easier to cut into after it's set.
- Halloween Oreos: I'm pleased to report that we can now get Halloween Oreos in the UK so if you've been wanting to try them, now's the time! If you can't get hold of them, feel free to use regular Oreos or any other kind of Halloween-themed biscuits.
- Digestive biscuits: Because you just can't have rocky road without digestives!
- Mini marshmallows: I used multicoloured marshmallows that I got from Asda but use whichever ones you like best. You could even buy pumpkin marshmallows online if you want to be extra fancy.
- Chewy Halloween sweets: This is the first time I've used chewy candies in my rocky road like the Australians do and I can't believe I waited this long to do it! I used Moam Halloween pinballs in my recipe but any Halloween gummy sweets will work well. Even Skittles would do the trick.
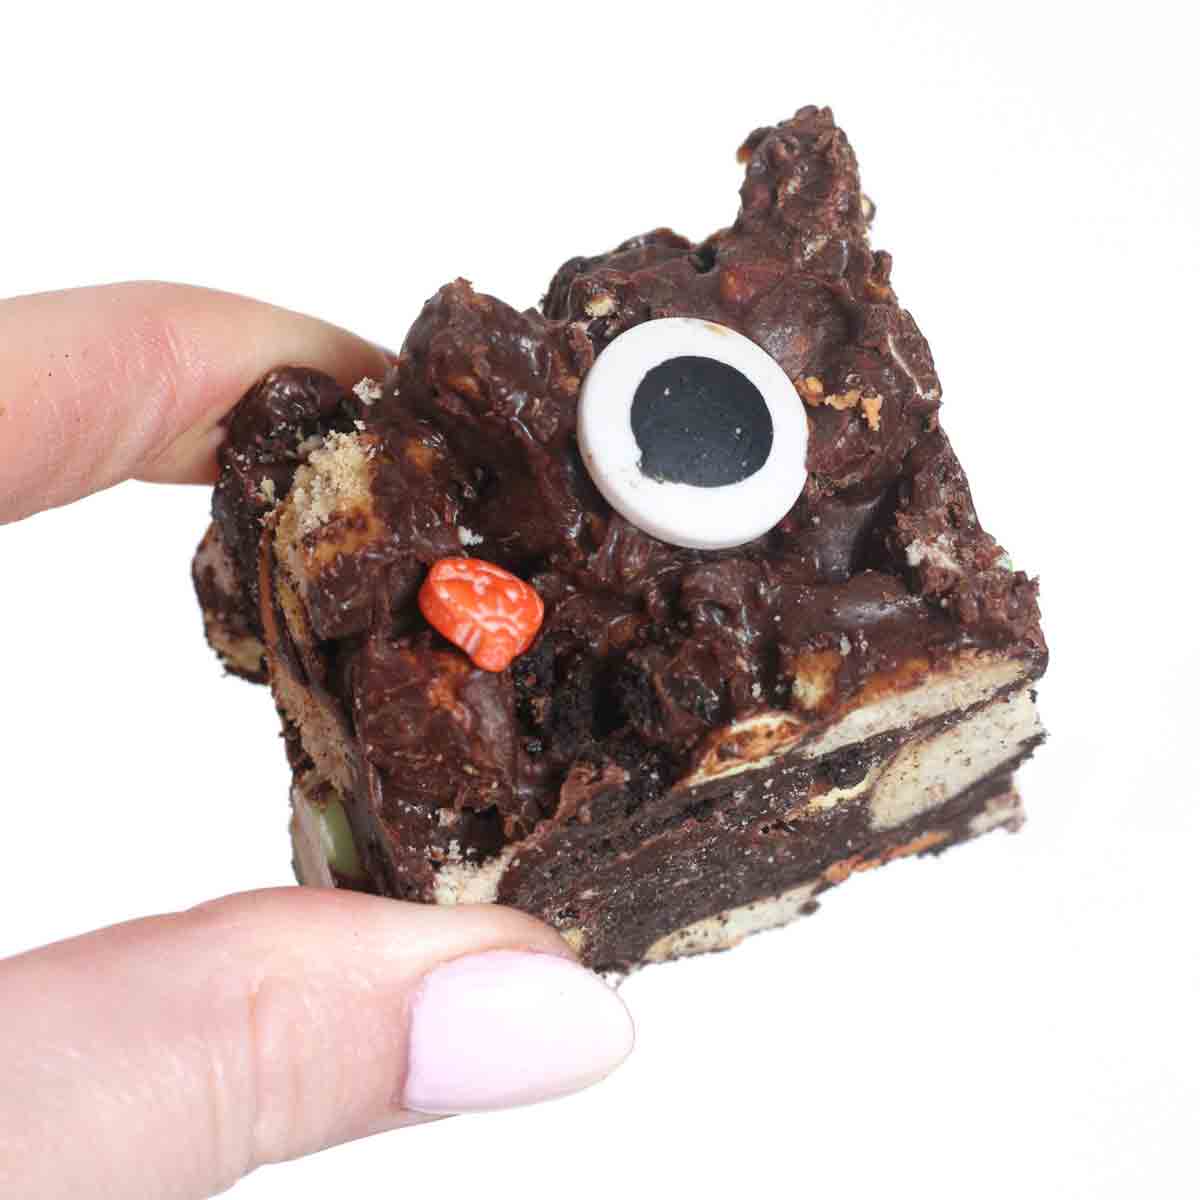
- Halloween sprinkles: I used Cake Decor's Spooky Mix sprinkles and edible eyes to top my Halloween rocky road. There are plenty of other options in the supermarkets these days so feel free to get creative! You could even use my white chocolate ghosts.
Equipment
- 8x8-inch tin: This size of tin will give you 12 squares while still keeping them nice and thick. If you'd like to use a different size of tin, use my cake pan converter tool to change the ingredient quantities too. If you're making this rocky road for a party, you can also divide the mixture into cupcake cases.
- Baking paper: To stop the mixture from sticking to the tin. I usually leave a bit hanging over each edge to make lifting it out super easy.
- Saucepan: Or a heatproof bowl, to melt the chocolate, butter and syrup together.
- Mixing bowl: A large one.
- Utensils: A wooden spoon for mixing, a tablespoon for measuring, and a sharp knife for slicing the rocky road after it's set.

How to make Halloween rocky road squares
Step 1: Line an 8x8-inch tin with baking paper and set it aside for now.
Step 2: To a saucepan, add 300g of dark chocolate, 100g of butter and 3 tablespoons of golden syrup. Place the saucepan over low heat, stirring gently until everything has melted.
Alternatively, you can put the ingredients into a heatproof bowl and melt them in the microwave. Just make sure to take it out and give it a stir every 30 seconds or so to prevent burning or seizing.
Once the mixture has been melted, set it aside to cool for about 5 minutes. This will help to prevent it from melting the other ingredients.
Step 3: Add 1 pack of Halloween Oreos to a bowl along with 70g of Digestive biscuits. Use your hands or the end of a rolling pin to crush them into rough chunks.
Step 4: Now add 80g of mini marshmallows to the bowl, along with a large handful of Halloween gummies. I used Moam Halloween pinballs. Mix everything together to combine.

Step 5: Pour the melted chocolate mixture into the bowl and mix well until all of the dry ingredients are evenly coated.

Step 6: Transfer the mixture to your lined tin and press it down into place. Top with edible eyes and your favourite Halloween sprinkles. Then pop it into the fridge for 3 hours to set.

Step 7: Once the 3 hours have passed, remove your Halloween rocky road from the fridge, cut it into squares and enjoy! I usually cut mine into 16 squares but you can cut the squares in half to make 32 triangles if you're serving a larger crowd.
Tips and substitutions
- Halloween Oreos can be substituted for any other colourful biscuits/cookies or original Oreos.
- If you'd like to use milk chocolate instead of dark chocolate, keep the amount of chocolate the same but increase the butter to 200g and the golden syrup to 6 tablespoons.
- If you're having trouble cutting the rocky road, use a warm knife. You can warm your knife up by running it under boiling water and then drying it thoroughly immediately before cutting.
FAQs
It will keep well in an airtight container for up to 2 weeks. Make sure to keep it in an airtight container in the fridge to prolong its shelf life.
Yes, rocky road can be frozen for up to 3 months. You can pop the squares into an airtight container, wrap the whole slab in clingfilm, or freeze the squares on a baking tray until solid then transfer them to a freezer bag. To defrost, simply transfer it to the fridge and leave overnight.
This is likely down to using the wrong type of chocolate or using too high of a heat. For best results, use dark chocolate with 50-60% cocoa content and melt it very slowly over low heat on the stove.

More Halloween treats
- Disney Halloween cookies
- Cookie Monster cinnamon rolls
- Spooky chocolate bark
- Halloween shortbread
- Spider web muffins
- Mummy puff pastries
- Halloween Oreo brownies
I hope you like these Halloween rocky road squares! If you make them at home, please leave a rating and/or comment below to let me know what you think. Enjoy!
Halloween Rocky Road Squares
Ingredients
- 300 g Dark chocolate 50-60% cocoa (10.5oz)
- 100 g Butter (7 tablespoons)
- 3 Tablespoons Golden syrup
- 154 g Halloween Oreos (5.4oz)
- 70 g Digestive biscuits (2.5oz)
- 80 g Mini marshmallows (1+½ cups)
- Large Handful Halloween gummy sweets (I used Moam Halloween pinballs)
To top:
- Halloween cake sprinkles
- Edible eyes
Instructions
- Line an 8x8-inch tin with baking paper.
- Melt the chocolate, butter and golden syrup together in a saucepan then set aside to cool for 5 minutes or so.
- Crush the Oreos and digestive biscuits into medium-sized chunks then add them to a large bowl along with the mini marshmallows and Halloween sweets. Mix to combine.
- Pour the chocolate mixture into the bowl and mix well until everything is evenly coated. Transfer the mixture to your lined tin and press it down firmly into place.
- Top with edible eyes and Halloween sprinkles, while the mixture is still wet.
- Refrigerate your rocky road for 3 hours then cut into squares and enjoy!
Video
Notes
- Store in an airtight container in the fridge for up to 2 weeks.


Leave a Reply