These fairy cakes with buttercream icing are the perfect bite-sized dessert for any occasion. Whether you're hosting a kids' party or just fancy a sweet treat without going overboard, these are just the thing!
Isn't everything just so much cuter when it's miniature? Babies, animals, food... and these vanilla fairy cakes with buttercream icing.
I had the idea for this recipe quite recently when I was making some of my chocolate fairy cakes. I wondered how they'd taste and look with some buttercream on top instead of the usual glacé icing. I gave it a go and was super happy with the result, so I made them again without the chocolate. The result was these gorgeous mini vanilla cupcakes!
They are super easy to make with simple ingredients and they come together in less than an hour, so they're perfect for beginner bakers to try. Kids will go crazy for them too!
If you're ready to start baking, keep on reading for my top tips, step-by-step images and more. Or, for the condensed version of the recipe, you can jump to the recipe card at the end of the post. Enjoy!
Ingredients
Here's everything you'll need to make these mini cupcakes...
- Butter: Softened butter is my preference for sponge cakes because I think the flavour is so much better. You can use margarine if you prefer, which is easier to mix and will give your fairy cakes a softer crumb.
- Caster sugar: Caster sugar will dissolve more easily into the fat than granulated sugar, which will improve texture, so use this if you can. This is also known as superfine sugar.
- Vanilla extract: These are vanilla fairy cakes, so we'll add some vanilla extract to both the sponge mixture and the buttercream.
- Self-raising flour: This gives the cakes their light, fluffy texture without needing to add raising agents separately. If you've only got plain flour, don't worry! Just make sure to add 1 teaspoon of baking powder to the recipe too.
- Eggs: These bind everything together, add moisture, and help with structure and rising. I like to use small eggs for fairy cakes but if you only have medium ones, you can add a little extra flour as needed to help the batter come together.
- Icing sugar: For our buttercream icing. This is also known as powdered sugar.
- Milk: A splash of milk helps to loosen the buttercream, making it easier to pipe. You can use any kind of milk for this as you only need 1 tablespoon.
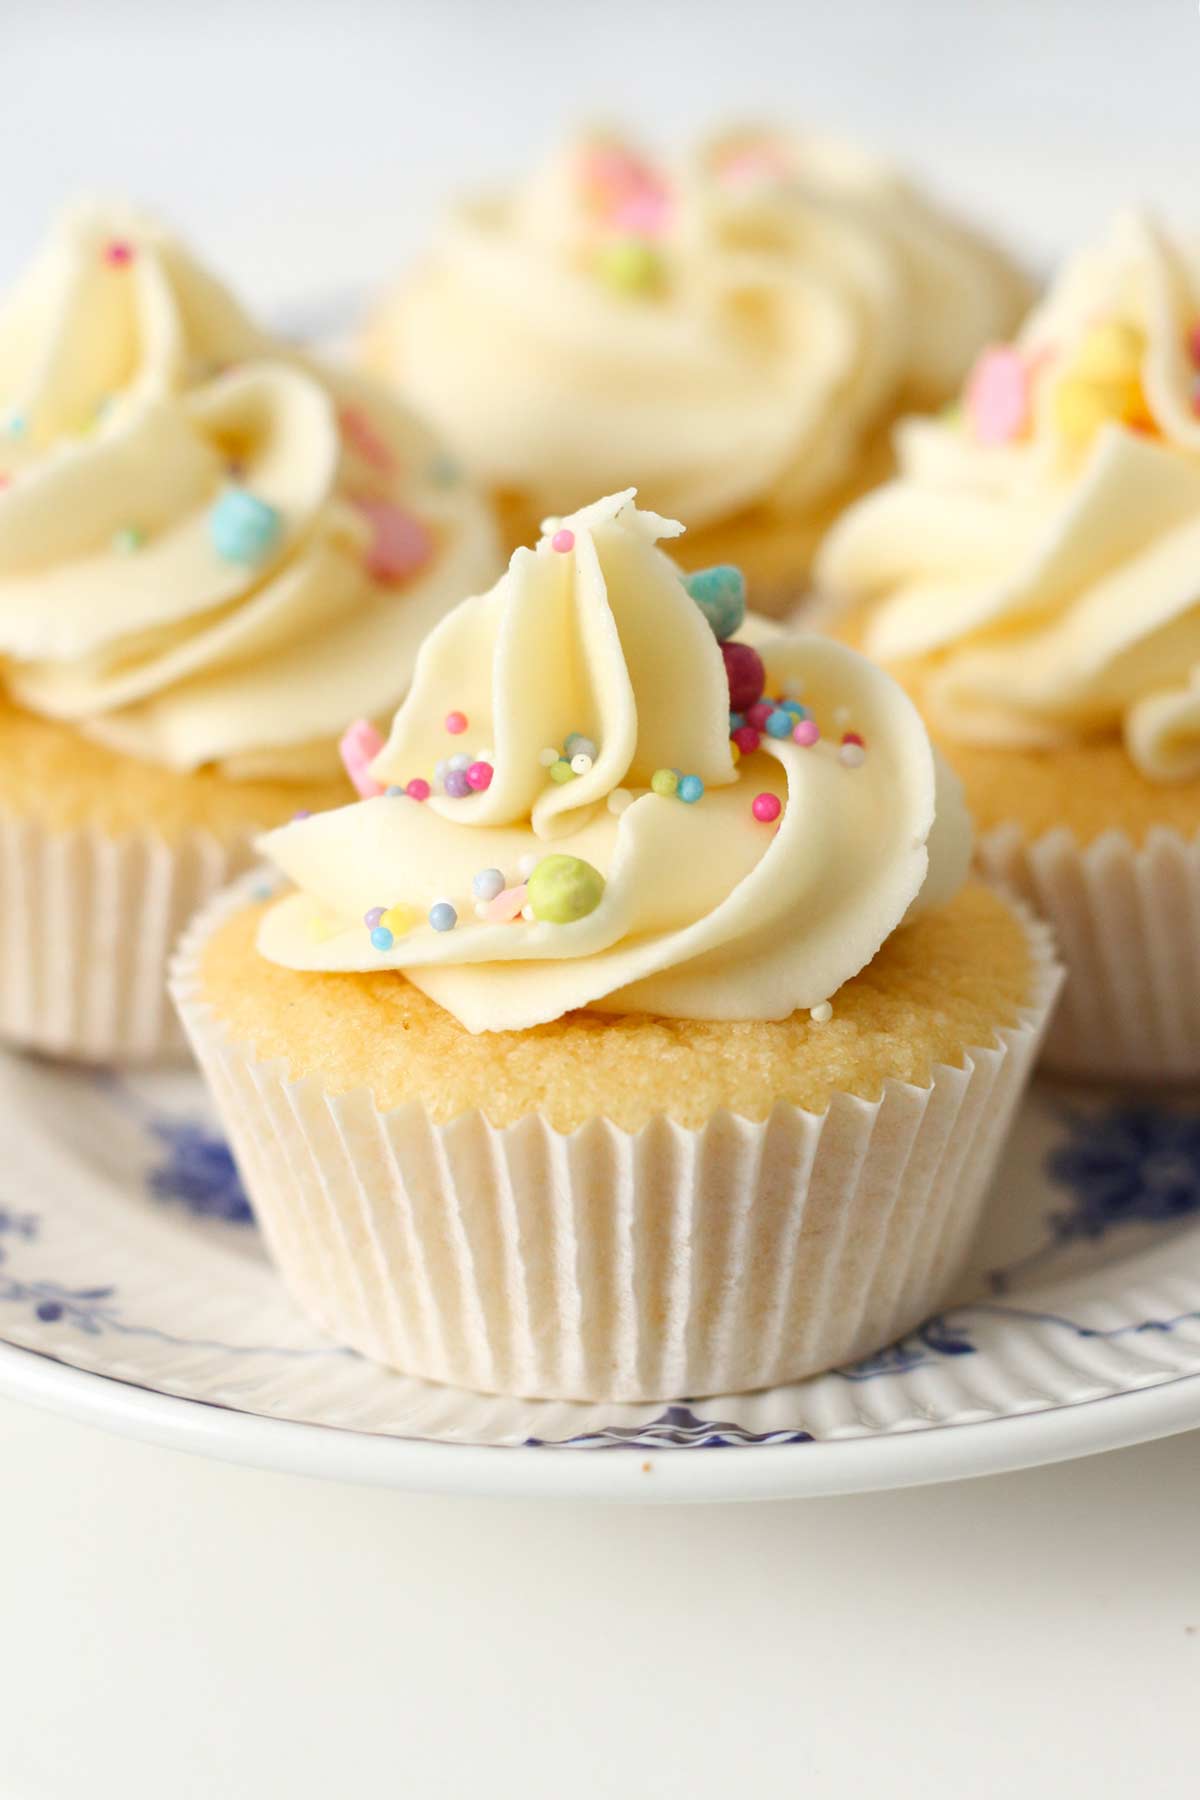
- Cake sprinkles: For a pop of colour and a bit of crunch. You can use any sprinkles you like- hundreds and thousands, vermicelli, or even chocolate shavings.
Equipment
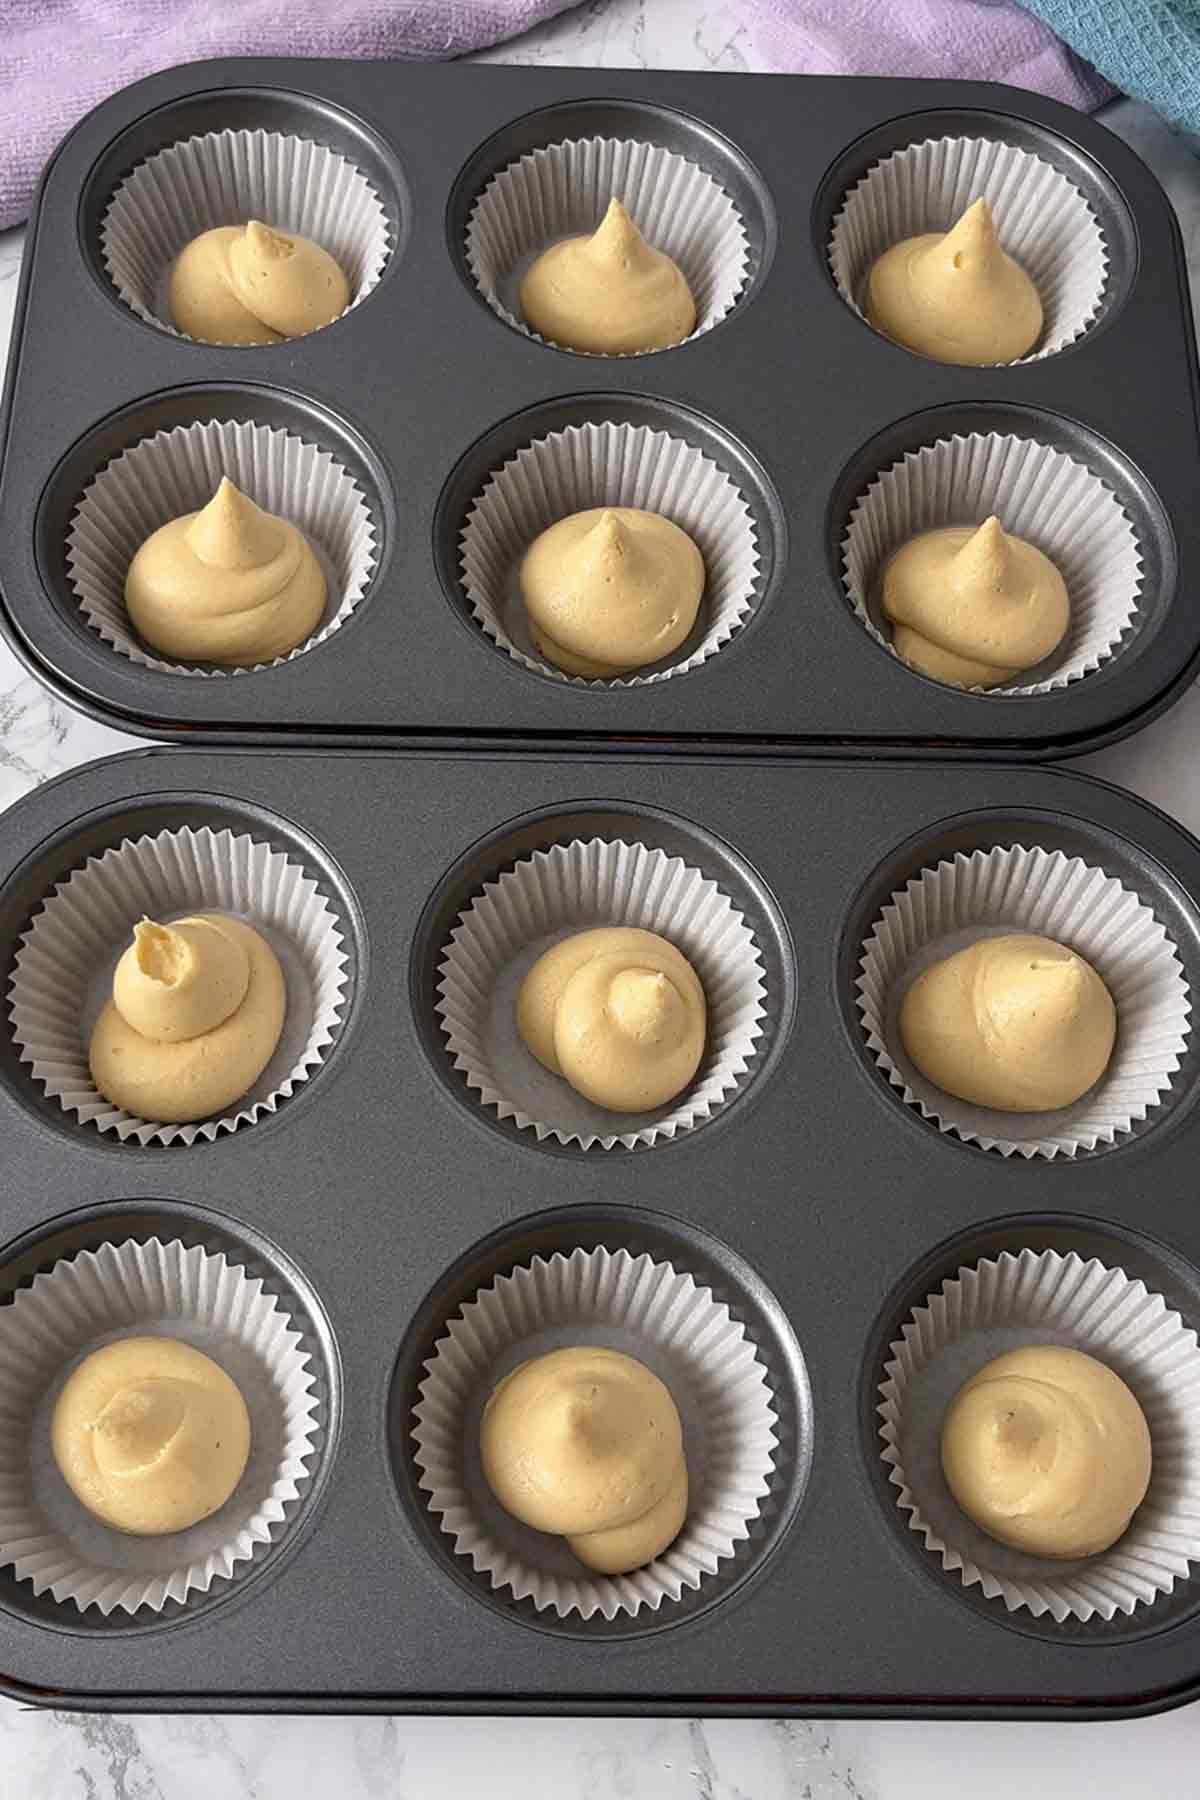
- Cupcake tin: I actually prefer to use a muffin tin for mini cupcakes as the deeper hole helps them rise upwards rather than spilling outwards. You'll need one that can fit 12 cake cases.
- Mixing bowls: A medium one to make the batter in and a small one for the icing.
- Utensils: You'll need a wooden spoon, a teaspoon, and a tablespoon.
- Piping bag and nozzle: This is optional but I think piping the buttercream on makes the cakes look super fancy! If you don't have a piping bag or you're baking with kids, you can use a small spoon to spread the buttercream on instead. Both ways are equally delicious!
- Wire rack: To cool your fairy cakes properly and prevent soggy bottoms.
- Kitchen scales: For accuracy. I always measure in grams for baking as it's much more precise than imperial measurements.
How to make fairy cakes with buttercream icing
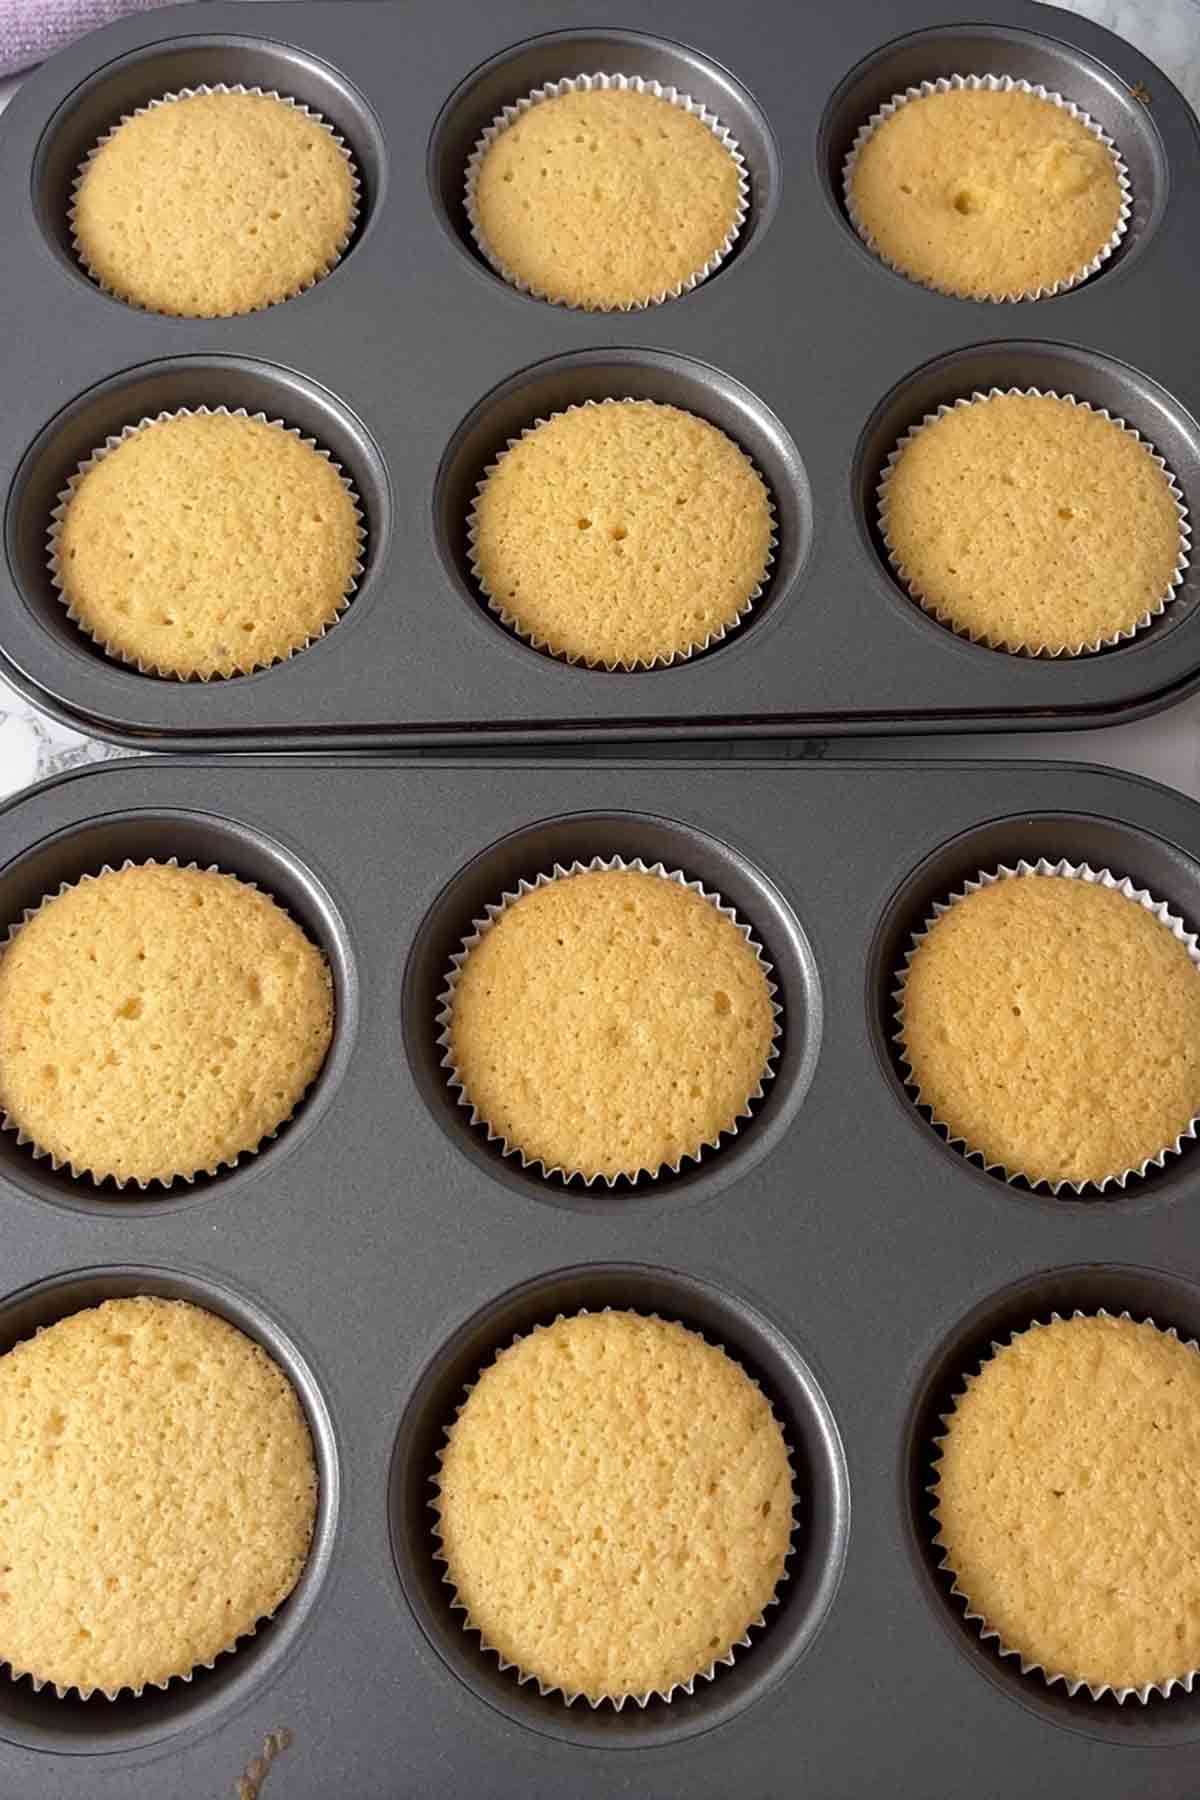
Step 1: Preheat your oven to 160°C (140°C for fan ovens) and line a 12-hole cupcake or muffin tin with 12 fairy cake cases.
Step 2: In a medium-sized bowl, mix together 100g of softened butter and 100g of caster sugar until smooth and fluffy. Then stir in 1 teaspoon of vanilla extract.
Step 3: Add 2 small eggs and 100g of self-raising flour to the bowl, a little bit at a time, until you have a thick, smooth cake batter. Divide the batter equally between your 12 cases.
Step 4: Bake for 15-18 minutes, until a toothpick comes out clean. Let them cool for 5-10 minutes in the tin then transfer them to a wire rack to cool completely.
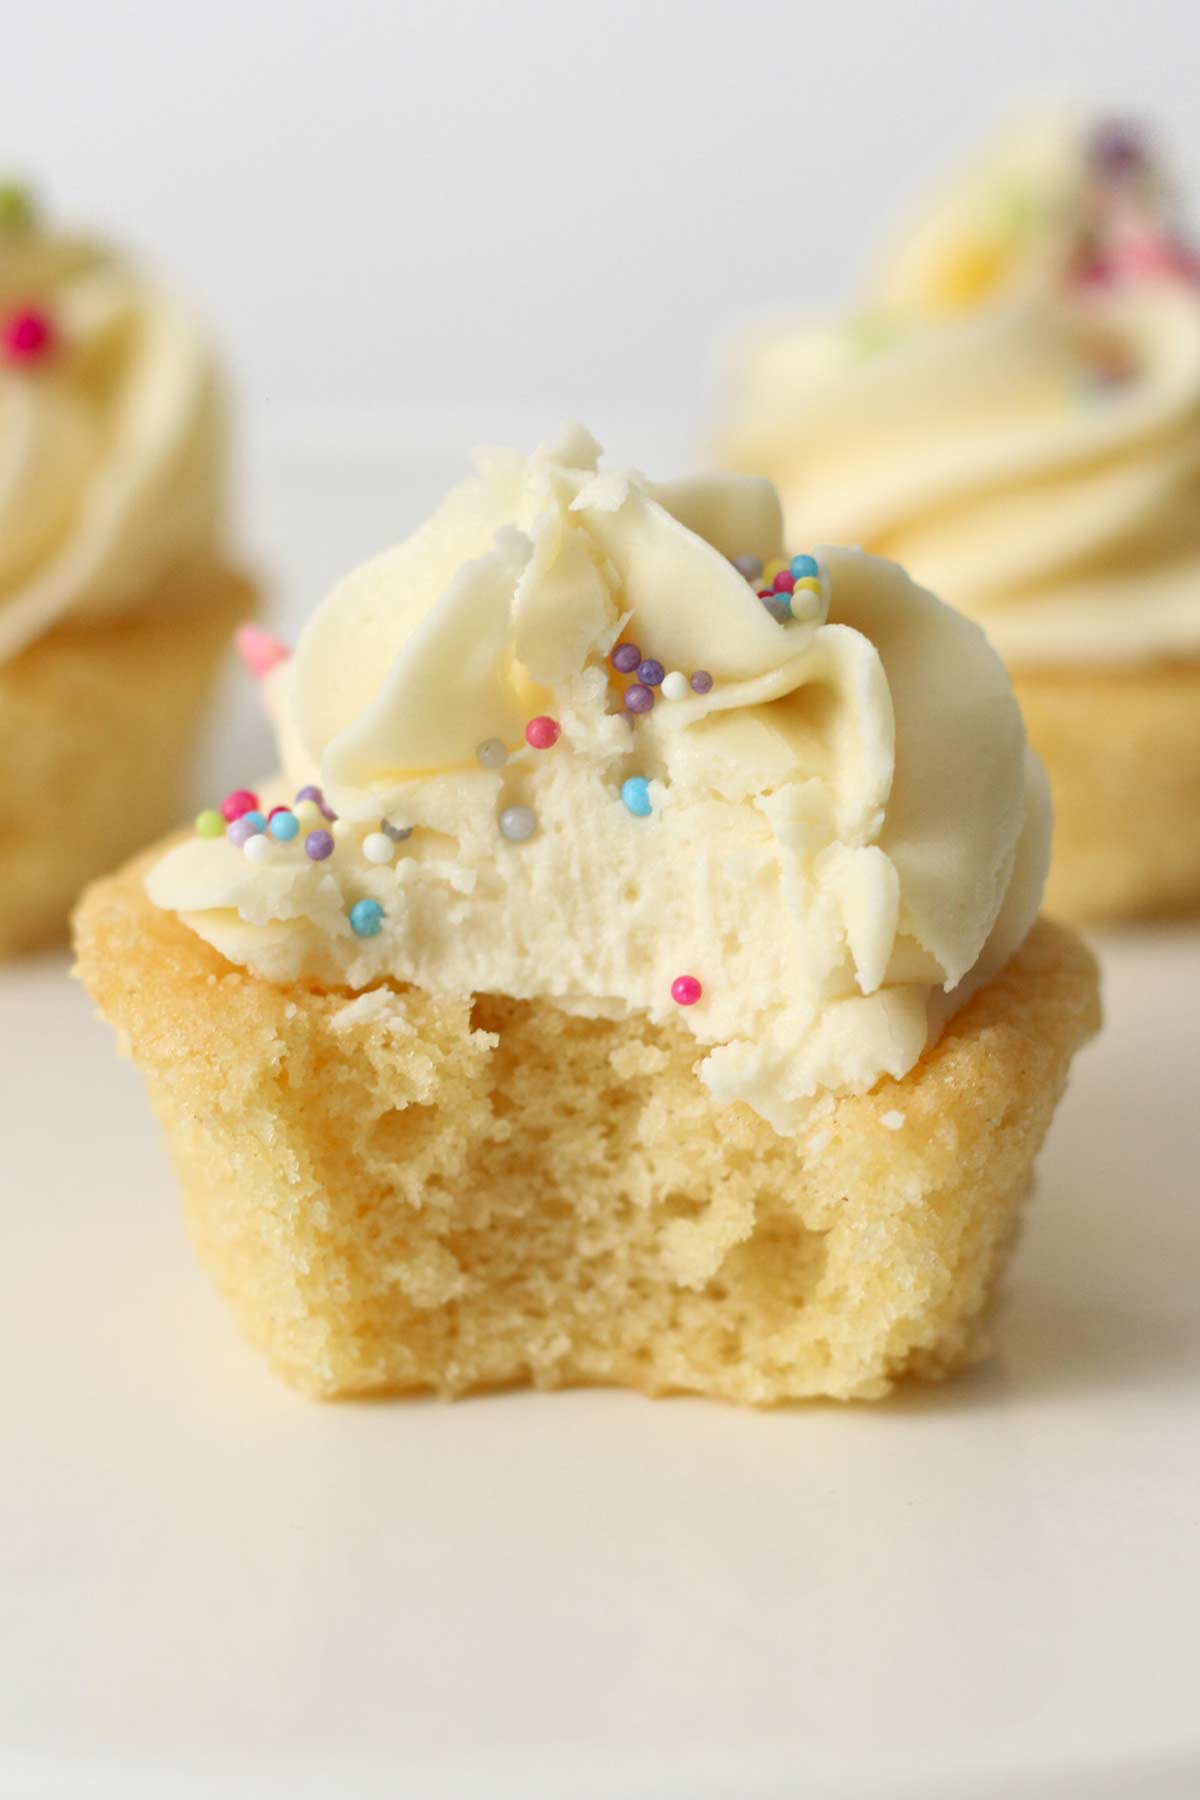
Step 5: Once your mini cupcakes have cooled, it's time to prepare the buttercream. Start by adding 80g of softened butter to a bowl then mix in ½ a teaspoon of vanilla extract.
Step 6: Stir 150g of icing sugar into the butter, a little bit at a time, until it's all used up. Then add 1 tablespoon of milk to help loosen it to a spreadable consistency.
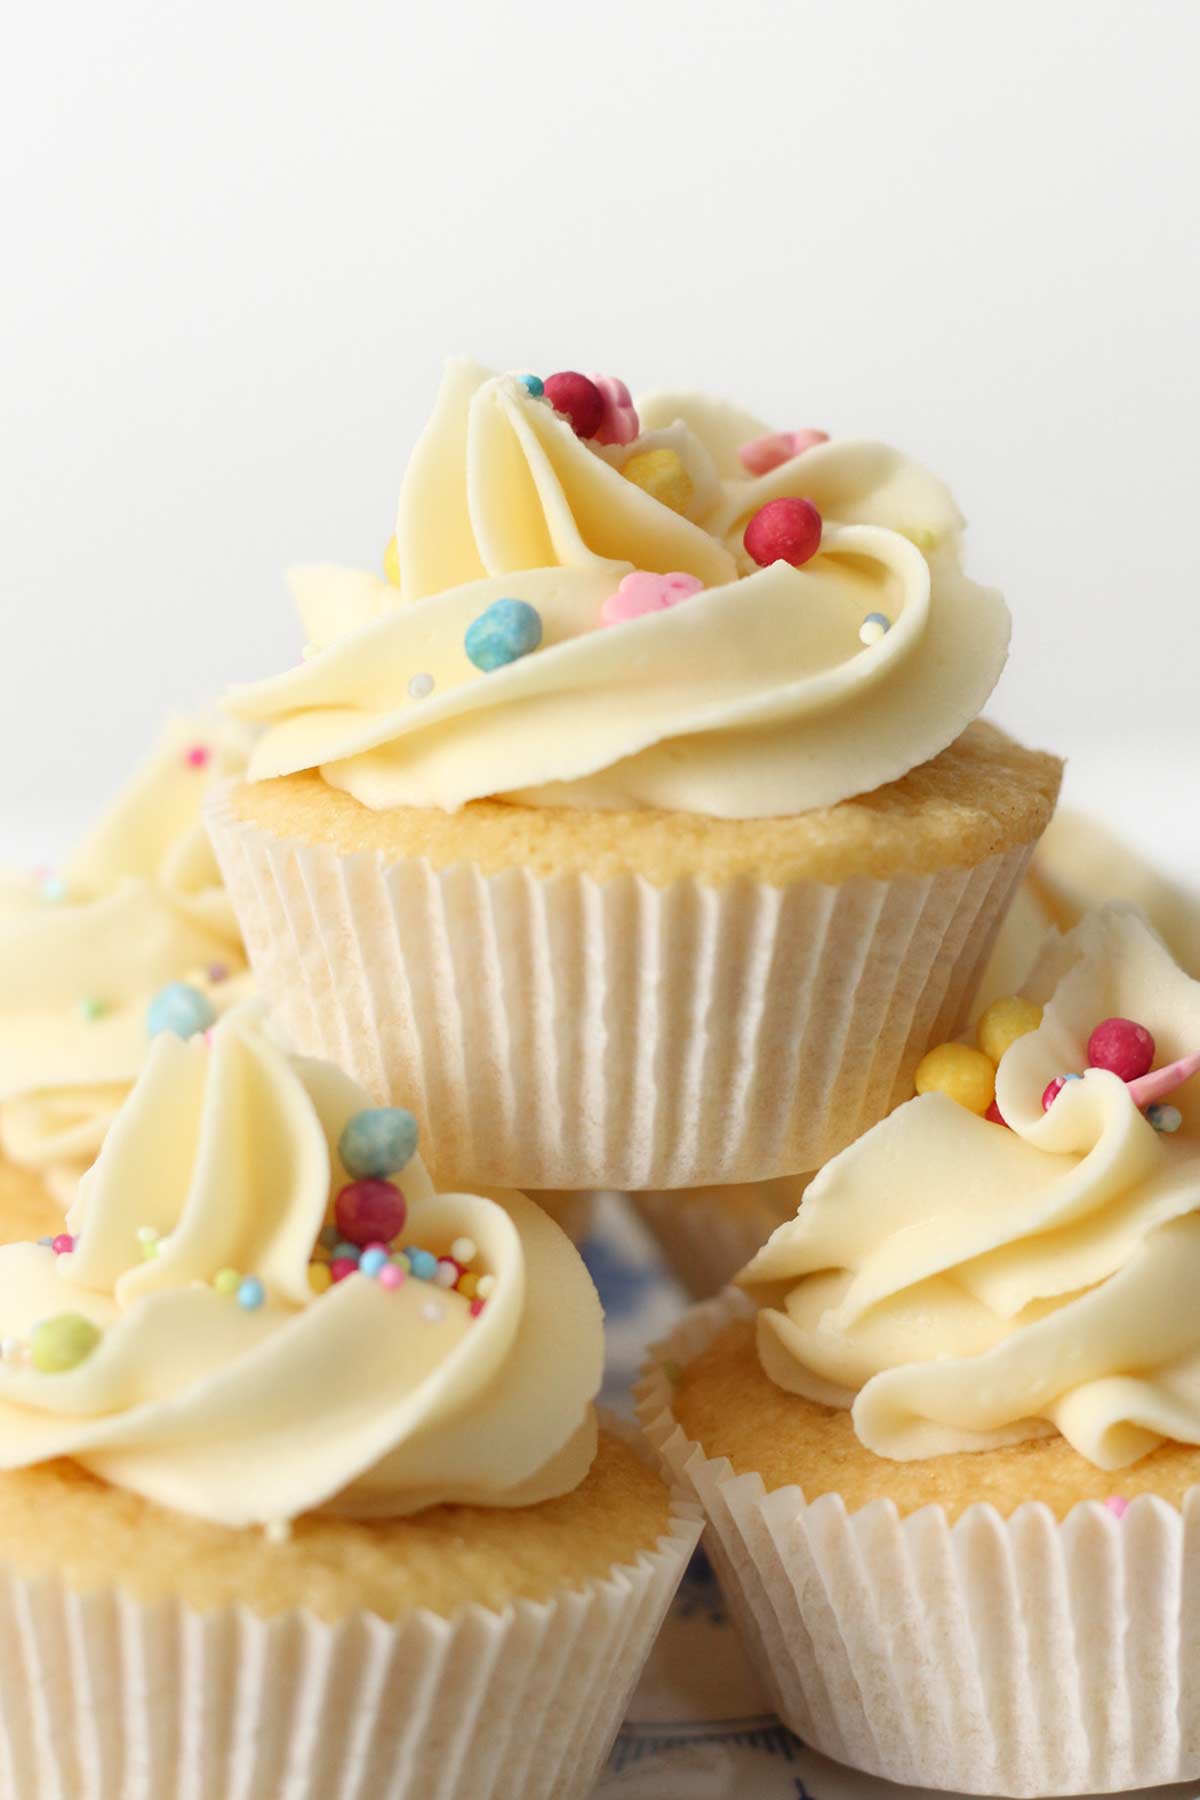
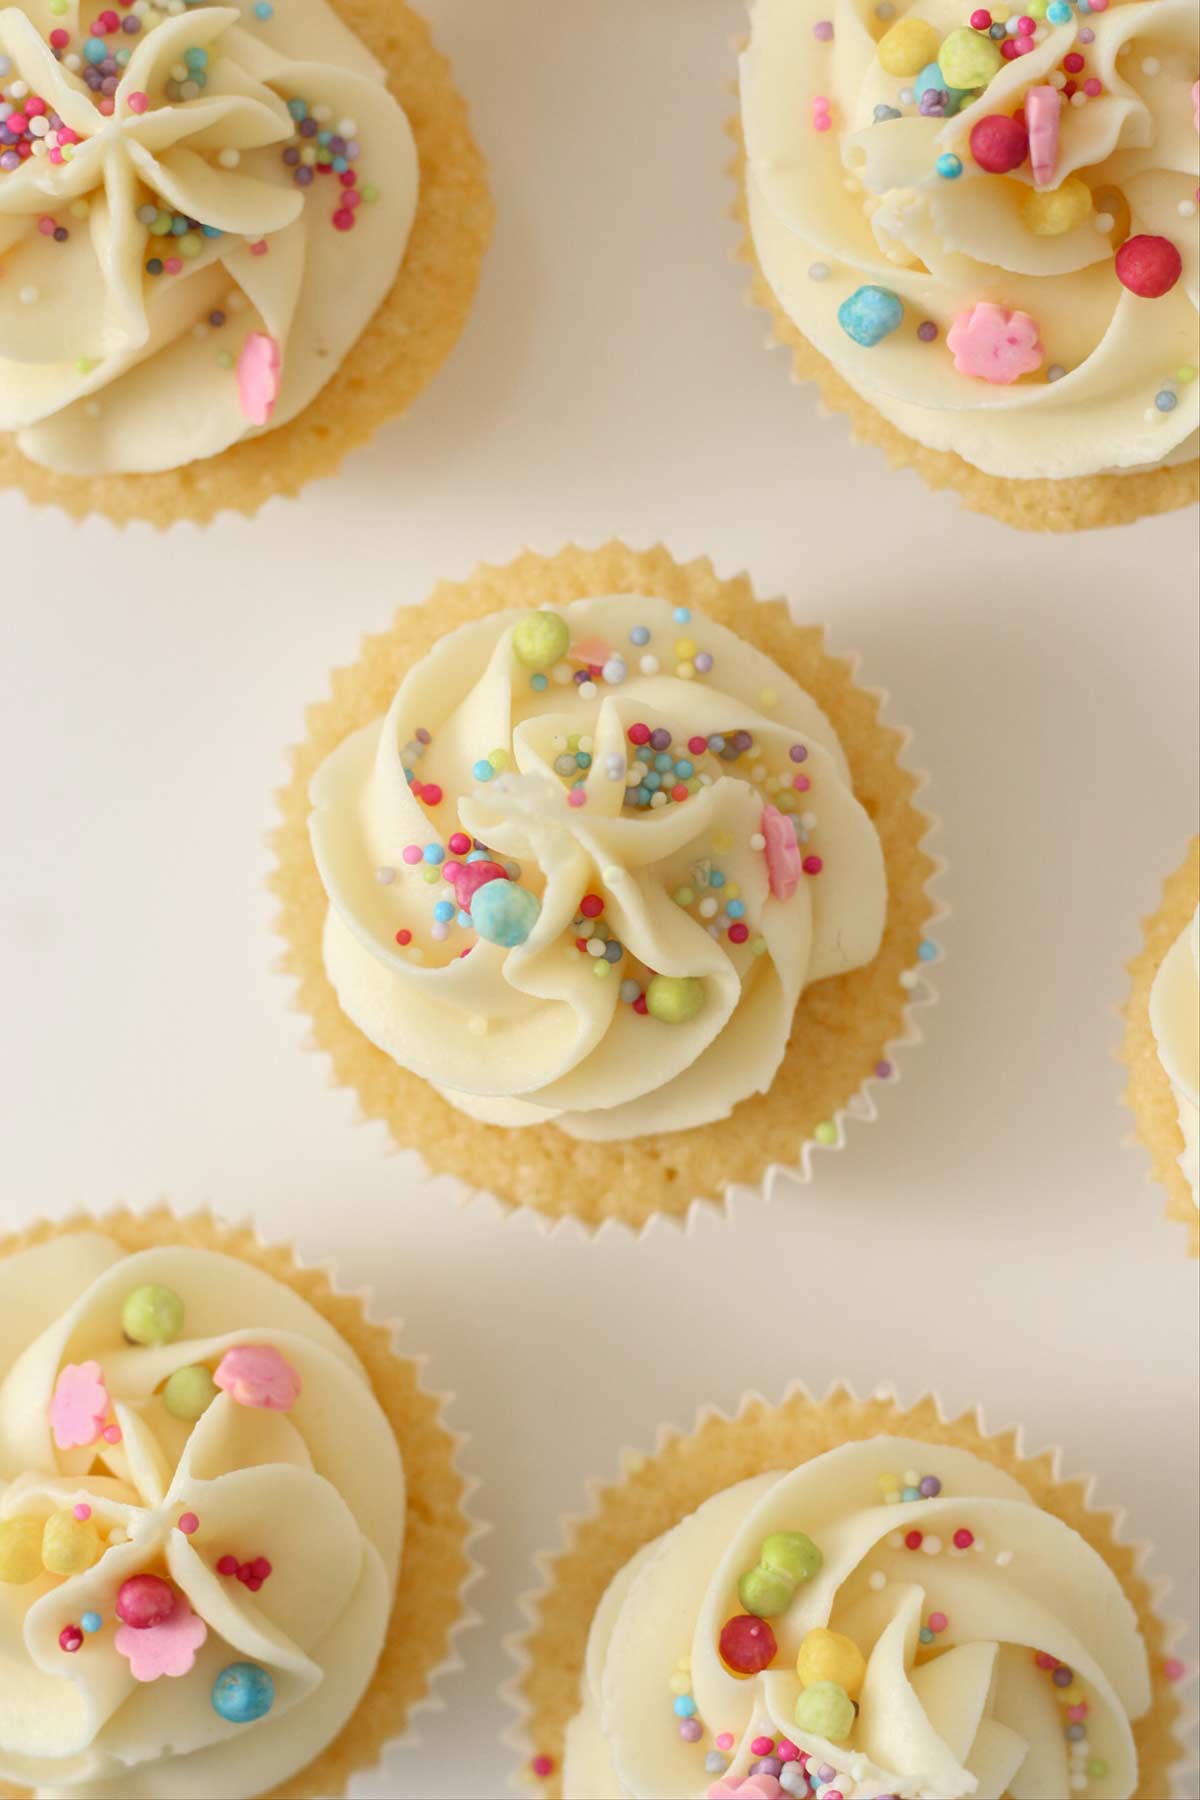
Step 7: Transfer your buttercream to a piping bag fitted with an open star nozzle then pipe some onto each fairy cake.

Step 8: Add a few sprinkles on top of each cake and enjoy!
Top Tips
- Fairy cake cases are NOT the same as regular cupcake cases. Make sure to use the correct ones or you won't get the full amount of cakes out of the batter. I usually get mine from the baking aisle in Tesco.
- Use a piping bag to divide your cake mix quickly and neatly into the cases.
- Using a muffin tin will help the fairy cakes to rise upwards rather than outwards as they bake.
- The consistency of your cake batter will depend on the size of your eggs. If it looks curdled, add more flour and if it's too dry, add more milk.
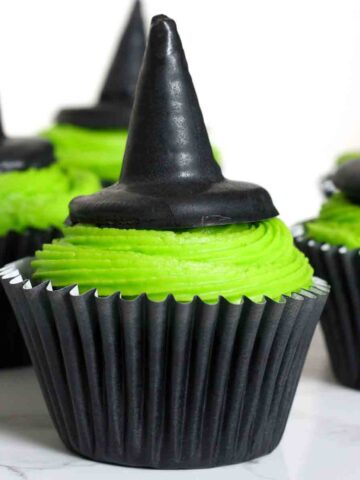
- For a chocolate version, swap two tablespoons of flour for cocoa powder in the batter, and 1 tablespoon of icing sugar for cocoa powder in the buttercream.
FAQs
These will keep well for around 5 days if you keep them in an airtight container. Once they're iced, it's best to store them in the fridge so the buttercream doesn't spoil.
Yes, you can freeze your mini cupcakes with or without buttercream. Just pop them into an airtight container and freeze for up to 3 months. When you're ready to defrost them, let them sit out at room temperature on a wire rack or plate for an hour or so. Do not refreeze.
While butter gives the best flavour, you can use margarine in the cake batter if you prefer. For the buttercream, I highly recommend using real butter for the best flavour and consistency.
Yes, just swap the self-raising flour for a gluten-free self-raising flour blend (one with xanthan gum in it will work best). A 1:1 substitution usually works well but you might need to add a little more milk to achieve the right consistency.
More mini dessert recipes

Fairy Cakes With Buttercream Icing
Ingredients
- 100 g Butter, softened
- 100 g Caster sugar
- 1 Teaspoon Vanilla extract
- 2 Small Eggs
- 100 g Self-raising flour
Topping:
- 80 g Butter, softened
- ½ Teaspoon Vanilla extract
- 150 g Icing sugar
- 1 Tablespoon Milk
- 2-3 Tablespoons Cake sprinkles
Instructions
- Preheat your oven to 160°C (140°C for fan ovens) and line a cupcake tin with 12 fairy cake cases.
- In a medium-sized bowl, cream together the butter and sugar until soft and fluffy. Then stir in the vanilla extract.
- Mix in the flour and eggs, a little bit at a time, until you have a smooth, thick cake batter.
- Divide the cake mix equally between the fairy cake cases and bake for 15-18 minutes, or until a toothpick comes out clean.
- Transfer to a wire rack and let them cool completely.
Topping:
- Add the butter to a bowl then stir in the vanilla extract.
- Stir in the icing sugar, a little bit at a time. Then add a splash of milk to help loosen the buttercream.
- Put the buttercream into a piping bag fitted with an open star nozzle then pipe some onto each cake.
- Top with sprinkles and enjoy.
Video
Notes
- Store in an airtight container in the fridge for up to 5 days.


Shahnaz Begum
Made this and the buttercream went solid and wouldn’t let me pipe so ended up adding more milk. That did the trick but the buttercream ended up being very messy and sticky. Tasted yummy but was not aesthetically pleasing.