
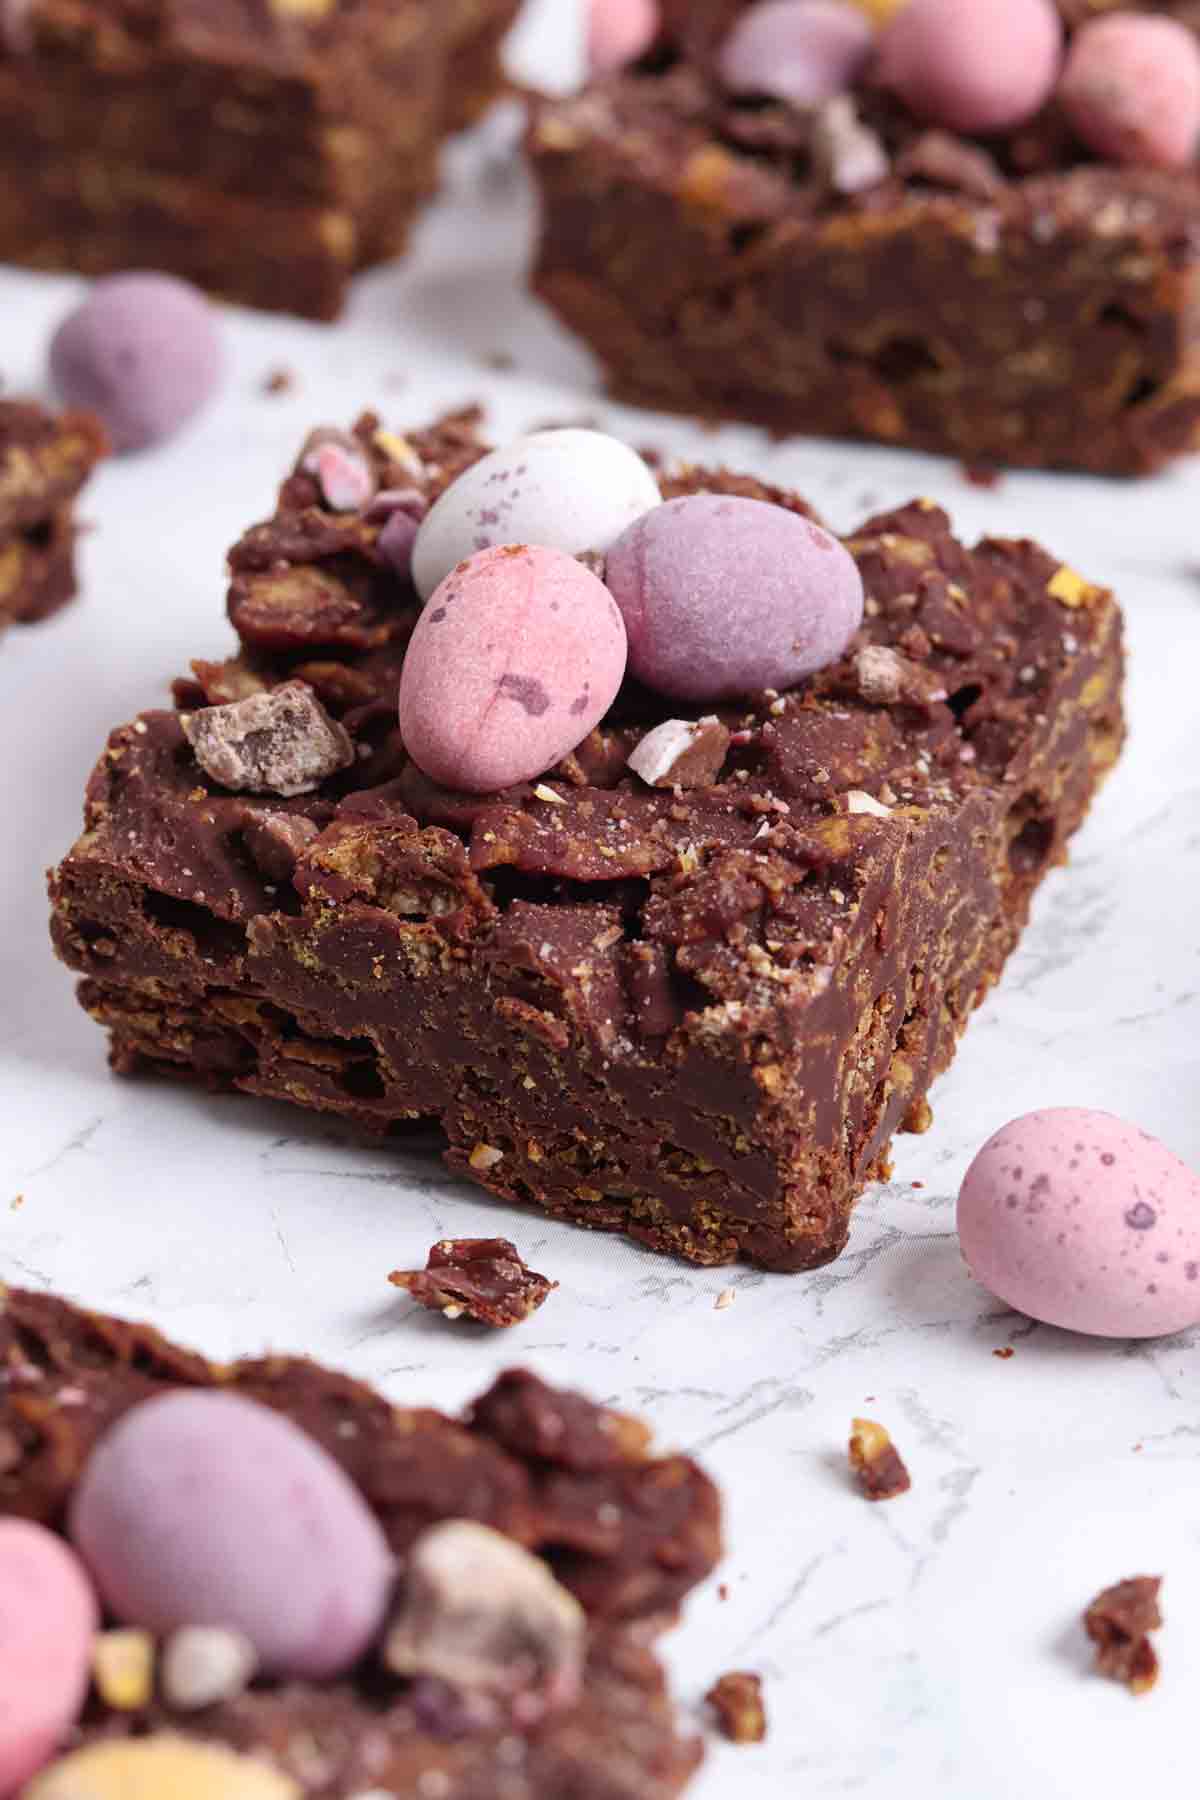
These chocolate Cornflake bars are quick and easy to make and if you top them with Mini Eggs, they're a great Easter treat! All you need is 6 ingredients and 15 minutes of prep time!
I'm sure you've all seen the viral Mini Egg crunch cake going around social media, with the sponge base and crunchy topping (I know, I'm late to the trend, what's new?).
While that looks absolutely DELISH, I thought I'd go old-school, skip the sponge and just have 100% chocolate Cornflake bars, since that is obviously the best part. This recipe is basically a Mini Egg nest traybake rather than individual ones made in cupcake cases.
It's much better if I do say so myself, and a lot less hassle to make! All you need to do is mix up your ingredients, press the mixture into a tin, cut into bars and enjoy. It really doesn't get much easier than this!
While you're here, make sure to check out my other Mini Egg desserts and Easter traybakes, and if you try this recipe at home, leave a rating to let me know what you think. Enjoy!
Ingredients
Here's everything you need to make these easy Mini Egg Cornflake bars...
- Chocolate: I used 200g of 'dark' (semi-sweet with 50% cocoa solids) chocolate and 200g of milk chocolate in the base. Make sure to use chocolate bars rather than chips, so that it sets properly.
- Butter: Helps add moisture and richness, and makes the mixture a little softer so you're not biting through solid chocolate! I prefer salted butter for my desserts but unsalted is obviously fine too.
- Golden syrup: This acts as a binder and helps the chocolate and butter melt together nicely without seizing. If you don't have any, you can swap it out for runny honey or maple syrup.
- Cornflakes: Of course, you'll need some Cornflakes for this recipe. I used 100g, which is just perfect to ensure they are nice and crunchy without being too crumbly.
- Mini Eggs: I used around 80g in total to top my traybake with. Because Mini Eggs are pretty difficult to cut through, you will need to strategically place them 'within the lines' of the slices you plan to cut later. Otherwise, the pressure needed to cut through the Mini Eggs will cause your bars to fall apart.
Equipment
- Baking tin: Ideally an 8x8-inch tin, which is what I use for almost all of my no-bake traybakes. You can also double or divide the recipe as needed if you have a smaller or larger tin, or use my cake pan converter to get exact measurements.
- Baking paper: To prevent sticking. Leave a bit hanging over the edges to make it easier to remove.
- Large saucepan: For melting the ingredients. You can use this as your mixing bowl too by pouring the Cornflakes straight in there.
- Utensils: You'll need a large wooden spoon for mixing, a metal spoon or silicone spatula to press the mixture into the tin, and a sharp knife to cut the bars.
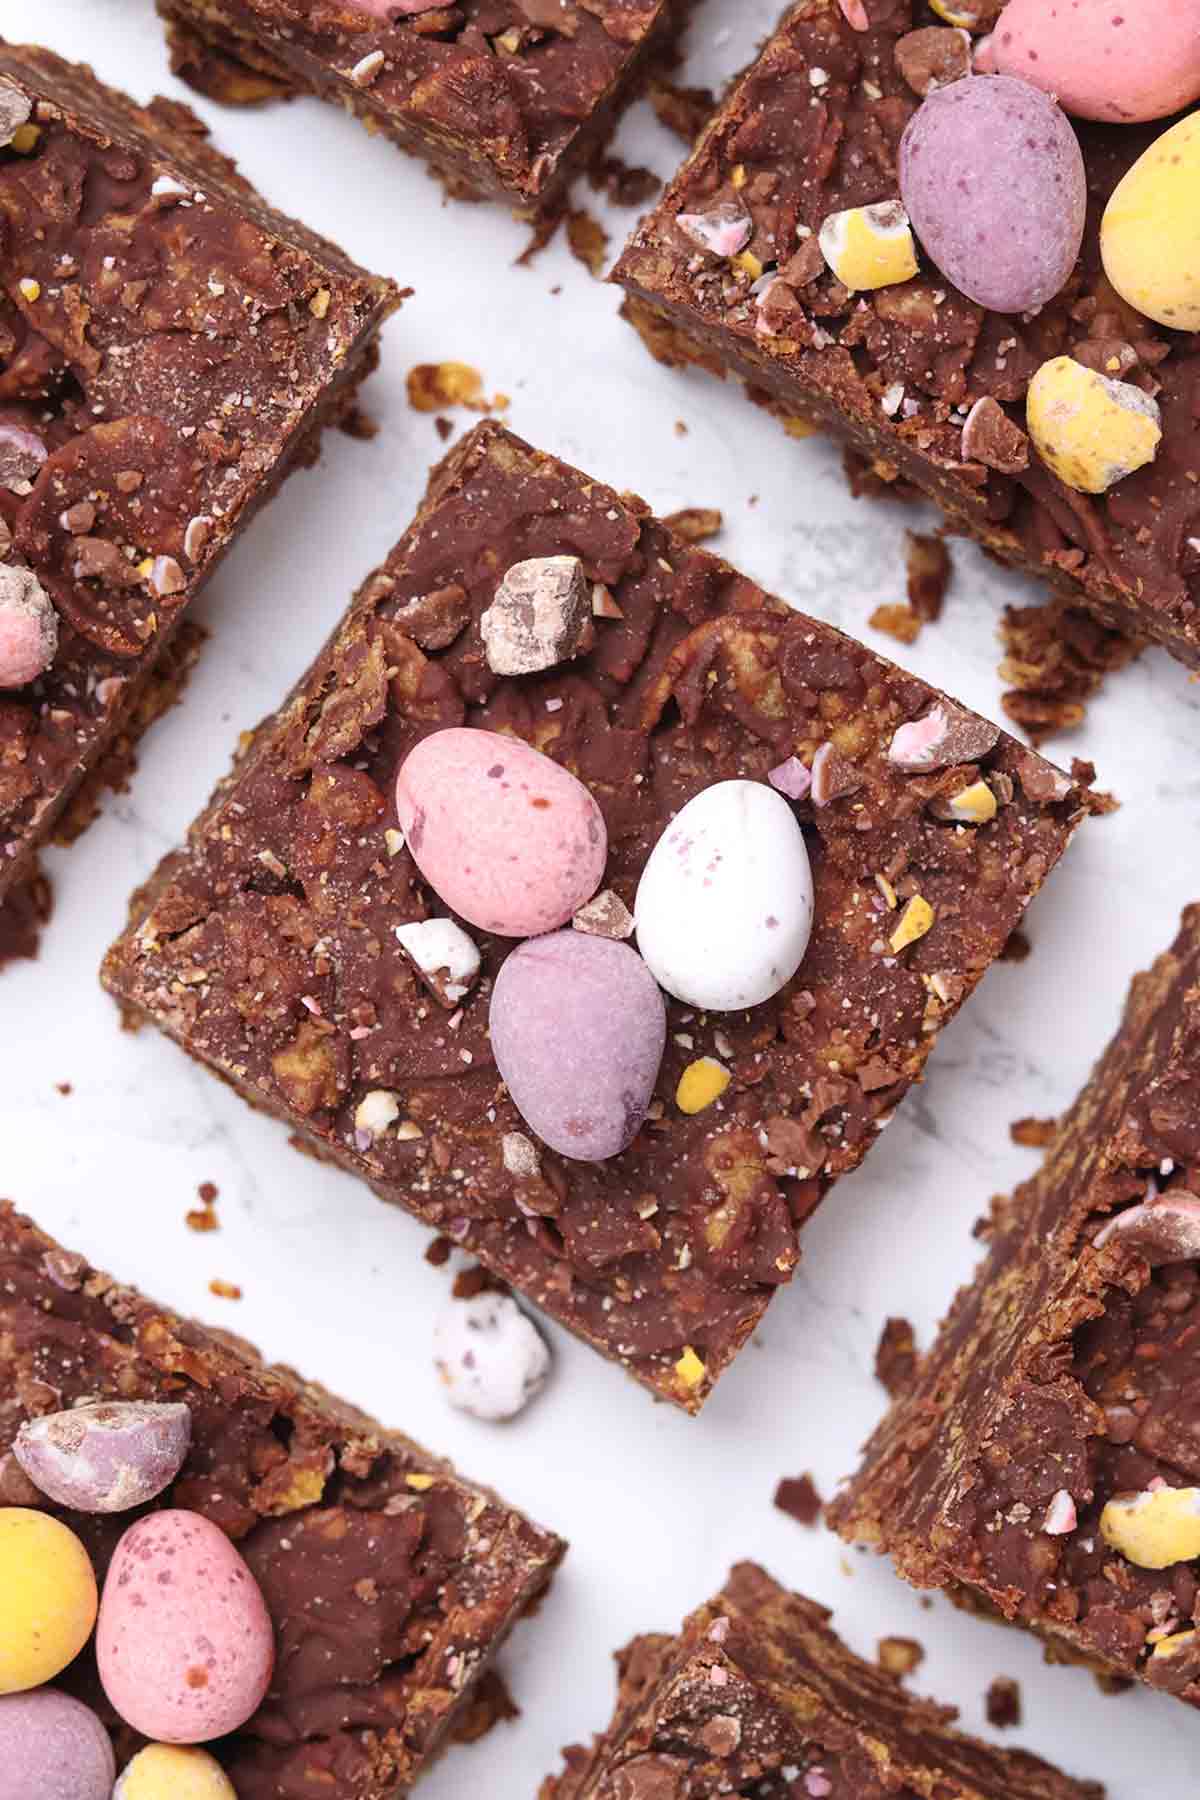
How to make Chocolate Cornflake bars
Step 1: Line an 8x8-inch tin with baking paper. Set it aside, ready for your mixture to go into.
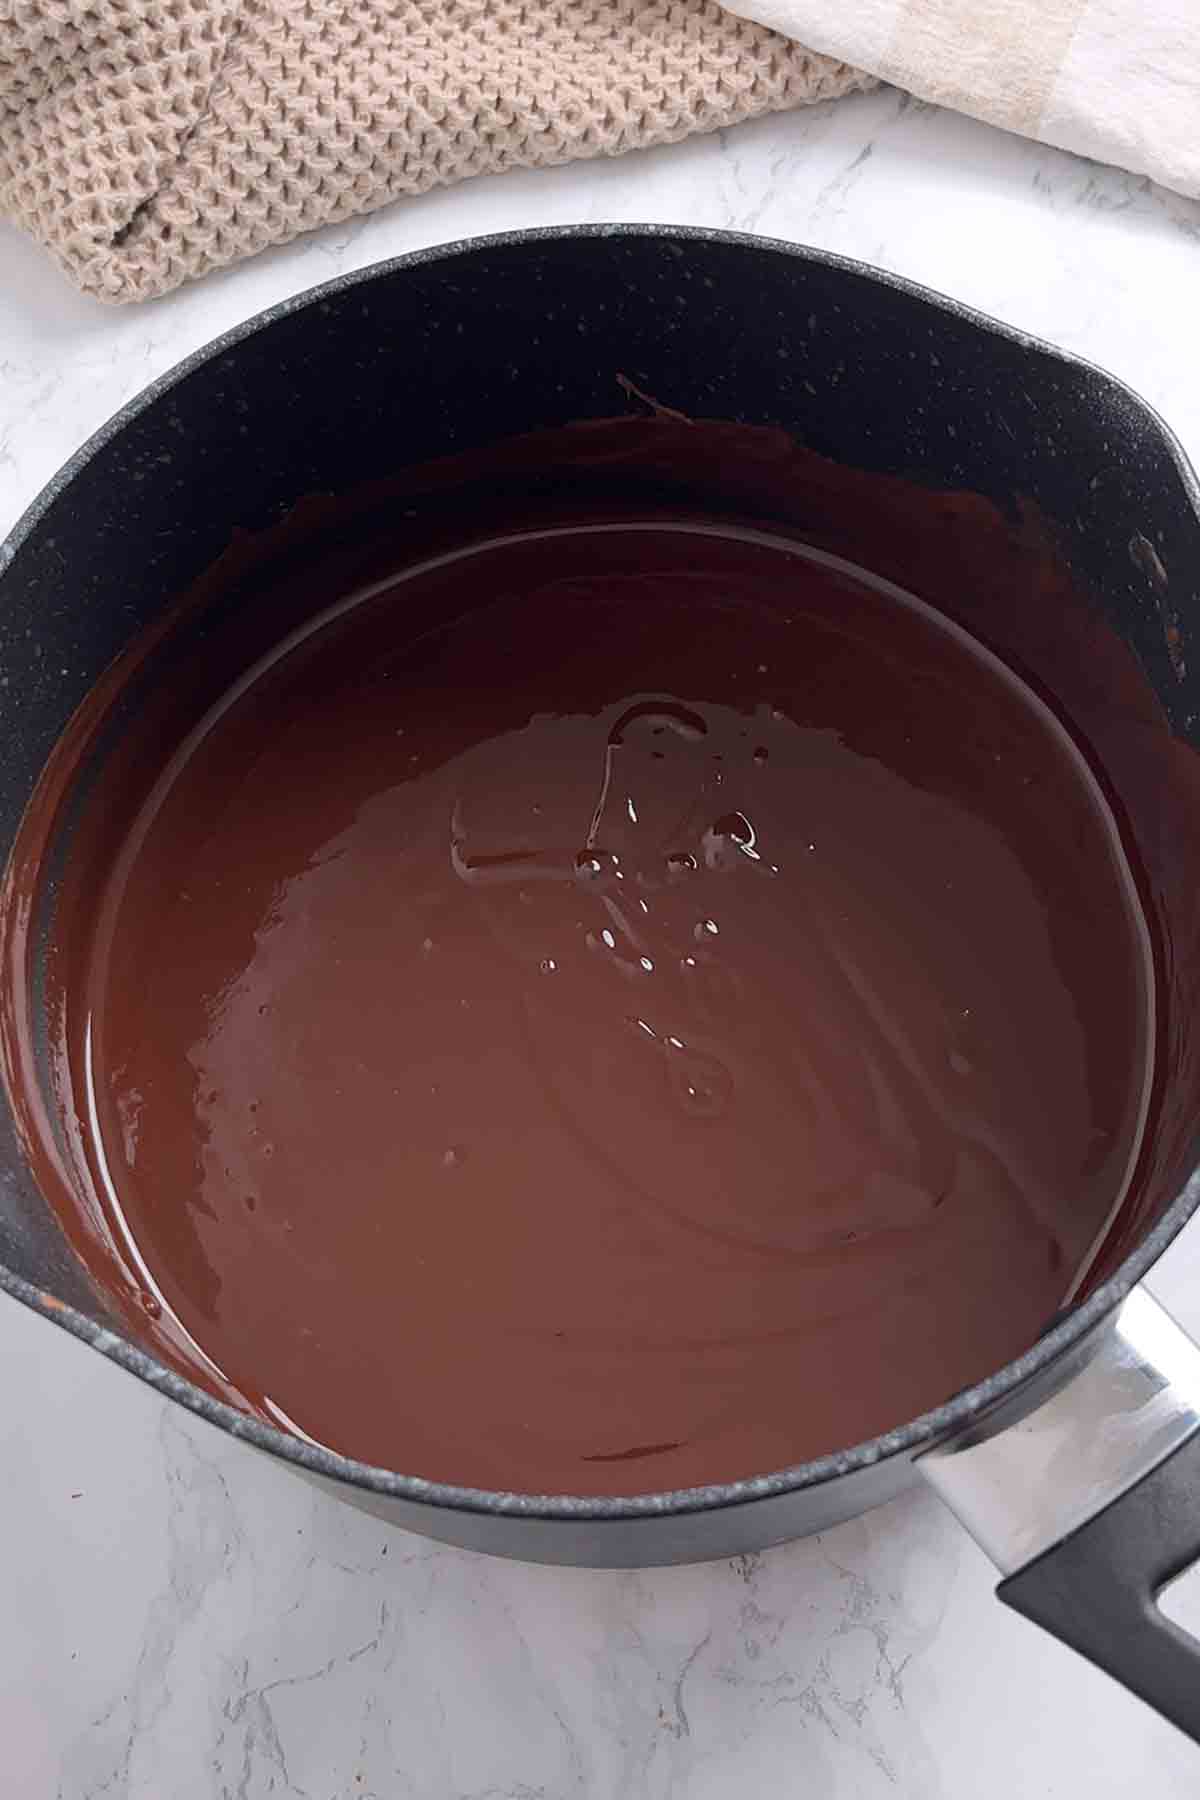
Step 2: Next, break up 200g of milk chocolate and 200g of semi-sweet chocolate. Add them to a saucepan along with 100g of butter and 3 tablespoons of golden syrup. Place the pan over low heat on the stove and stir gently until everything is melted and combined.
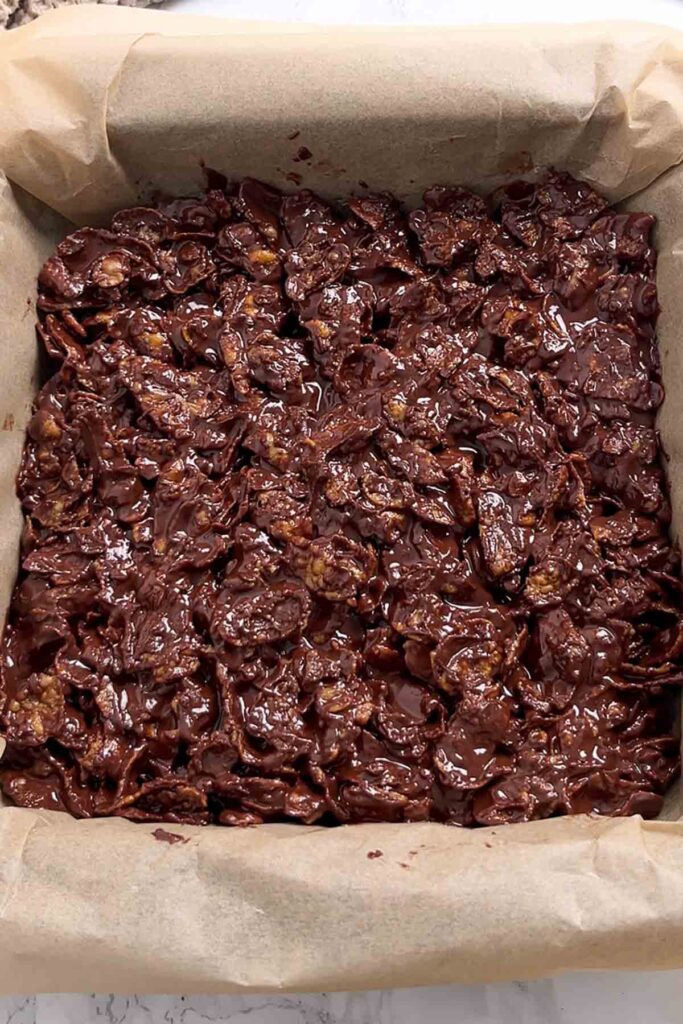
Step 3: Remove the pan from the heat and pour 100g of Cornflakes in. Mix well until they're well coated in the chocolate mixture.
Step 4: Transfer the mixture to your lined tin and press it down firmly into place. Then place your Mini Eggs on top, ensuring whole ones are out of the way of where you'll cut your slices later. Gently press them down to help them stick properly.
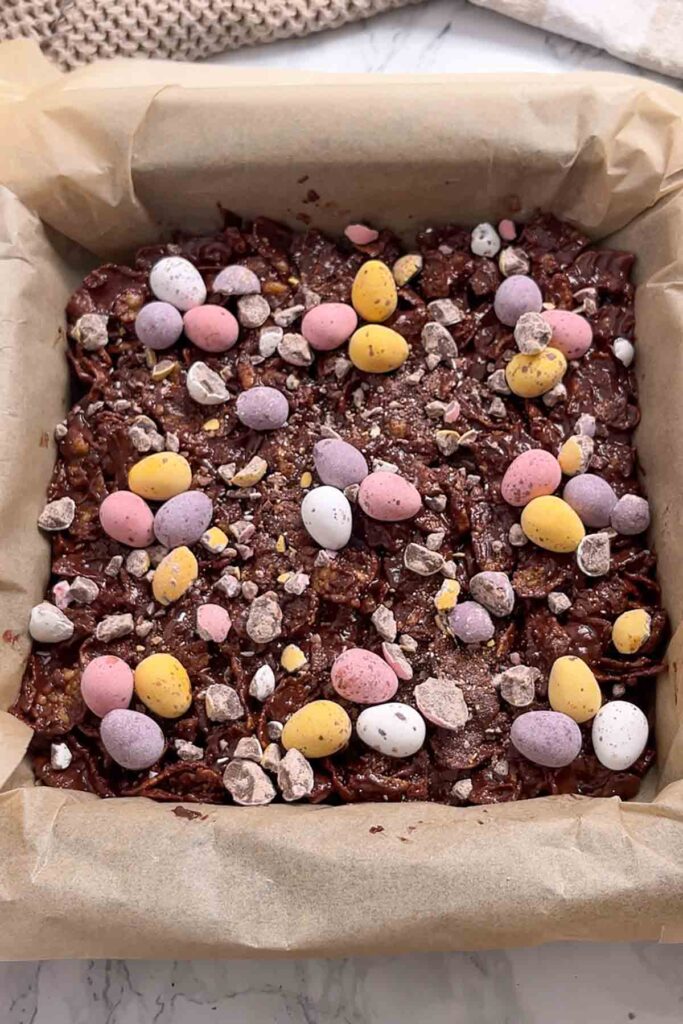
Step 5: Pop the whole traybake in the fridge for 2 hours to set. Then remove it from the tin, cut it into bars and enjoy!
Top tips
- Use cheap dark chocolate for the best texture and flavour. Look at the back of the packaging and find one that has around 50% cocoa content.
- The mixture will look a bit more 'chocolatey' than regular Cornflake cakes but this is needed to ensure the bars don't crumble when you cut them. Resist the temptation to add more Cornflakes!
- For extra decoration, bash some more Mini Eggs with a rolling pin and sprinkle them over the traybake before it sets.
- If you don't want to use dark chocolate in the base, use this recipe instead: 300g milk chocolate, 200g butter and 6 tablespoons of golden syrup. These changes are necessary to prevent the mixture from splitting.
FAQs
These will keep well in an airtight container in the fridge for up to 5 days.
Yes, they can be frozen for up to 3 months, either in an airtight container or wrapped tightly in foil or clingfilm. To defrost, transfer them to the fridge overnight or let them sit out at room temperature for an hour or so. Do not refreeze.
If you want to bake these for another occasion that isn't Easter, you have lots of other topping options. You could use colourful sprinkles, white chocolate chips, freeze-dried strawberries, mini marshmallows, or anything else you fancy! There are no rules!

More cereal treats
- Creme Egg Rice Krispie treats
- Cornflake tart traybake
- Old school Cornflake cakes
- Rice Krispie traybake
- Golden syrup Cornflake cakes
- White chocolate Cornflake cakes
I hope you like my Mini Egg Cornflake bars! If you make them at home, please leave a comment and rating to let me know what you think. Enjoy!
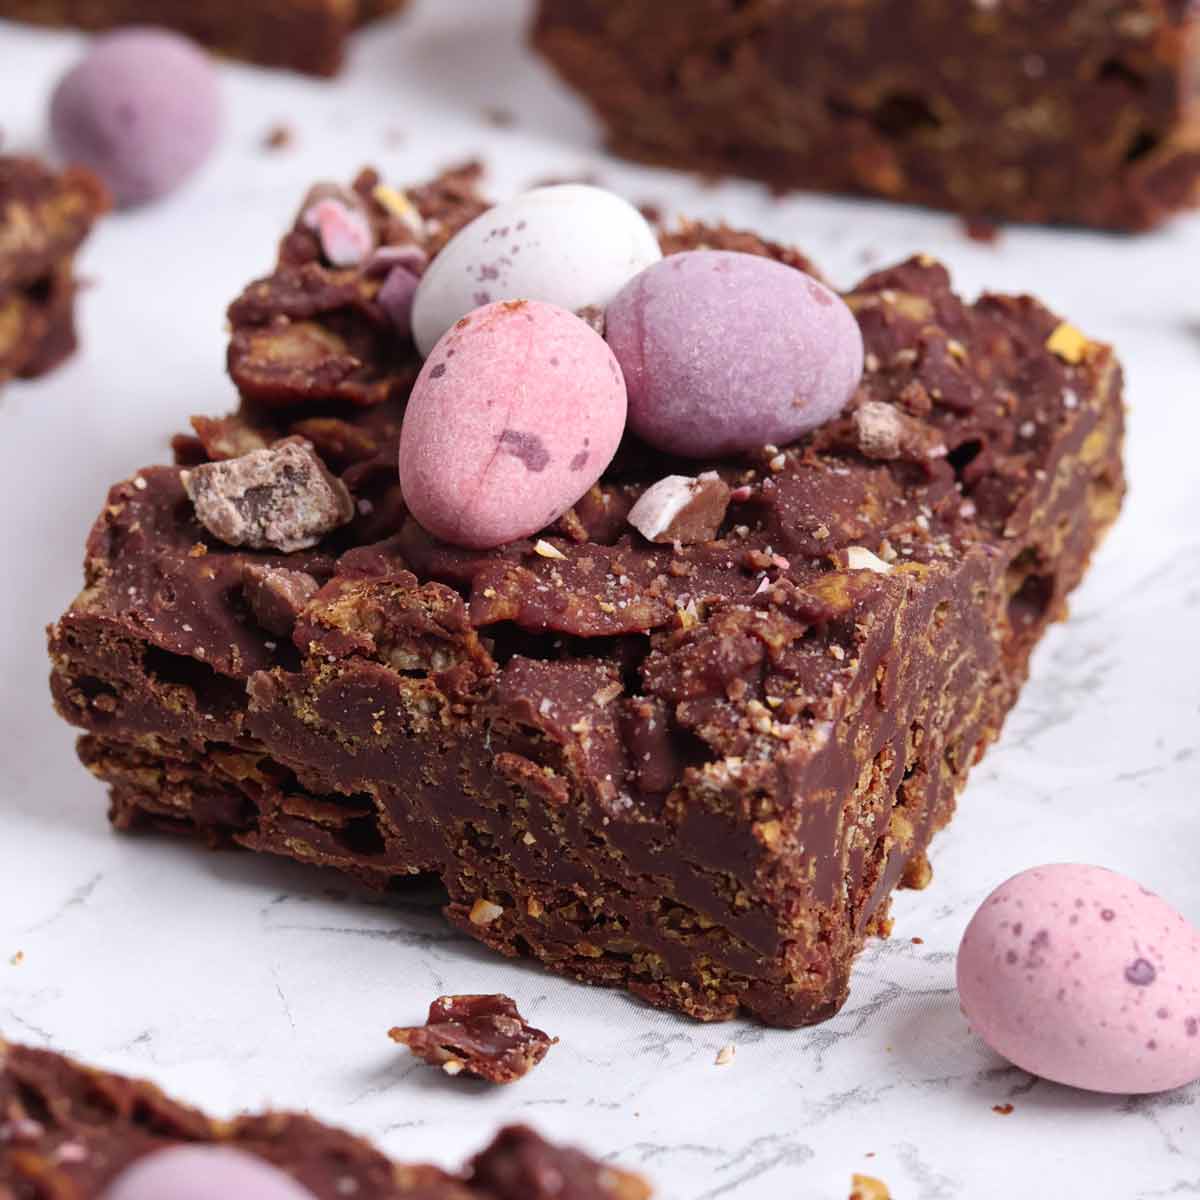
Chocolate Cornflake Bars
Ingredients
- 200 g Dark chocolate (50% cocoa works best)
- 200 g Milk chocolate
- 100 g Butter
- 3 Tablespoons Golden syrup
- 100 g Cornflakes
- 80 g Mini Eggs
Instructions
- Line an 8x8-inch tin with baking paper.
- Break the dark and milk chocolate up into pieces and place them into a large saucepan with the butter and golden syrup. Place the pan over low heat and stir gently until melted.
- Remove the pan from the heat and stir in the Cornflakes.
- Transfer the mixture to your lined tin and press it down firmly into place.
- Top with Mini Eggs, placing them strategically so you won't have to cut directly through them later (this will cause the bars to crumble).
- Place the whole thing in the fridge to set for 2 hours. Then just remove it from the tin, cut it into bars and enjoy!
Video
Notes
- Store in an airtight container for up to 5 days.


Leave a Reply