If you're new to baking, these brownie tips and tricks will help you master them in next to no time! Learn how to get the perfect fudgy texture, shiny crackly tops and a rich, chocolatey flavour.
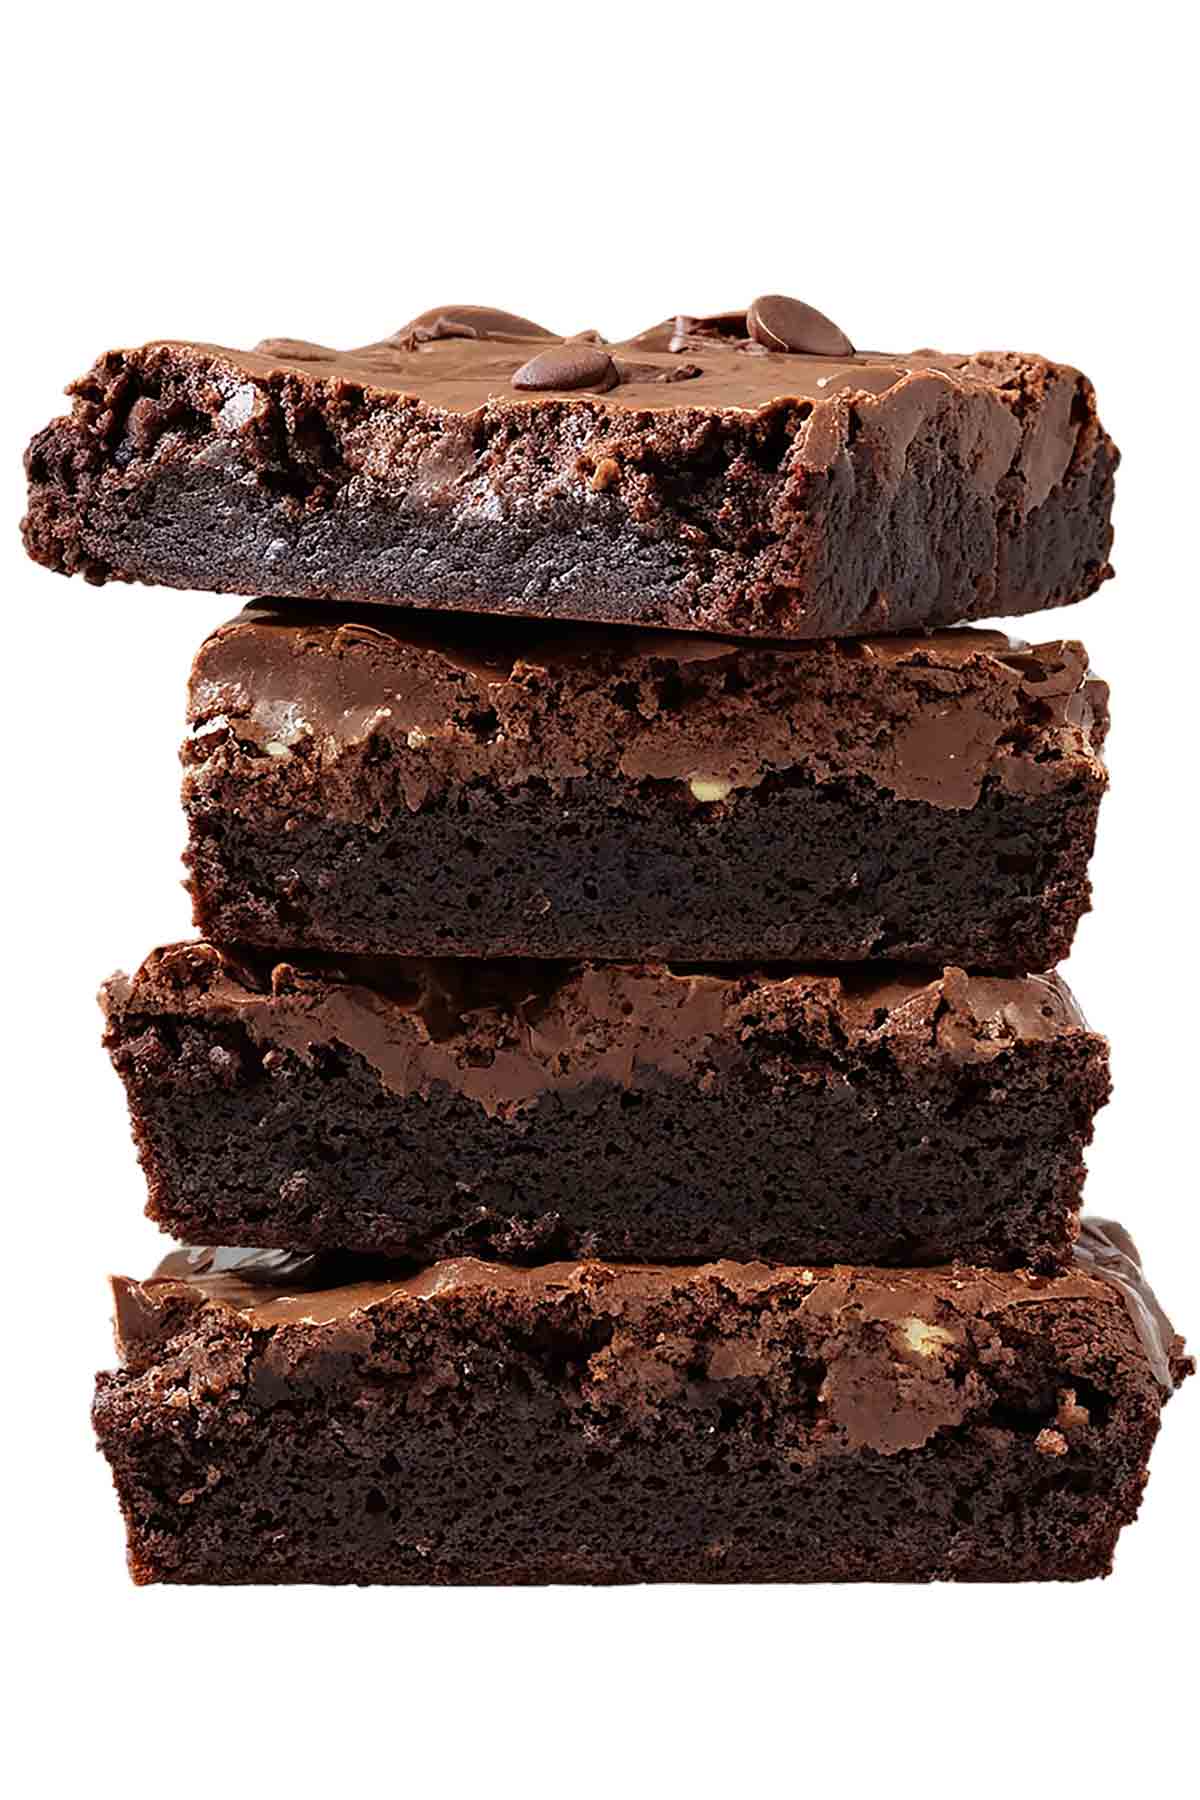
If there's one thing about me, it's that I LOVE a good brownie! Seriously, there is just nothing better than a thick, chewy, fudgy brownie packed full of chocolate chips. The texture is *heavenly*. I have a collection of over 20 brownie recipes on this blog so I've definitely learned a lot of tips and tricks along the way.
If you've ever pulled a batch of brownies out of the oven to find a bubbling pot of lava, ended up with a cakey texture rather than a fudgy one, or had them fall apart when you tried to cut into them, I can help you prevent this! I understand how frustrating brownies can be when you're just starting out, so I created this post with all of my top brownie tips and tricks, which I hope will help you master them once and for all. If you want to learn more, make sure to check out my ultimate guide to brownies.
Without further ado, here are my top 15 tips for baking brownies. Enjoy!
Tip 1: Use the correct tin
It all starts with the tin. Using the correct size baking tin is crucial when making brownies. Always use the exact size your recipe calls for, because a larger or smaller tin will change baking time, thickness and texture. If your tin is too big, the brownies will bake too quickly and end up thin and dry. If it's too small, the edges are likely to burn before the centre is fully done. All of my brownie recipes are tested in a square 8x8-inch tin but some other common sizes you might see in brownie recipes include 9x9 and 9x12-inch tins.
If you don't have the exact size the recipe calls for, don't guess! You can use my cake pan converter to adjust the ingredient quantities to properly fit your tin. That way, you'll get the same results, just scaled up or down.
Tip 2: Line your brownie tin
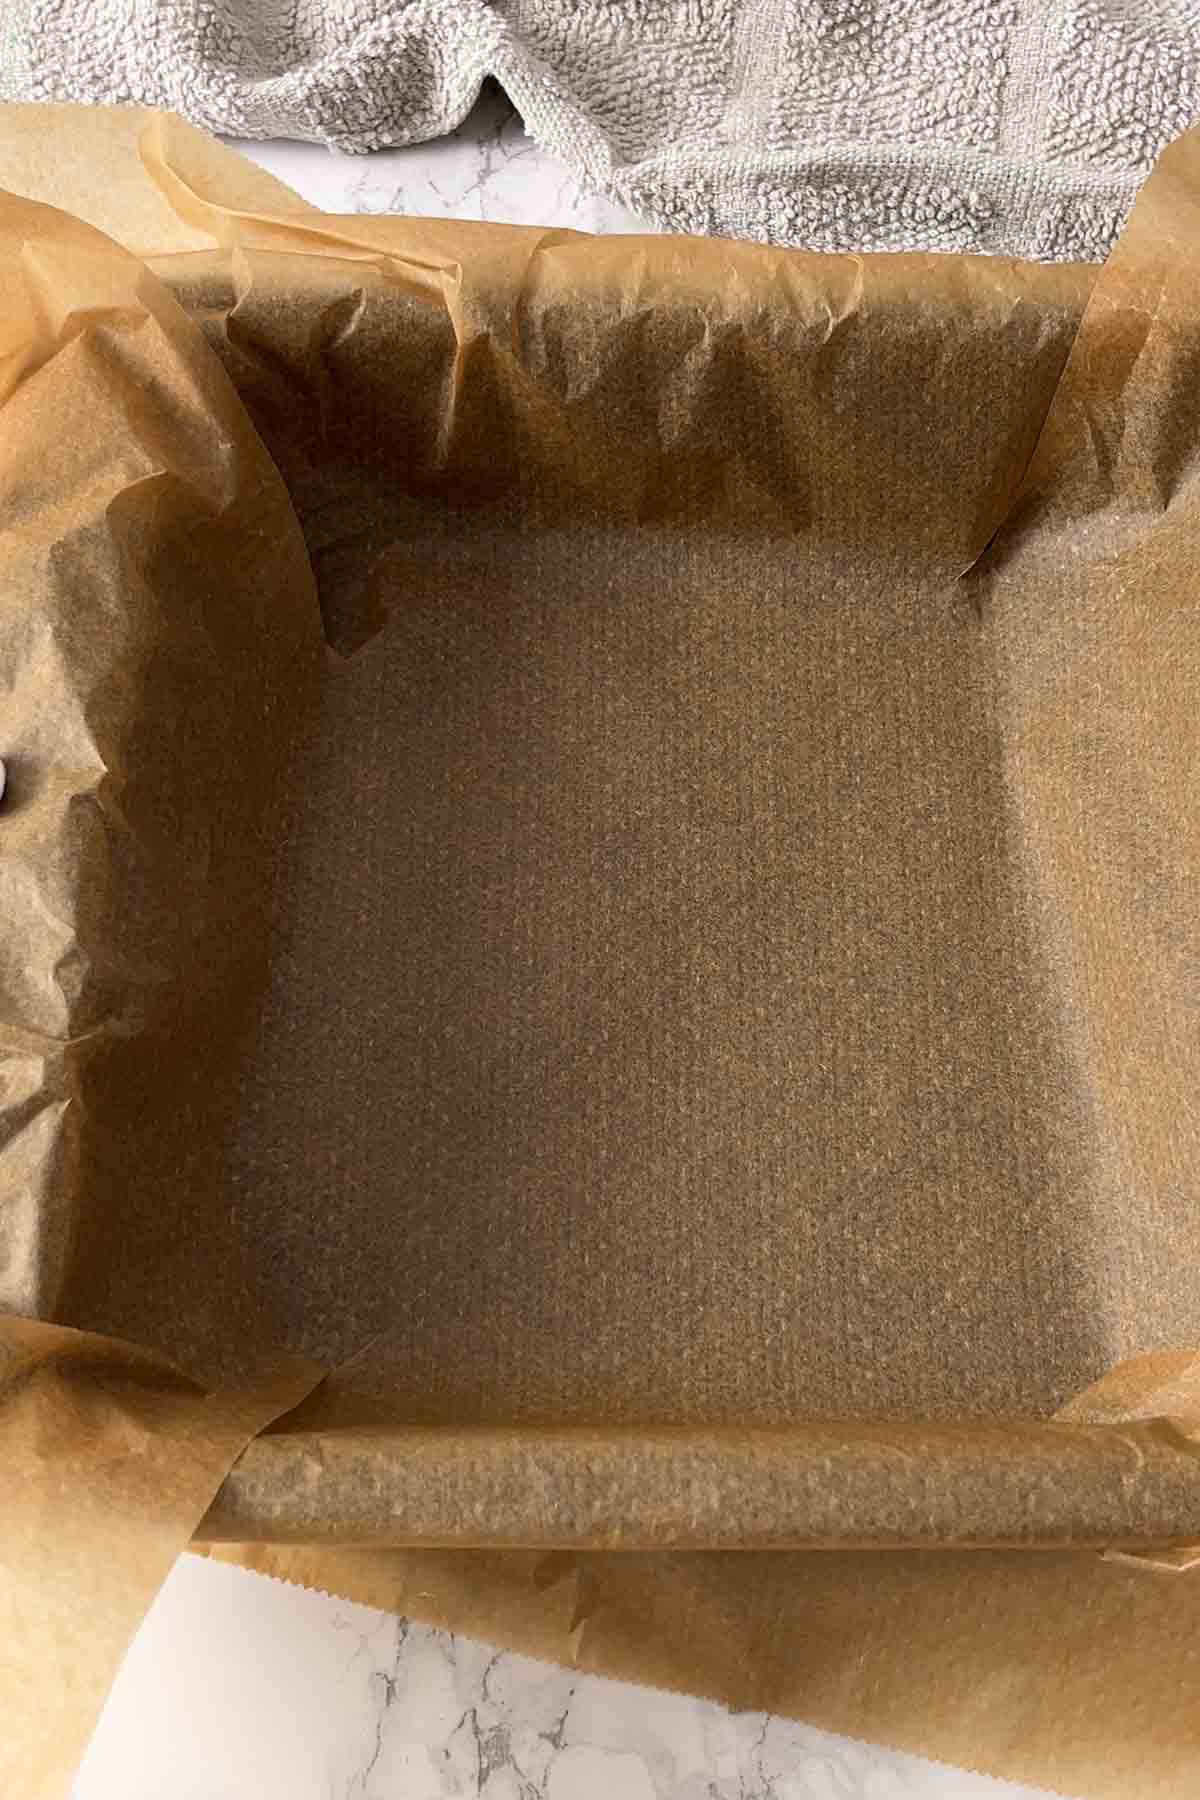
As well as using the correct tin size, you need to learn how to line your tin properly. If you're looking to get clean cuts and prevent crunchy edges, lining your tin is key. A lined tin ensures your brownies don't stick, helps them bake evenly, and makes it so much easier to lift them out in one piece- no need for digging around the corners with a knife and ruining that perfect edge.
Even if you grease your tin, the edges can still get stuck, especially if the brownies are super fudgy. Direct contact with the metal from the tin can also cause them to become hard and crispy, which obviously is not ideal. For best results, use baking paper or parchment paper to line your tin. Avoid wax paper as this can melt and potentially catch fire in the oven. I also don't recommend using tin foil for brownies as this is more likely to stick, especially if the recipe has a lot of sugar in it.
The quickest way to line a brownie tin is by pressing a sheet of baking paper into the edges and corners of the tin so it sits flat. You can make diagonal cuts into the corners to help it fit more snugly. If it's moving around too much or folding inwards, you can clip the overhang with metal binder clips or even clothes pegs, but just make sure to remove them before baking, as they'll melt in the oven.
Tip 3: Weigh your ingredients
If you're serious about baking perfect brownies every time, you absolutely need to use a digital food scale. Baking is chemistry, which means it's all about the right ratios and chemical reactions. Even a small variation in flour, sugar, or butter can change the fate of your brownies!
If you've used any of my brownie recipes, you'll notice I always give metric weights, and this is exactly why. As much as some people love them, cup measurements are simply not reliable for baking. My "1 cup of flour" might be 120g, and someone else's might be 150g, just because they scooped or packed it differently. That's a huge difference when you're looking for a specific texture.
With a food scale, you can be sure that you'll get the exact same result every single time, just like I do when I develop recipes. This is especially important if you've never made brownies before. Most digital kitchen scales are inexpensive and easy to use, and the batteries last for ages. Once you start weighing your ingredients, you'll never look back, I promise!
Tip 4: Use the right chocolate
I've written an entire post about using the correct chocolate for brownies, it's THAT important! The type of chocolate you use will dramatically affect the flavour and texture of your brownies. If you want a rich, fudgy, bakery-style brownie, you can't just grab any old chocolate bar. I recommend using good-quality dark chocolate with around 70% cocoa solids, which will give you that bold, rich chocolate flavour without being sickly sweet. Avoid compound chocolate or candy melts, which can cause oily brownies.
And yes, while good quality chocolate can be a little on the pricey side, it's absolutely worth it! Your brownies are only ever going to be as good as the chocolate you put in them.

Tip 5: Cocoa, not hot chocolate!
In my many years as a baking blogger who loves brownie baking, I've seen this mistake come up more often than you'd think: beginners using hot chocolate powder instead of cocoa powder when making brownies. Please don't do this!
While they might seem similar at a glance, cocoa powder and hot chocolate powder are completely different things. Cocoa powder is pure and unsweetened, which helps to give brownies their deep chocolatey flavour and fudgy texture. Hot chocolate powder, on the other hand, is a sweetened mix that often contains sugar, milk powder, and a bunch of fillers. Using this will make your brownies overly sweet, lacking in flavour, and it might even affect the texture too. Stick with unsweetened cocoa powder for best results- I love Dr. Oetker's fine dark cocoa powder. If a recipe calls for Dutch-processed (alkaline) or natural cocoa powder (acidic) specifically, be sure to use what it recommends, as this can also affect how your brownies rise and taste.
Tip 6: Butter is best
While oil can help to make brownies more moist, it lacks the depth of flavour that butter gives. Butter helps to create that dense, melt-in-your-mouth texture because it solidifies as the brownies cool, helping them set more firmly.
Because oil doesn't solidify the way butter does, the final texture will be softer and more cake-like. If your goal is fudgy brownies, butter is always the best option. Side note: When using butter in brownies, make sure to melt it rather than cream it. Creamed butter adds air and leads to a more cakey texture.
Tip 7: Cool it
Most fudgy brownie recipes will instruct you to melt the butter and chocolate together, then fold that mixture into a separate bowl of whisked eggs and sugar. This method is key to creating a rich, fudgy texture. However, it's crucial to let the melted butter and chocolate mixture cool slightly before combining it with the eggs. If it's too hot, it can scramble the eggs and ruin the batter.
I find 10 minutes of cooling time usually does the job- it doesn't need to be completely cold, just not boiling hot. Taking this small precaution will help your batter stay smooth and glossy.
Tip 8: Whisk properly
Whisking the sugar into the eggs properly helps to dissolve the sugar crystals, which makes the batter smoother and helps get that shiny, crackly crust on top. This is why I recommend caster sugar in my recipes, because it'll dissolve much faster than granulated sugar.
If the sugar is not dissolved enough, you'll end up with grainy brownies and won't get much of a crust on top. You can test the mixture periodically by rubbing a bit between your fingers- if you can still feel large grains of sugar in there, keep whisking.
Whisking really does make a HUGE difference to the appearance and texture of your brownies, so don't rush it! It does take a while but be patient! I usually use my electric hand whisk for ease but a stand mixer will also work.

Tip 9: Choose the correct flour
The next of my brownie tips is about flour- it matters more than you think when it comes to brownie texture. If you want classic, fudgy, dense brownies (which most people do), the best choice is plain flour, also known as all-purpose flour. This type of flour doesn't have any added leavening agents like baking powder or baking soda, which means your brownies won't puff up too much in the oven. Instead, they'll stay dense and gooey.
Self-raising flour, on the other hand, contains baking powder, which acts as a leavener. If you use it in brownies, it'll make the texture much more cake-like than fudgy. If you specifically want cakey brownies, then by all means use self-raising flour, but for most classic recipes, it'll lead to a result that's too light and fluffy.
In case you didn't know, eggs are actually a natural leavener. When you whisk them (especially with sugar), you incorporate air into the mixture, and this is usually all the lift that a brownie needs. Unless your recipe specifically calls for self-raising flour, I recommend sticking to plain or all-purpose flour for best results.
Tip 10: Add espresso
If you find your brownie recipe could do with a deeper chocolate flavour, try adding espresso powder. Usually, just ½ a teaspoon is enough to enhance the chocolate flavour without making your brownies taste like coffee.
This tip isn't actually something I often do in my brownie recipes (I love them just as they are) but I have used it in chocolate cupcakes and can confirm it works like magic! I think this tip would be especially helpful for box brownies, which can sometimes be too sweet or taste a little bland.
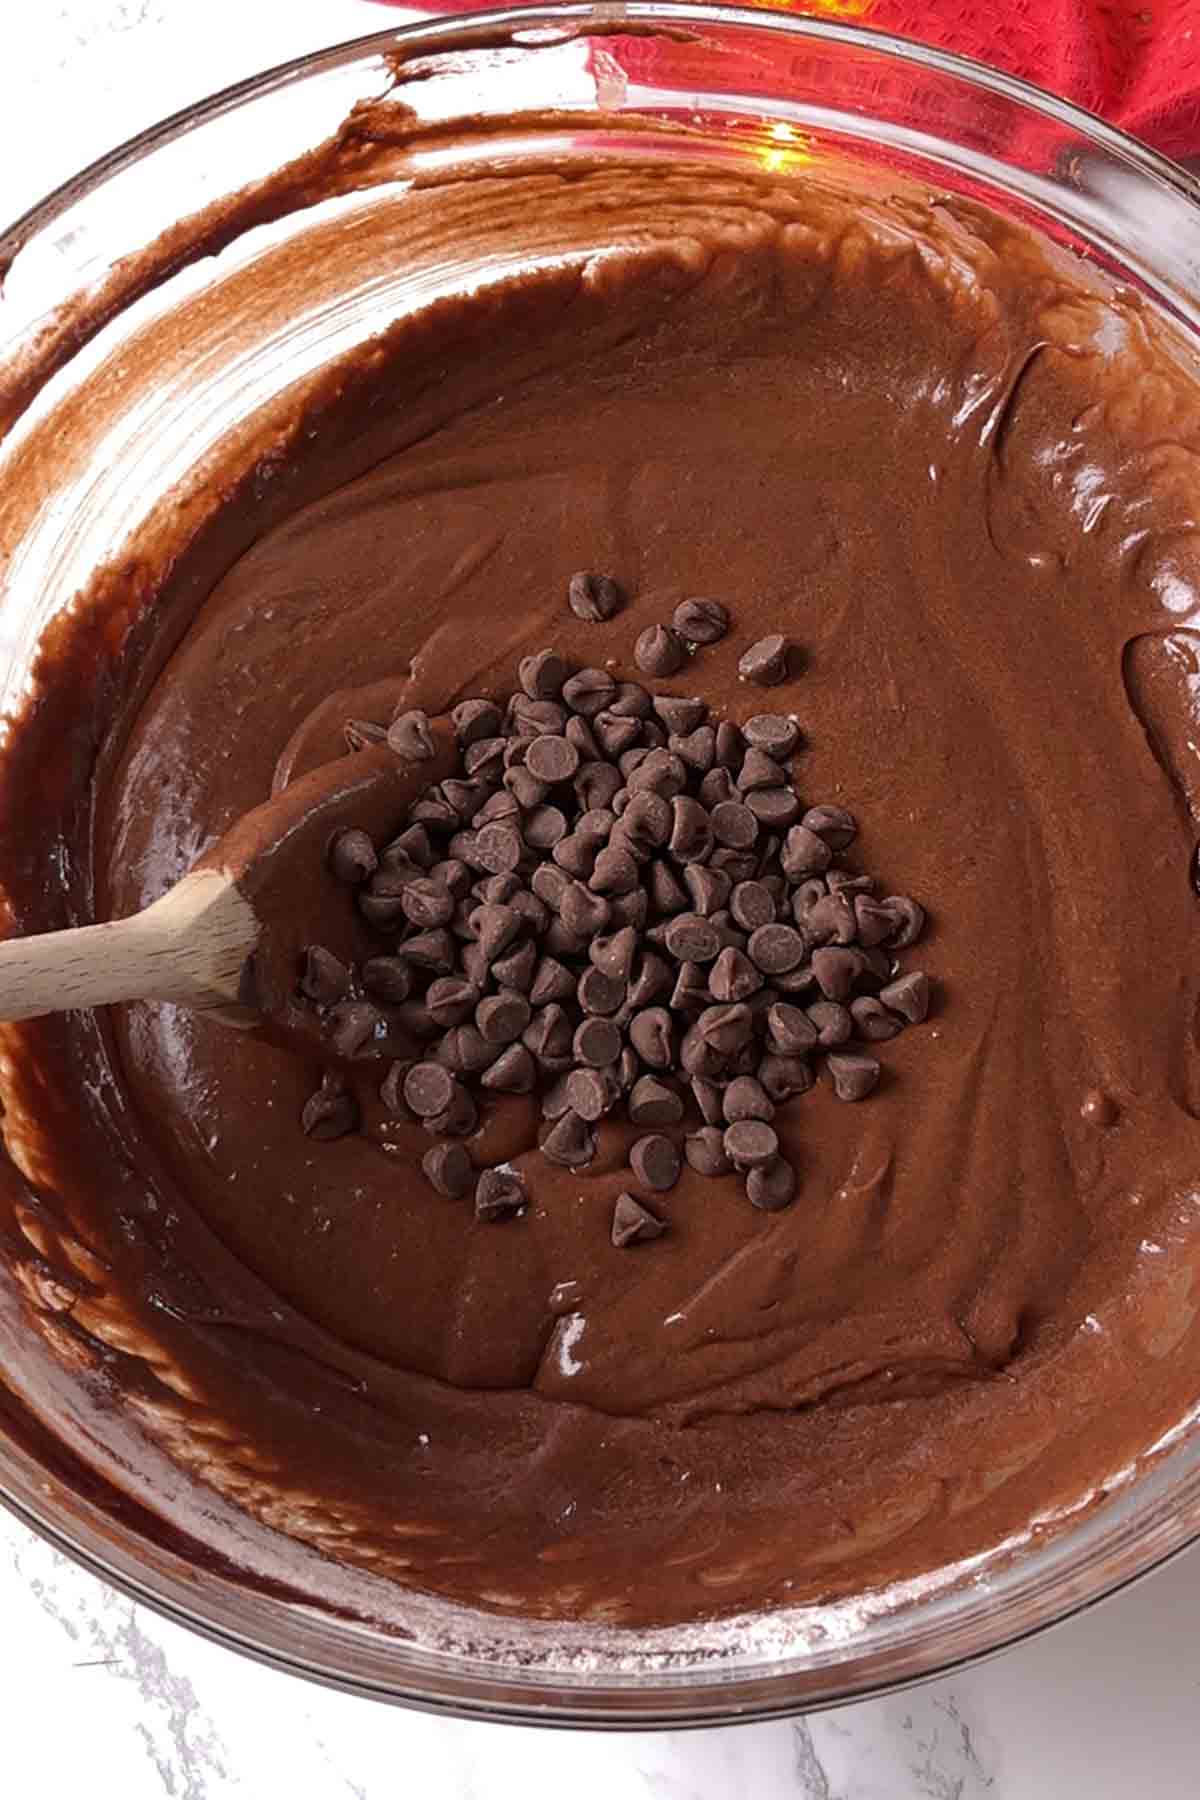
Tip 11: Don't skip the chocolate chips
Do not, I repeat, DO NOT skip chocolate chips (unless you're making cakey brownies, in which case you should definitely skip them)! This is actually one of my top brownie tips that is often overlooked. You might think they're optional, but not only do they add extra flavour and texture, they actually help contribute to that crackly, shiny top.
As chocolate chips heat up in the oven, they soften but don't fully melt due to the added stabilisers. This helps to trap little pockets of moisture and sugar near the surface, making it nice and shiny. So while chocolate chips don't create the crackly top on their own (the eggs and sugar do that), they can enhance it.
You can use classic milk chocolate chips, white or dark- whatever suits your preference. Just don't omit them!
Tip 12: Set a timer
Baking time is everything when it comes to brownies. There is a very fine line between fully baked and overbaked.
If you're going for fudgy brownies, they are supposed to be gooey in the middle when you take them out of the oven, meaning the traditional toothpick test won't work. They continue to bake as they cool, so that very slight underbake is exactly what we want. If you let them bake fully in the middle, they'll be dry and cakey when they cool down. It's equally important to note that gooey and raw (underbaked) are not the same thing!
For perfect results every time, use an oven thermometer to double-check that your oven temperature is accurate, and follow the baking time in your recipe closely. If a recipe says 'bake for 20-25 minutes', check them after 20 minutes and if they're not done, pop them back in for another 5.
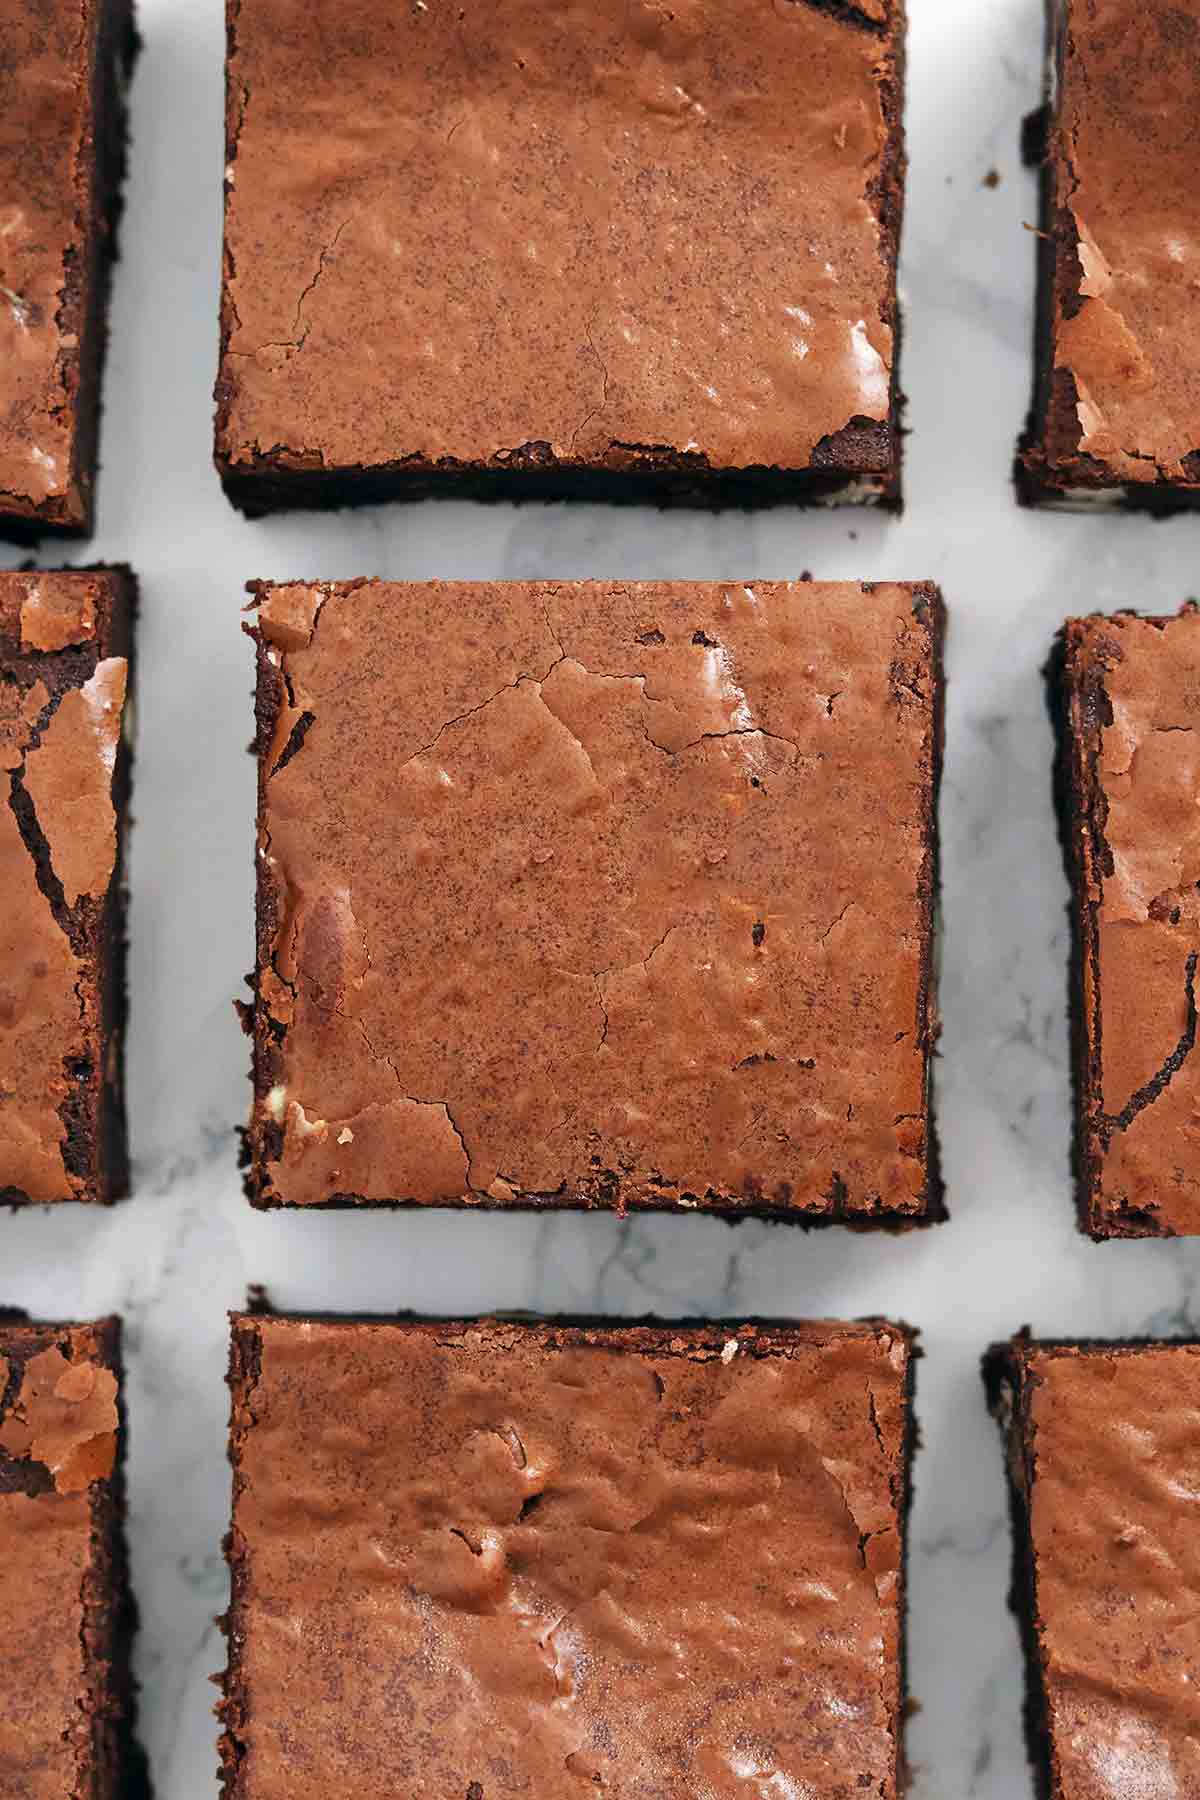
Here are the signs to look for when checking if brownies are done:
- A thin, shiny crust on top
- Set edges that are slightly pulling away from the tin
- A slight wobble in the middle (but not all over) when you gently shake the tin
- If your kitchen smells like brownies, they're probably done!

Tip 13: Rotate the tin
Ovens are notorious for having hot spots, where the heat is stronger towards the back or on one side. This can lead to uneven baking, with one edge of your brownies baking faster or even burning before the other edge has fully baked. To prevent this, it's good to get into the habit of rotating your tin during baking. I recommend turning it 90 degrees every 10 minutes or so, which is what I usually do. Just be quick with the oven door so you don't let out too much heat!
Tip 14: Chill your brownies
I honestly don't see this mentioned very much in other recipes, but it's probably one of my most important brownie tips! Chilling your brownies properly is absolutely key to achieving that dense, fudgy texture. And I'm not just talking about letting them cool before slicing, I mean actually chilling them in the fridge overnight. Why? Because brownies continue to set looooong after they've come out of the oven.
Chilling them properly allows the butter and chocolate to firm up, giving your brownies that perfect fudgy chew. It also prevents them from falling apart when sliced. When you cut them straight from the oven or even at room temperature, they'll still be soft inside, which makes it hard to cut them cleanly.
To chill your brownies fully, let them cool to room temperature first, then pop them (still in the tin) into the fridge overnight. The next day, not only will they cut cleanly, but the texture will be SO much better! If you're in a hurry, you can freeze them for 2-3 hours instead but I personally think they're much better in the fridge. Trust me, once you try this, you'll never go back!
Step 15: Use a warm knife
Once your brownies are properly chilled, they'll be perfectly set, but that firm, fudgy texture can make cutting them a bit more difficult. Want to know the secret to neat, bakery-style cuts? A warm knife! Warming your knife helps it to glide through the brownies easily, melting slightly as it goes rather than tearing or dragging them. Here's how to do it:
- Fill a tall glass or bowl with very hot water (or run your tap until it's extra hot)
- Dip your knife in for 10-15 seconds
- Dry it thoroughly with a clean cloth (be extra careful not to touch it with your bare hands)
- Make one cut, then wipe the blade clean and repeat before the next cut.
I know this takes a little extra effort, but if presentation matters, it's 100% worth doing.
That's all for now! I hope you find my brownie tips and tricks helpful. If you enjoyed the post, please share it with a friend using the share buttons on the page. Happy baking!


Leave a Reply