These Biscoff cheesecake shots are great for parties, bake sales, and every other special occasion. They're super easy to make with just a handful of simple ingredients and there's no baking required.
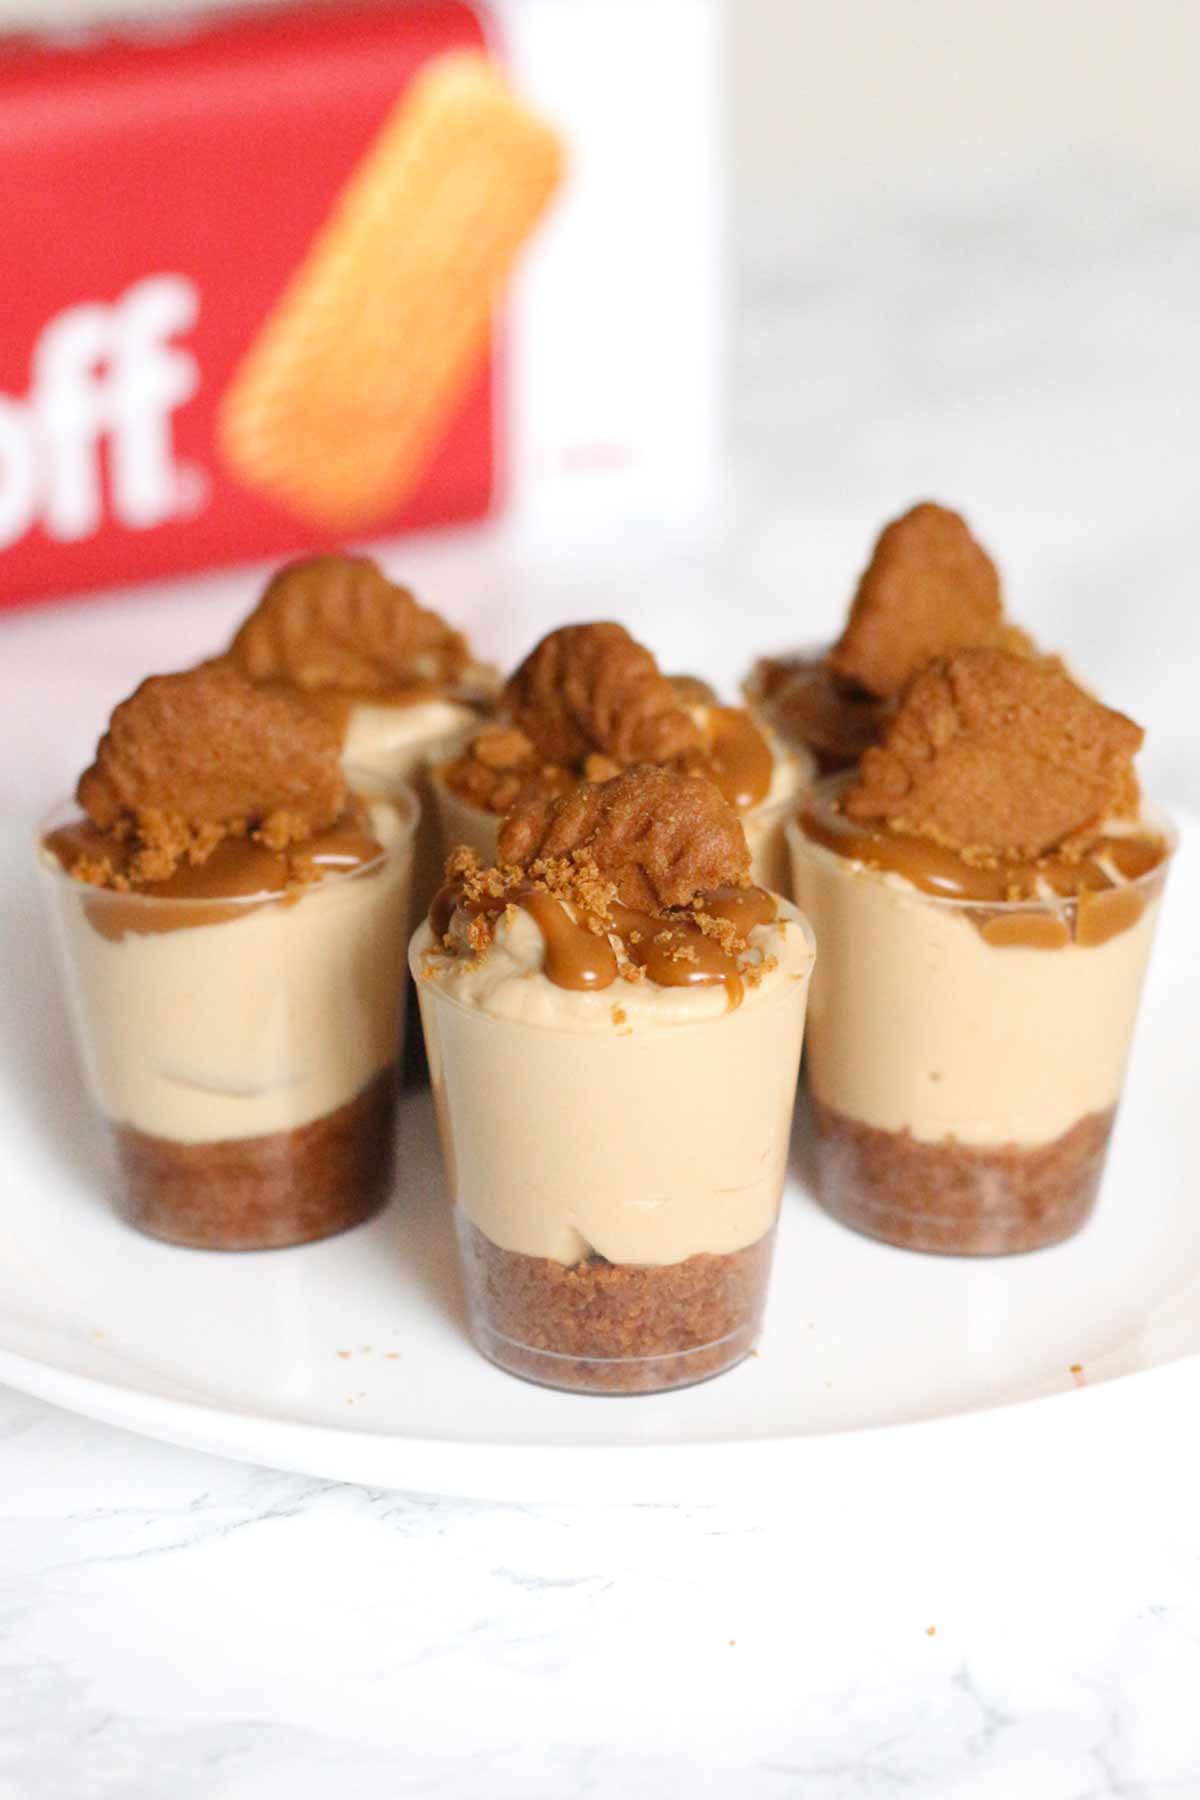
If you're looking for the best party dessert, these Biscoff cheesecake shooters are just the thing! They're cute and dainty and can serve up to 36 people, so they're perfect for feeding a crowd.
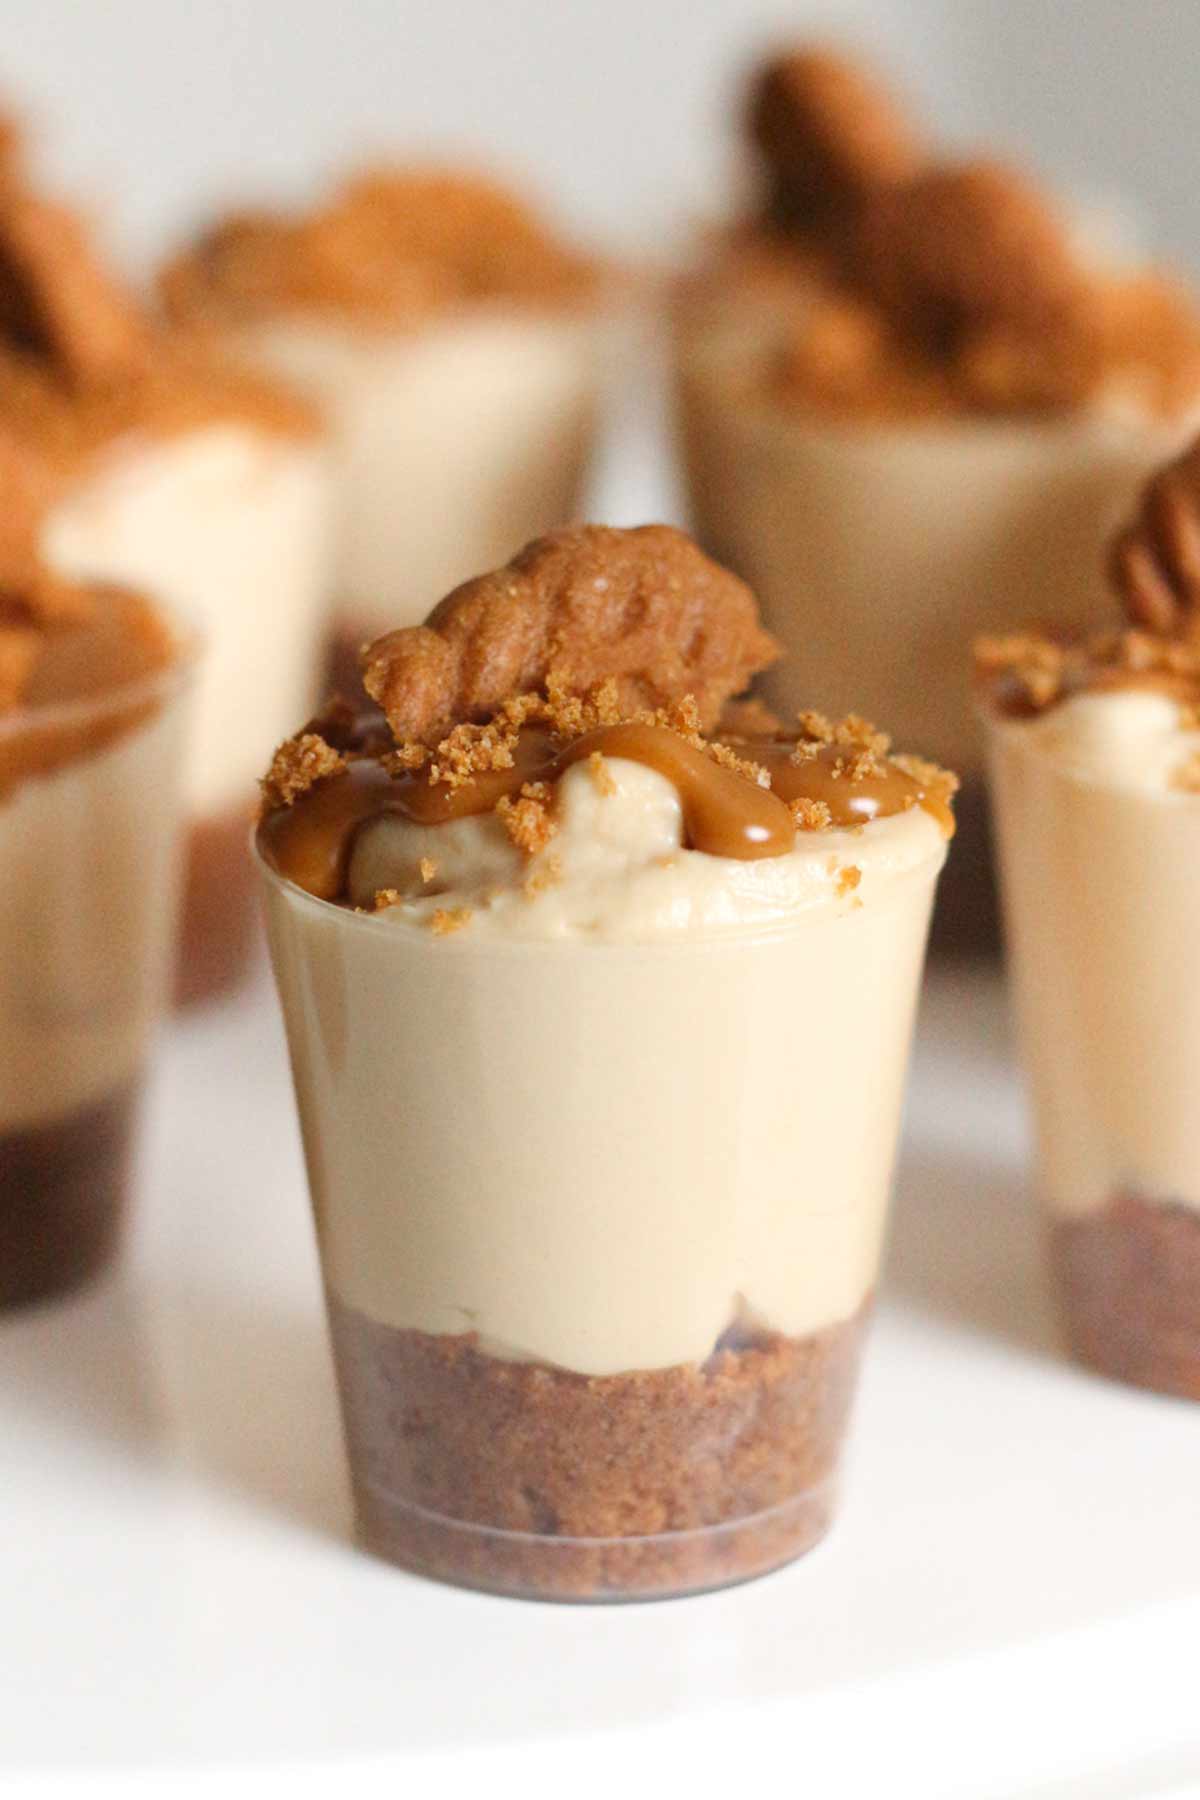
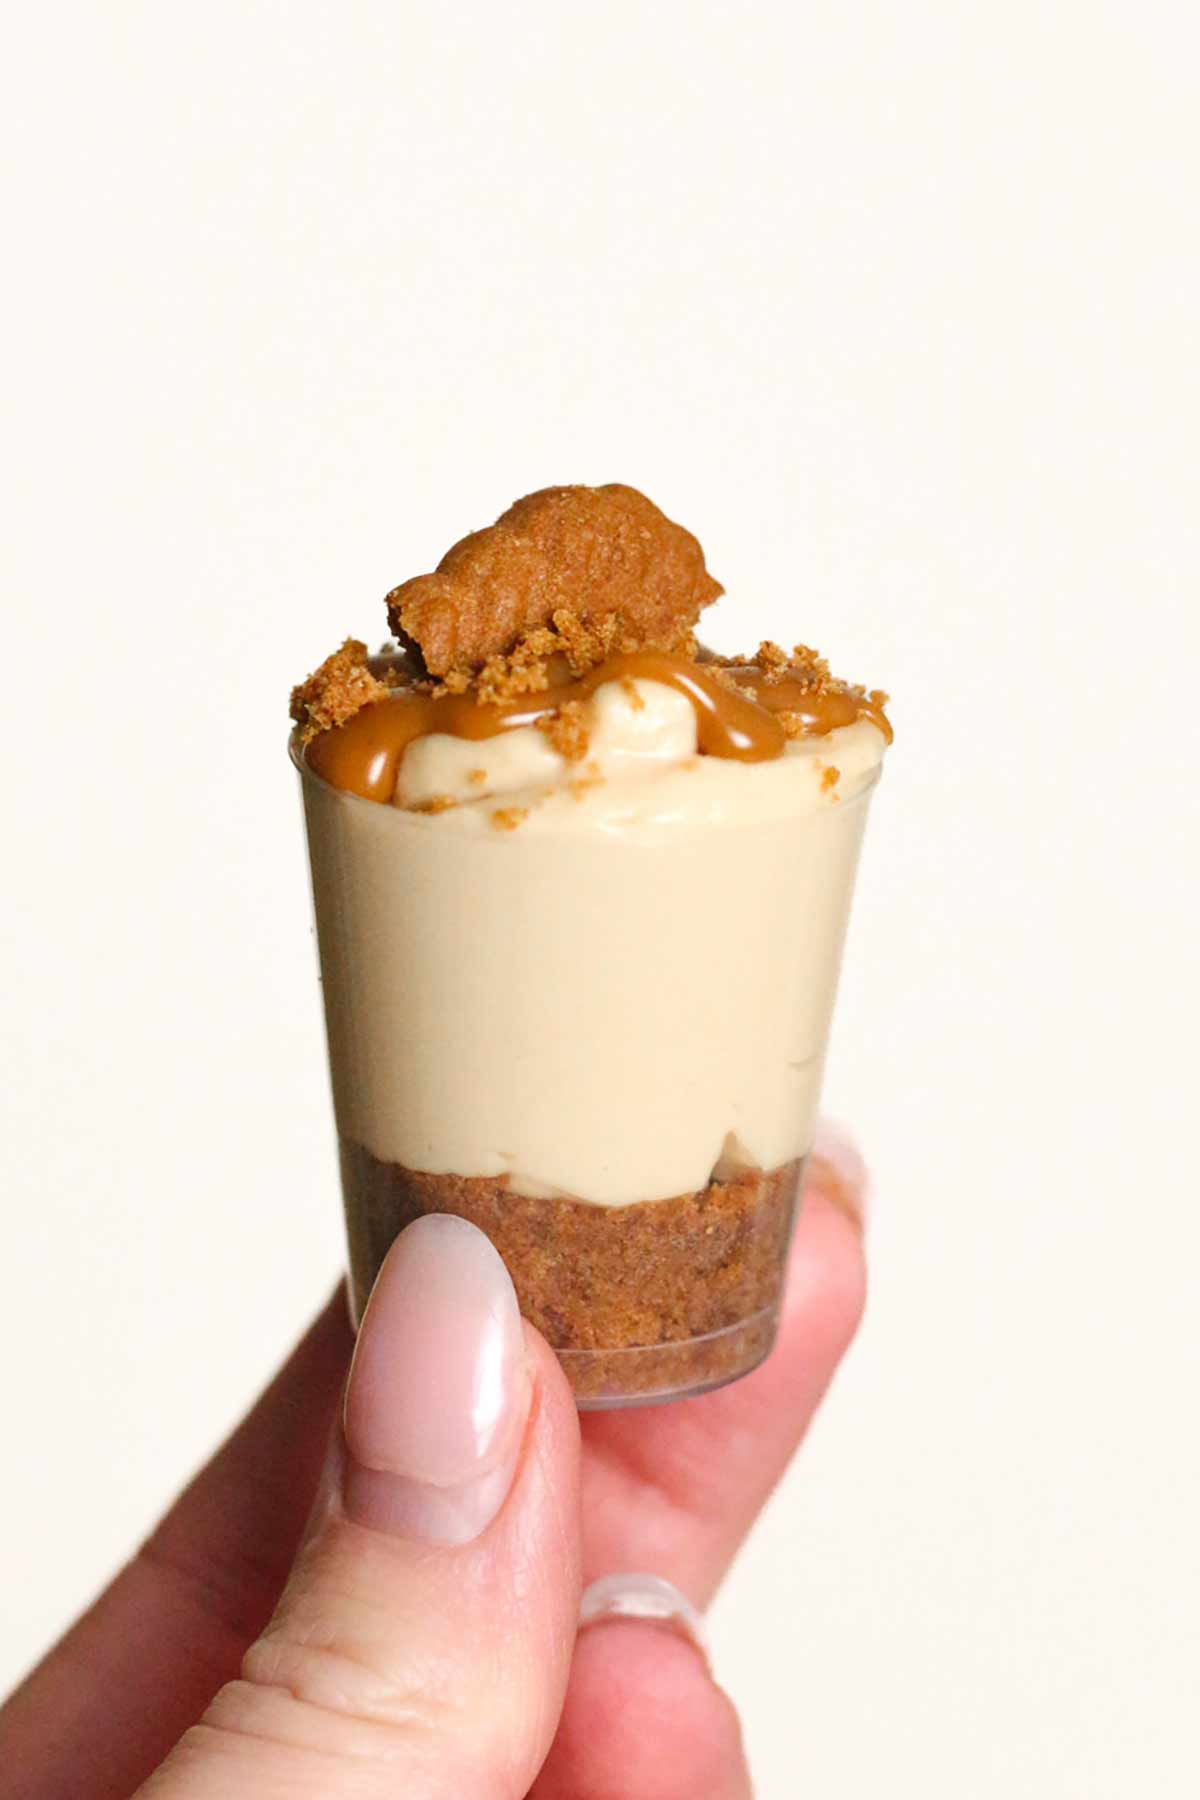
They consist of a buttery Lotus Biscoff biscuit base, a creamy Biscoff cheesecake filling and Biscoff spread topping. They're SO easy to make with just 6 simple ingredients and of course, you don't need to do any baking. I can't wait for you to try them for yourself!
For those of you who've never made a no-bake cheesecake before, I've written out detailed ingredient notes, step-by-step instructions and tips below. If you prefer to just get the condensed version, you can find it in the recipe card at the end of the post. And if you like this recipe, make sure to check out my mini trifle shots too. Enjoy!
Ingredients
- Lotus Biscoff biscuits: The base for these cheesecake shots is made with Lotus Biscoff biscuits. They're packed full of speculoos flavour and have a nice crunchy texture.
- Butter: You'll need some melted butter to mix with the biscuit crumbs to create the base. Make sure to use actual butter and not margarine- the latter will leave the base a little soggy.
- Cream cheese: For most of my no-bake cheesecakes I use full-fat cream cheese, which is important for a sturdy slice. Since these are eaten straight from the shot glasses and don't need to be sliced, you can use low-fat cream cheese if you prefer.
- Biscoff spread: Adding Lotus Biscoff spread to the cheesecake filling really makes that Biscoff flavour shine through! I used the smooth version but you can use the crunchy one if you prefer.
- Icing sugar: For an extra touch of sweetness.
- Double cream: When whipped, double cream is what's going to help you get that nice thick cheesecake filling. I don't recommend using low-fat alternatives for this ingredient as we need the fat to be able to whip it up properly.
Equipment
- Food processor: The biscuits for the base need to be blitzed into fine crumbs which can take a while to do by hand. Therefore, I recommend using a food processor or high-speed blender for ease.
- Shot glasses: I used disposable shot glasses from Amazon which held a total volume of 50ml.
- Mixing bowls and utensils: A large one for mixing the filling ingredients, and a smaller one for mixing the biscuit crumbs and butter together. You'll also need a wooden spoon or rubber spatula.
- Electric whisk: To whip the Biscoff cheesecake filling. You can also use a stand mixer if you have one on hand. It would be very time consuming to do this by hand so I don't recommend it unless you have a lot of patience and arm strength!
How to make Biscoff cheesecake shots
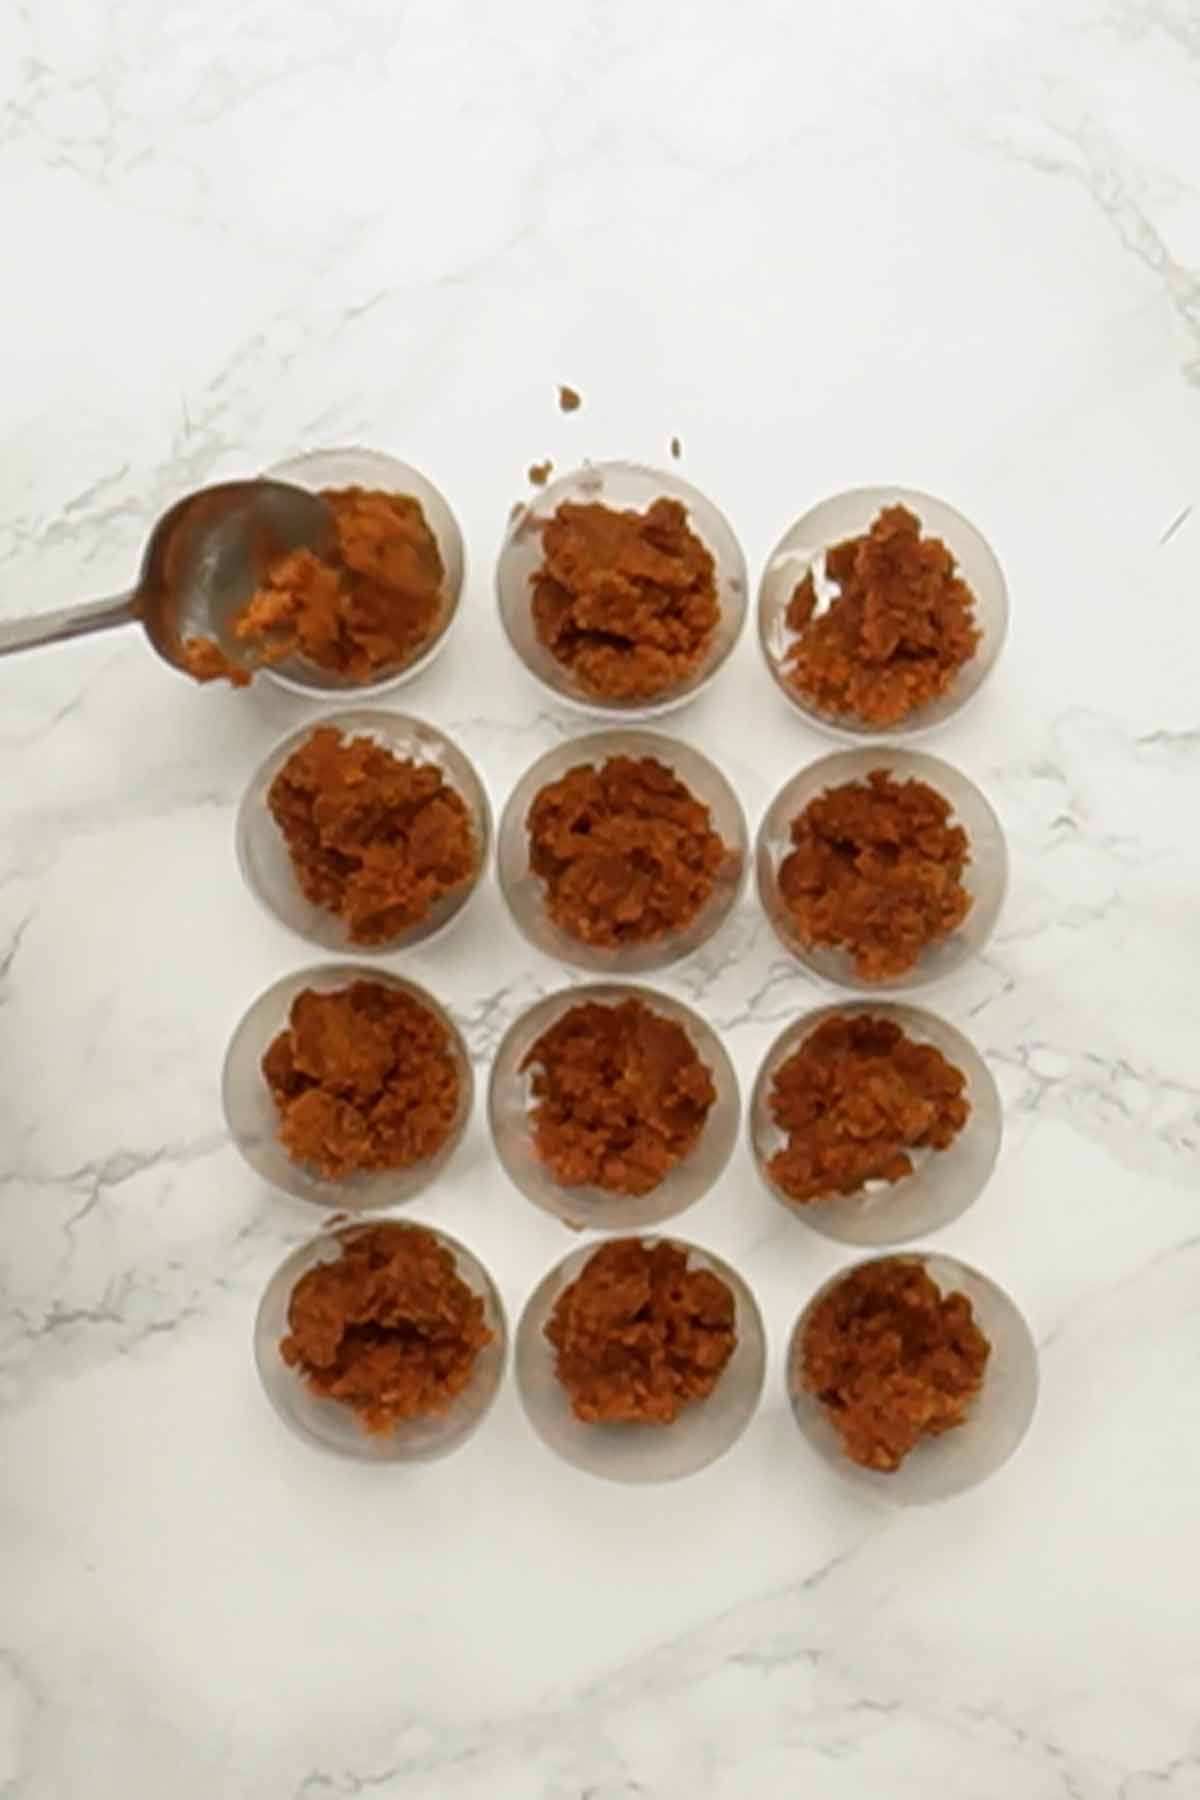
Step 1: Lay out 36 shot glasses in preparation for the cheesecake base.
Step 2: Place 150g of Lotus Biscoff biscuits into a food processor or high speed blender and blitz to make fine crumbs. Run your fingers through to ensure there are no large lumps left behind.
Step 3: Melt 60g of butter and stir it into the biscuit crumbs. Mix well until all of the crumbs are evenly coated.
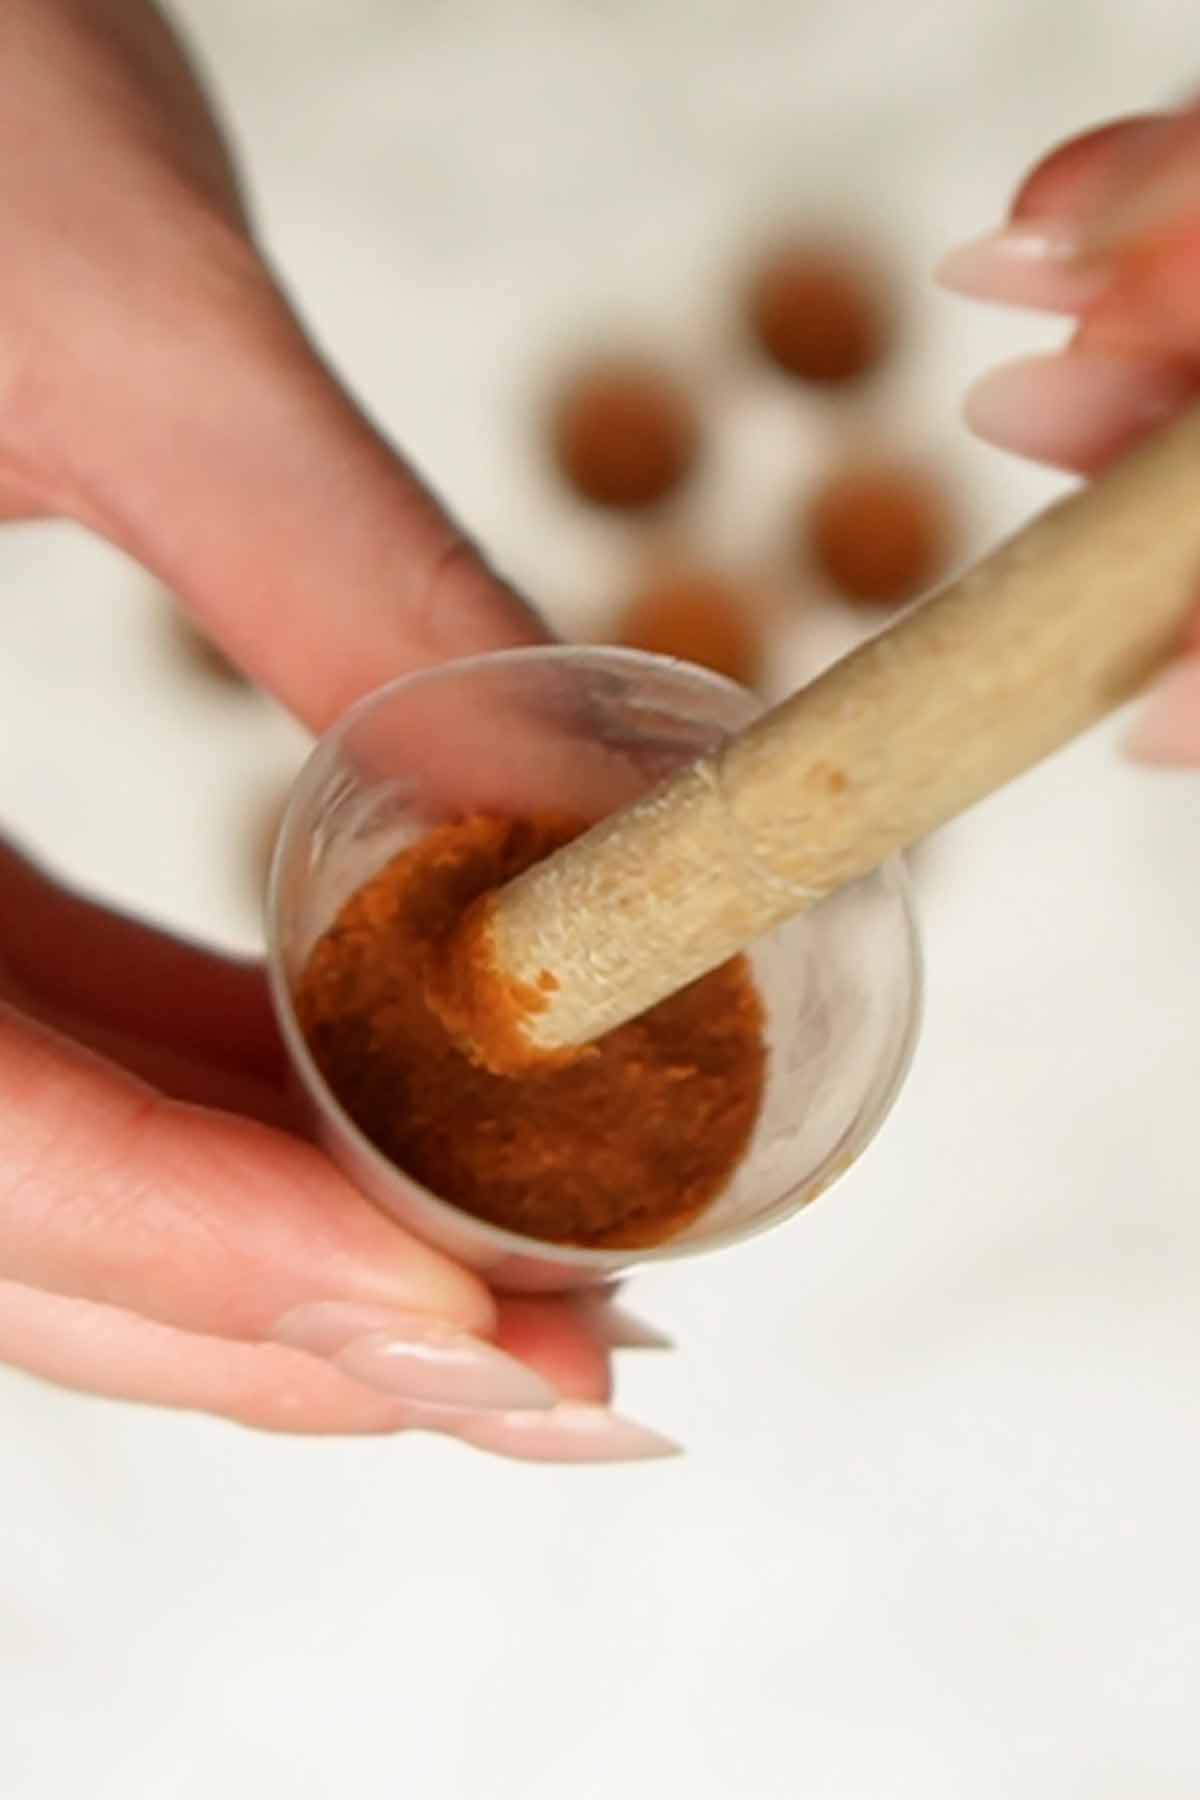
Step 4: Place 2 teaspoons of the biscuit base into the bottom of each shot glass. Press down firmly into place. I used the end of my wooden spoon, which was small enough to press it down firmly.
Step 5: Now, let's prepare the filling. To a medium-sized bowl, add 500g cream cheese, 240g of smooth Biscoff spread and 80g of icing sugar. Mix until combined.
Step 6: Add 200ml of double cream to the bowl and use an electric mixer to whip everything up together until thick.
Step 7: Transfer the cheesecake filling into a piping bag and cut off the end to make a hole. Pipe some of the filling into each shot glass over the biscuit base. You can also do this using teaspoons but it'll be a little messier this way.
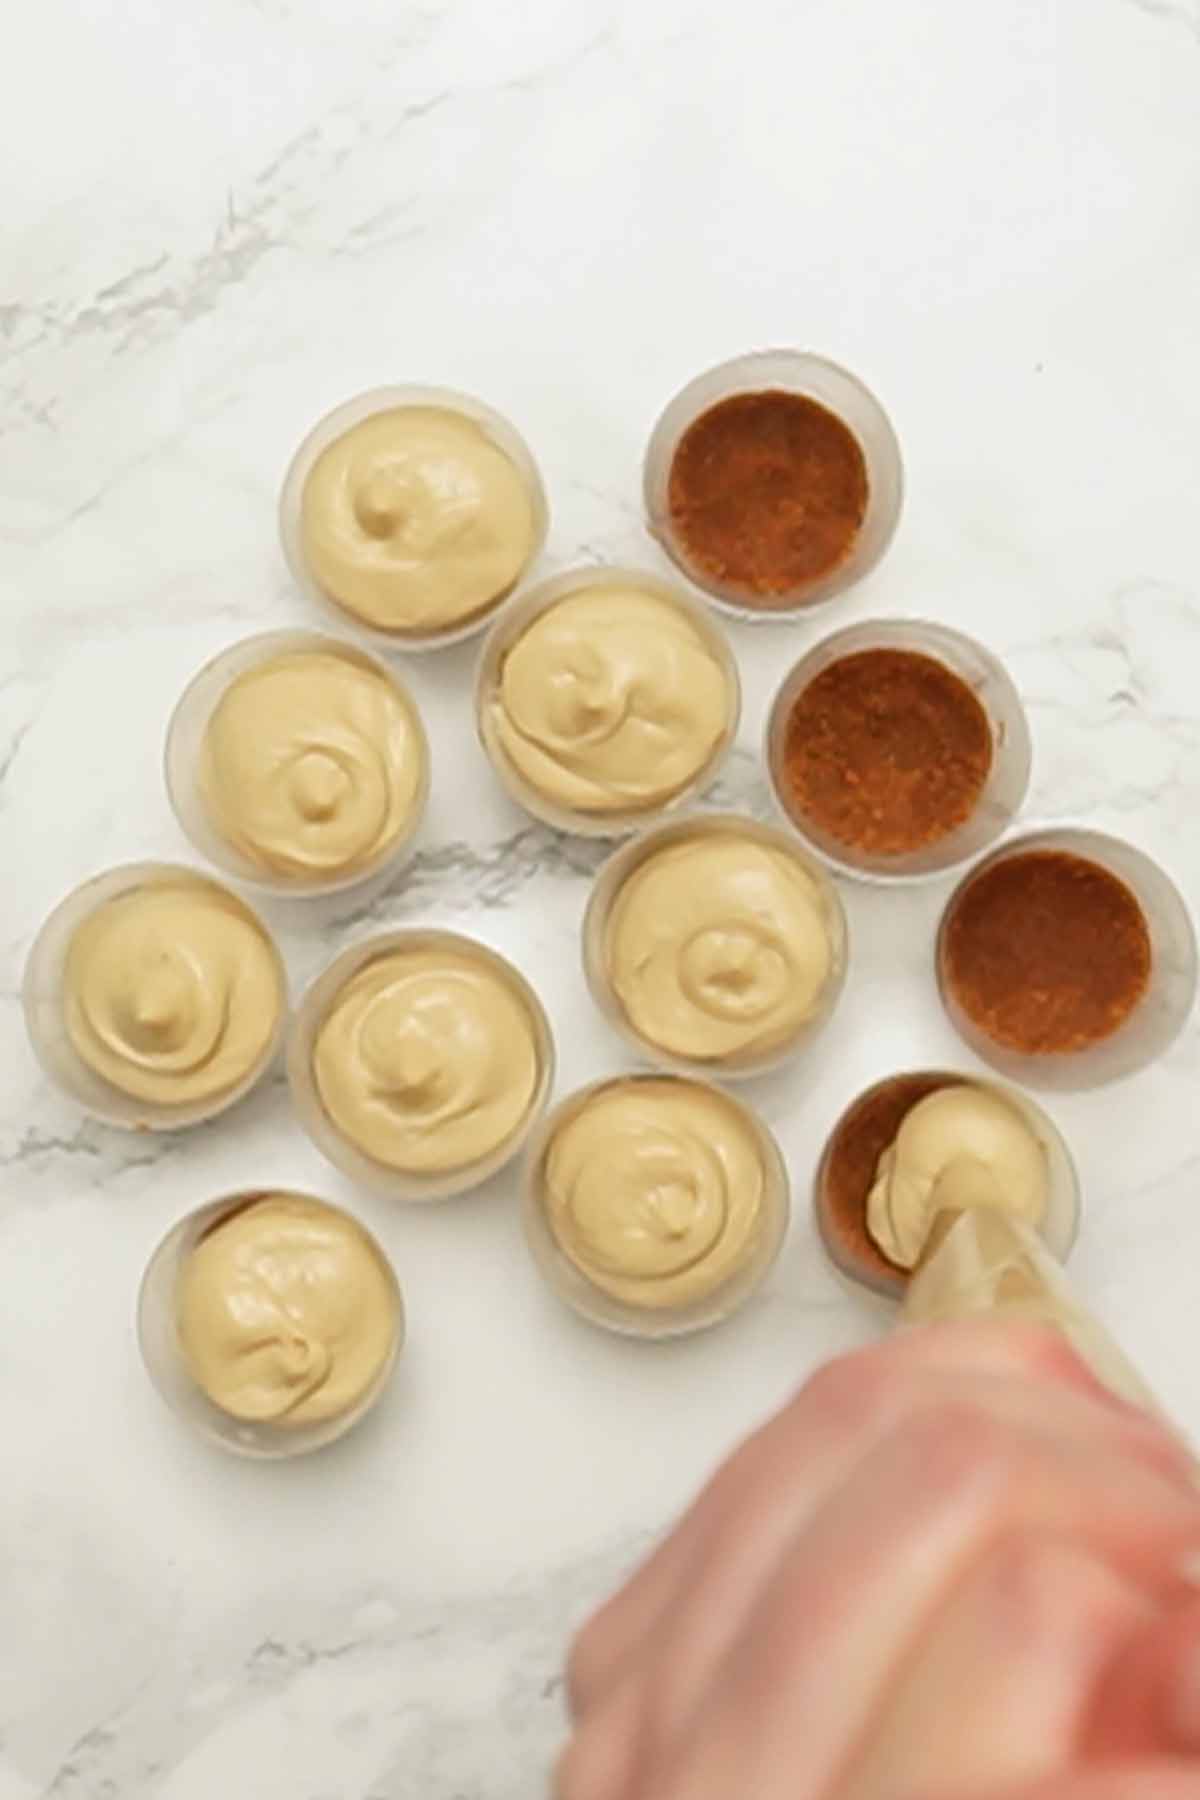
Step 8: Melt 150g of Biscoff spread in the microwave for 20-30 seconds until runny. Top the Biscoff cheesecake shots with a little bit of the melted spread, dividing it equally between them all. Then, to finish them off, add some Biscoff biscuit pieces and sprinkle some crumbs on top.
Step 9: Serve immediately or store in the fridge if you're preparing them in advance.
Top tips
- Use full-fat double cream if you want a nice thick filling. The fat is needed to whip it up properly.
- When filling the cheesecake shots, use a piping bag to save on time and mess.
- The biscuit base can be pressed into place using the small end of a wooden spoon or even your finger.
- These cheesecake shooters can be served straight away and eaten with a spoon. There's no refrigeration needed!
- For smaller gatherings, you can use the recipe card slider to adjust the amount of servings you want to make.
FAQ
If you store them in an airtight container, they'll last for up to 4 days in the fridge. I recommend adding the biscuit topping immediately before serving.
If you use plastic shot glasses, these Biscoff cheesecake shooters can be frozen. Cover the tops tightly with clingfilm or place them into an airtight container and freeze for up to 2 weeks. When you're ready to defrost them, let them thaw out in the fridge overnight or let them sit out at room temperature for a few hours. Do not refreeze.
Absolutely. If you prefer a crunchy texture in your cheesecake filling, by all means switch out the smooth Lotus Biscoff spread for the crunchy version of the spread instead.
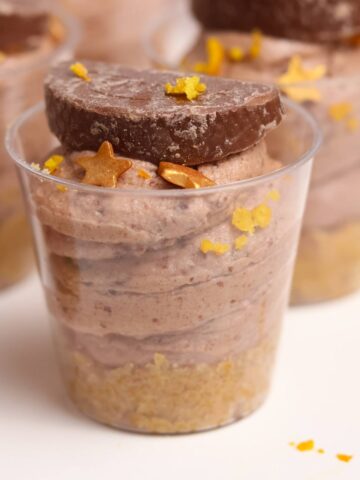
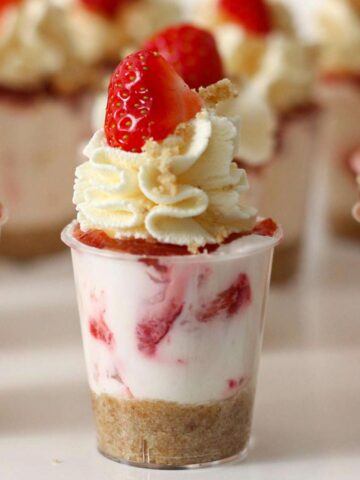
More shot glass desserts:
I hope you have fun making these Biscoff cheesecake shots. If you find this post useful, please share it with a friend using the share buttons on this page. Enjoy!

Lotus Biscoff Cheesecake Shots
Ingredients
- 150 g Lotus Biscoff biscuits
- 60 g Butter, melted
- 500 g Cream cheese
- 240 g Lotus Biscoff spread
- 80 g Icing sugar
- 200 ml Double Cream
Topping:
- 150 g Lotus Biscoff spread
- 2-3 Lotus Biscoff biscuits
Instructions
- Lay out 36 shot glasses, ready for the cheesecakes.
- Blitz the Biscoff biscuits into fine crumbs and mix with the melted butter. Place 2 teaspoons of this mixture into each shot glass and press firmly into place. You can use the small end of a wooden spoon or your finger to do this.
- In a large bowl, mix together the cream cheese, Biscoff spread and icing sugar.
- Add the double cream to the bowl and use an electric whisk to whip it all up until thick. Transfer this filling into a piping bag and cut the tip off.
- Pipe some of the filling into each shot glass.
Topping:
- Melt the Biscoff spread in the microwave for 20-30 seconds until runny then use it to top each cheesecake shot.
- Crush the biscuits into pieces and sprinkle them over the shots.
Video
Notes
- Enjoy immediately or store in the fridge for up to 4 days.


gabriela
Super fácil y delicioso!
Chloe
Thank you so much!
Rita Terry
What is sugar icing? How to make it?
Chloe
Powdered sugar/confectioner's sugar
Julia
Can you use Philadelphia cream cheese filling no bake instead of making your own filling to save time?
Chloe
Yes that'd work 🙂